Build a Modern Wall Shelf
Contributing editor Christian Becksvoort builds a wall shelf that gives a nod to the Shakers while embracing a modern style.
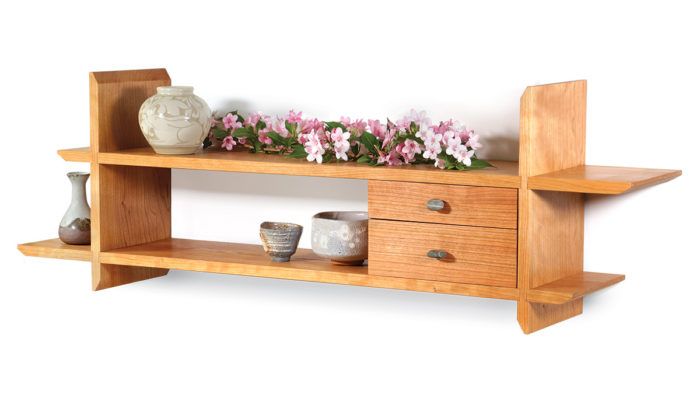
Synopsis: With its long, asymmetrical form and functional layout, this wall shelf gives a nod to the Shakers while embracing a modern style. It has two vertical uprights, two long, horizontal shelves, and two suspended drawers. The joinery is a combination of lap joints and dadoes. River rocks serve as the drawer pulls.
One of the reasons I like the Shaker style is because Shakers seldom followed traditional rules of design. The golden mean went out the window, while function was the overriding design element. They favored the tall and narrow and embraced asymmetrical layout.
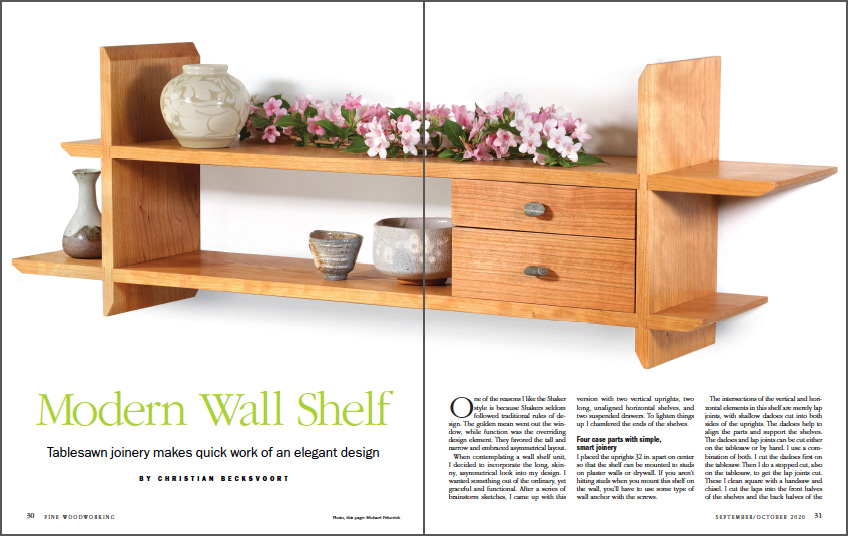
When contemplating a wall shelf unit, I decided to incorporate the long, skinny, asymmetrical look into my design. I wanted something out of the ordinary, yet graceful and functional. After a series of brainstorm sketches, I came up with this version with two vertical uprights, two long, unaligned horizontal shelves, and two suspended drawers. To lighten things up I chamfered the ends of the shelves.
Four case parts with simple, smart joinery
I placed the uprights 32 in. apart on center so that the shelf can be mounted to studs on plaster walls or drywall. If you aren’t hitting studs when you mount this shelf on the wall, you’ll have to use some type of wall anchor with the screws.
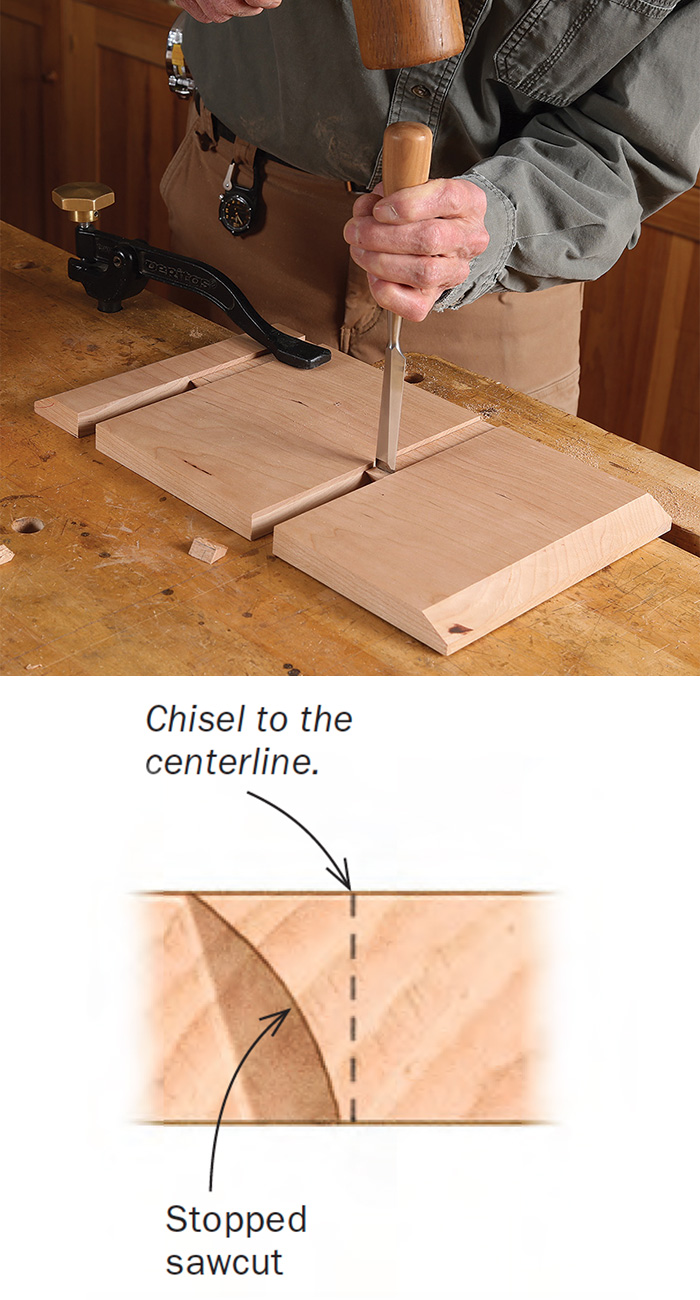
The intersections of the vertical and horizontal elements in this shelf are merely lap joints, with shallow dadoes cut into both sides of the uprights. The dadoes help to align the parts and support the shelves. The dadoes and lap joints can be cut either on the tablesaw or by hand. I use a combination of both. I cut the dadoes first on the tablesaw. Then I do a stopped cut, also on the tablesaw, to get the lap joints cut. These I clean square with a handsaw and chisel. I cut the laps into the front halves of the shelves and the back halves of the uprights. Since the shelves are offset in opposite directions, the laps are in opposite locations on the shelves.
Once the four parts have been dry-fitted, I disassemble them and use the tablesaw to chamfer the ends of the uprights and the shelves. When all four parts have been sanded, they can be glued. Since the uprights extend only 2 in. below the lower shelf and the joint is short grain to long grain, I reinforce it with a screw. I drill on a downward angle into the back edge of the upright, drilling through the shelf and into the 2-in. section below.
From Fine Woodworking #284
To view the entire article, please click the View PDF button below.
 |
|
 |
|
 |


Comments
Are the drawer bottoms solid wood or ply? Thanks.
Loved the design. Modified it to fit my needs by increasing the height of the middle shelf and losing the drawers.
Log in or create an account to post a comment.
Sign up Log in