Build a Simple, Sturdy Workbench, Part 2
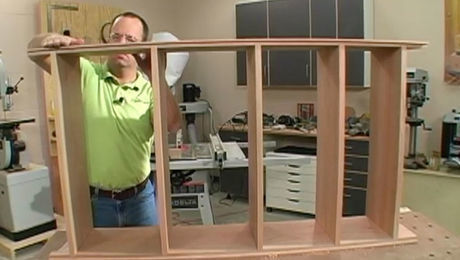
In part 2 of this 2-part video series, learn how to construct the bench top and attach a traditional woodworking vise.
In this episode of Getting Started in Woodworking, we complete our workbench project by making the bench top from stacked sheets of MDF (medium-density fiberboard), attaching a traditional woodworking vise, and drilling holes in the bench top for bench dogs, which are great workbench accessories for holding down your work.
Attach the bench top and vise
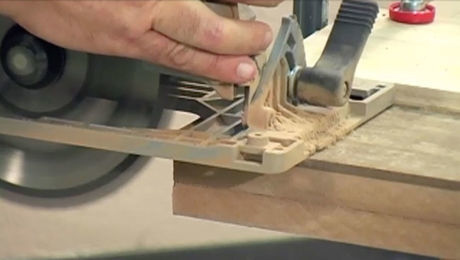
The bench top is constructed by cutting two matching pieces from a single sheet of MDF. This is a pretty simple task that makes use of the circular-saw edge guide we made in the previous episode. The two pieces are glued and screwed together and attached to the bench base with tabletop clips.
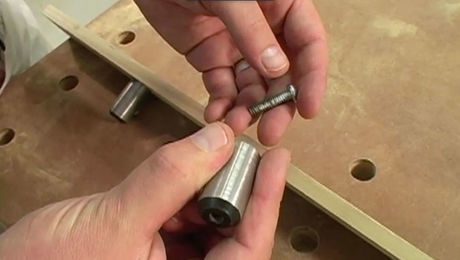
Once the bench top is attached to the base, we show you how to install a woodworking vise with bolts. Finally, we finish up by drilling holes for the bench dogs.
Related links
DOWNLOAD THE PLAN: A Simple, Sturdy Workbench
Videos in the Series
-
Build a beginner-friendly bookcaseAugust 5, 2019
-
Buying Hardwood LumberAugust 5, 2019
-
How to Rip Lumber Safely on the Table SawAugust 5, 2019
-
How to Crosscut Lumber Safely on the Table SawAugust 5, 2019
-
How to Cut Rabbets and Dadoes with a RouterOctober 16, 2019
-
Hand Sanding and Power Sanding BasicsOctober 16, 2019
-
Best Practices for Cutting and Shaping CurvesOctober 16, 2019
-
Create Strong and Simple Joinery with Screws and Hardwood PlugsOctober 22, 2019
-
Build a Simple, Sturdy Workbench, Part 1October 22, 2019
-
Build a Simple, Sturdy Workbench, Part 2October 22, 2019
-
10 Ways to Use a Workbench – Start Woodworking S2:Ep10October 22, 2019



Log in or create an account to post a comment.
Sign up Log in