Easy to build wooden 6 pack holder
Repurposed pallet boards create a rustic beverage holder.
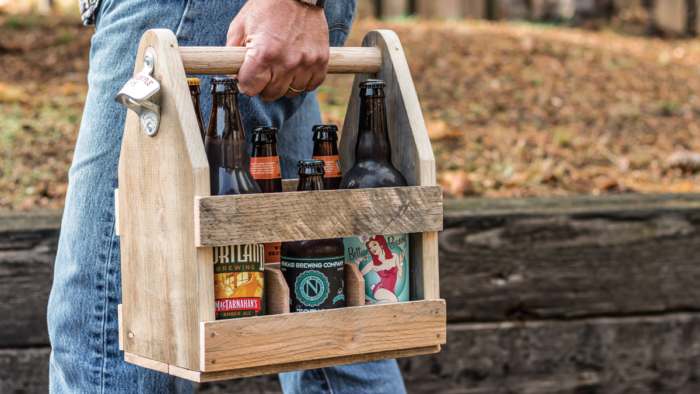
This six-pack caddy project is so easy to make it could be your very first attempt at woodworking. You’ll need a Forstner drill bit or a hole saw to make the holes for the dowel and almost any kind of saw to cut out the pieces; it all goes together with a hammer and nails. Despite the simple tools, materials, and techniques—or maybe because of them—the caddy looks awesome.
I made this one using primarily pallet wood. You can clean up pallet boards for all sorts of rustic projects, like outdoor planters, funky frames, a weathered rack for a row of coat hooks, or this sweet tote. The key is to lean into the imperfection, embracing the unique character as part of the appeal.
Rustic is the rule. I wouldn’t pull a bunch of boards off a pallet, run them through a planer (if you have one), and try to build fine furniture with them. The sand and grit will trash your planer knives, and, in the end, the low-grade wood won’t look that great anyway. Embrace the roughsawn, weathered look and let your imagination wander.
For the tote I used one standard pallet, one nonstandard pallet with 3/4-in.-thick boards, a thin oak slat and thick dowel from the home center, a box of 16-gauge by 1-in.-long panel nails (in the “dark oak” color), and a Starr X bottle opener.
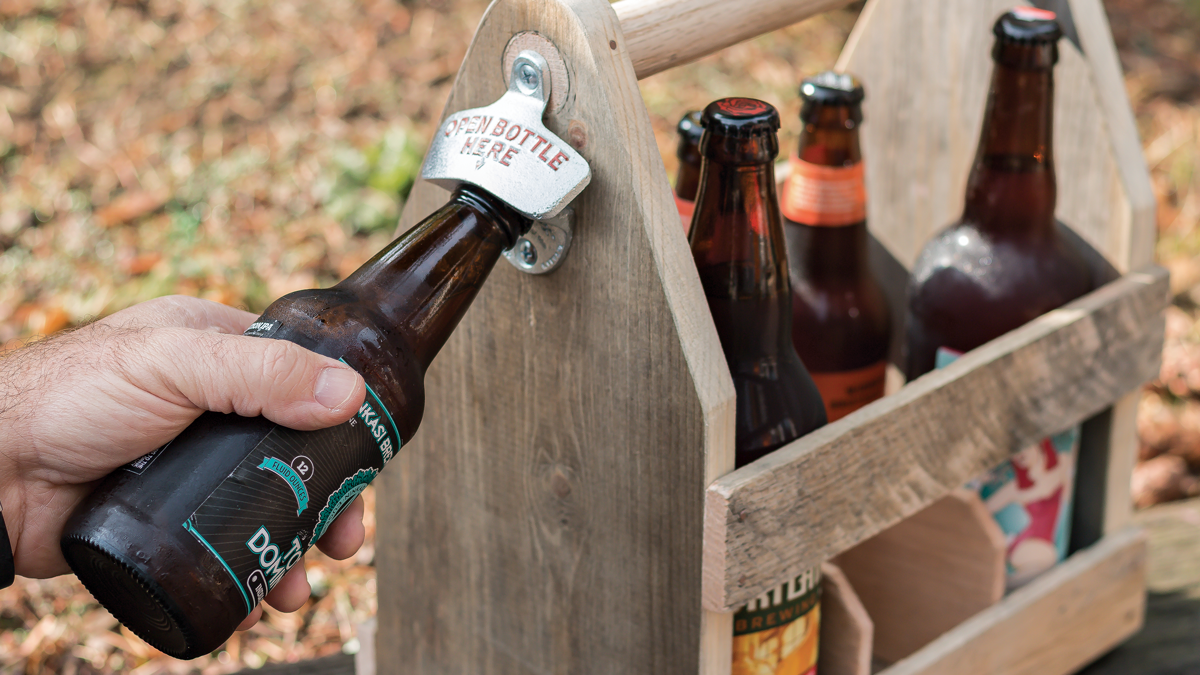
Built-in bottle opener. A classic Starr X opener adds style and function to your custom caddy.
Ends first
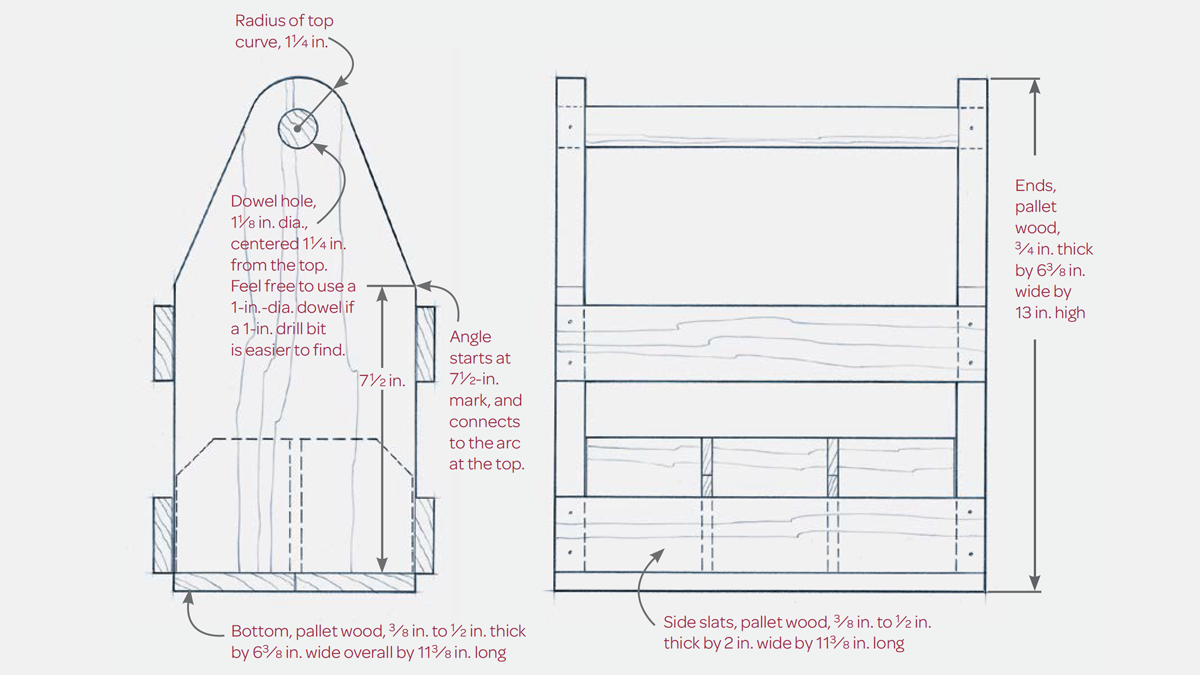
The end boards are the foundation. Cut and shape those first, and then the slats just nail on. In fact, you have to lay out only one of the end pieces. After you shape it, you can trace its outline onto the other one.
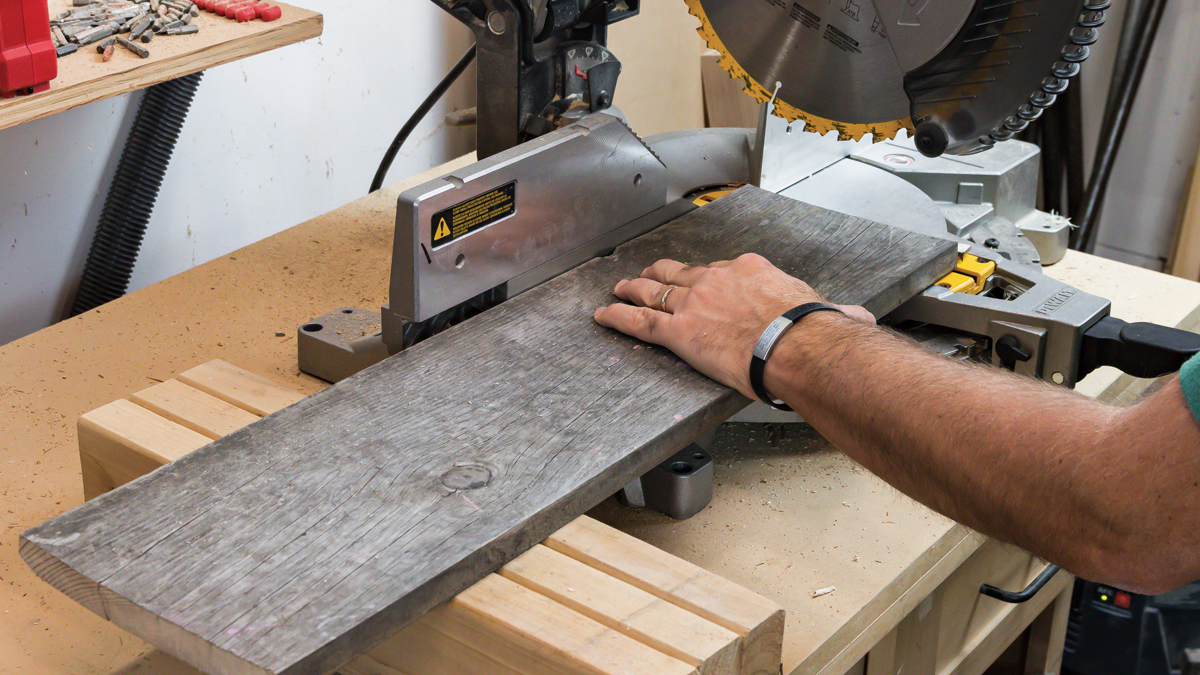
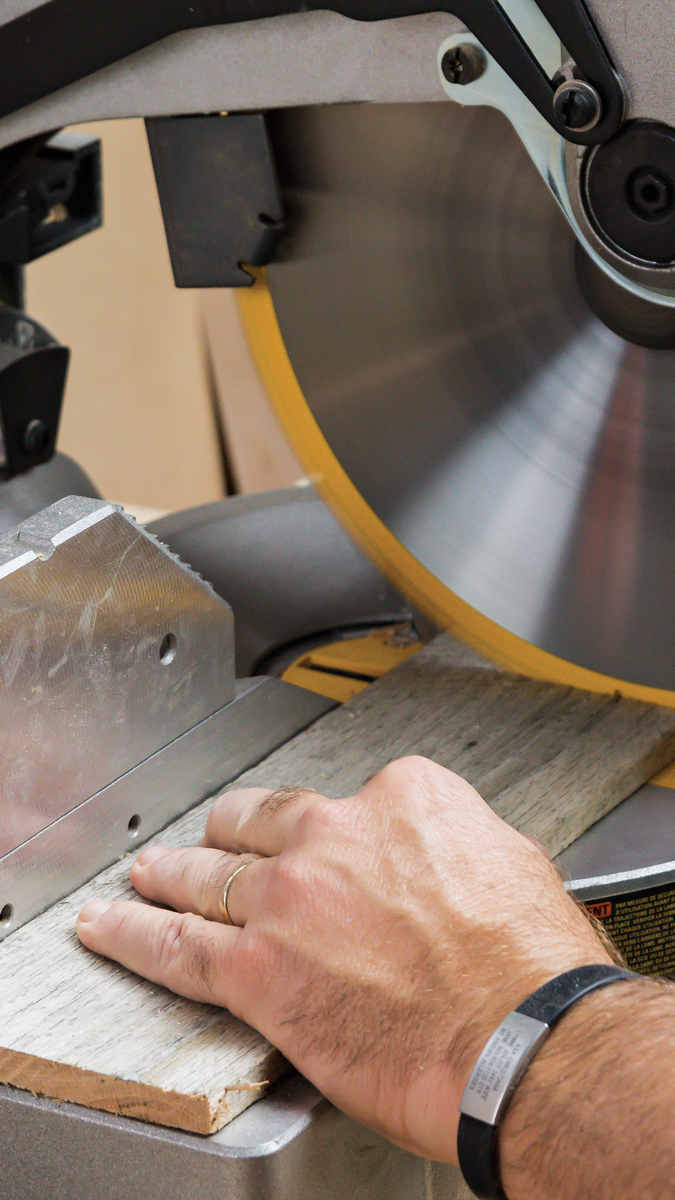
1. Lots of ways to cut these boards. I used my miter saw to get a square cut on both ends of a 3/4-in.-thick board, so I could get both ends of my tote from one board. A jigsaw or handsaw would also work well here.
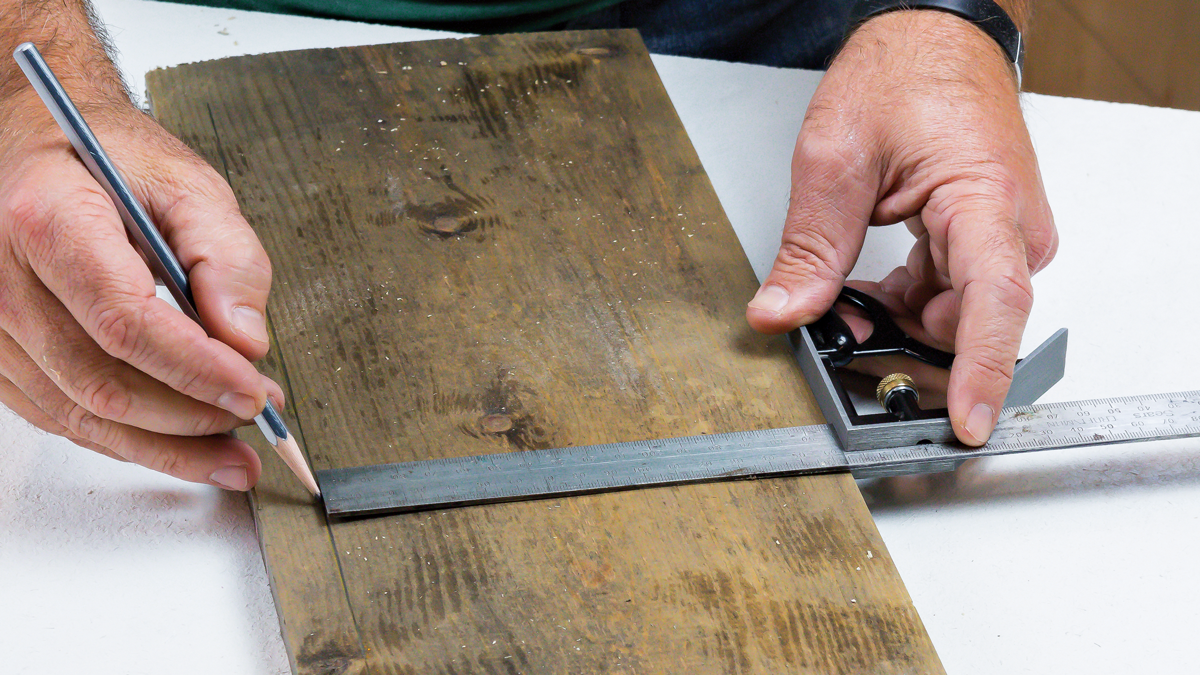
2. Strat by marking the width. Both ends are 6-3/8 in. wide, so I used my combo square to mark that width down the whole board.
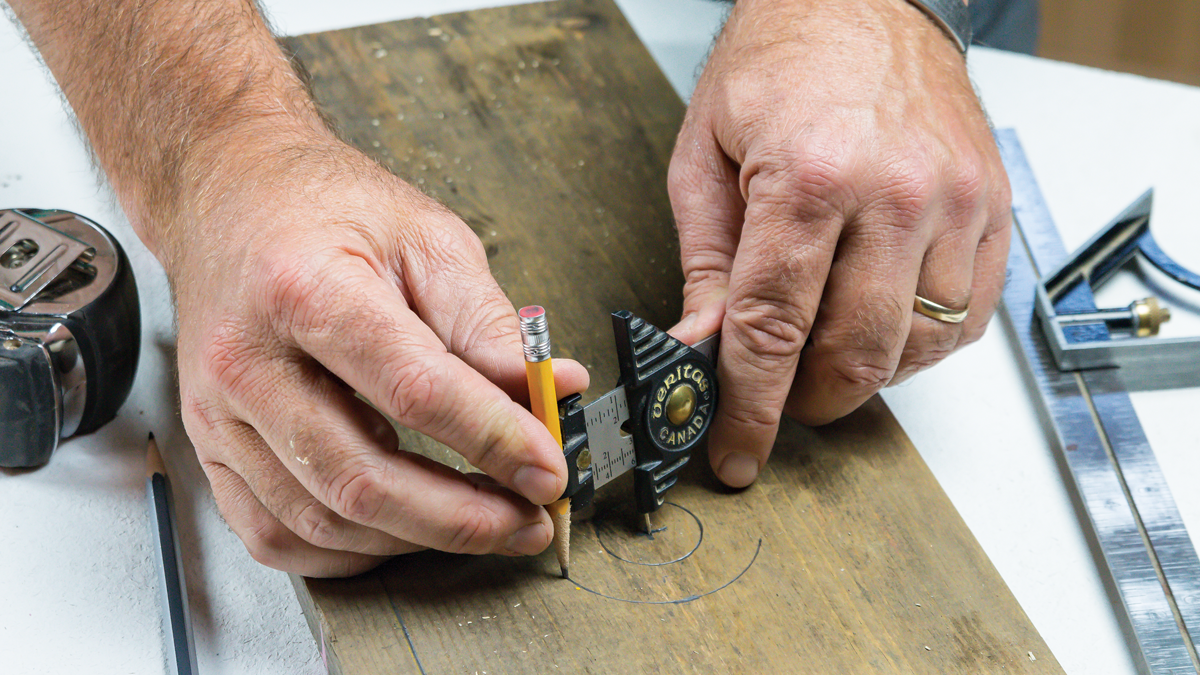
3. Circles are next. After marking where the top ends, 13 in. from the bottom, measure down 1-1/4 in. from the top and place your compass point there, centered on the width of the workpiece. Set the compass to mark the dowel hole, then set it to 1-1/4 in. to mark the parallel arc at the top.
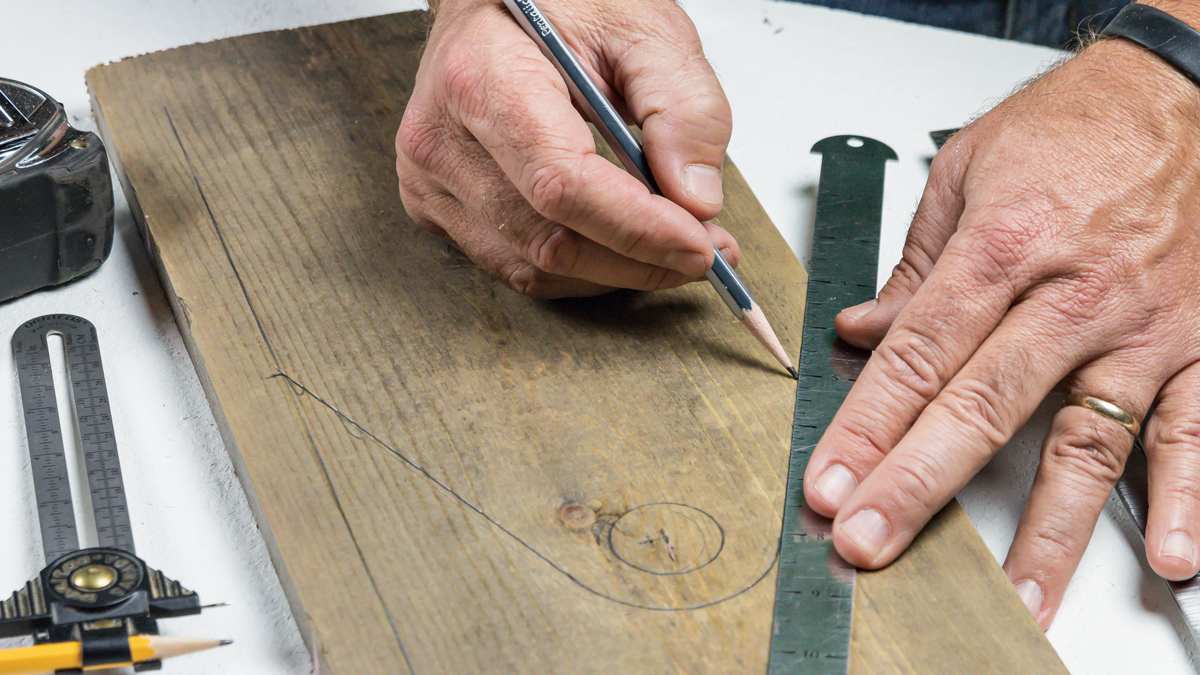
4. Now the angle sides. These angles start 7-1/2 in. from the bottom and connect to the arc at the top.
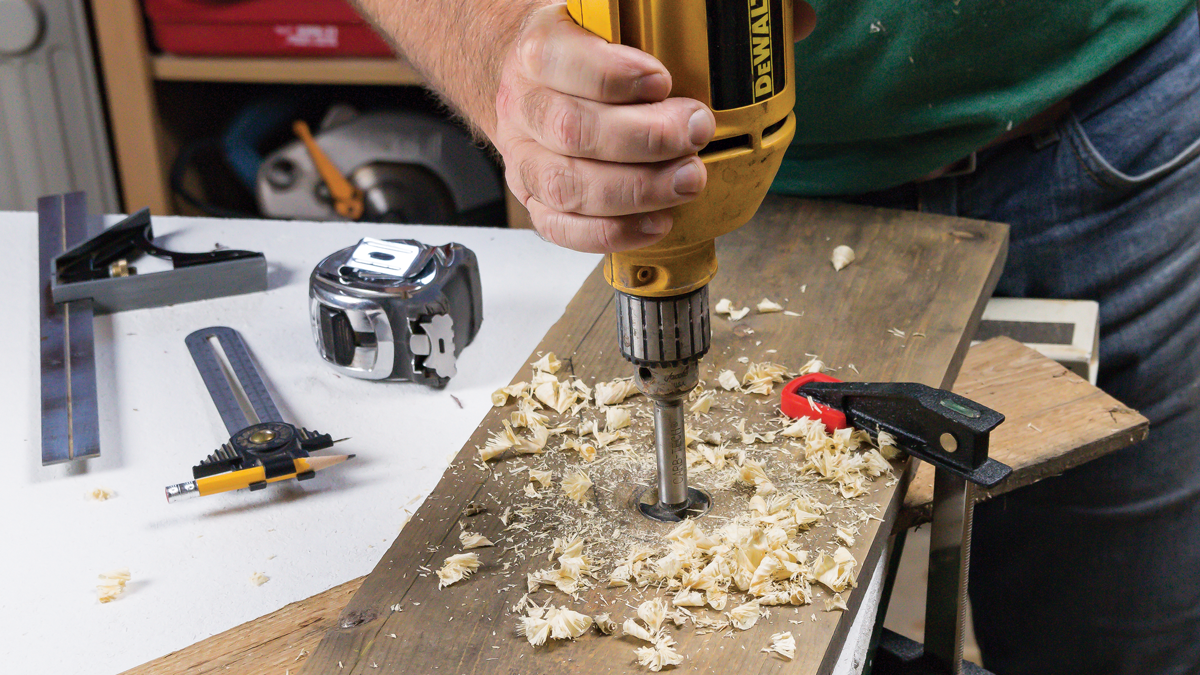
5. Drill the hole first. Clamp the board onto a piece of waste wood, which will prevent splintering on the back side of the hole, and use a big bit to make a hole that matches your dowel diameter. A cheap spade bit will also work, but I went with a smooth-cutting Forstner bit, since I have a nice set of these big-bore specialists.
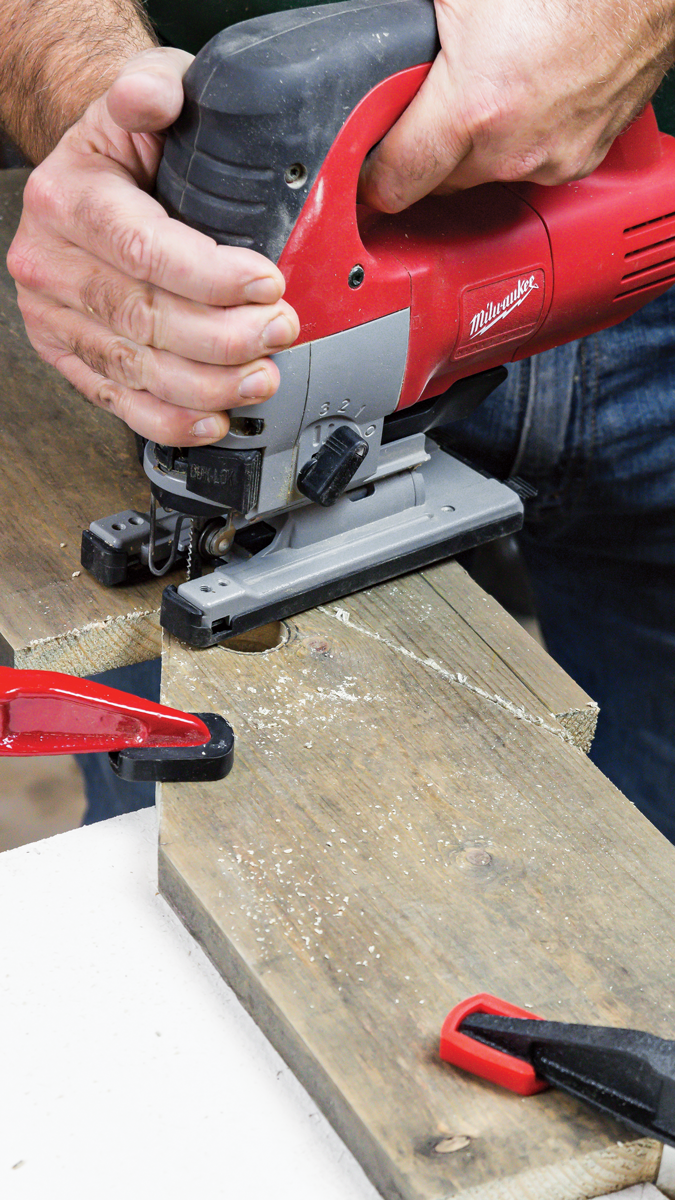
6. Attack the perimeter. You are cutting off the extra width here as well as the angles and the curve near the top. Two handsaws (backsaw and coping saw) will do the job, as will a bandsaw, but a jigsaw is a cheap, effective option.
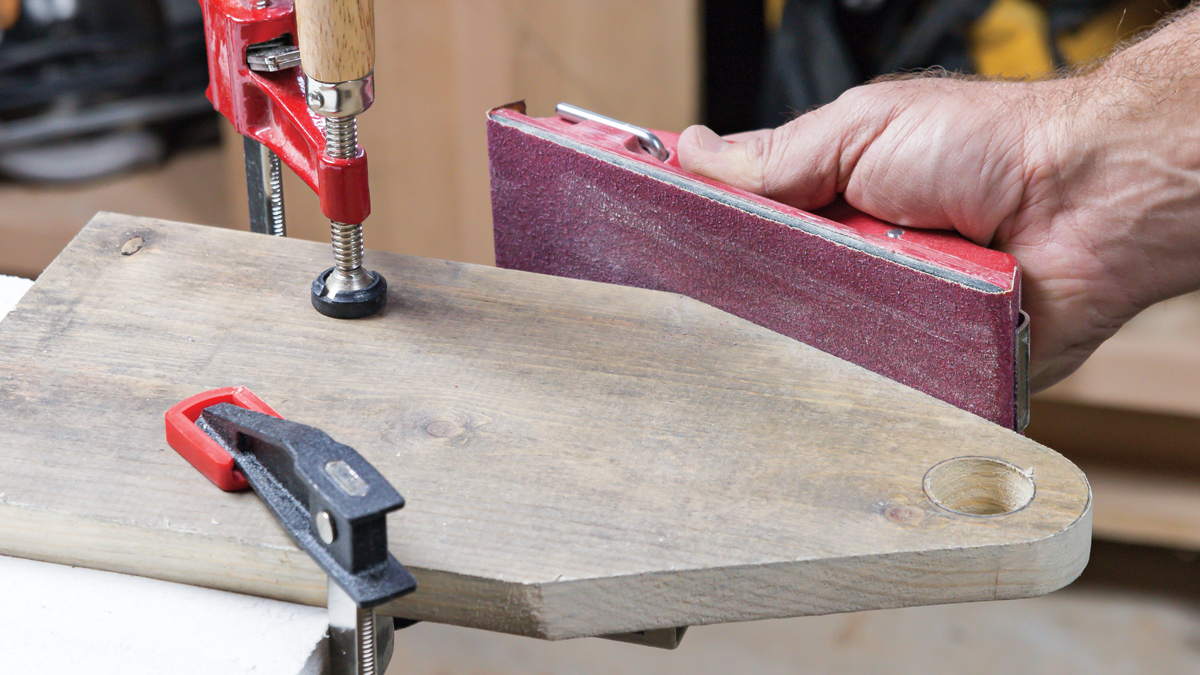
7. Sandpaper does the rest. Use 80-grit paper, backed with a wood or rubber block, and smooth the curves and angles for a clean finished look.
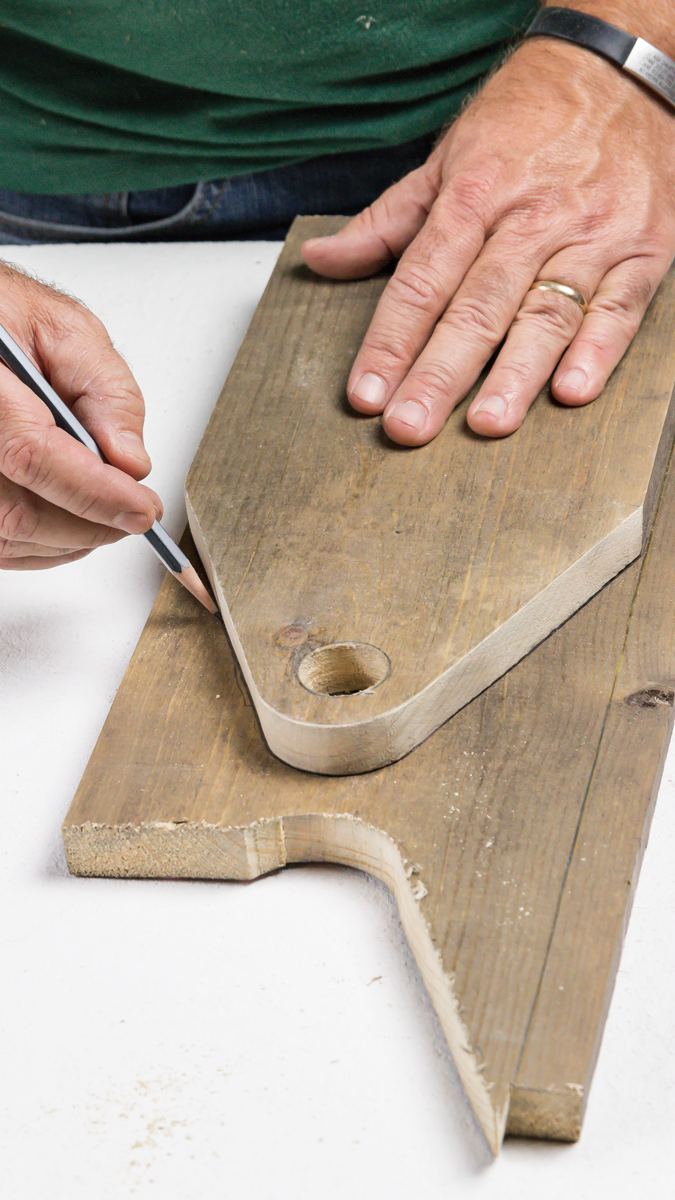
8. Trace and repeat. To lay out the second end of the caddy, just trace the first one onto the other end of your board. Be sure to trace the hole too. Then just drill, saw, and sand this end like the first.
Cut the rest of the pieces
The side slats, bottom slats, and dowel are all 11-3/8 in. long, which makes things easy. I used the miter saw and tablesaw to cut the pieces to length and width, but a jigsaw or handsaw would work just as well.
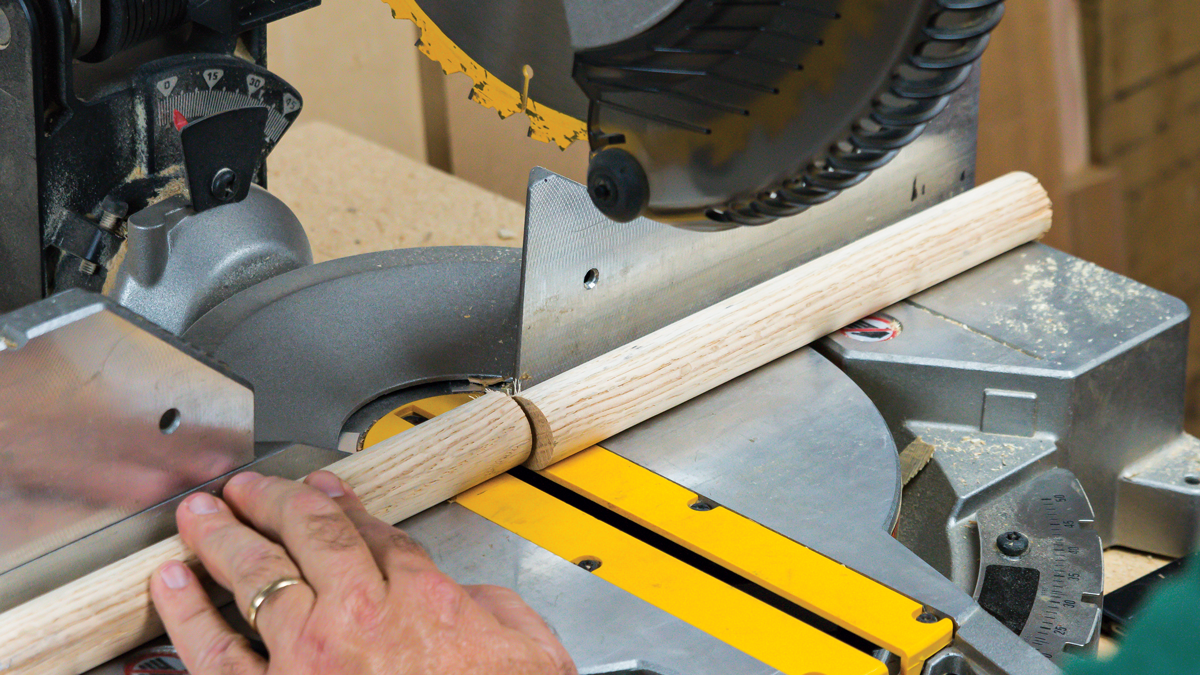
1. Start with the dowel. Cut one end clean and square, mark the other, and then cut to the mark.
2. Cut the slats to length. Again, cut a clean end, measure from there, and then cut the other end.
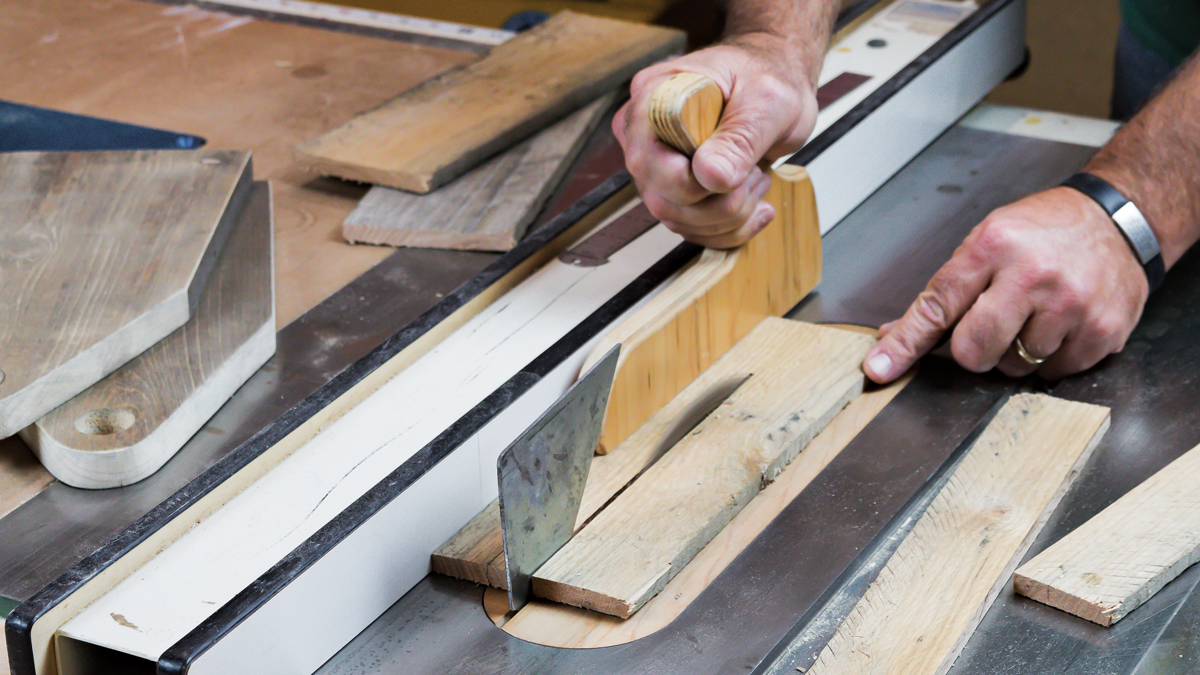
3. Trim their width, too. The side slats need to be trimmed down to 2 in. wide, and at least one of the bottom slats probably needs a trim, too. This is another job where a jigsaw or handsaw would work just fine. The tablesaw just does it quicker. If you do use the tablesaw, be aware that these pieces are not perfectly flat or straight, so use a push stick, like the one shown, to control the boards, keep the splitter in place to prevent kickback, and run the straightest edge of the board against the rip fence.
The caddy goes together quickly
After sanding all the boards with 80-grit paper to clean them up a bit without removing the character, start assembling the caddy by nailing the dowel into the end pieces, to help hold them in position as you attach the slats.
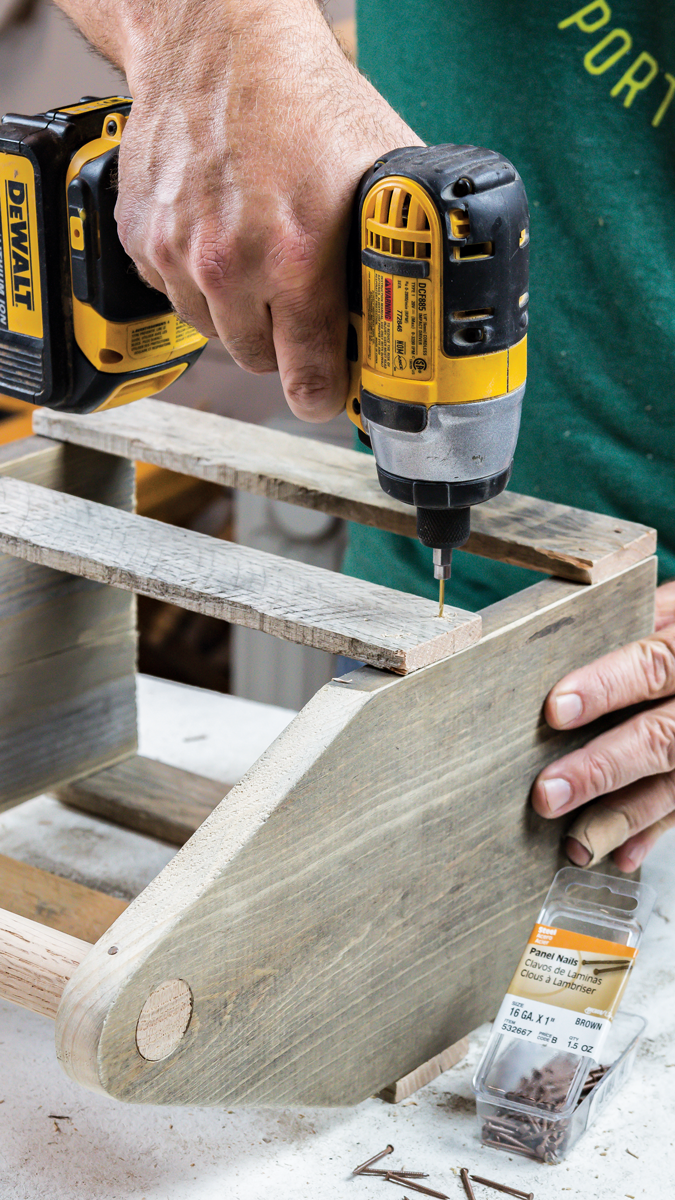
1. Drill first. Drill 1/16-in.-dia. holes for the 16-gauge panel nails, through the slats and into the boards below, and they’ll go in easy and hold fast. Notice that the dowel is already attached at this point.
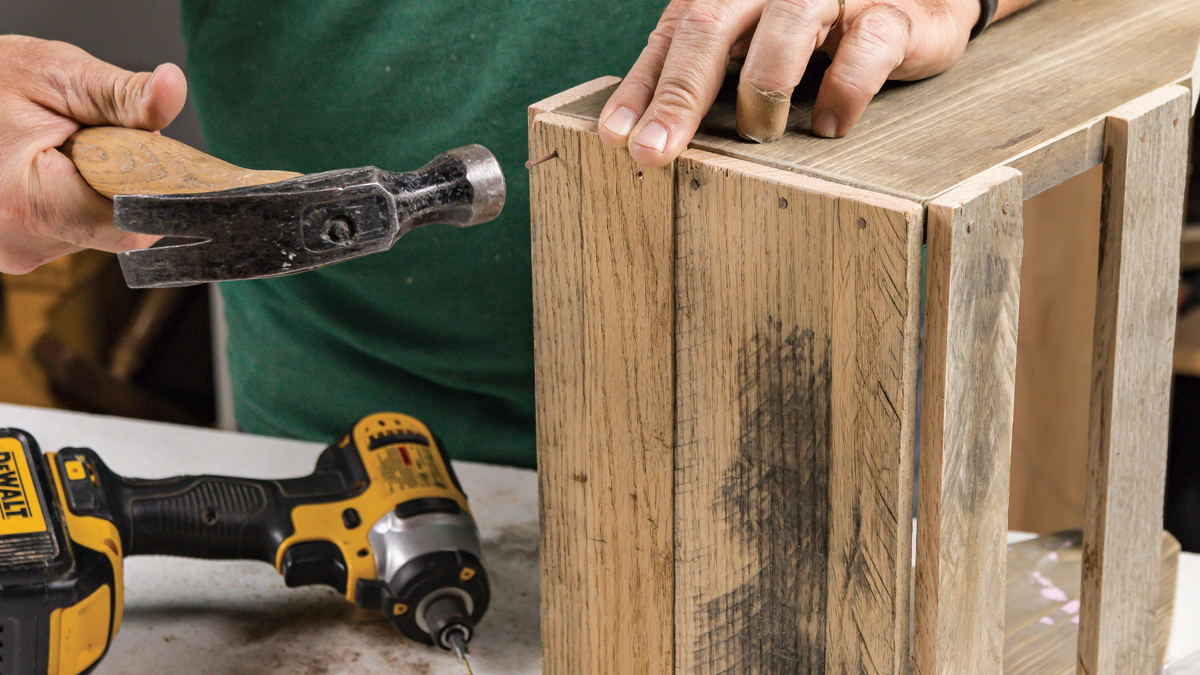
2. Sides then bottom. Nail on the side slats first (top), putting the freshly cut edges toward the bottom and out of sight. Now drill and nail on the bottom slats (bottom).
Build the dividers
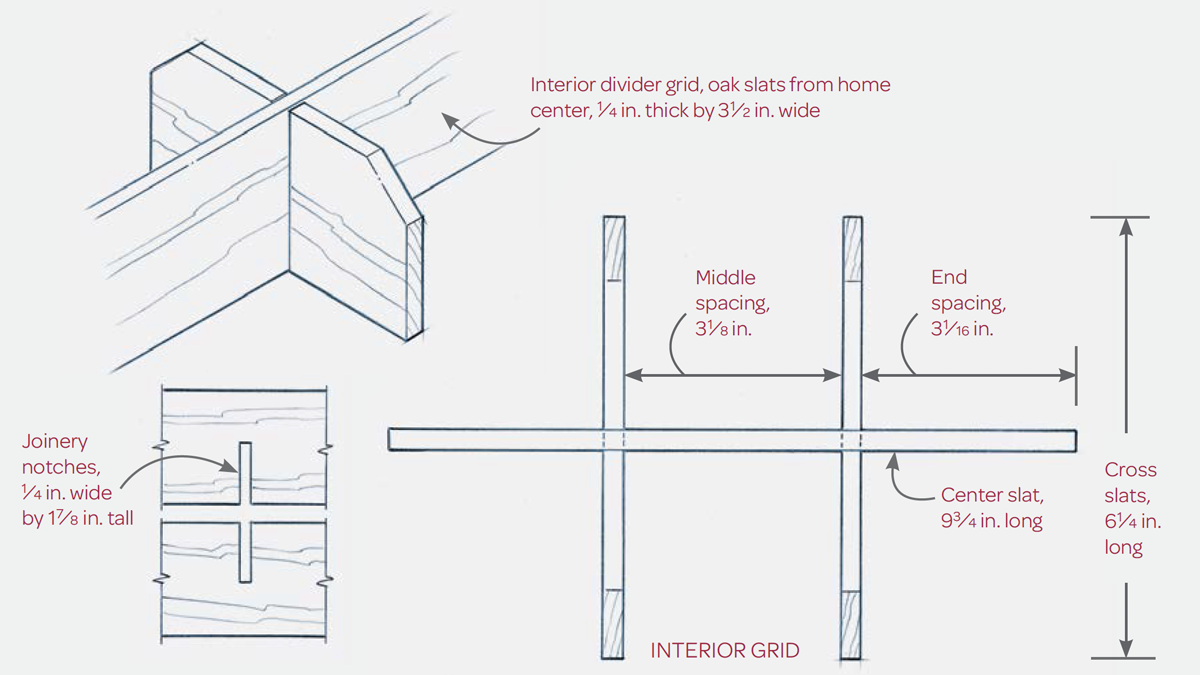
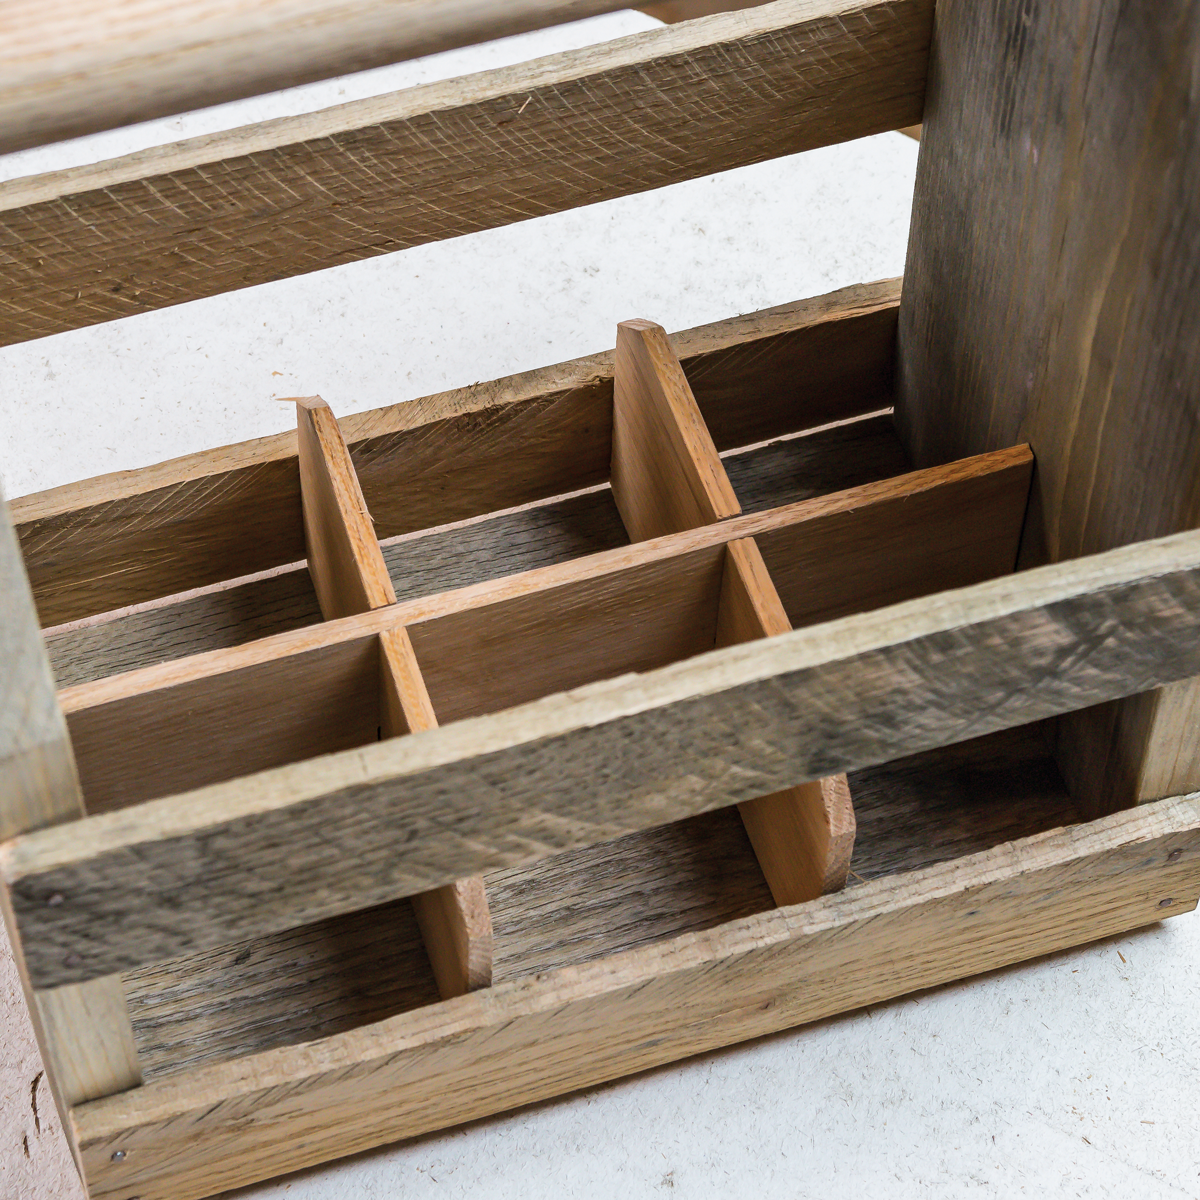
This separate grid drops into the caddy and sits in the bottom. It’s built with mating notches called bridle joints, which are quick and easy to make, and effective.
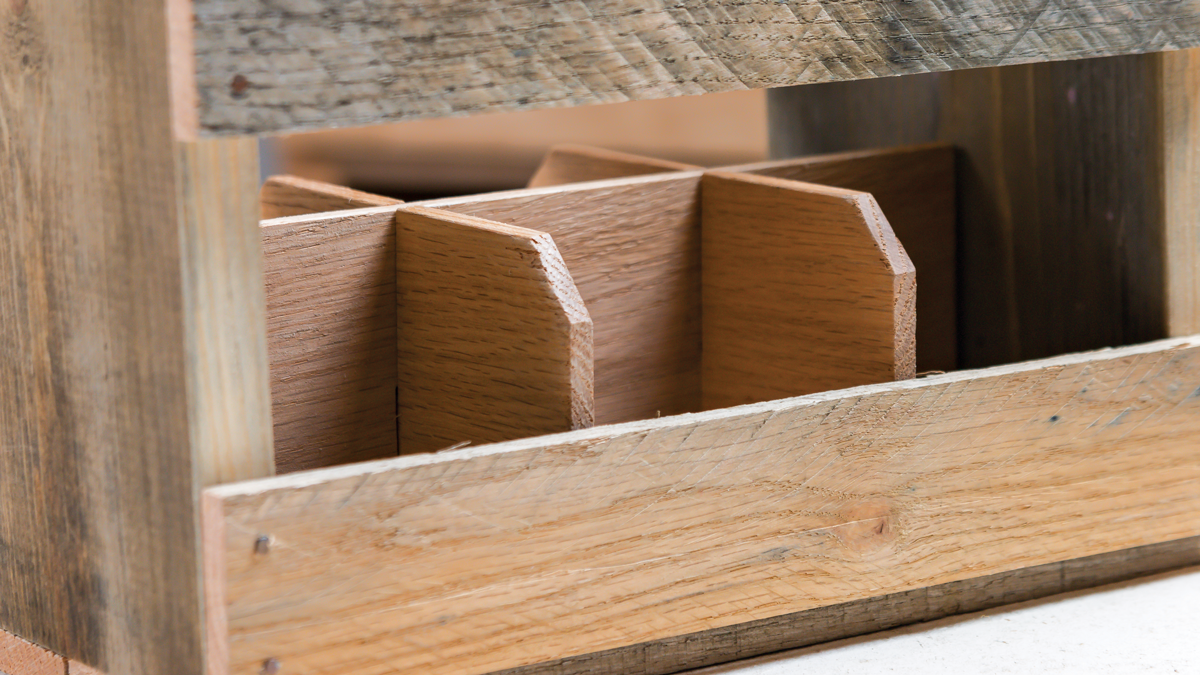
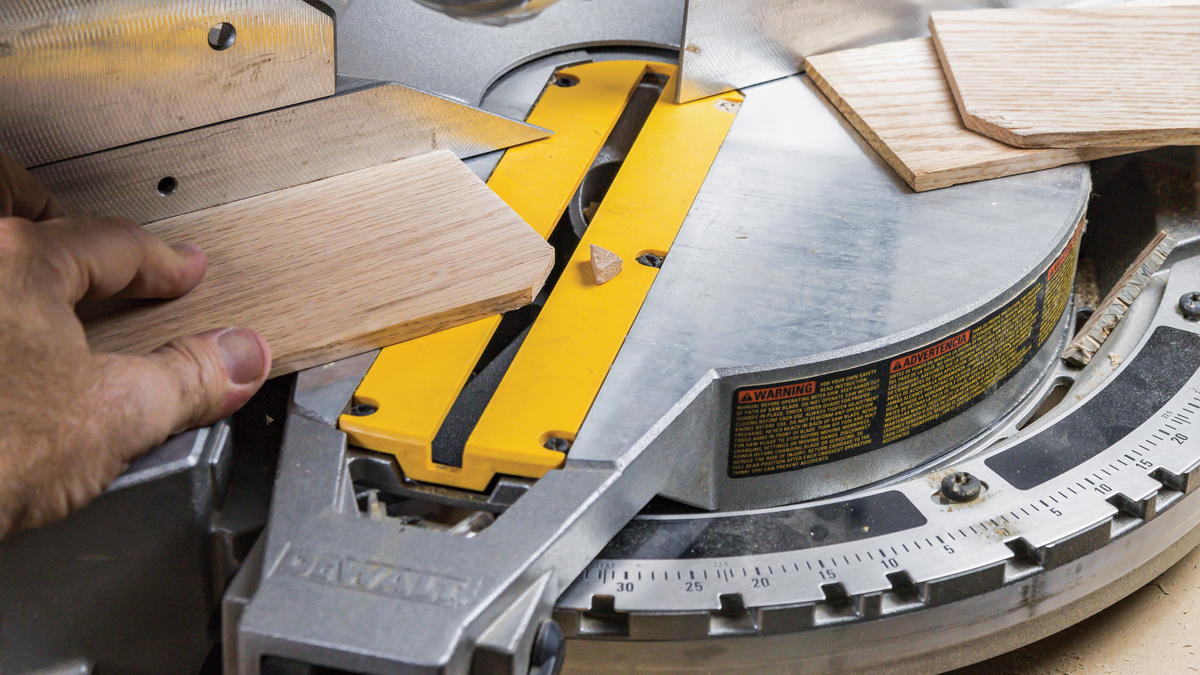
1. Knock off the corners. These little chamfers look nice along the sides of the caddy where the dividers show. Again, almost any saw will do, but I used my miter saw.
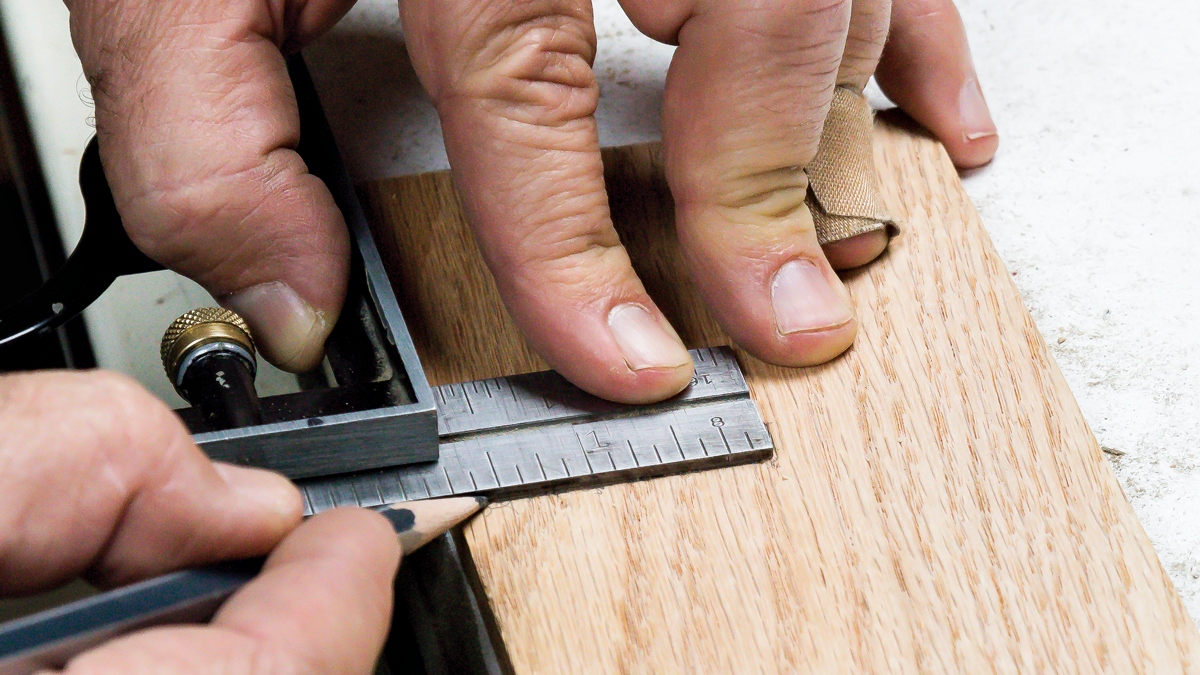
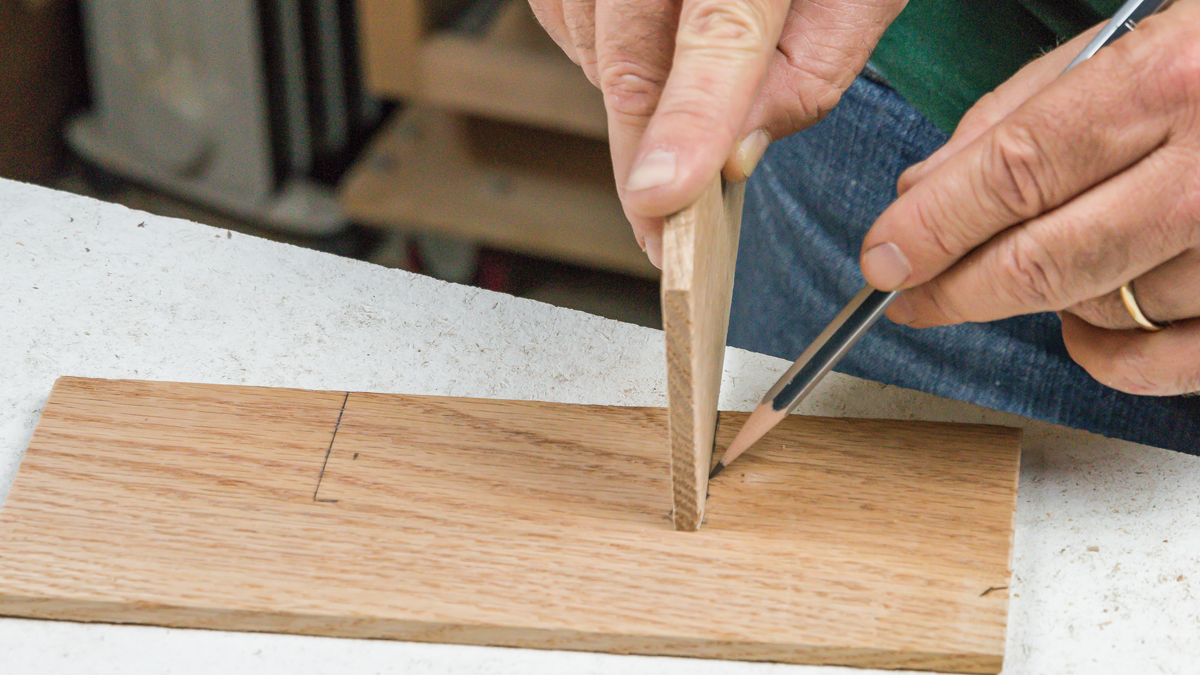
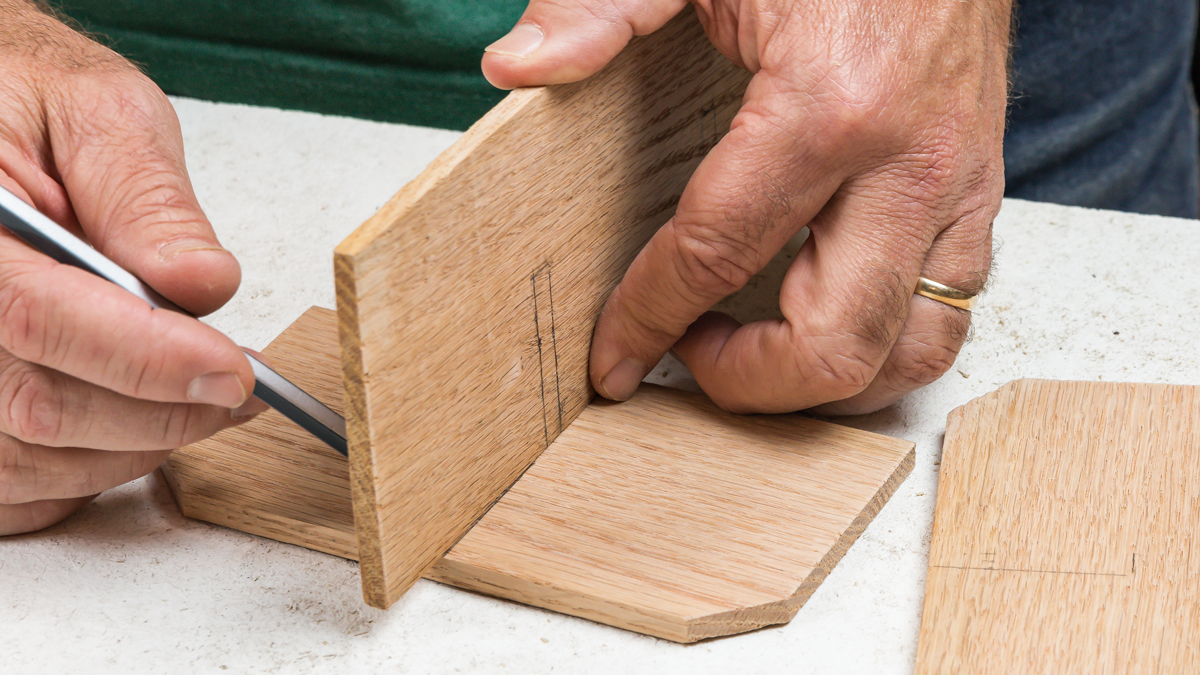
2. Layout tricks. Start by laying out one side of each notch. Then use the mating piece to lay out the other side of each notch, lining it up with the first layout line and tracing the second along the other side with a sharp pencil, so you know the slots will be the right size.
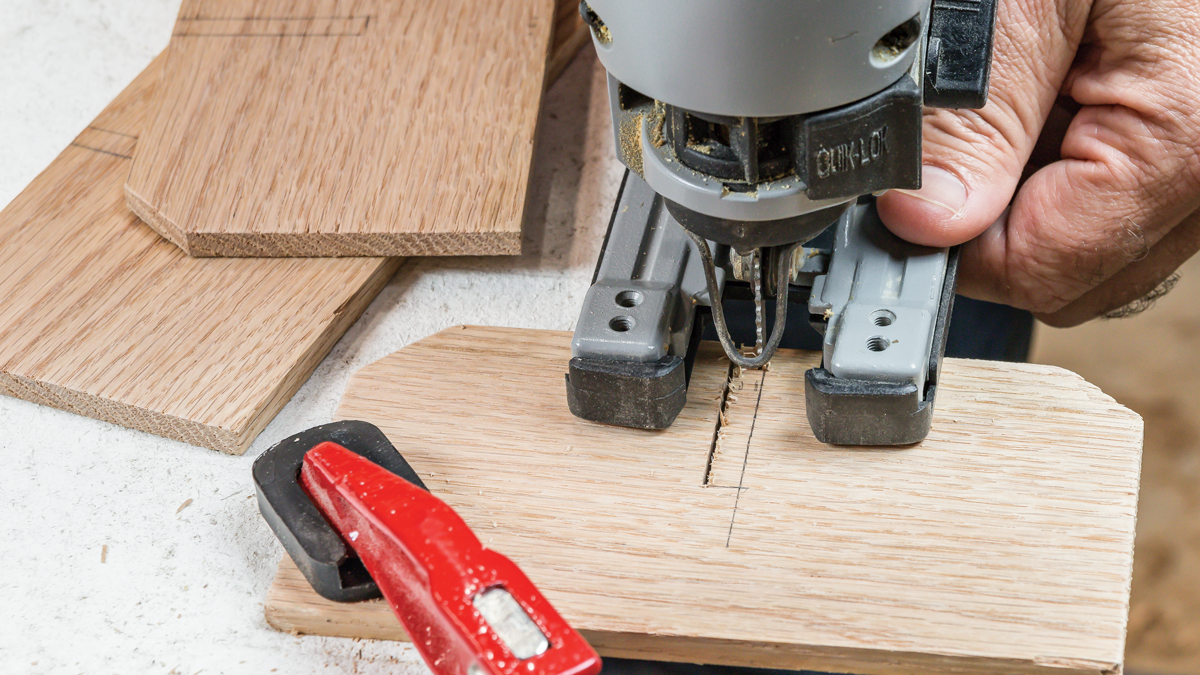
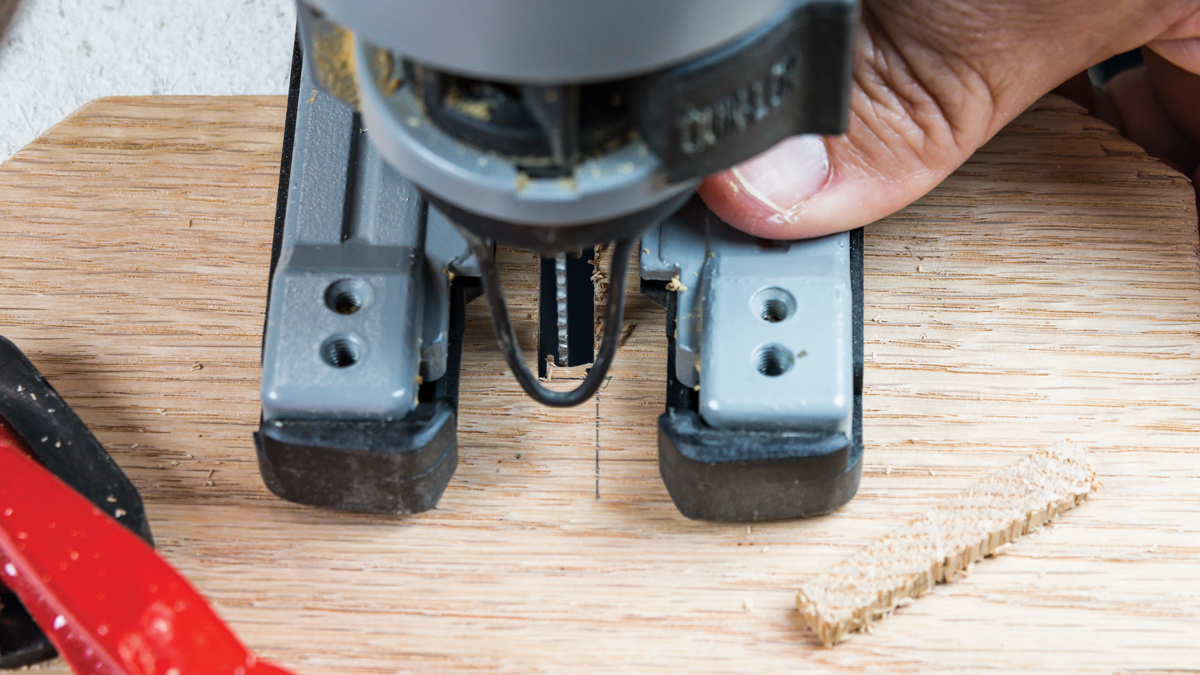
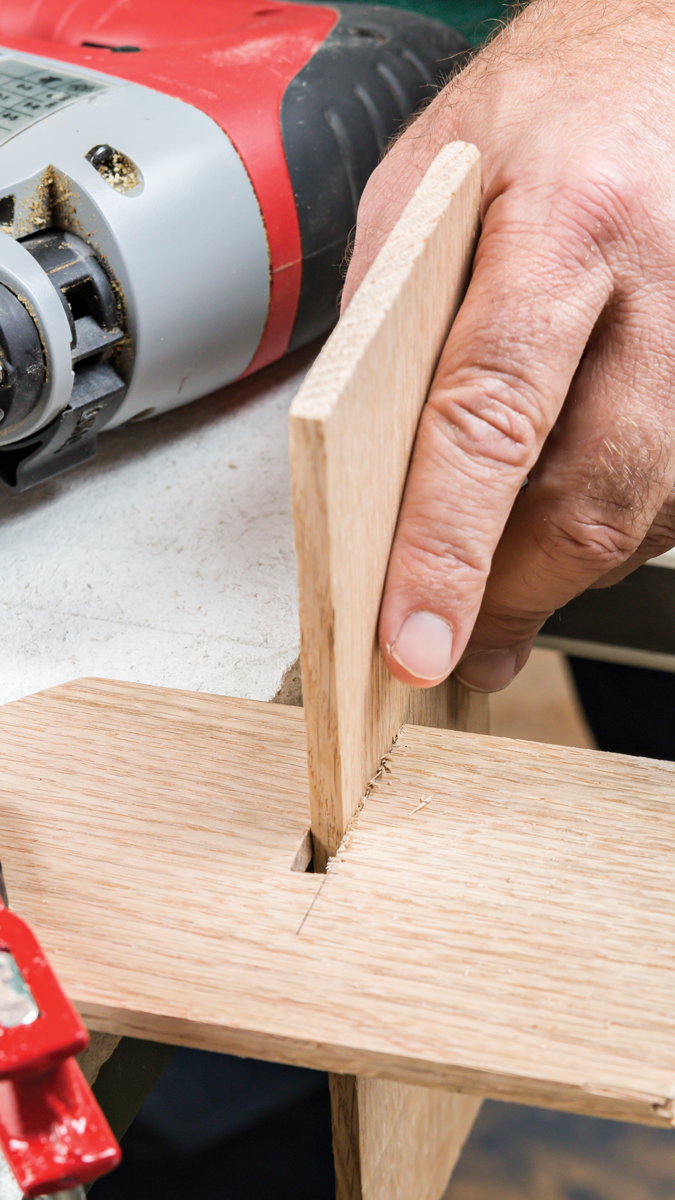
3. Cut the notches. A jigsaw or bandsaw works great here. Saw along each side of the notch, using a blade designed for wood, and then nibble away the waste and square off the end of the notch. Last, try to fit the mating piece into the notch you just cut. If it’s too tight, take tiny slices off the sides of the notch.
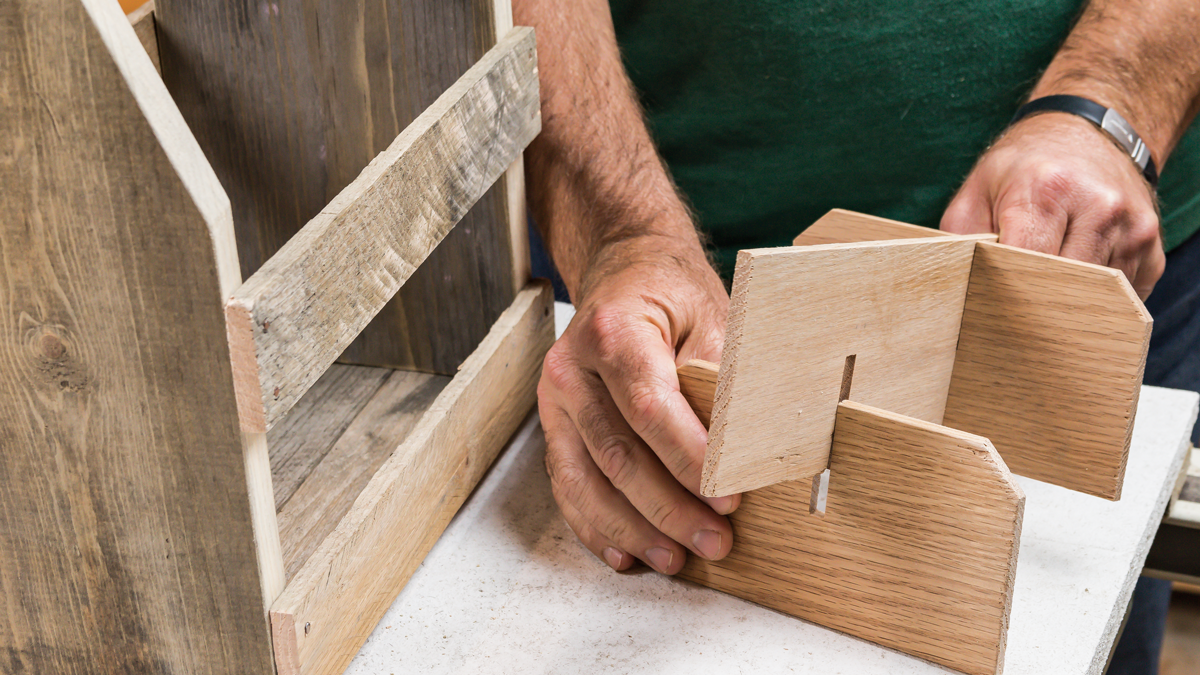
4. Assembly should be easy. Try the assembly first without glue to be sure it comes together and will drop into the caddy once assembled. It’s OK to tap on the parts with a hammer and a protective piece of wood to get them to slide home, but if you need to bang on them, you have more work to do with the jigsaw. Now add some yellow glue to the little mating surfaces before sliding the pieces together for the last time.
 |
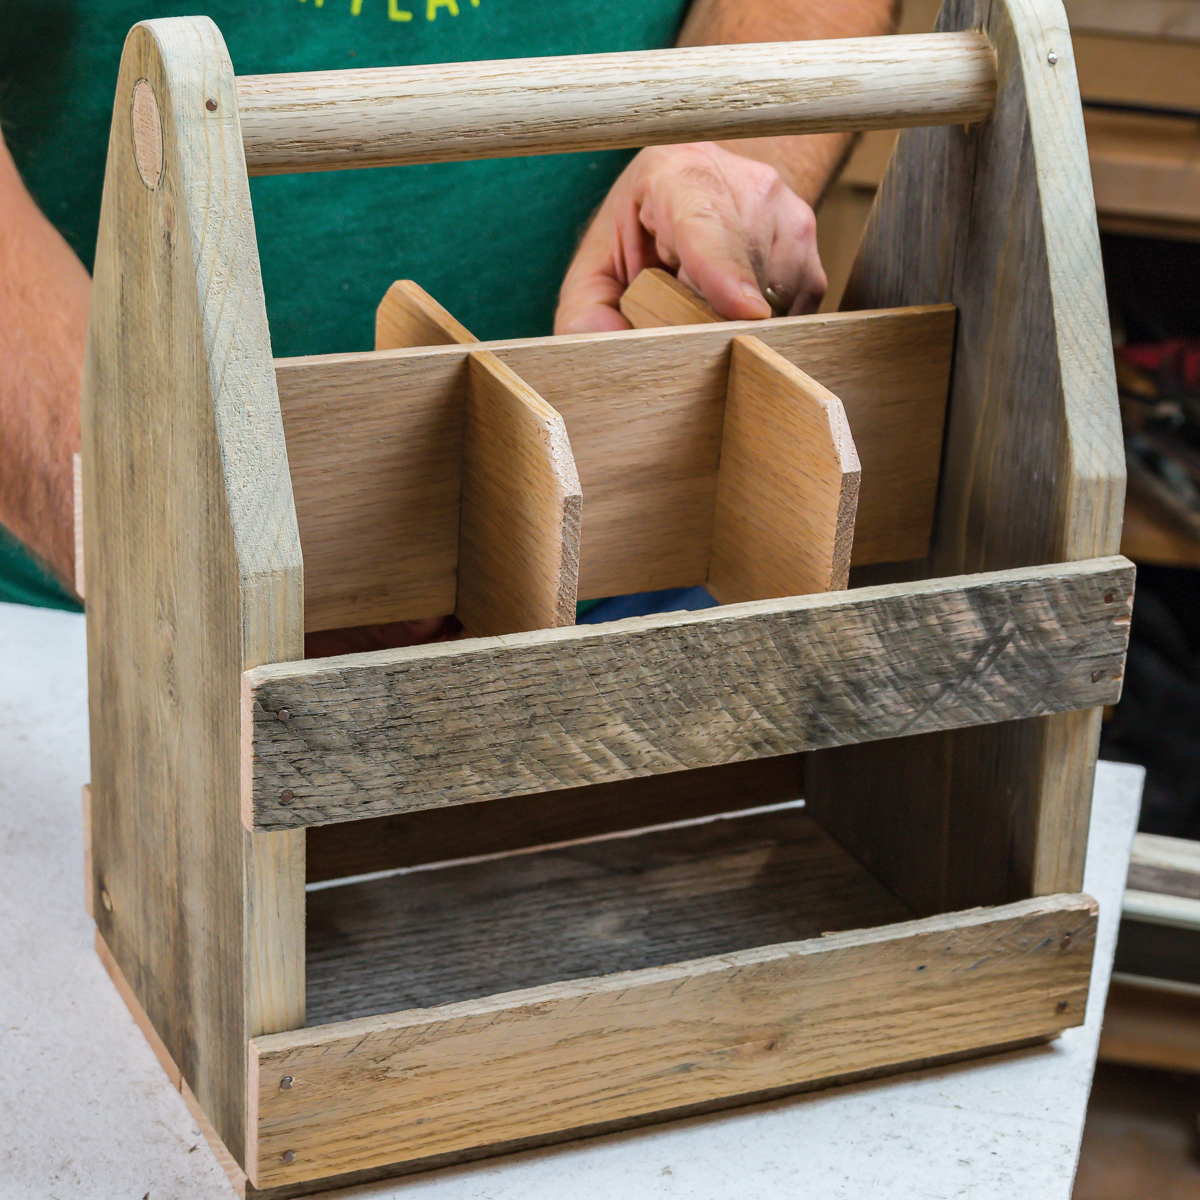 |
5. Drop it in and admire your handiwork. The grid just drops into the bottom of the box, where it will sit happily and do its job. Now drop in some bottles and cans and grab an Instagram pic.




Log in or create an account to post a comment.
Sign up Log in