How to Build a Perfect Picture Frame
The key to success is mastering the splined miter.
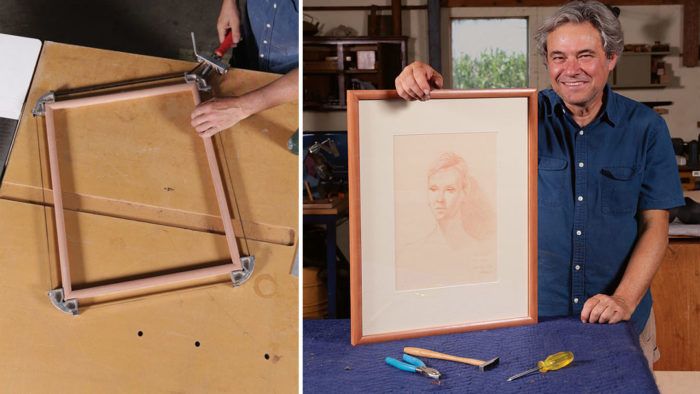
When I was starting out in furniture making in the 1980s, some of my first commissions were for picture frames. I made frames mostly for artists, and they appreciated the care I took selecting choice wood, cutting spot-on miters, and reinforcing them with exposed splines. And I really appreciated the commissions—for the money, which I was in dire need of, but also for the opportunity to consolidate some of the fundamental skills I was learning. In the years since then I’ve built many more frames, tweaking my technique along the way and arriving at solid methods for building strong, understated, elegant frames.
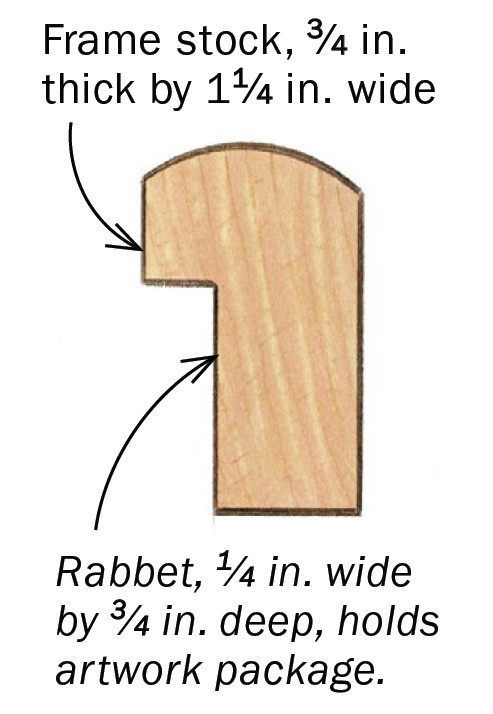
Developing a method for cutting flawless miters without a fuss is a key milestone for a furniture maker, and a steady source of pride and pleasure once it’s mastered.
Whenever possible, I cut my miters with the tablesaw’s blade tilted and the workpiece in regular crosscut position, either on a sled, a miter gauge, or a sliding table. I think this approach produces a better cut, because the cutting action is less labored and doesn’t tend to move the workpiece. It also enables you to use stop blocks more easily, and it works just as well for long workpieces as short ones.
Cutting at exactly 45° is non-negotiable, of course. Some joints might have a little margin for error, but not miters; over time the flaw will tell. To get a perfect 45°, I use scrap stock milled at the same time as the real parts. With a miter clamp to hold the test miters and an accurate framing square to assess the outcome, you can quickly dial in the right blade tilt.
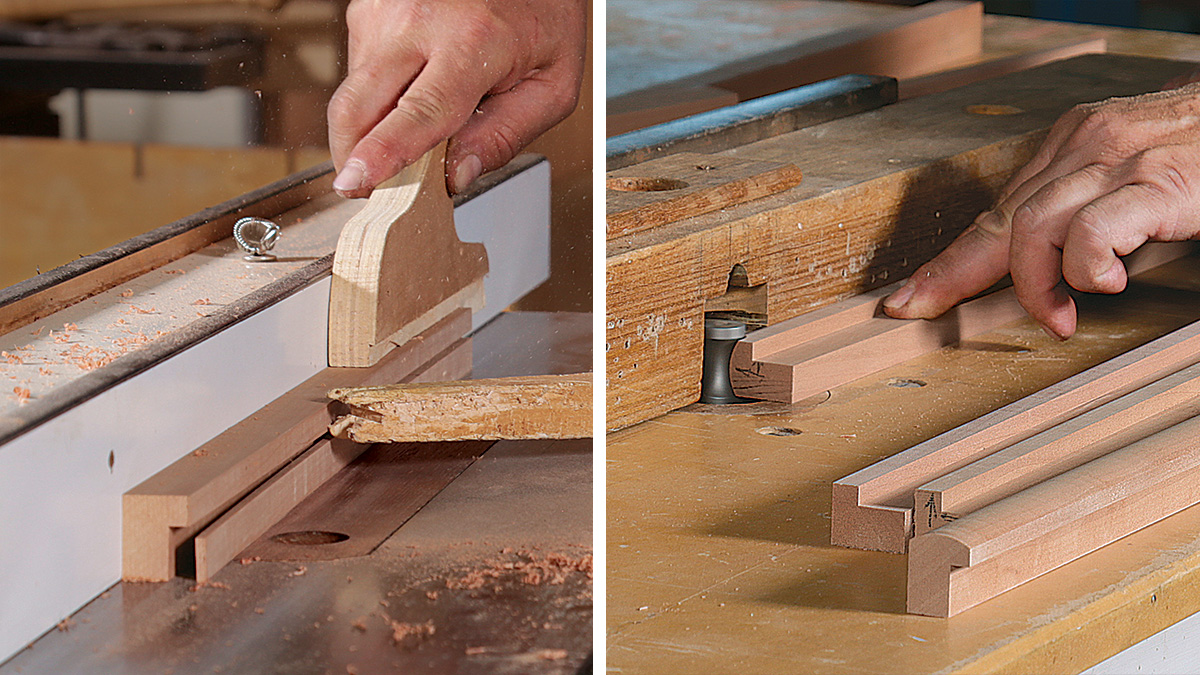
Most commercial frames are held together with nails or corrugated fasteners, but if you want to keep solid-wood miters tight for the long term—and give your frame a furniture maker’s flourish—I recommend using splines to reinforce the miter joint. I usually cut the grooves for them with a slot-cutter at the router table, which produces a perfectly flat-bottomed kerf. For wide frames that require grooves too deep to cut with the router, I’ll use a cradle jig at the tablesaw, then square up the bottom of the groove with a chisel.
Once the splines are glued in, all that remains is the pleasurable task of flushing them off, and your frame is just about ready for art.
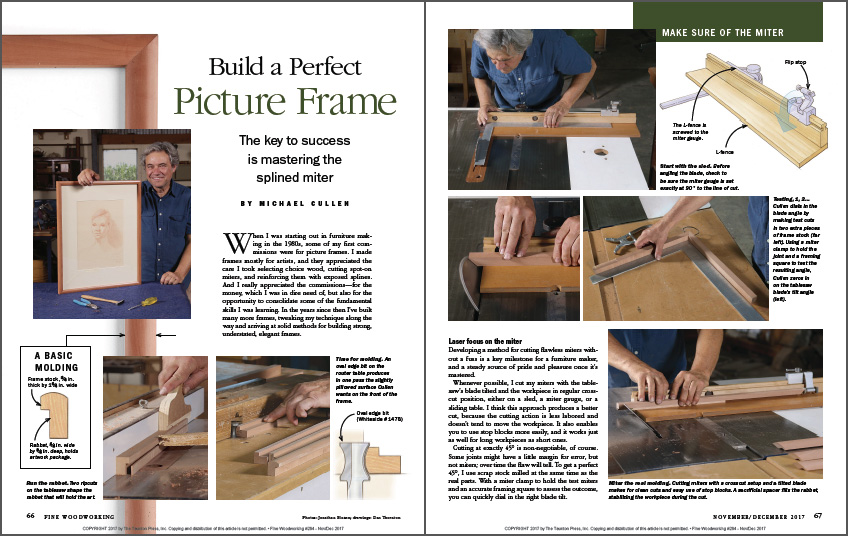
From Fine Woodworking #264
To view the entire article, please click the View PDF button below.
More on FineWoodworking.com:
- Fundamentals: How to frame a picture – What you need—and need to know— once you’ve built the picture frame
- Tablesaw Sled for Miters – Precision jig eliminates gaps and headaches
- HOW-TO – Strengthen Miter Joints with Splines
Fine Woodworking Recommended Products

Suizan Japanese Pull Saw



Log in or create an account to post a comment.
Sign up Log in