Easy DIY Wooden Doormat
Brighten your front entry with a fashionable and functional custom doormat.
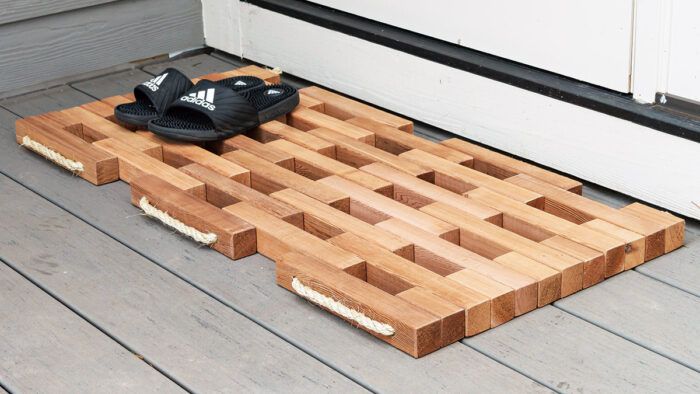
Brad Rodriguez’s popular website popped up early and often in my first few Google searches of makers. Launched in 2015, Fix This Build That (fixthisbuildthat.com) has nearly 100K monthly visitors, with an Instagram following of over 550,000 at last count.
The projects are designed to be stylish yet doable, and Brad isn’t afraid to mix in other materials like concrete, LEDs, and anything else you might find online or at the home center.
This doormat is one of the easiest projects I’ve come across on Brad’s website. It couldn’t be prettier or more functional. I built it using his guidance.
Simple tools and materials
I followed Brad’s instructions throughout the projects, but in this case, I changed the wood. The doormat requires only a small pile of deck balusters, the long square pieces that go vertically under railings to create a fence of sorts. But instead of the pressure-treated wood Brad used, I went with cedar. Both will stand up to weather and water beautifully, but the pressure-treated wood required a stain to look its best, while the cedar didn’t. On the other hand, cedar is softer and will wear quicker, so you choose. In either case, take your time and pick straight pieces, with as few knots as possible.
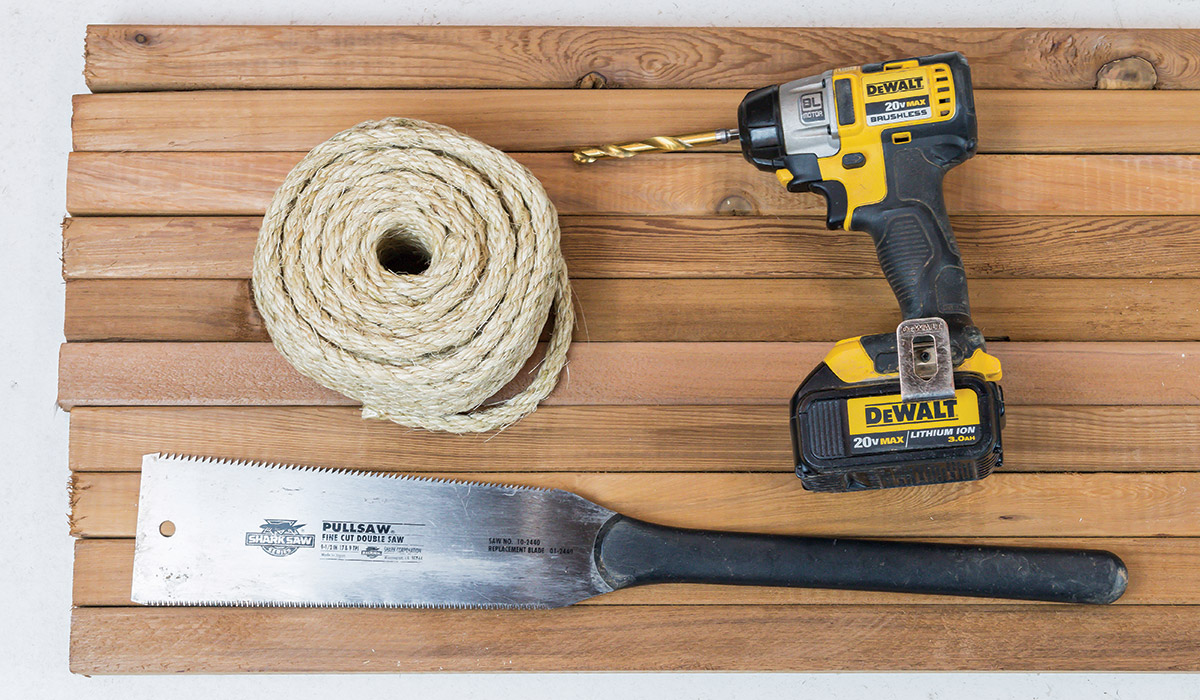
I tried to mix things up by trading Brad’s sisal rope for some sort of synthetic rope like climbers use (the home center has a long row of choices), but Brad’s choice was clearly the best looking.
As for tools, you need nothing more than a handsaw and a drill of some kind. I demonstrate those, but also show how to speed things up with a miter saw and drill press, if you or a friend own those tools.
Start with the wood
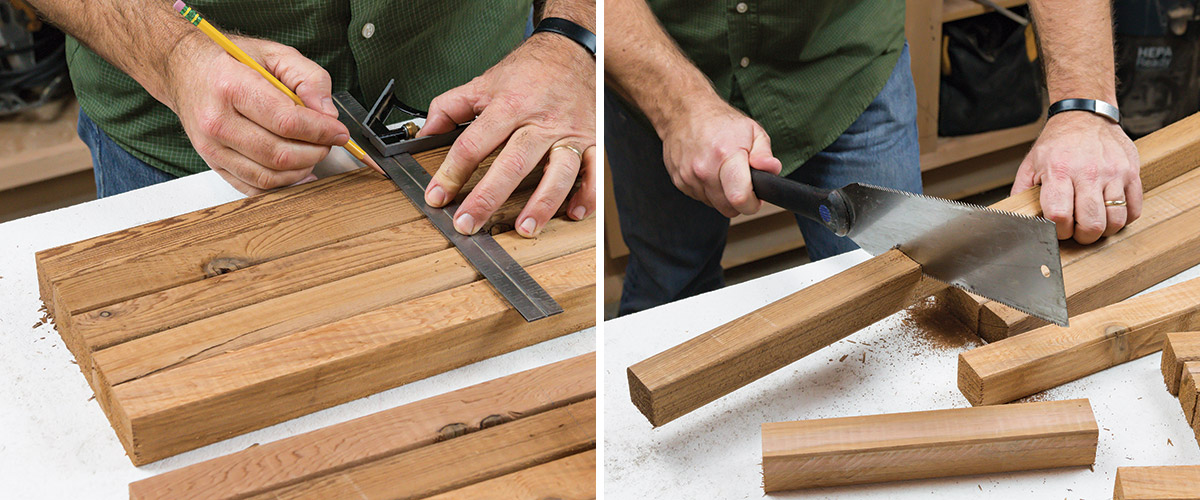
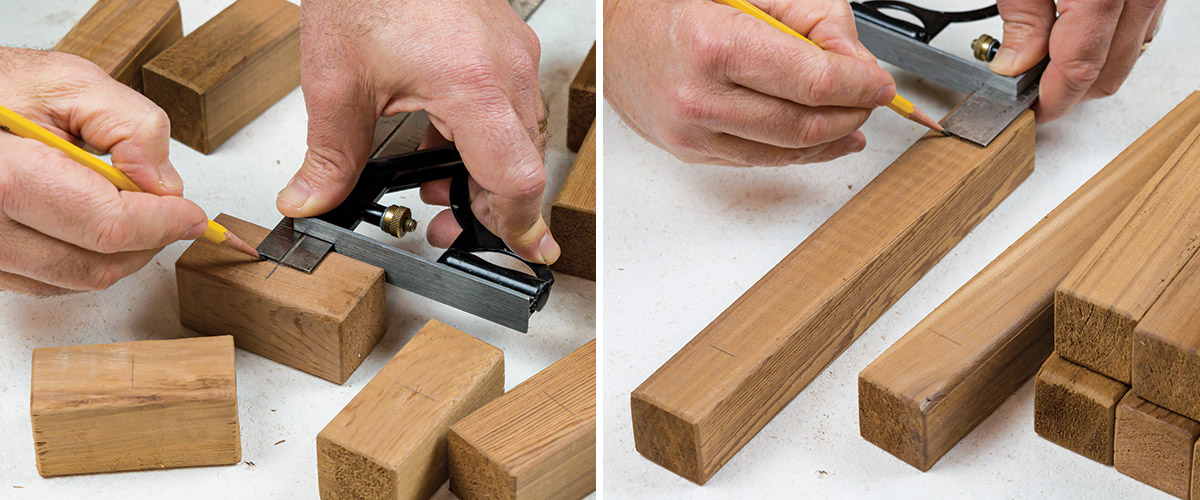
1. Lots of cutting. You’ll need to cut 30 pieces 9-3/4 in. long and 12 pieces 3 in. long. You can do this by simply marking lines (left) and cutting with a handsaw (right). You should be able to get three long pieces and two short ones from each baluster.
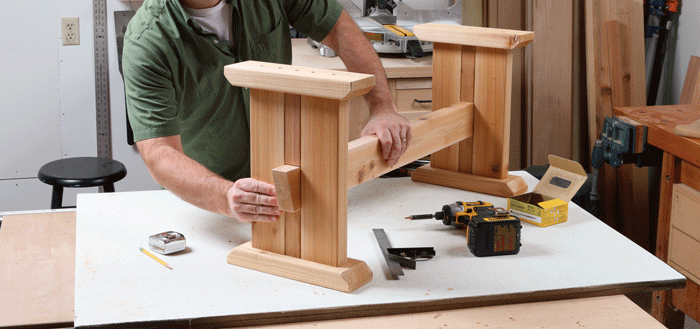
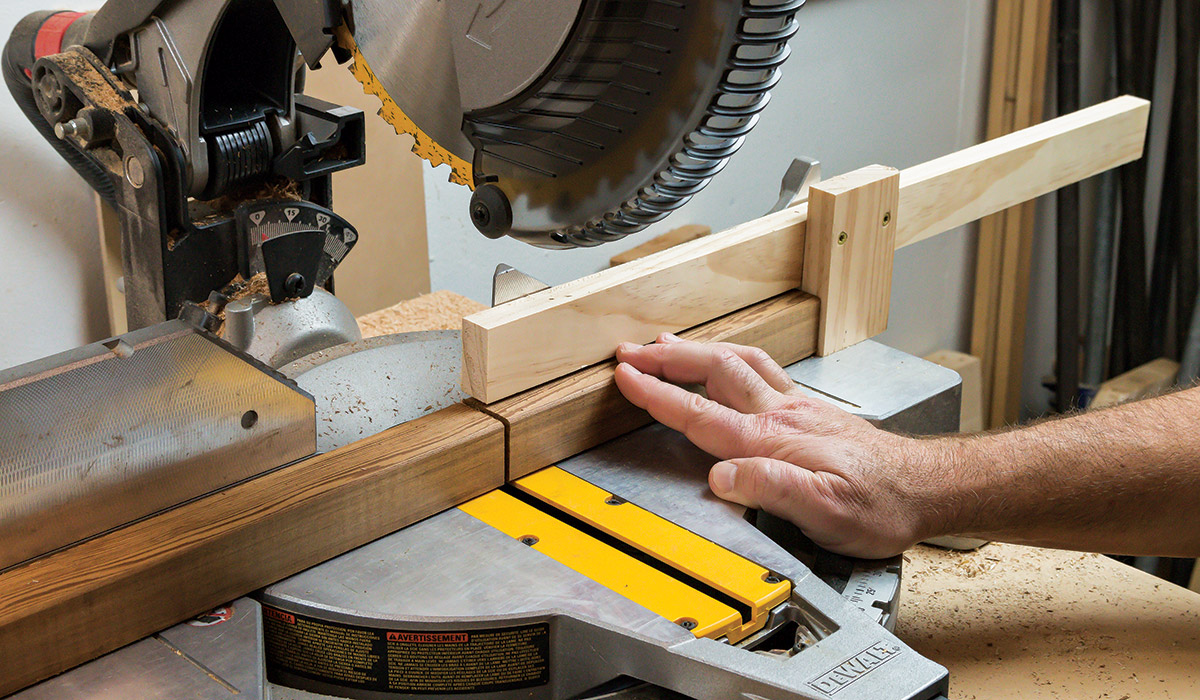
2. Miter saw speeds things up. Notice the stop I attached to my miter saw by screwing through the back of the fence. That let me cut a pile of matching pieces without measuring. Be sure to hold down the piece that’s against the stop as you cut because it’s trapped there and could rattle around in an unsafe way otherwise. And don’t use the stop trick for the short pieces—it’s hard to do safely.
3. Mark for drilling. The holes in the short pieces go right in the center, and the ones in the long pieces go 1-1/2 in. from the ends. All of them are centered on the thickness of these 1-1/2-in.-sq. pieces, so 3/4 in. from one edge.
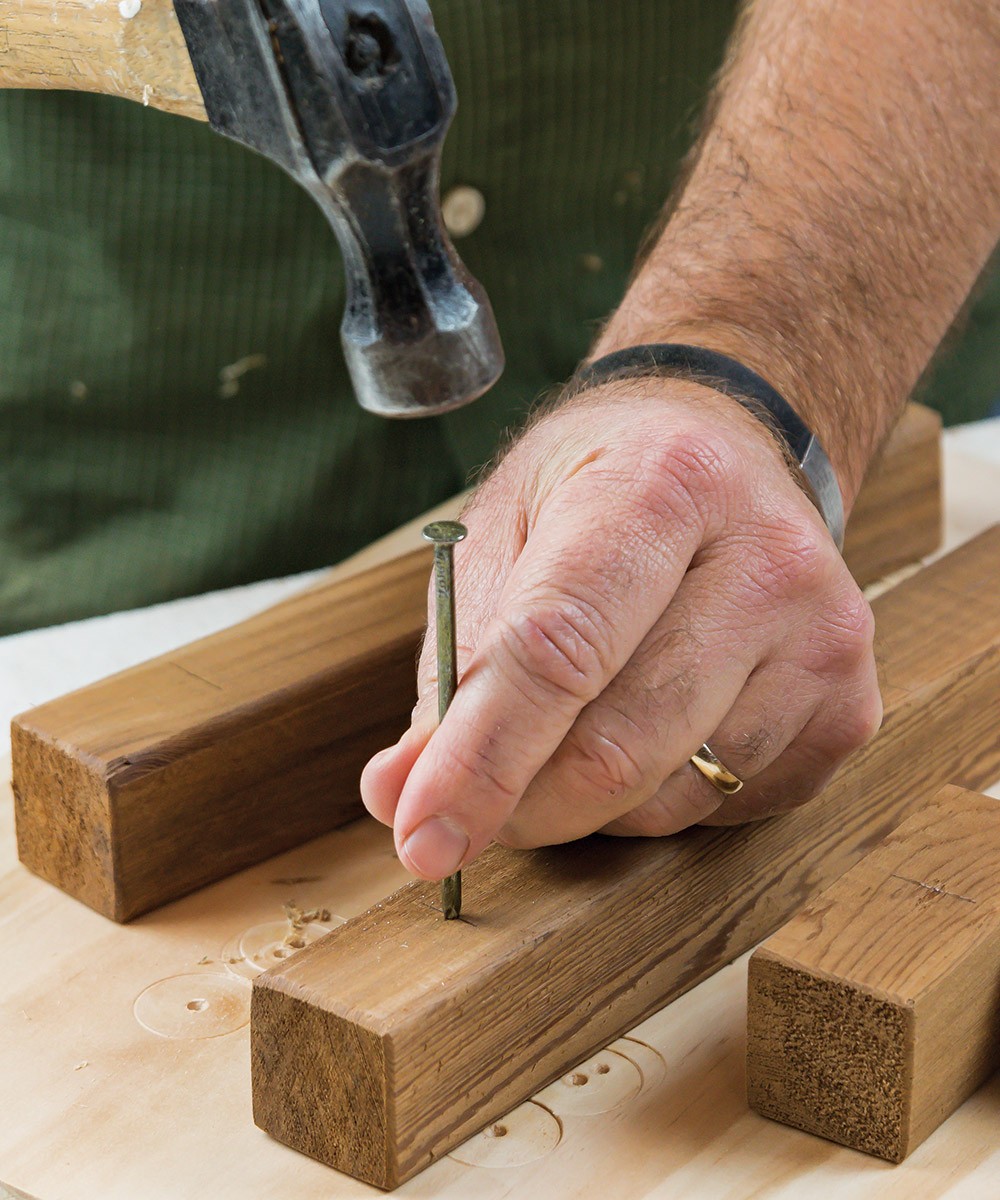
4. Drilling trick. To drill accurately, dimple the wood right at your crisscross marks using a big nail.
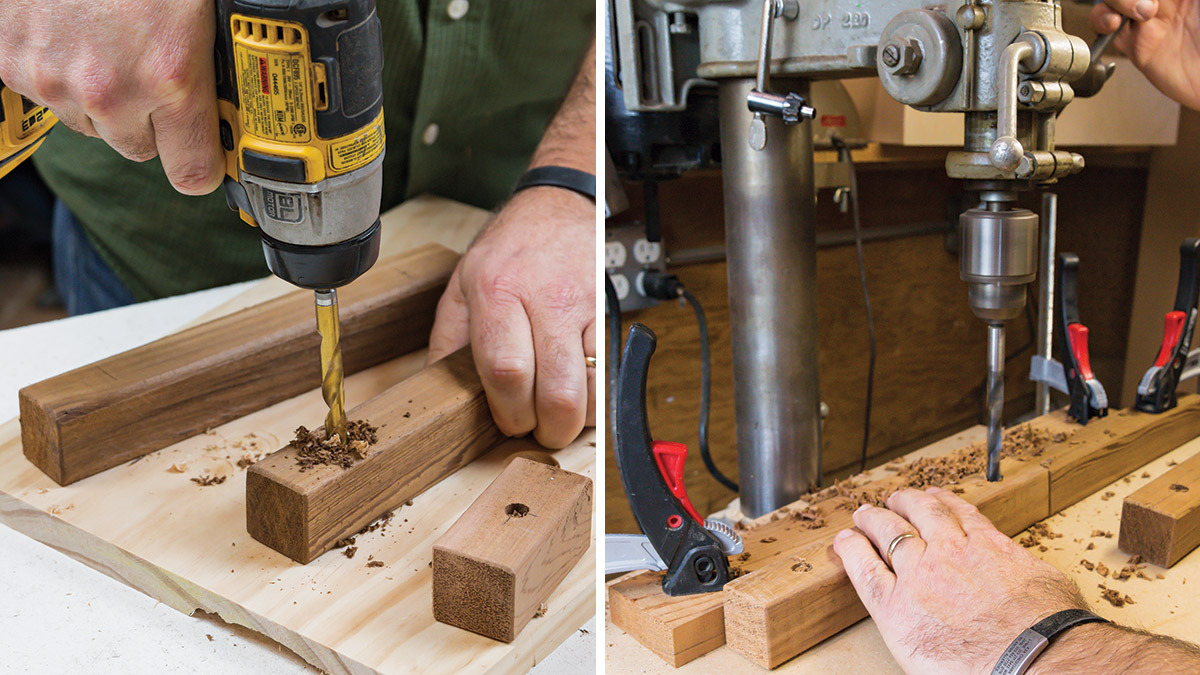
5. Two ways to drill. With a cordless drill, move your head around as you get started to see if you are drilling squarely into the wood. Or use a drill press, which guarantees a straight hole and also lets you set up a fence and stop that will position every part perfectly. In both cases, put a sacrificial piece of wood below the workpiece to prevent chipout at the exit hole.
Now for the rope
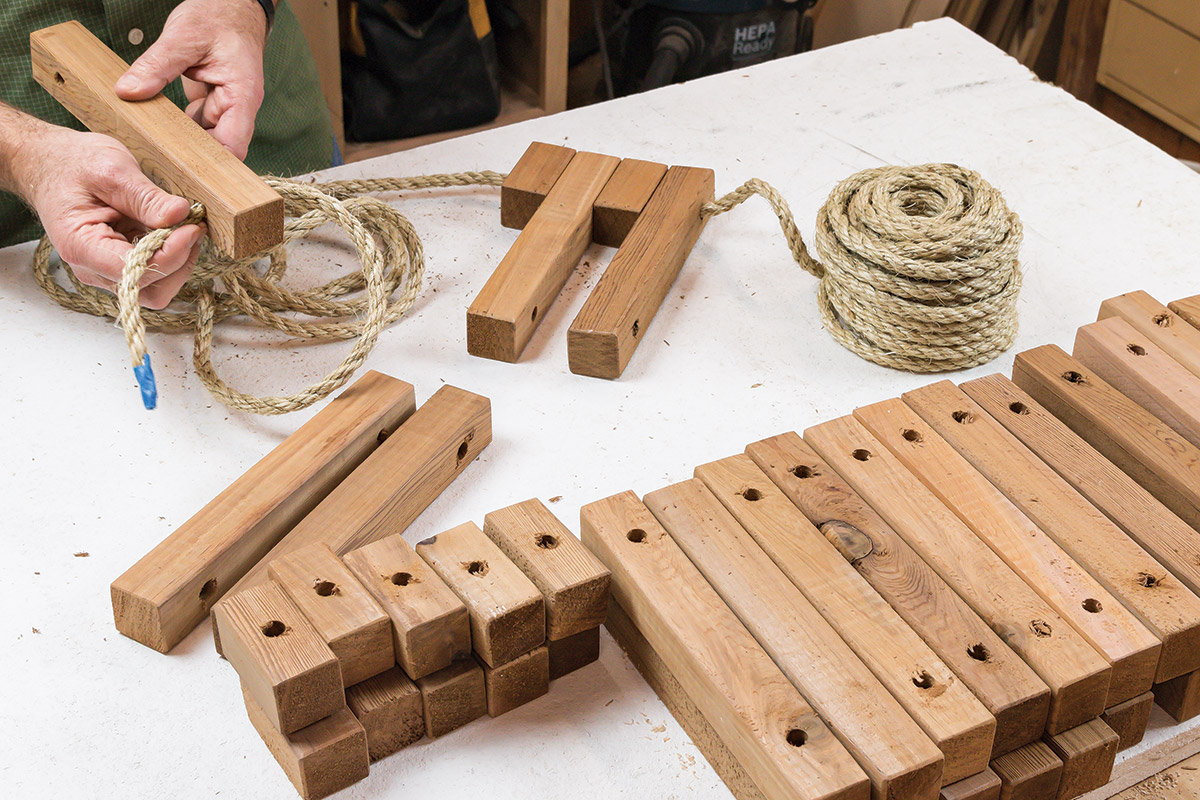
1. Start threading. Wrap tape tightly around the leading end of the rope and work from one end of the doormat to the other, using one continuous piece. Start at the back of the mat, threading the rope through a short piece (I did it wrong here and had to start again!), and then work your way toward the front of the mat, alternating long and short pieces.
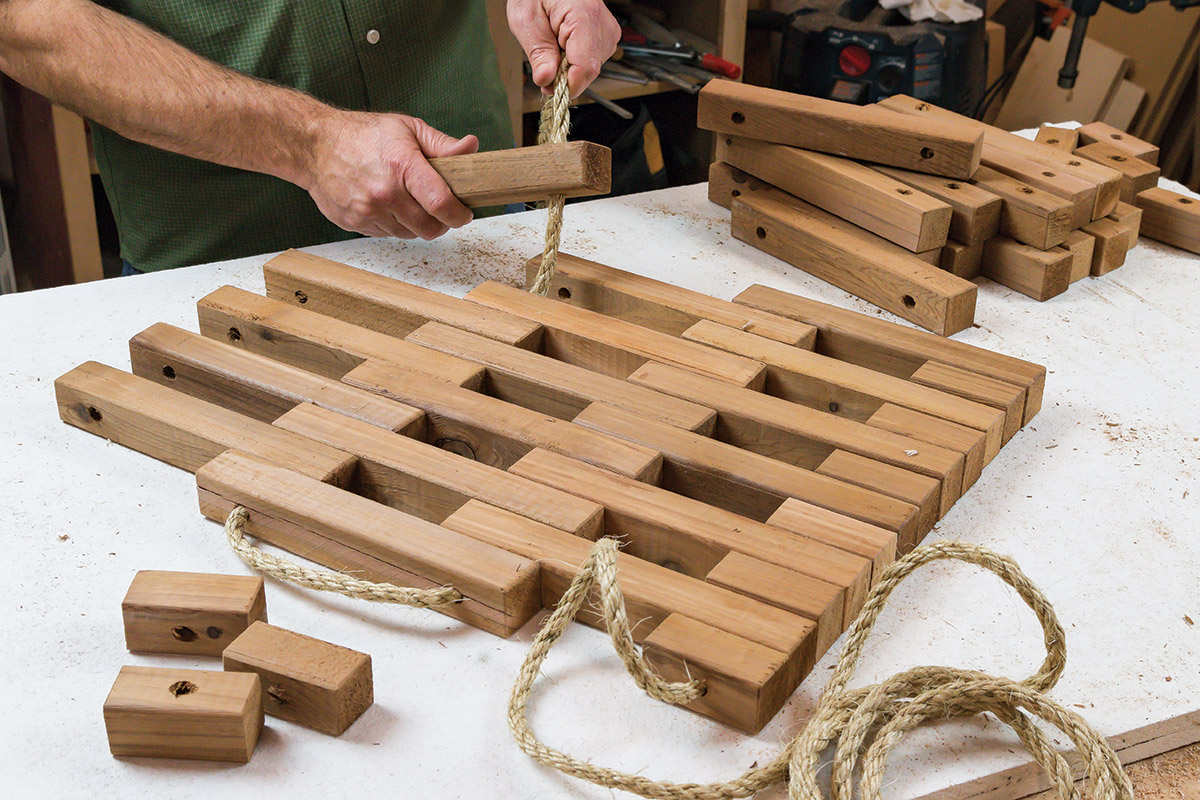
2. Keep on threading. Tie a knot at the back end and work your way forward to the long piece at the front. Then loop the rope back through the other hole in the front piece and start placing pieces and threading toward the back of the mat. Continue like that, row by row, until you reach the far end of the mat.
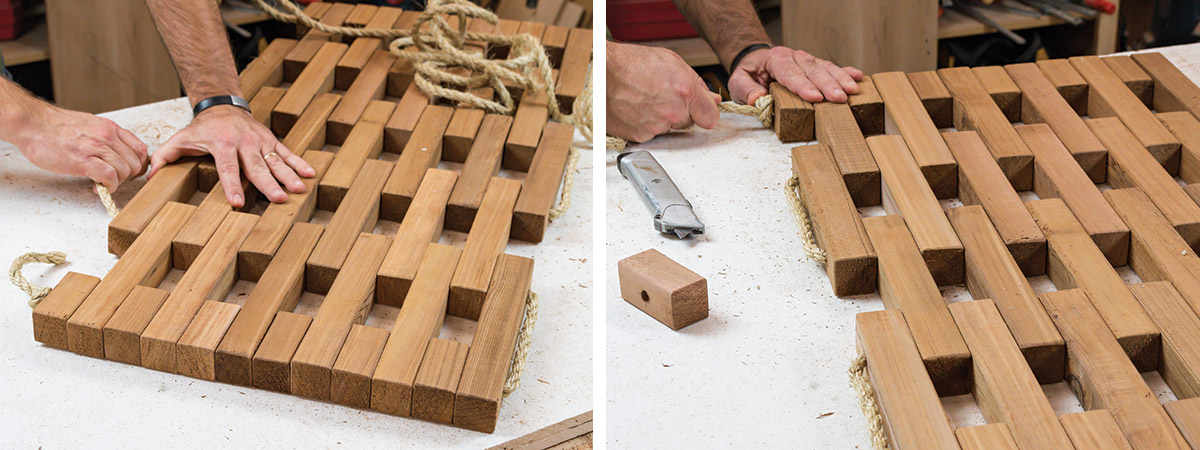
3. Tighten the rope and tie a knot. Starting at the first end of the mat, start pulling the rope as hard as you can to tighten it and pull the pieces together. Work your way across the mat, pulling the loop front and back, and then tie a tight knot at the far end. Cut off the excess rope and you’re done!
Fine Woodworking Recommended Products

Suizan Japanese Pull Saw



Log in or create an account to post a comment.
Sign up Log in