Hand Sanding and Power Sanding Basics
Sanding is one of the most important steps of any woodworking project. In this project video on building a bookcase, learn how to sand flat surfaces, edges, and curves.
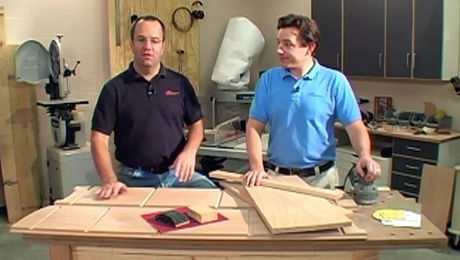
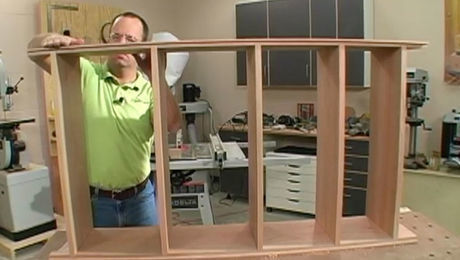
In this episode of Getting Started in Woodworking, the seventh in our series on building an oak bookcase, we cover the sanding process. This is typically the dreaded step in any woodworking project: it’s boring and time consuming. However, it’s also one of the most important steps of any project because the quality of your sanding will shine through once you apply your final finish. We cover sanding flat surfaces, edges, and curves.
As always, for complete details about the parts and construction of the bookcase featured in this series, download the free woodworking plan available for this project.
Sanding Basics
Our bookcase project has most of the situations you’ll encounter in woodworking, big flat surfaces, narrow edges, and curves. Start with the roughest grit you need to remove milling marks , and then work your way up through finer and finer grits with each one removing the scratches from the last grit and replacing them with finer scratches until the scratches are so tiny the eye can’t see them.
We recommend sanding all of your parts before assembling them with glue. This is true with most furniture projects. The parts are much easier to handle and once parts are assembled, it can be difficult to reach into corners. The reason sanding is so important at this step is because any ripples from the planer or scratches will become much more apparent once you apply a finish
Simple Sanding Tools
When hand sanding, a sanding block is a must. These are available commercially or can be made from a block of wood. Without a sanding block, you run the risk of missing areas, rounding over edges, or leaving scratches behind. If you want to speed up the process, power sanders are a great solution. We recommend the random-orbit sander, which spins and orbits in a way that prevents scratch patterns from forming.
You’ll also need some basic safety gear to protect yourself from fine dust. When power sanding it’s a good idea to hook your sander up to a vacuum. You should also wear a dust mask or respirator and eye protection.
If you have a question about this episode send us an email or post a question in our Q&A forum.
Produced by: Matt Berger and Asa Christiana
Video and Editing by: Michael Dobsevage
Related links
When to Stop Sanding?
Sanding Basics
Sand, Scrape, or Plane
Videos in the Series
-
Build a beginner-friendly bookcaseAugust 5, 2019
-
Buying Hardwood LumberAugust 5, 2019
-
How to Rip Lumber Safely on the Table SawAugust 5, 2019
-
How to Crosscut Lumber Safely on the Table SawAugust 5, 2019
-
How to Cut Rabbets and Dadoes with a RouterOctober 16, 2019
-
Hand Sanding and Power Sanding BasicsOctober 16, 2019
-
Best Practices for Cutting and Shaping CurvesOctober 16, 2019
-
Create Strong and Simple Joinery with Screws and Hardwood PlugsOctober 22, 2019
-
Build a Simple, Sturdy Workbench, Part 1October 22, 2019
-
Build a Simple, Sturdy Workbench, Part 2October 22, 2019
-
10 Ways to Use a Workbench – Start Woodworking S2:Ep10October 22, 2019



Log in or create an account to post a comment.
Sign up Log in