How to Build a Window Box with Trim
Create a stunning accessory for your home in no time.
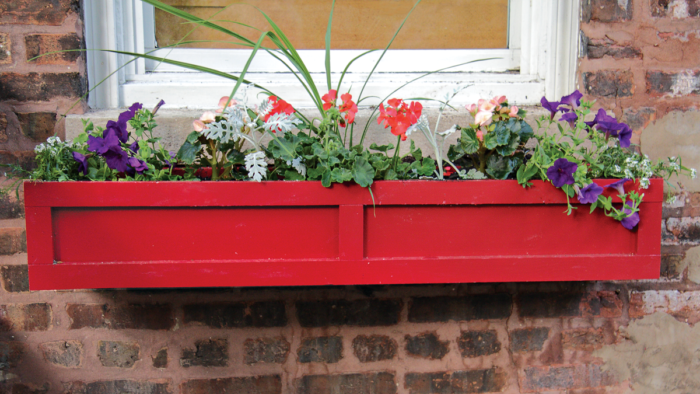
A window box brightens a home from the outside and the inside alike, with flowers that can be seen from each side. This one has a crisp, clean look, with squared edges and a painted finish. The simple trim in front adds classic lines.
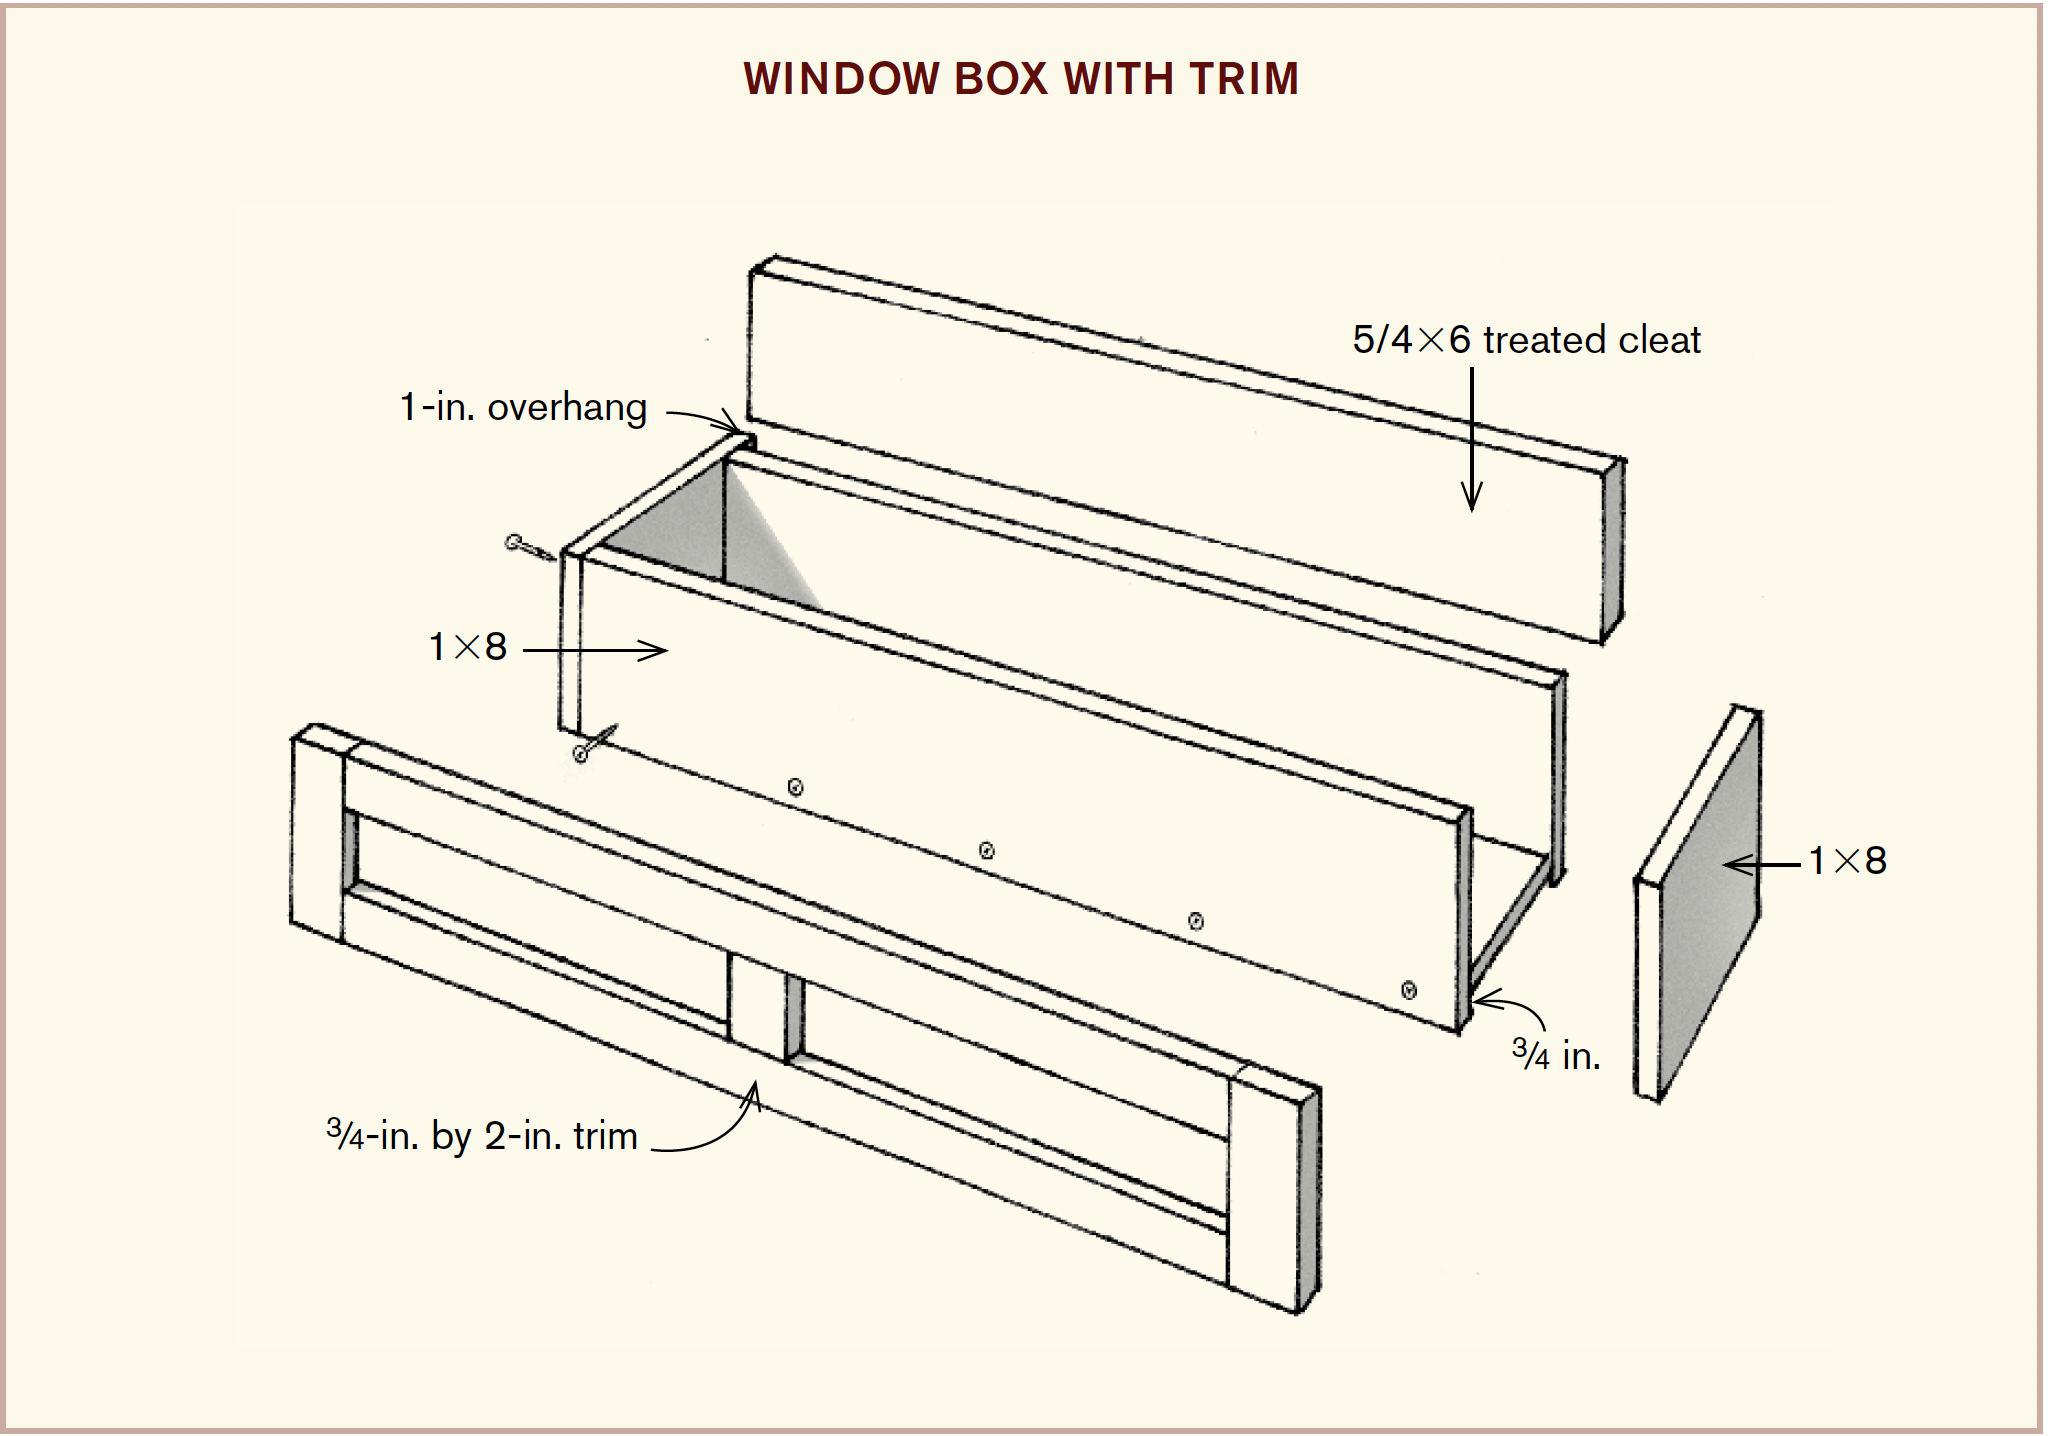
Use rot-resistant wood such as the heartwood of cedar or pressure-treated lumber. The cleat that attaches to the wall, as well as to the bottom should be treated lumber. The box can be filled directly with soil, or you can have a local sheet-metal shop make a galvanized insert to fit.
Here, the sill is an architectural feature, so the box is installed just below it. Because the sill protrudes 1 in. from the wall, a 1-in. cleat is used for attaching the box. You may choose instead to attach the box even with the top of the sill.
Materials
|
Tools
|
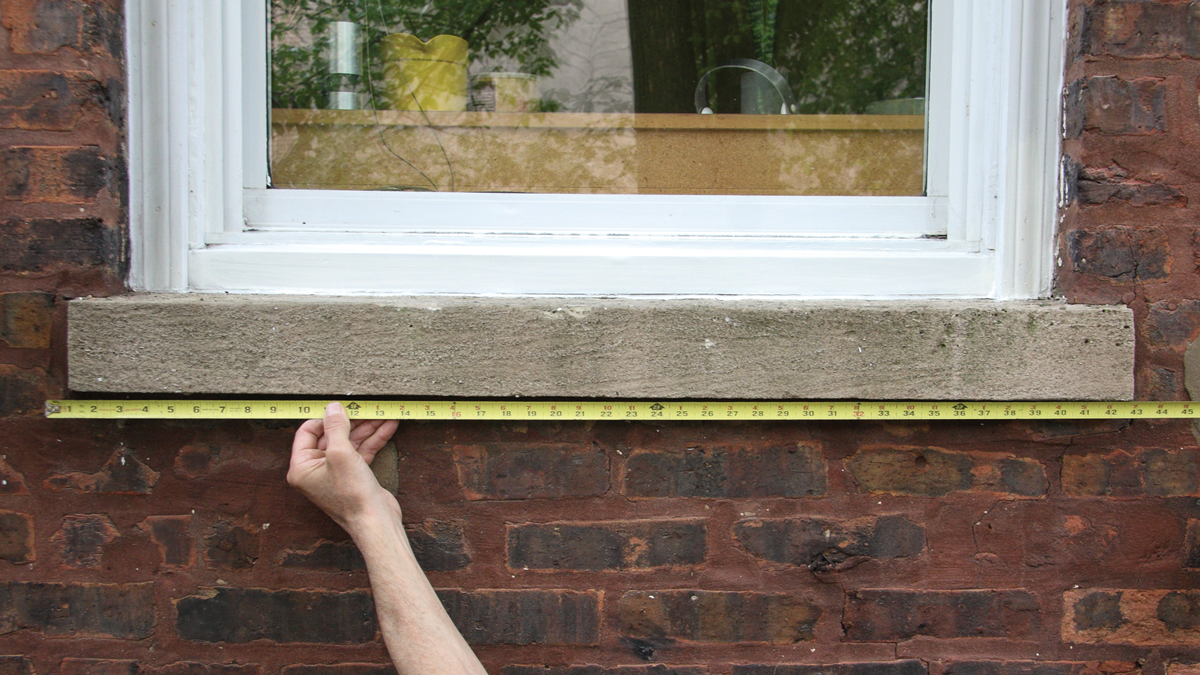
1. Measure the sill and determine the desired size of the window box. We’ve chosen to install a box that extends 1 in. beyond the sill on each side.
 |
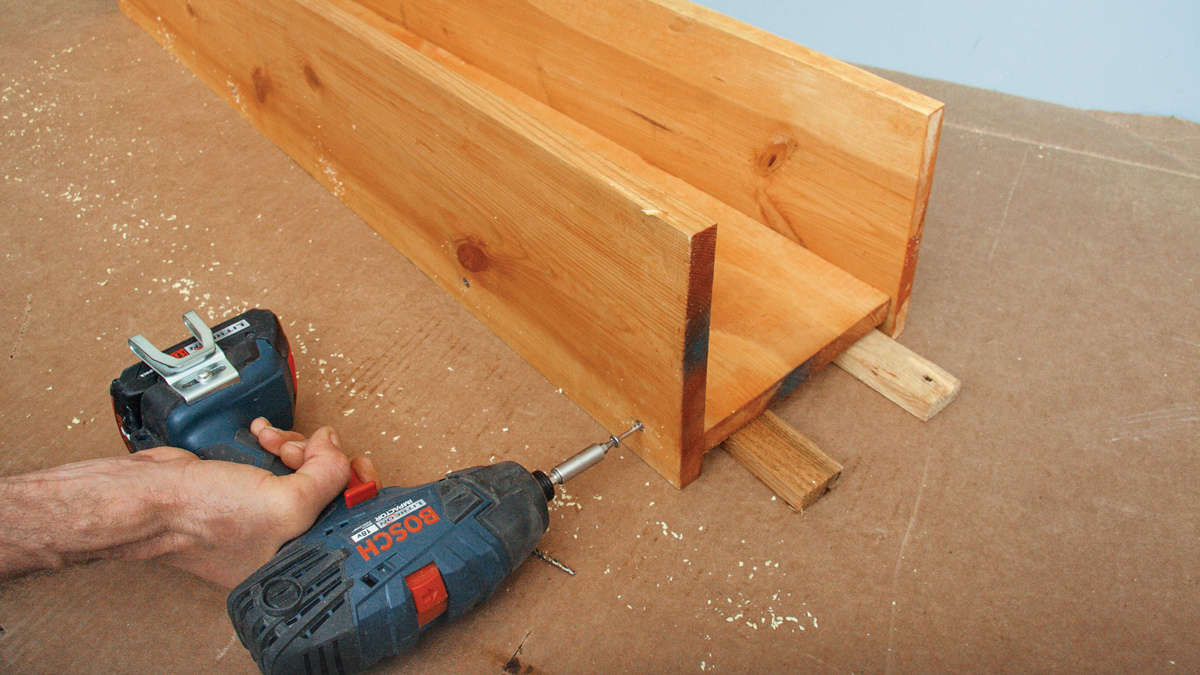 |
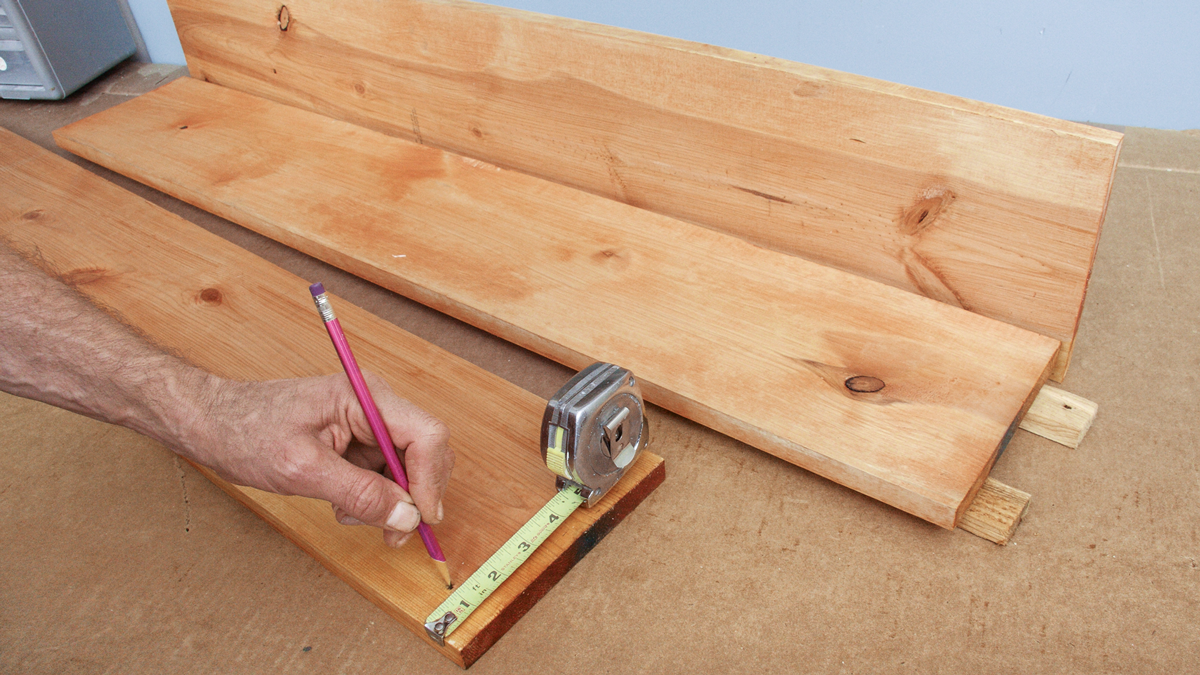
2. Use a power miter saw or a hand miter saw to cut three 1x8s to the width of the planter minus 1-1/2 in. Place the bottom piece on pieces of wood to raise it 3/4 in. or so. Mark the sides to indicate the center of the bottom piece’s thickness. Drill pilot holes and drive screws to attach the three pieces together.
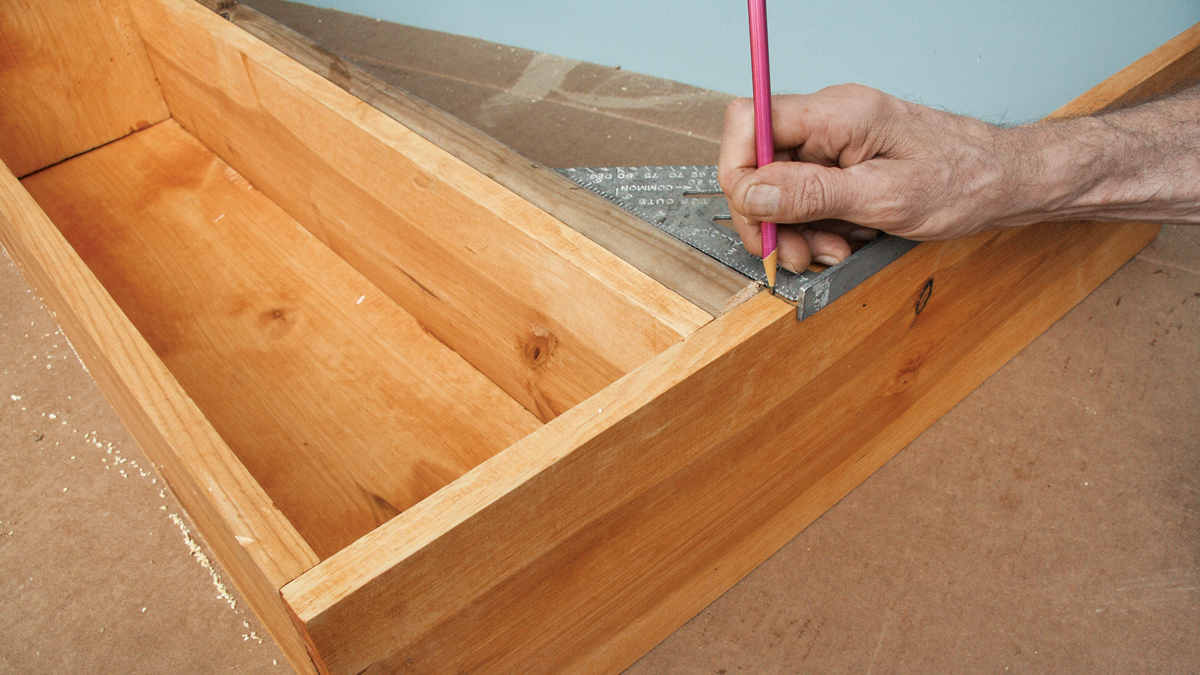
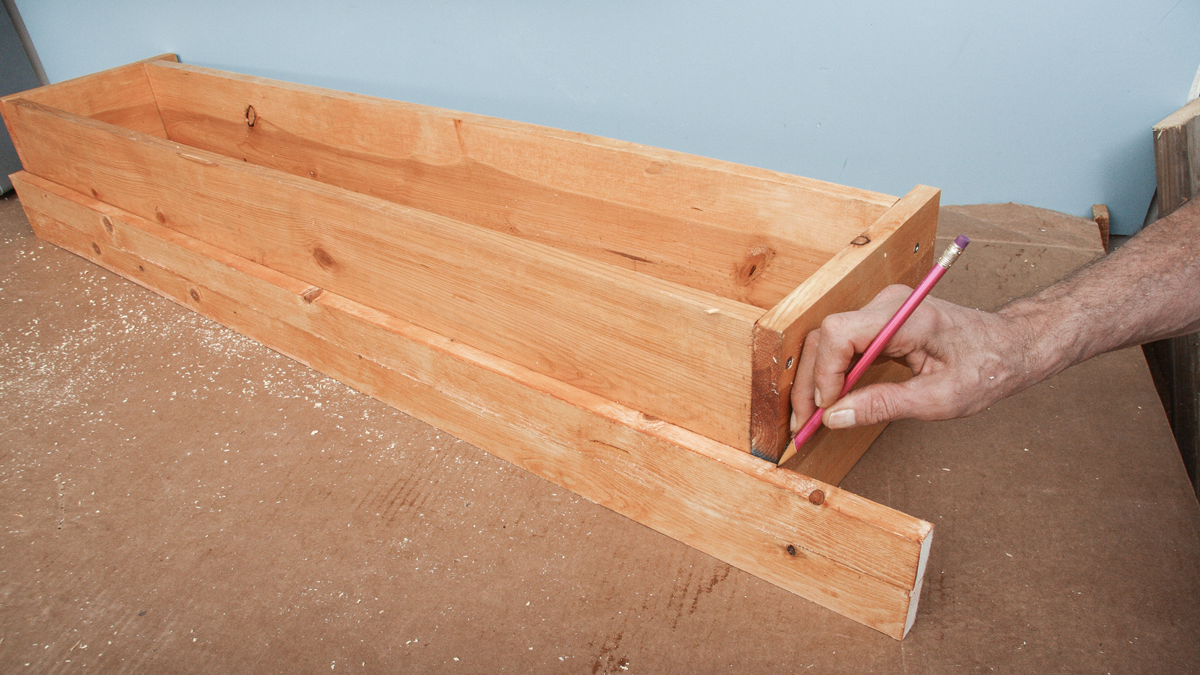
3. Cut the cleat (which will be used for attaching the box in step 8) to the same length as the three pieces you just assembled. Hold it against the back of the planter and place a piece of 1×8 against the side. Use an angle square to mark the side piece for cutting.
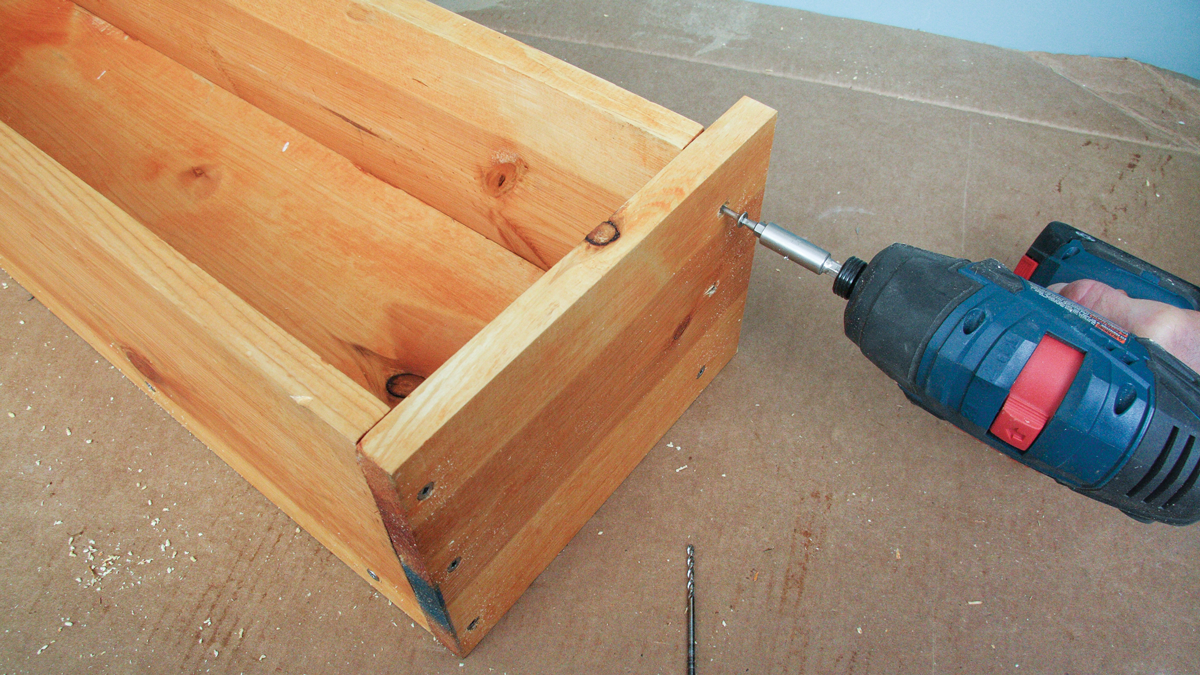
4. Attach the sides by drilling pilot holes and driving screws. These screws will show, so you may choose to sink the screws and fill the holes with wood filler, or countersink and plug.
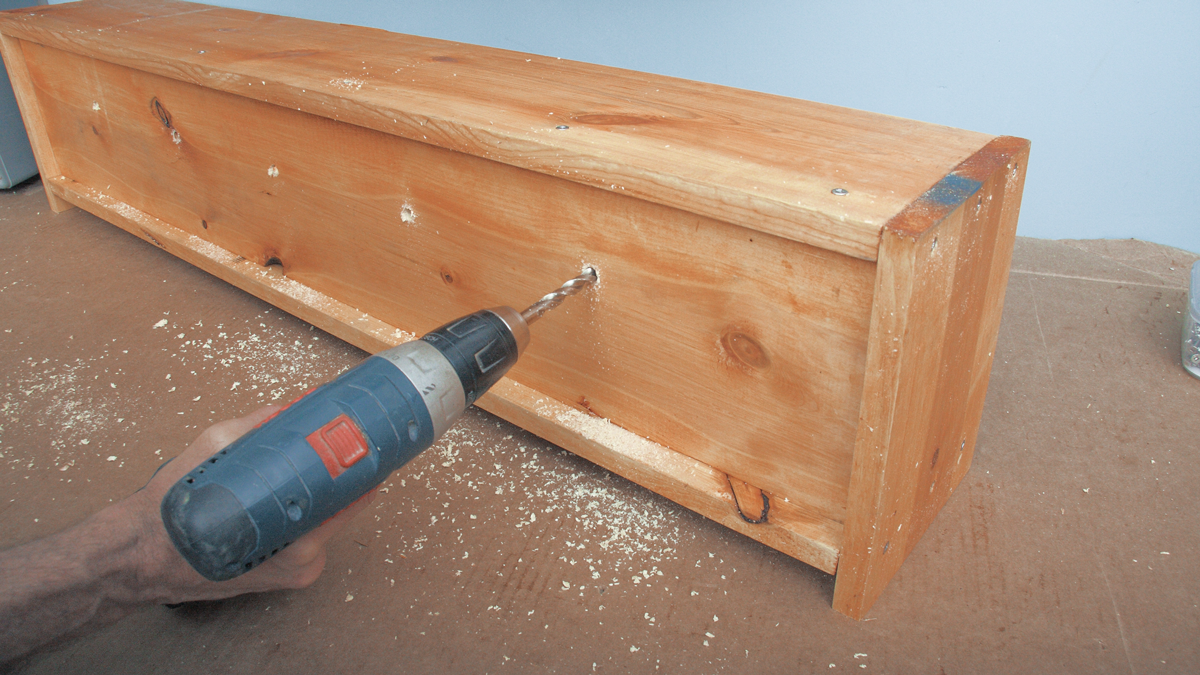
5. Drill 3⁄8-in. drainage holes in a grid pattern in the bottom of the box.
TipWhen spray painting, always keep the nozzle moving so you don’t overspray one spot, which can lead to dripping paint. Spray light coats, allow to dry, then spray more coats. |
 |
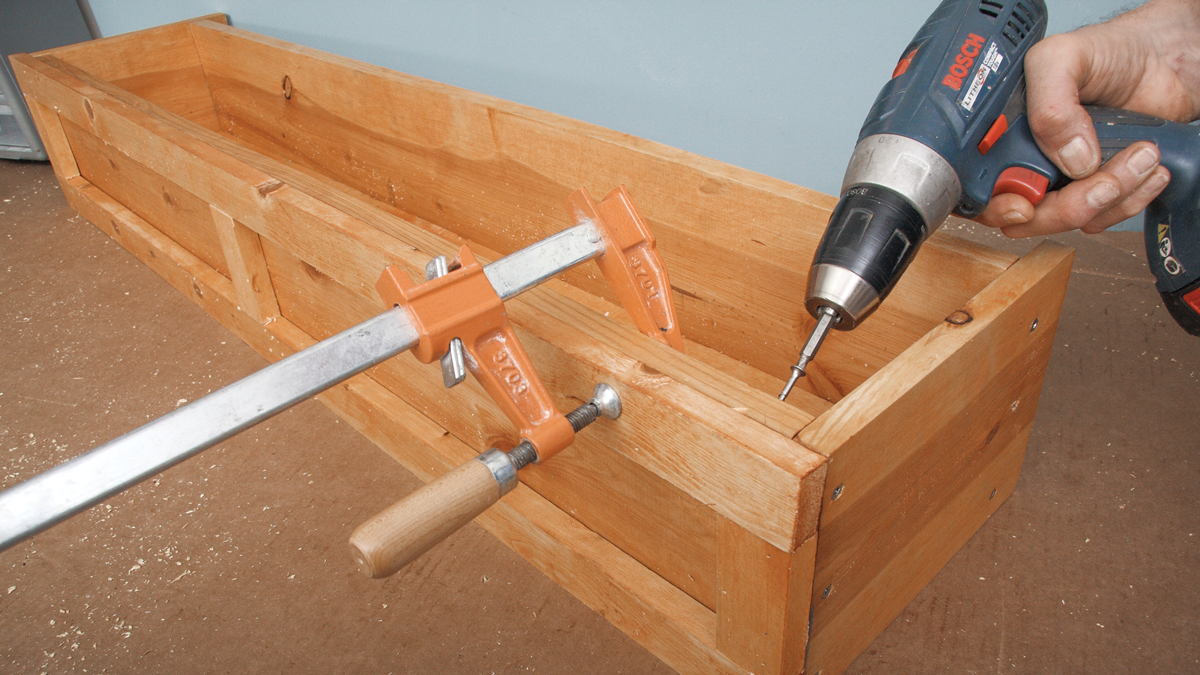 |
6. Rip-cut trim pieces 2 in. wide. Hold them in place to mark for cutting. To attach, drill pilot holes and drive screws from the inside of the box and into the trim. Make sure the screws are not so long that they will poke through.
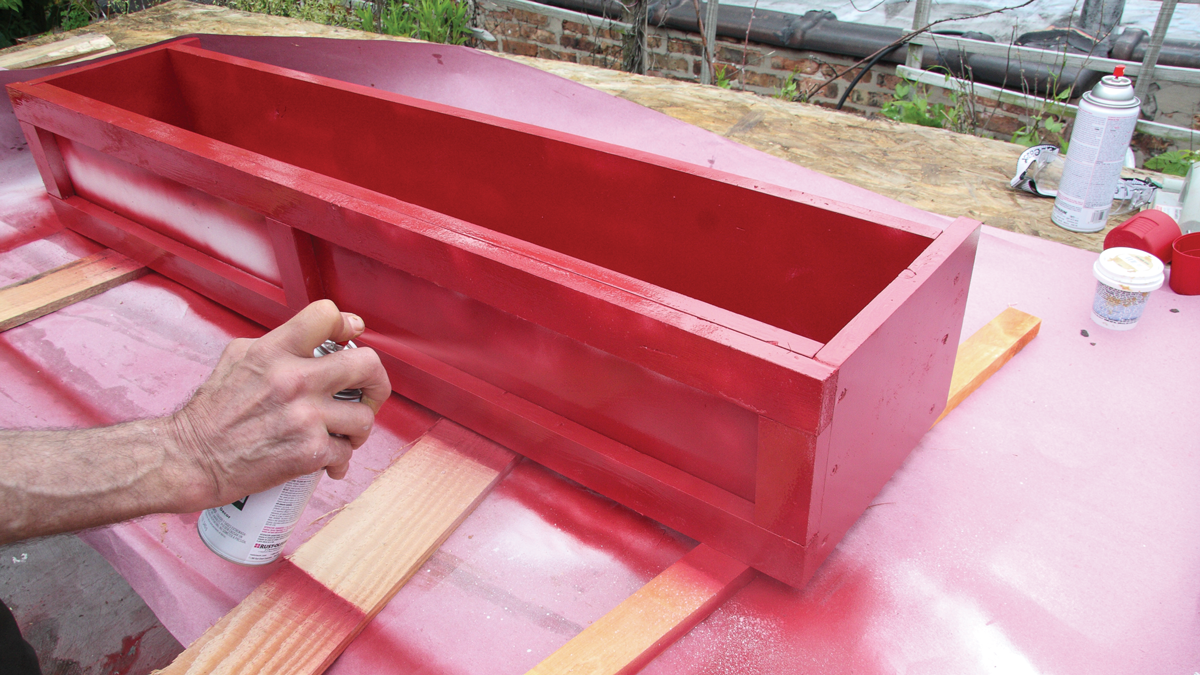
7. Apply primer and paint. You can use spray paint, as shown, or brush it on. Use a product that will last in your climate.
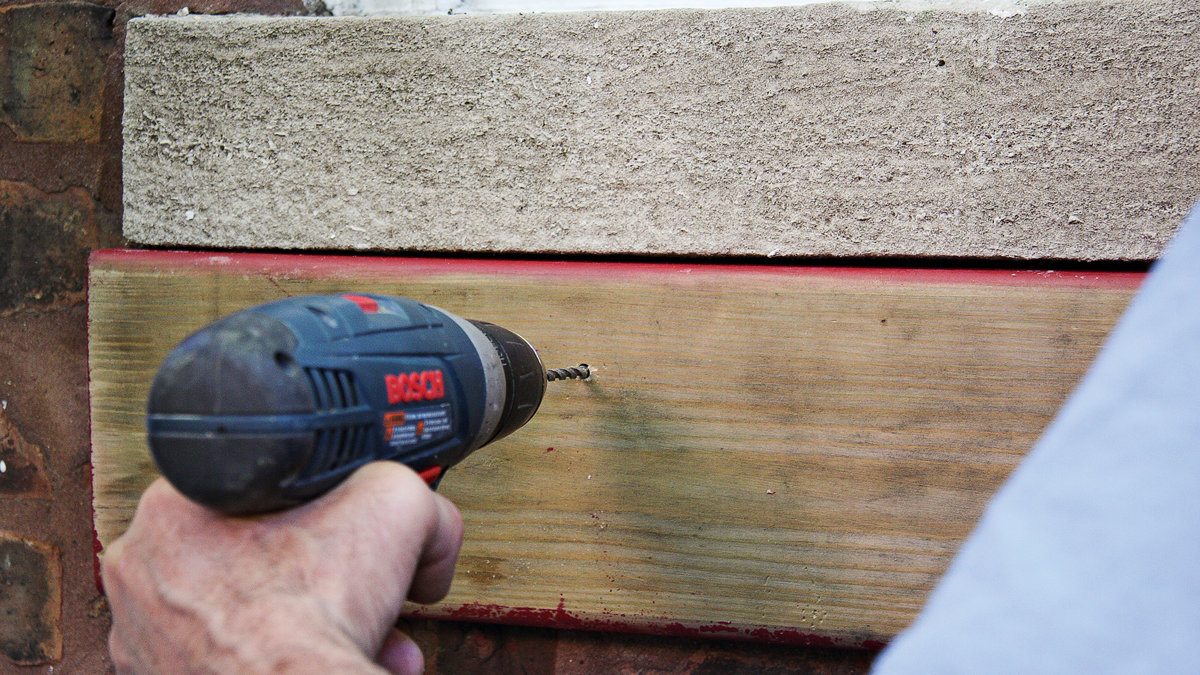
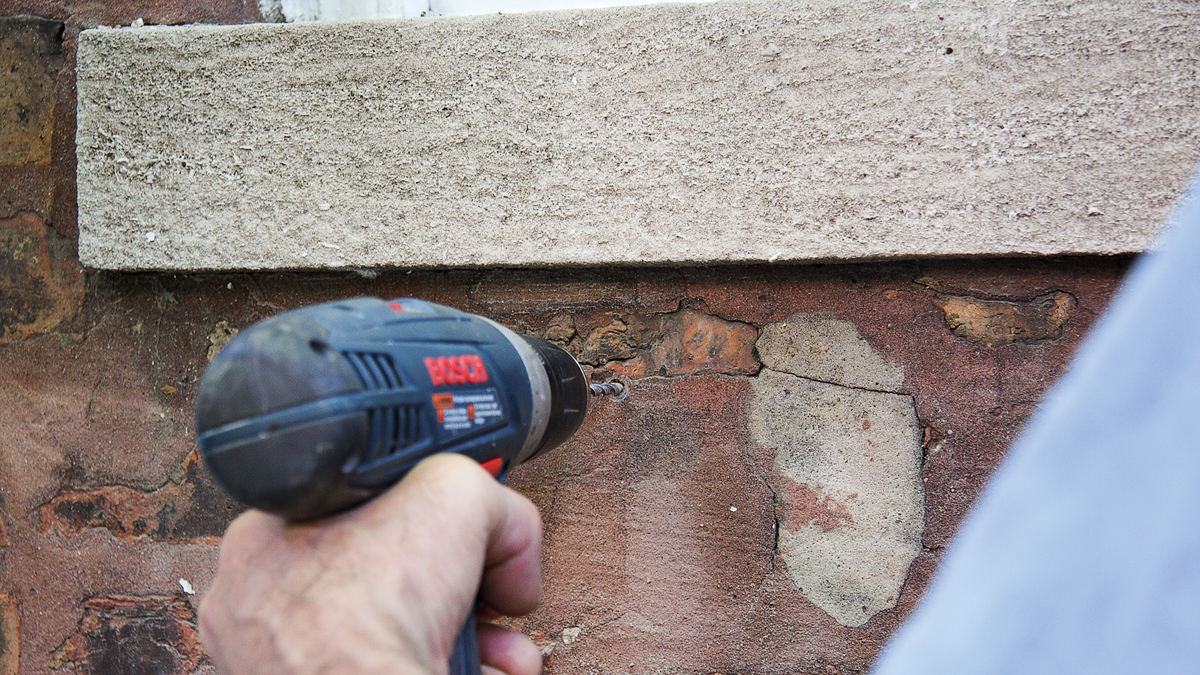
8. If you are attaching to a brick wall, measure to make sure you will drive screws into bricks, which hold better than the mortar. Drill holes through the cleat using a wood screw. Then hold the cleat in position and drill with the masonry bit to mark the location.
 |
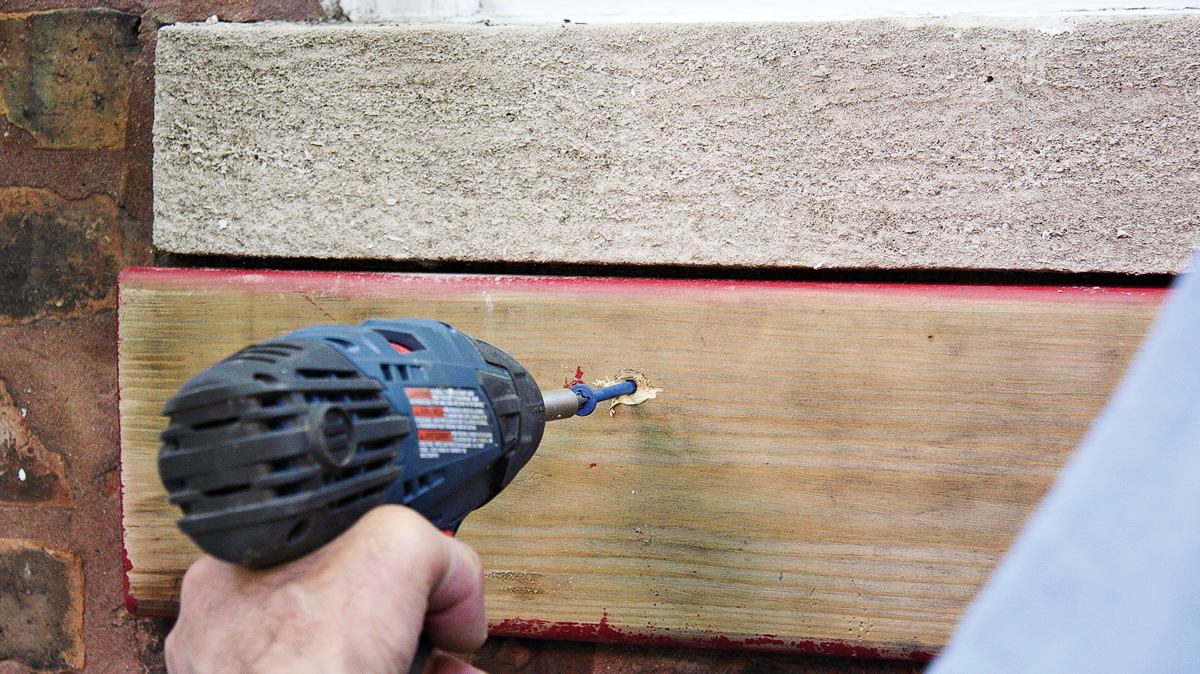 |
9. Remove the cleat and finish drilling the holes in the brick. Use the correct bit for your masonry screws. Replace the cleat and drive the masonry screws to fasten the cleat.
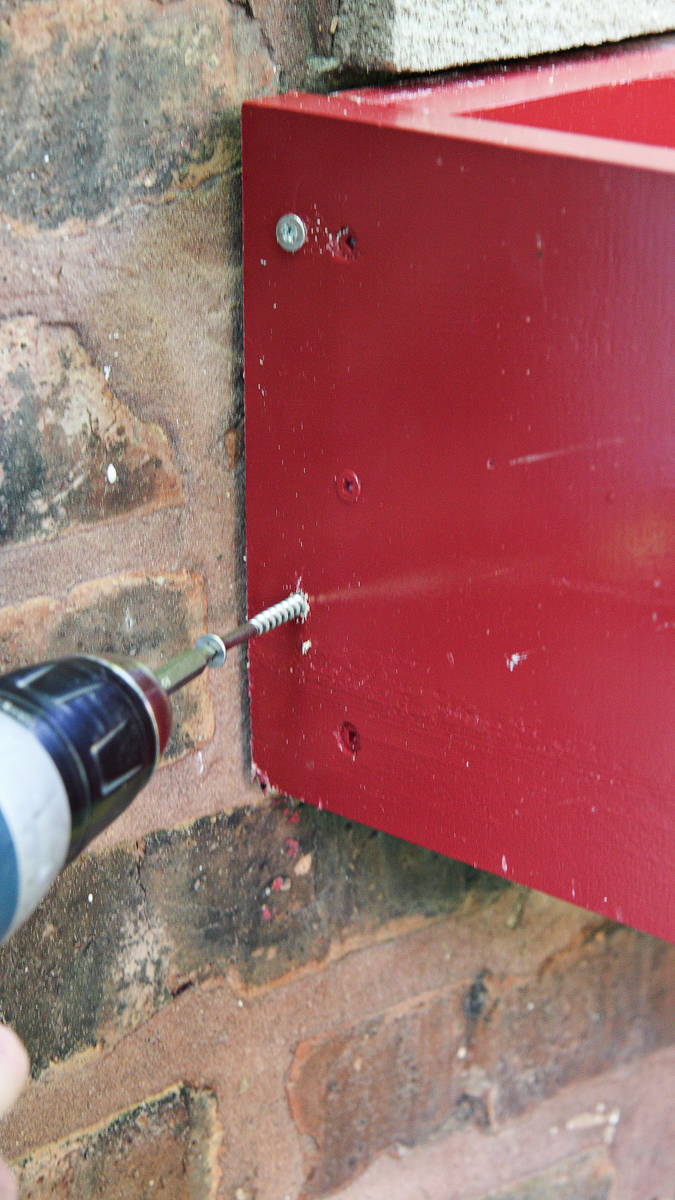
10. Attach the window box by drilling screws through the sides into the cleat from outside the box and through the back into the cleat from inside the box. Add soil and plant.
TipIf the window box is noticeably out of level, insert shims between the box and the cleat to make it come straight out from the wall. You may need to install screws only at the top, then add shims, then drive the other screws. |


Log in or create an account to post a comment.
Sign up Log in