How to Crosscut Lumber Safely on the Table Saw
In this project video on building a bookcase, you'll learn how to cut a board to length across the grain.
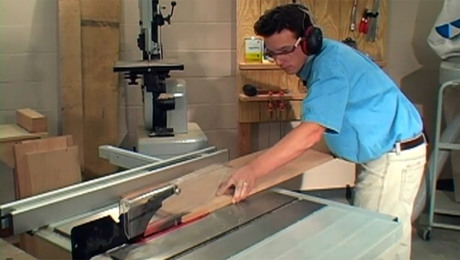
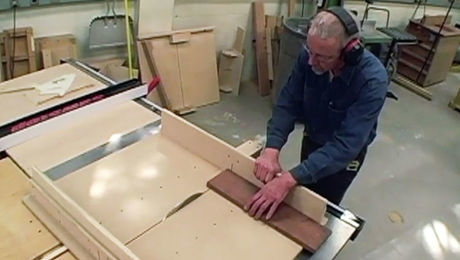
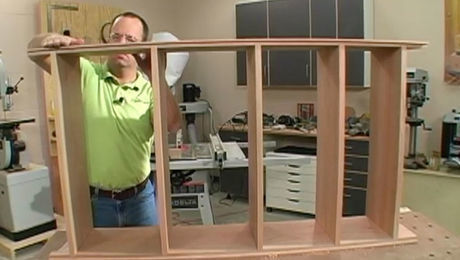
In this episode of Getting Started in Woodworking, the third in our series on building an oak bookcase, we demonstrate how to safely crosscut lumber on the tablesaw.
Crosscutting lumber is just what it sounds like, cutting lumber across the grain. Just as we used the tablesaw to rip our bookcase parts to width, which we covered in the previous episode, we decided to use the tablesaw to crosscut the bookcase parts to length. To determine the dimensions of each of your cross cuts, use the free woodworking plan available for this project.
Choose the right tool for the job
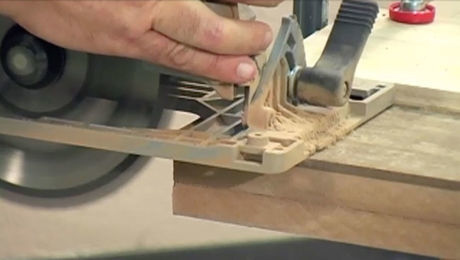
Crosscutting can be accomplished with a variety of tools. A miter saw, also known as a chop saw, is a great tool for making cross cuts. However, miter saws have width limitations. You can also use a circular saw with the cutting guide we demonstrated in our workbench episodes. Finally, a jigsaw will do the trick, although it won’t give you the highest-quality cut.
Accessories for crosscutting
When crosscutting lumber on the tablesaw there are a few accessories that are must-haves. Most tablesaws come with a miter gauge, which will support a workpiece as you pass it through the blade. These can be outfitted with a long backer board to provide support for long boards and prevent tearout as the blade exits the back of the workpiece. You can also purchase an aftermarket miter gauge, many of which feature helpful accessories like a telescoping fence or flip-down stops for making repetitive cuts.
When crosscutting long boards, it is extremely helpful to support the board where it hangs off the tablesaw. For this you can use a support stand, or rig something up with a sawhorse.
A crosscut sled is also a must-have accessory for the tablesaw. This shop-built jig is great for cutting wide boards that can’t be supported by a standard miter gauge.
The one accessory you should never use when crosscutting on the tablesaw is the rip fence. It must be remain out of the way of your cut to prevent the board from jamming between the blade and the rip fence, which can lead to dangerous kickback.
If you have a question about this episode send us an email or post a question in our Q&A forum.
Related links
Choosing and Using a Miter saw
Support Stands
Videos in the Series
-
Build a beginner-friendly bookcaseAugust 5, 2019
-
Buying Hardwood LumberAugust 5, 2019
-
How to Rip Lumber Safely on the Table SawAugust 5, 2019
-
How to Crosscut Lumber Safely on the Table SawAugust 5, 2019
-
How to Cut Rabbets and Dadoes with a RouterOctober 16, 2019
-
Hand Sanding and Power Sanding BasicsOctober 16, 2019
-
Best Practices for Cutting and Shaping CurvesOctober 16, 2019
-
Create Strong and Simple Joinery with Screws and Hardwood PlugsOctober 22, 2019
-
Build a Simple, Sturdy Workbench, Part 1October 22, 2019
-
Build a Simple, Sturdy Workbench, Part 2October 22, 2019
-
10 Ways to Use a Workbench – Start Woodworking S2:Ep10October 22, 2019



Log in or create an account to post a comment.
Sign up Log in