Make a woodworking bottle opener
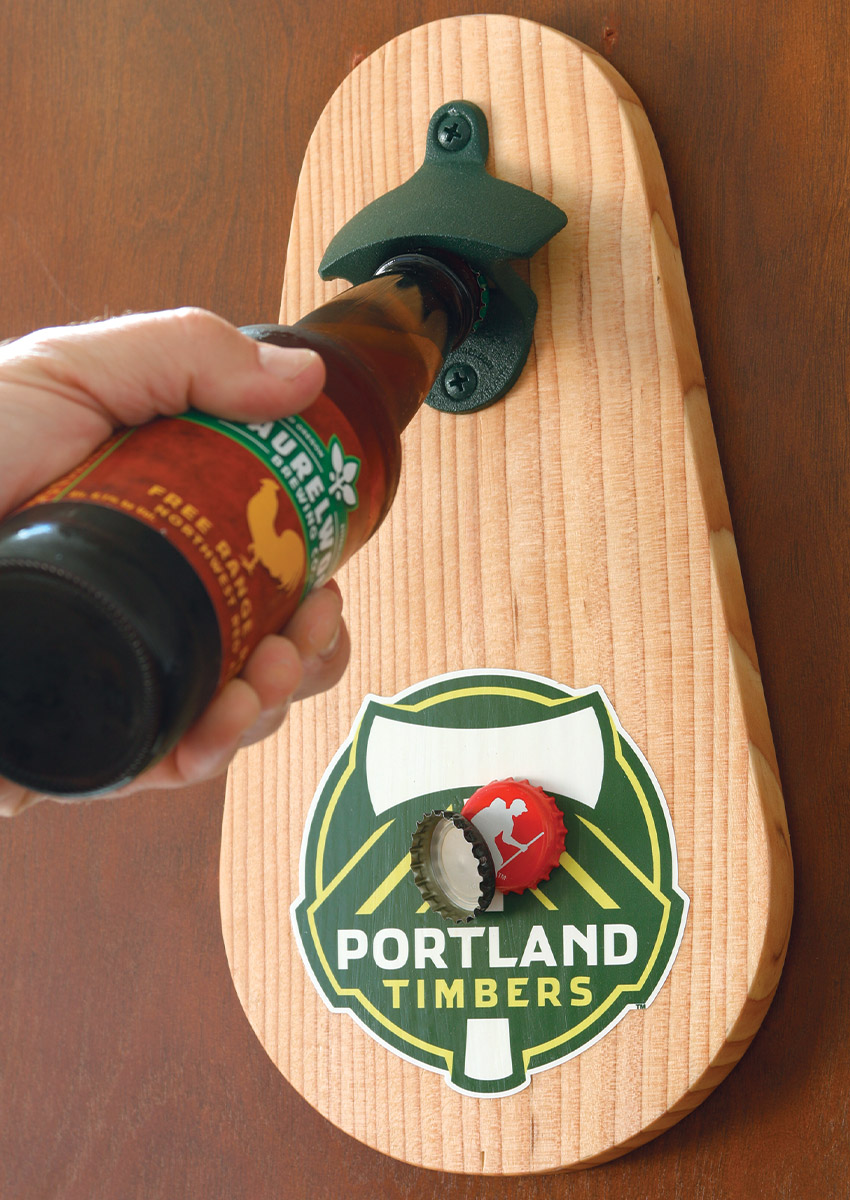
This super-simple bottle opener has a hidden magnet that catches the bottle tops.
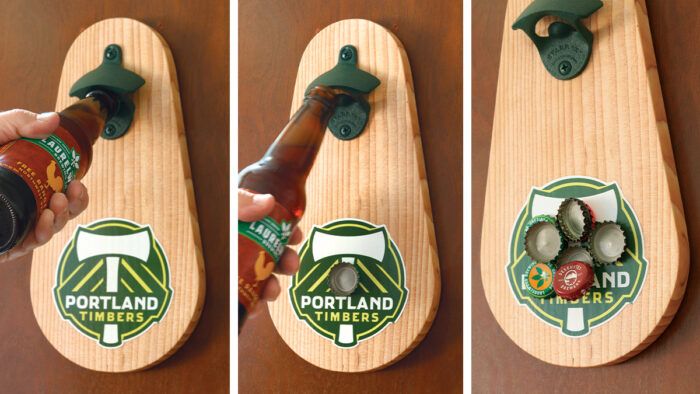
Go online and you’ll find all sorts of bottle openers, from vintage to sports-themed. You’ll even find little cups that sit below to catch the caps, with both items screwing easily to any chunk of wood. To make the uncapping even more unbelievable, I borrowed a trick I found in a few places online. By burying a rare earth magnet in the back of the board, you can make the falling caps jump onto the wood in a mysterious cluster.
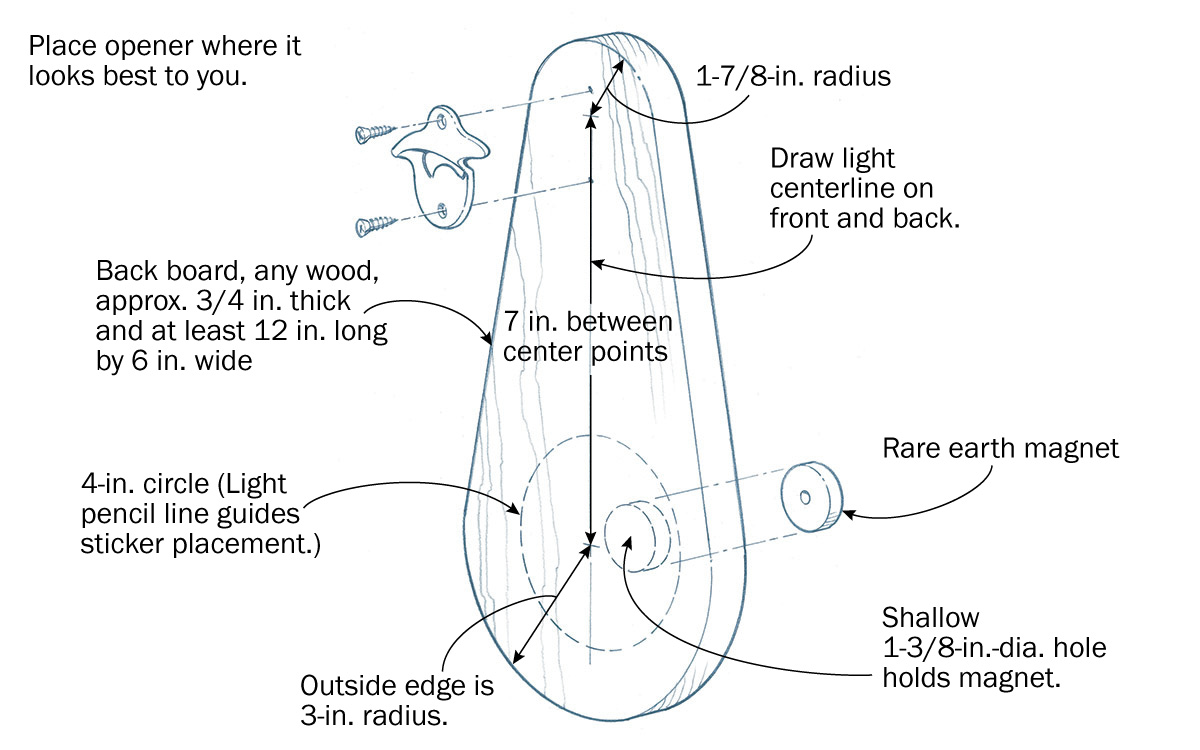
I took it up one more notch by placing the logo of my favorite sports team where the caps collect. I shaped the board to fit that logo, but many logos are generally round so this shape should work for most of them. If your favorite logo, or Chinese character, or ironic picture of a reviled political character isn’t round, I trust you will shape the board accordingly.
Layout is everything
I borrowed this phrase from my friend Marc Adams, who runs the biggest woodworking school in North America. It also happens to be a fact.
Supplies
- Starr X bottle opener (available from various online suppliers)
- Rare earth (neodymium) magnet, 35mm (1-3/8 in.) by 5mm with countersunk hole (available from various online suppliers)
- Keyhole Fitting—Double, 9/16 in. by 3 in., item No. 28829 (available from rockler.com)
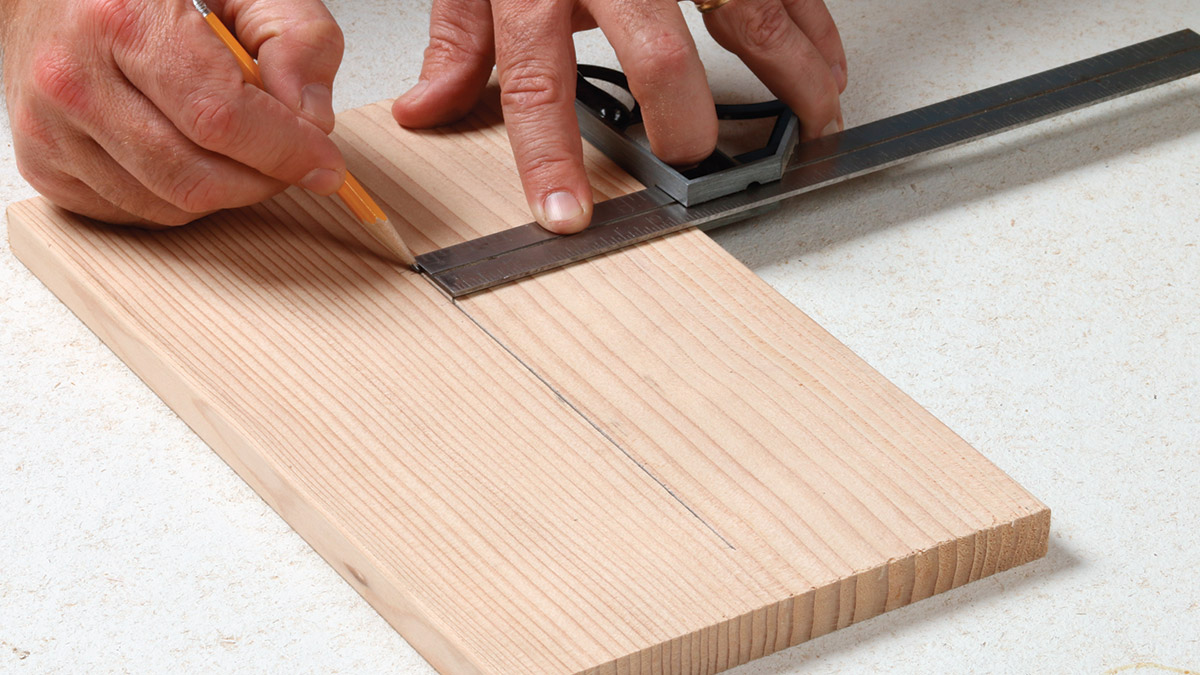
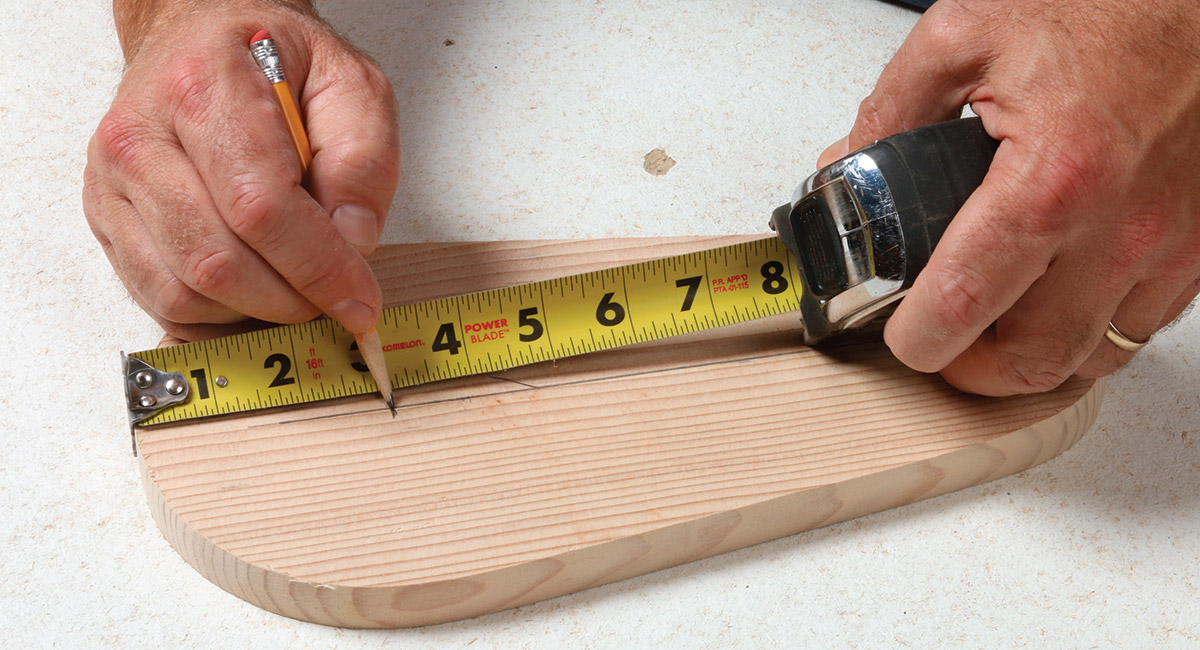
2. Centerlines, front and back. After cutting the stock to size, use your combination square to mark a light centerline down the front and back of the board (by measuring the width and dividing in it half). This will help you center all the arcs and hardware.
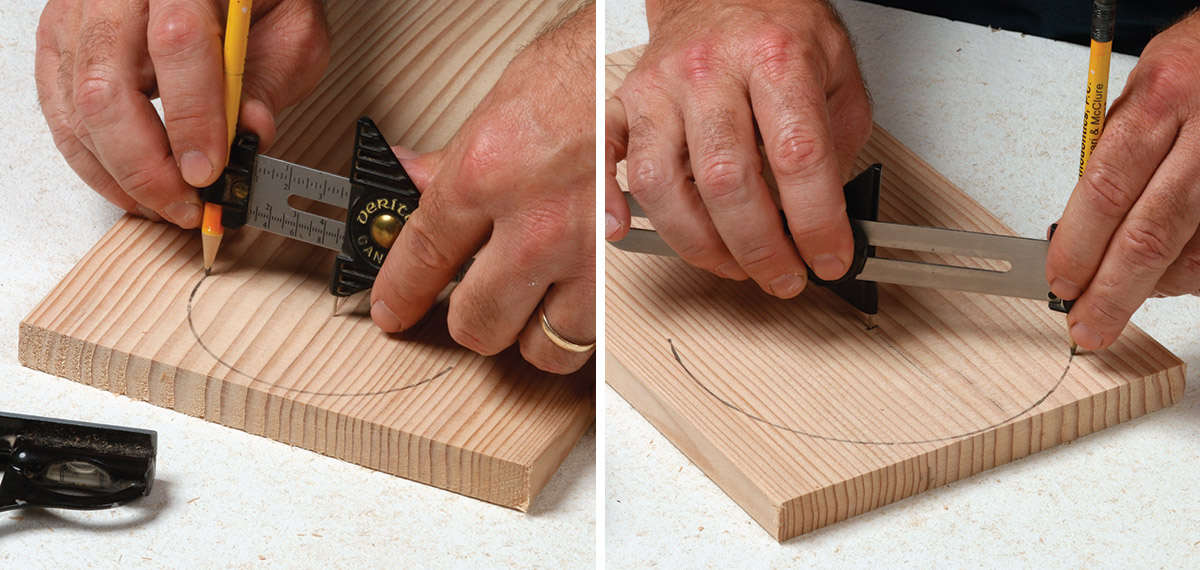
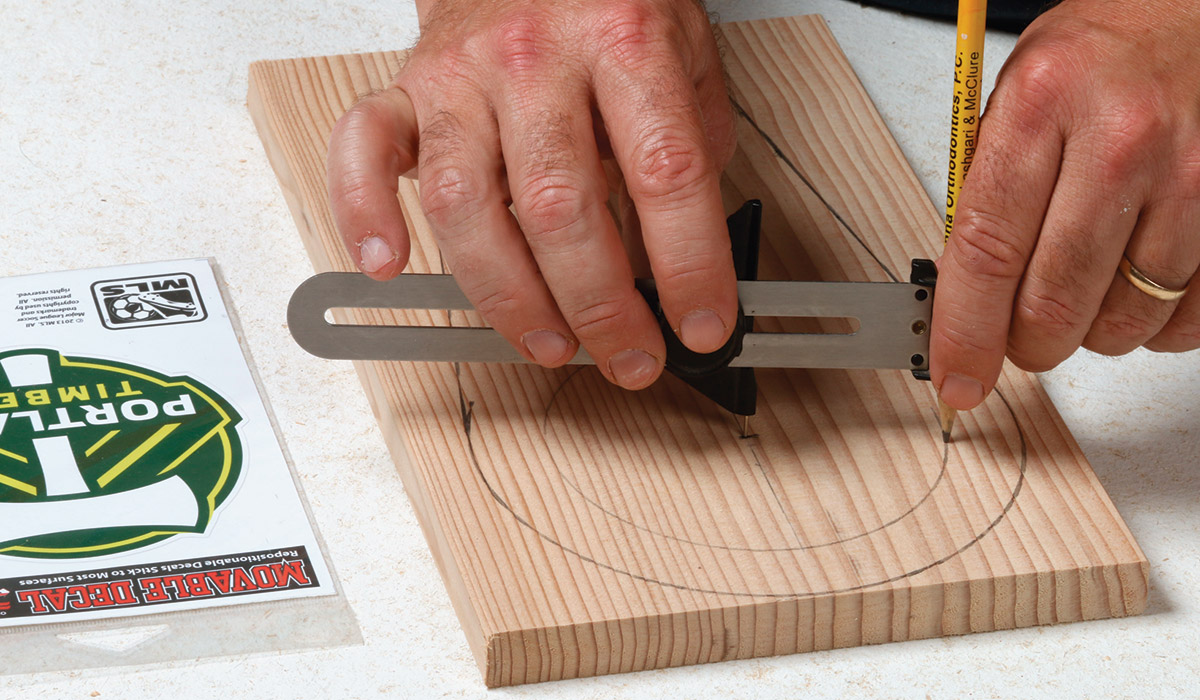
3. Mark two arcs. The smaller one goes at the top of the board (see “Basic Anatomy”), and the other radius should be 1 in. bigger than your logo sticker, so the wood ends up bordering it nicely. I like my snazzy compass from www.leevalley.com, but any compass will work.
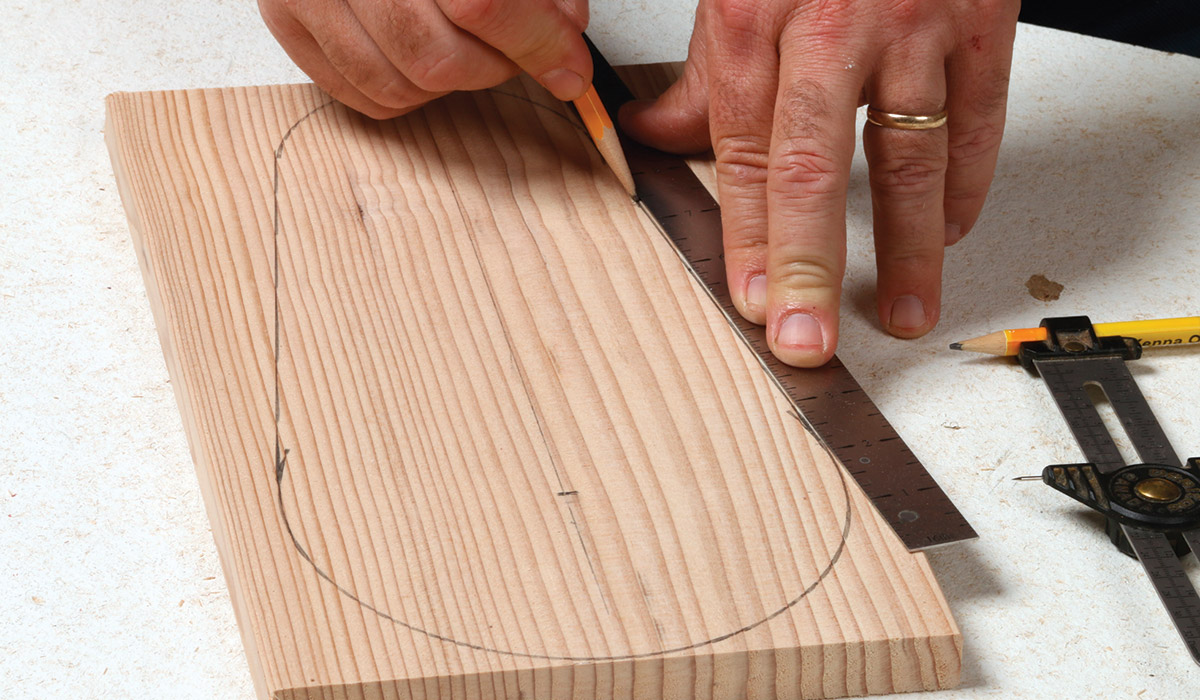
4. Connect the curves. Straight lines complete the perimeter layout.
5. One more arc. This circle is just a hair bigger than the sticker, to help you center it when you stick it on. Draw this arc lightly so it’s easy to erase.
Cut and smooth the board
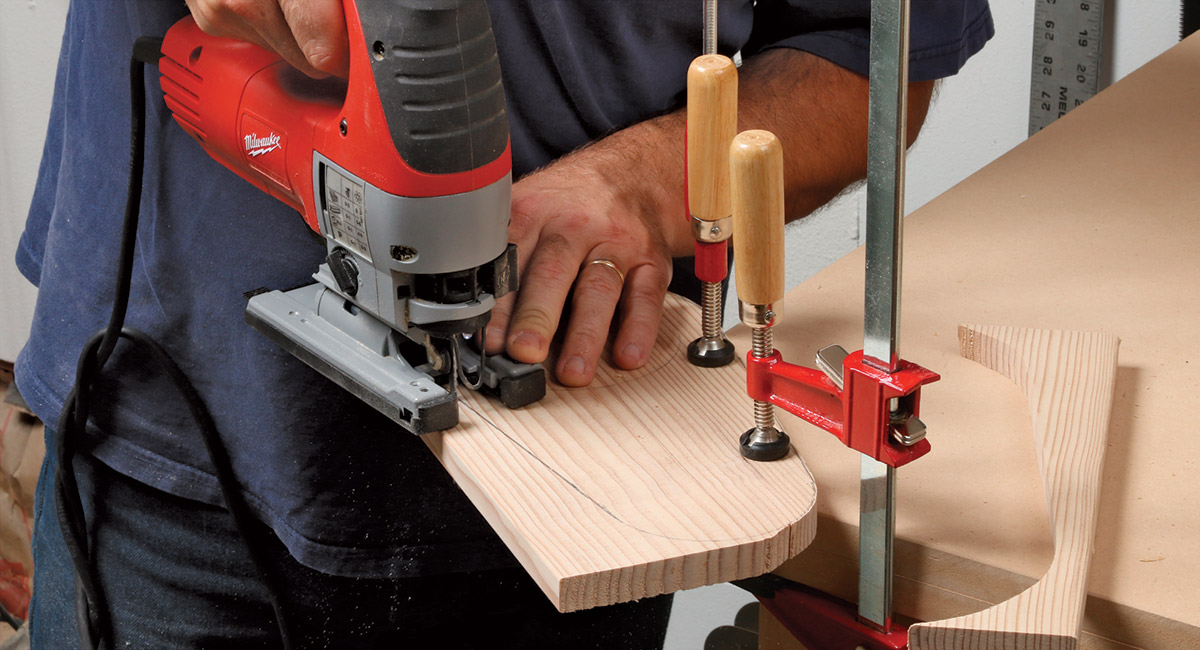
A jigsaw handles curves and straight lines just as well.
1. Slow and steady. Clamp down the workpiece, and stay just outside the line when cutting. Use your inside hand to hold the base of the jigsaw flat on the wood.
 |
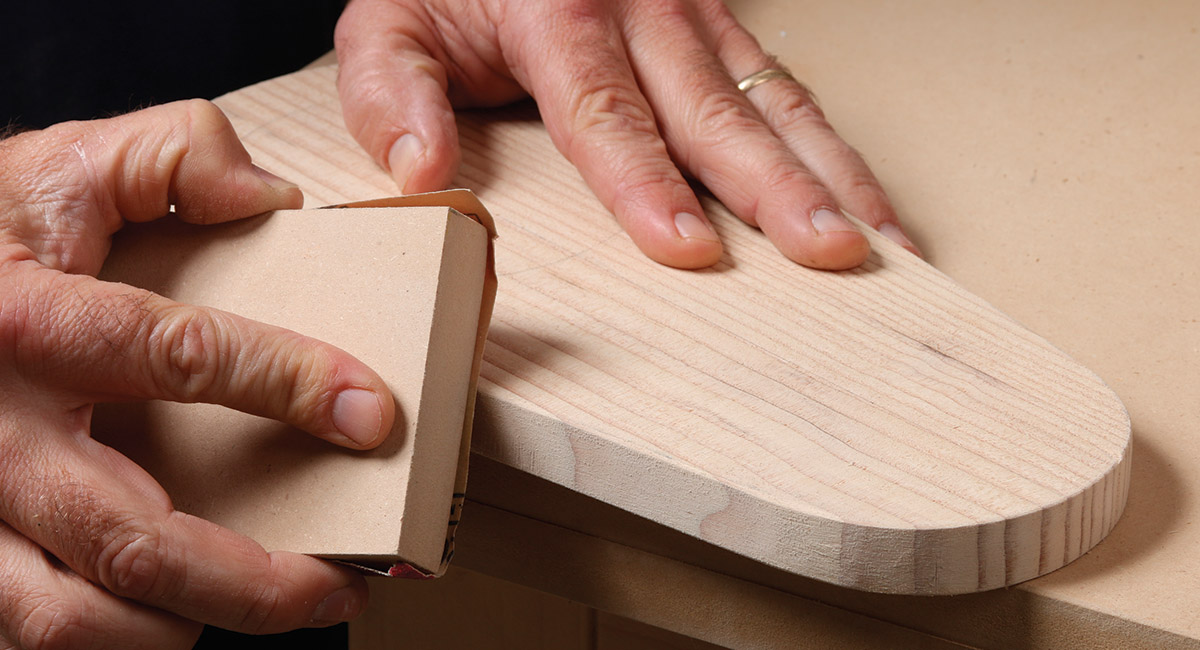 |
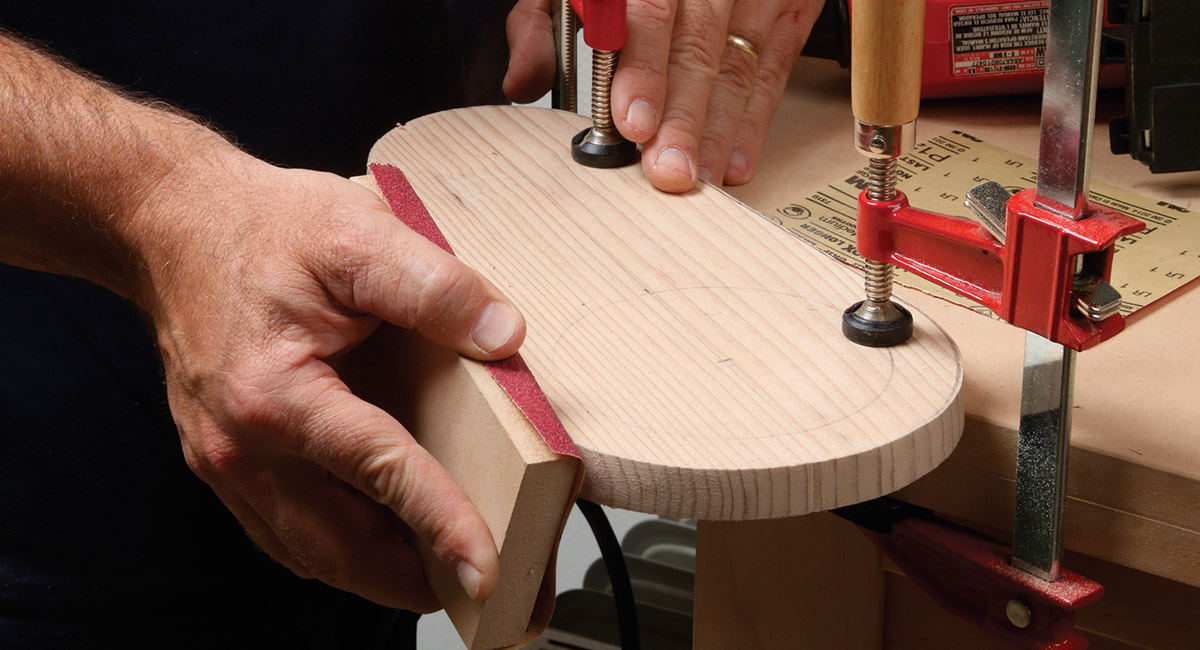
2. Smooth the edges. Use a sanding block first with 80-grit paper and then 120-grit paper to sand the edges down to the line (left). Feel with your fingers to see if the curves are even and smooth, and then sand a little bevel on the top and bottom edges (below left).
Hide the magnet
A big rare earth magnet is buried inside the board, to grab the bottle caps as they fall.
1. Mark the center point. It is centered behind the logo sticker, so it’s the same center point you used on top of the board.
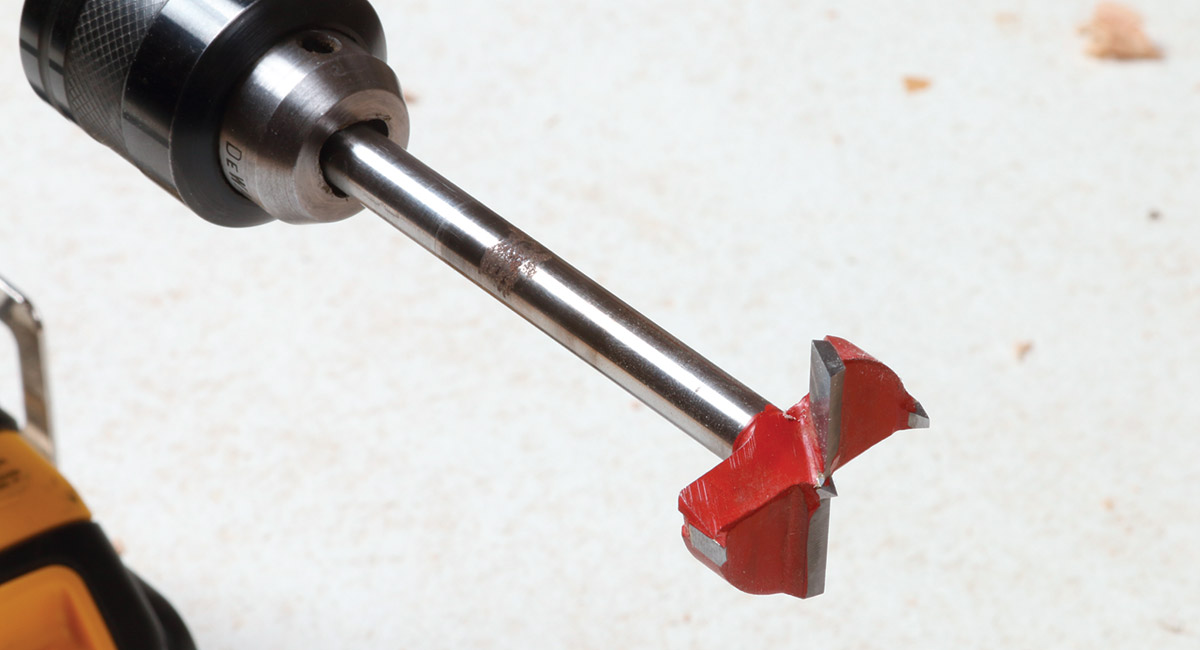
2. Grab a big bit. A cheaper carpenter’s spade bit would work in a soft wood like this, but I went with a Forstner bit I had on hand. It is a 1-3/8-in. bit, just a hair larger than the 35mm-dia. magnet.
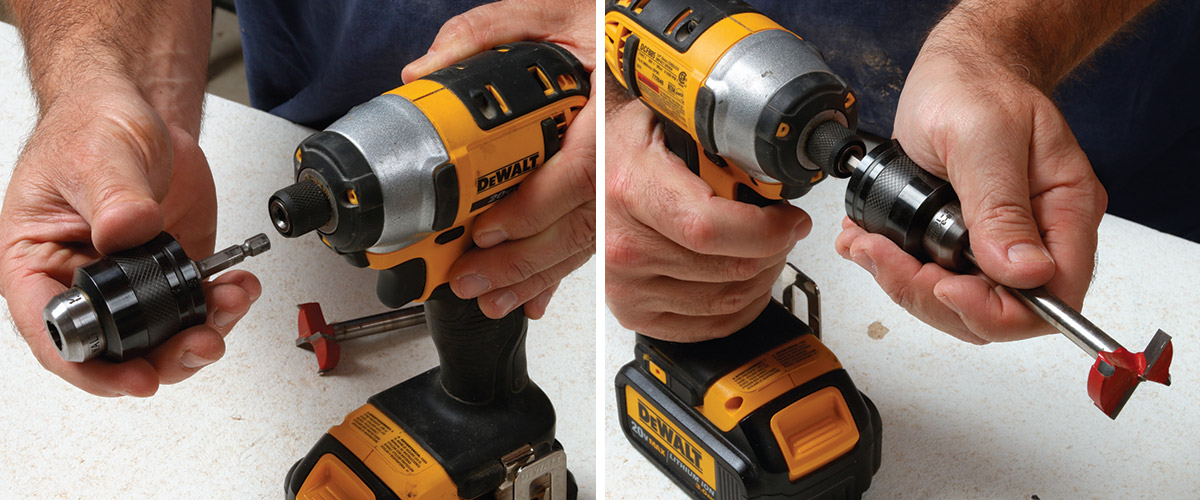
3. You might need this chuck. An impact driver only accepts hex-shanked bits, and my 1-3/8-in. Forstner bit has a round shank. An auxiliary chuck solves the problem.
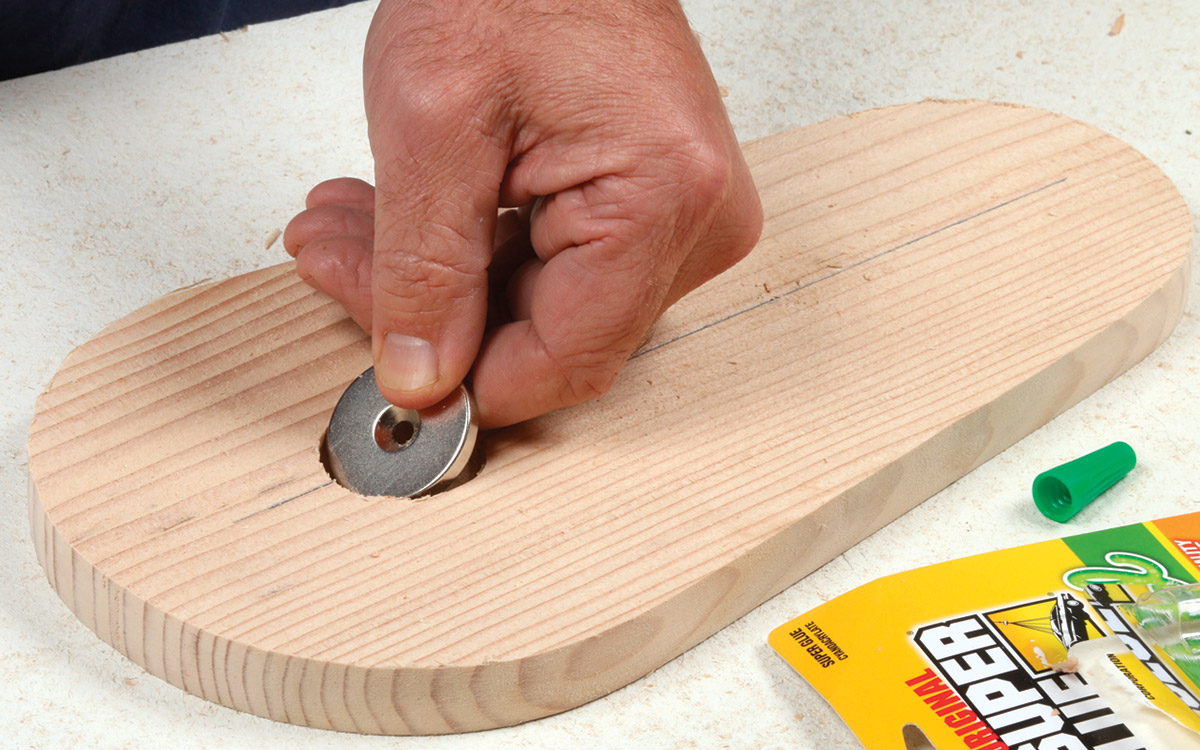
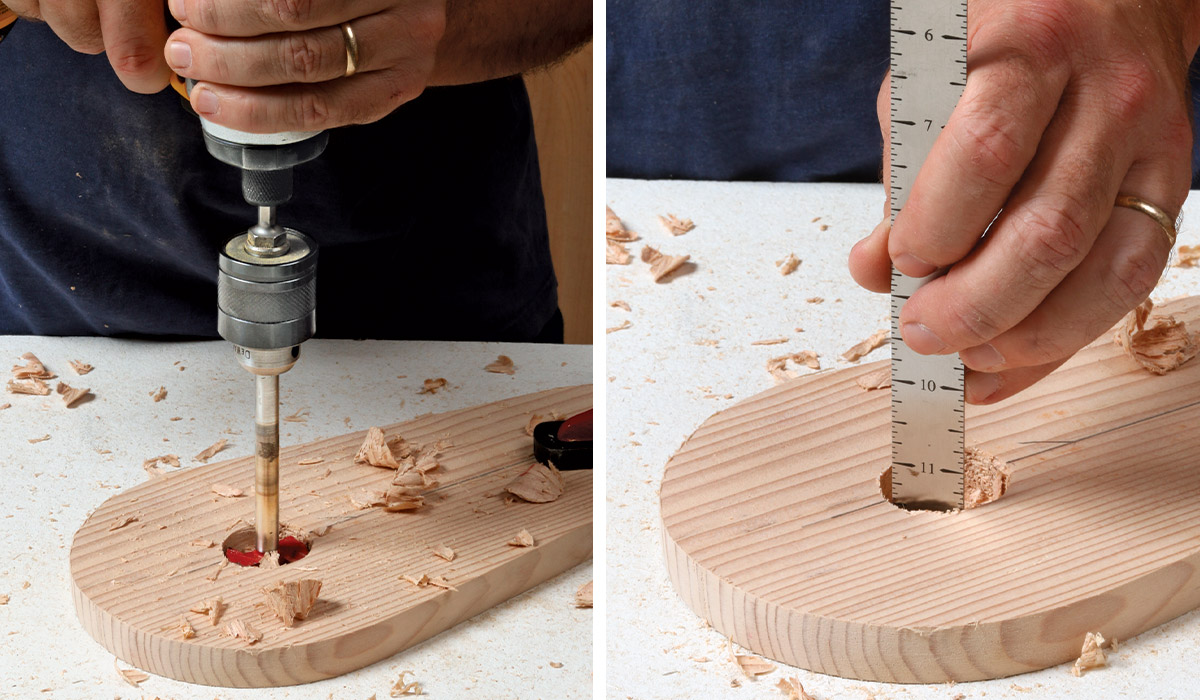
4. Drill as deep as you are. The deeper you go, the better the magnet will work. Use a 1-3/8-in. Forstner bit to drill almost through the board. Check the depth frequently to make sure you don’t drill through to the front!
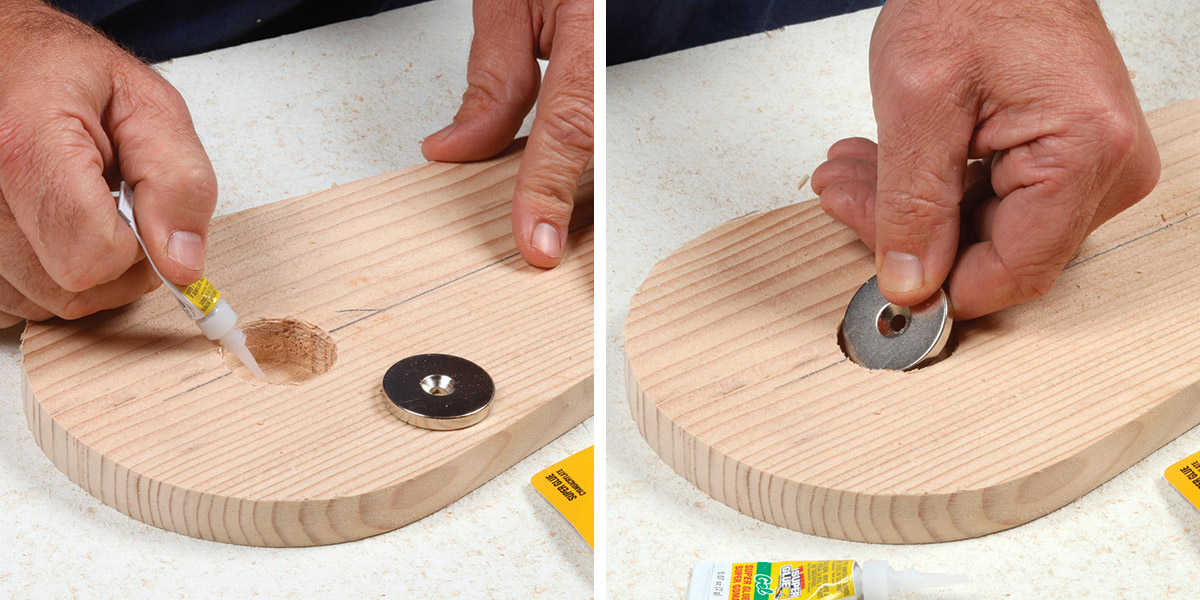
5. Glue in the magnet. Super Glue (cyanoacrylate glue) bonds both wood and metal just as well. Squirt some in, and then press the magnet down into the pocket.
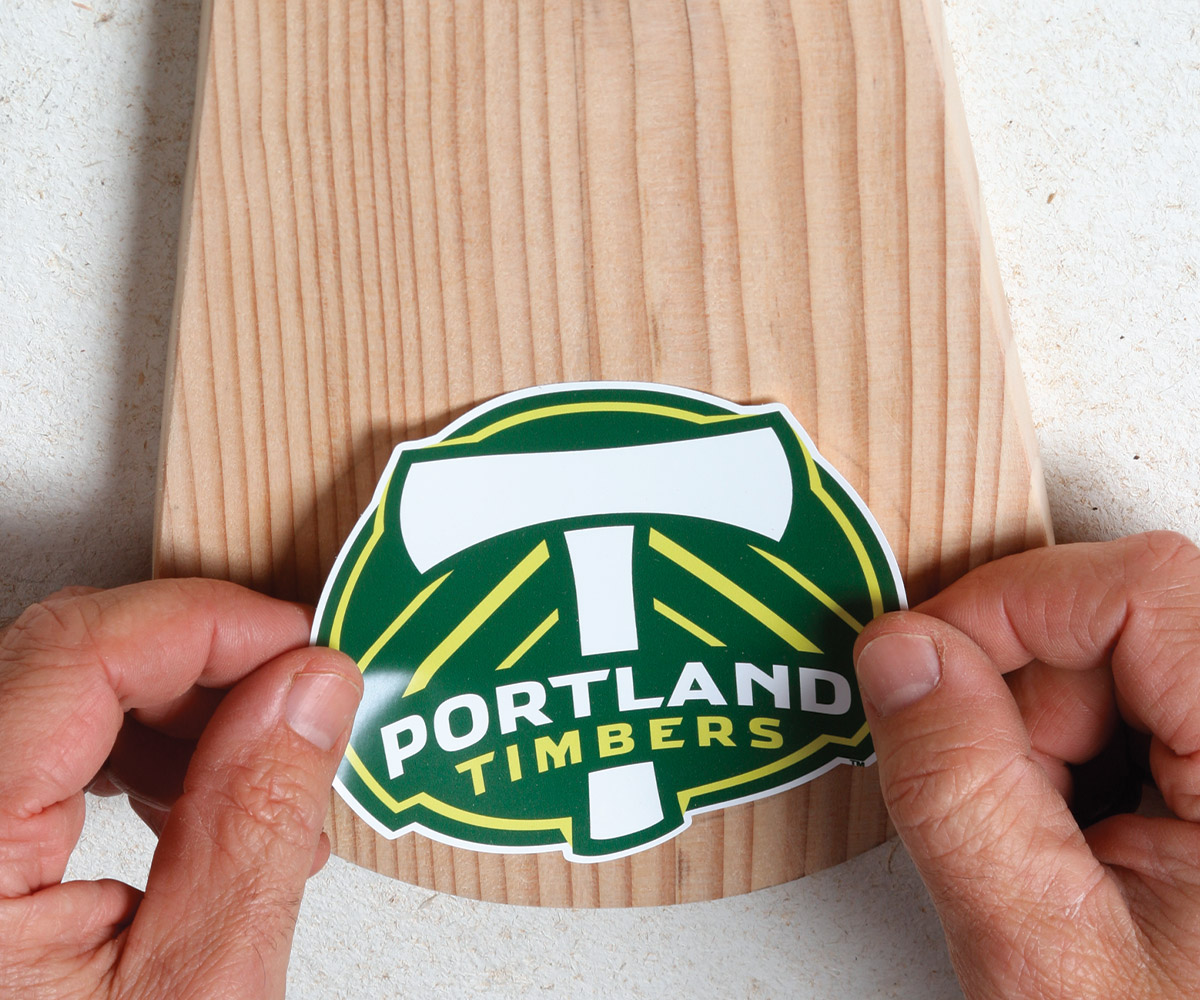
6. Stick on the stickers. If you look closely, you’ll see that faint circle in pencil, which helps me put the sticker in the right spot.
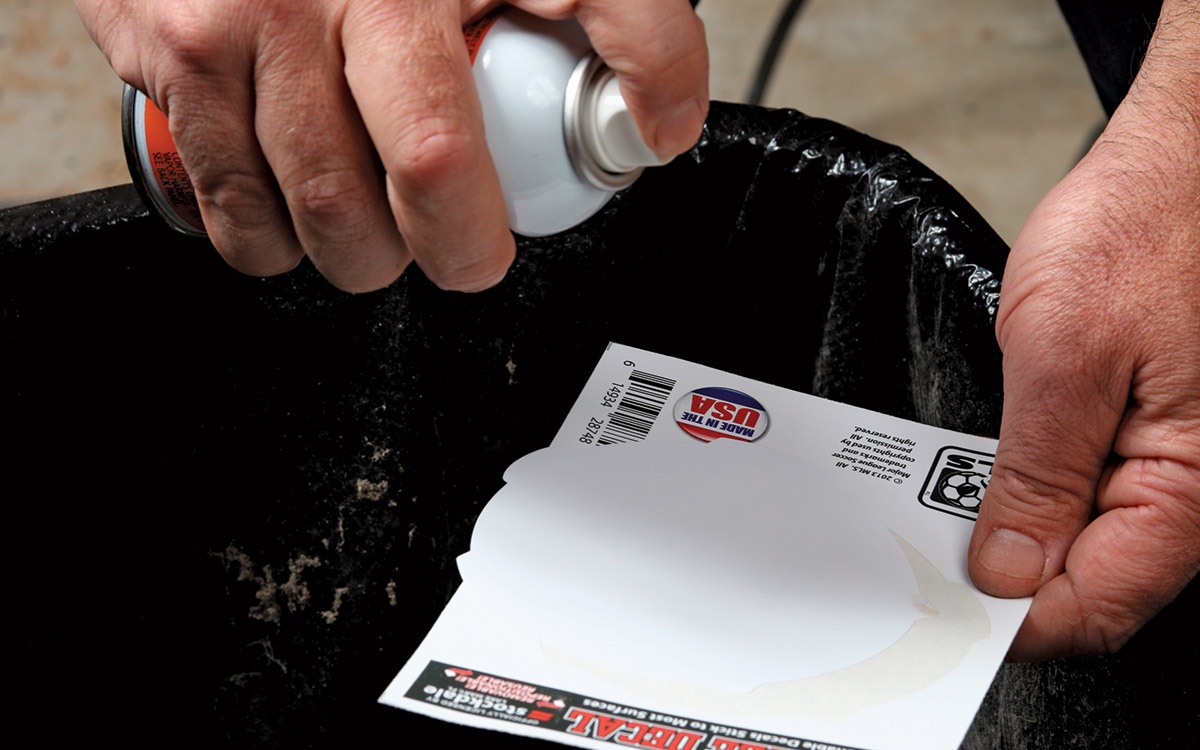
7. Some stickers need help. Mine is the moveable vinyl kind, which isn’t very sticky. So I sprayed the back first with contact cement, also called spray adhesive or craft spray.
Locate the hardware
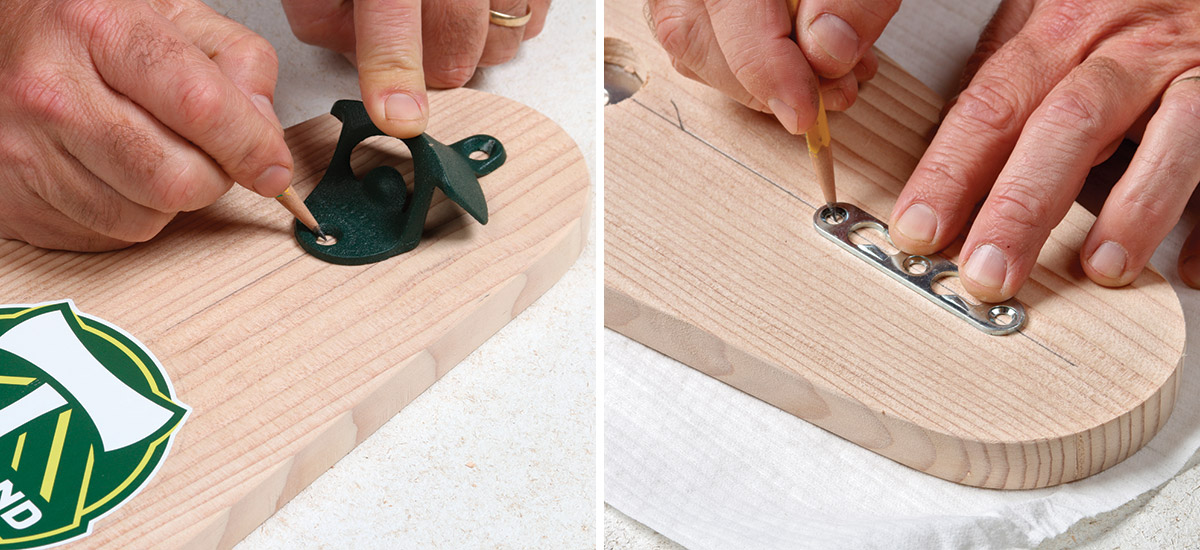
1. Locate the screw holes. Place the bottle opener on the centerline wherever it looks best and mark the centers of the holes. Then flip over the board and place the hanger plate (keyhole fitting) right behind the bottle opener, marking its holes, too.
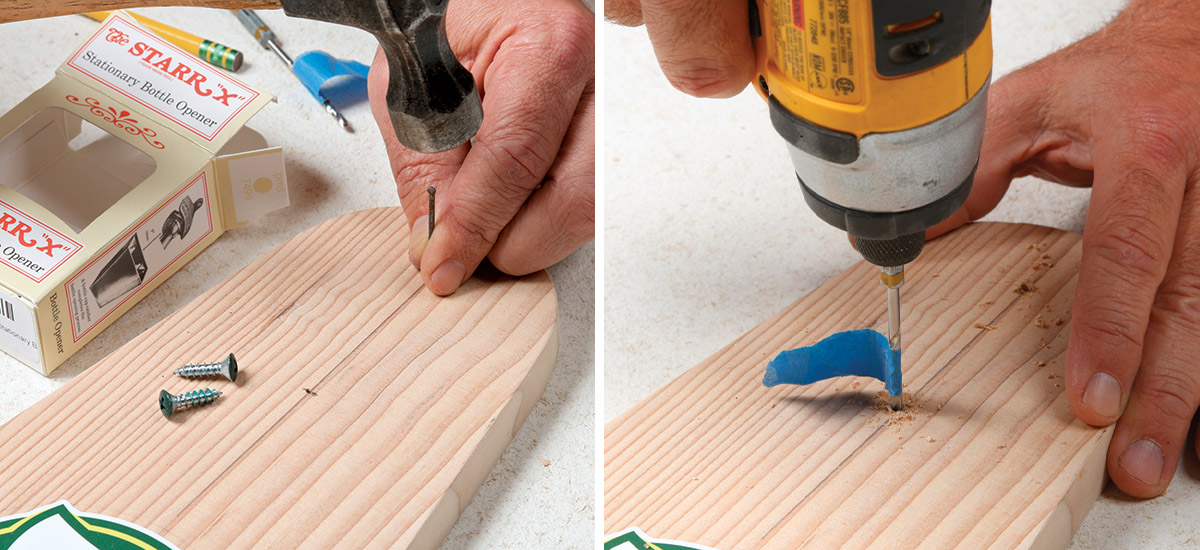
2. Predrill. First use a small nail to make a slight dent at each mark for the drill to follow. For these pilot holes, choose drills a bit smaller than the screws. Add a little tape flag to help you avoid drilling through the board. When the flag brushes the chips away, stop drilling. Love that trick.
Two quick coats of polyurethane
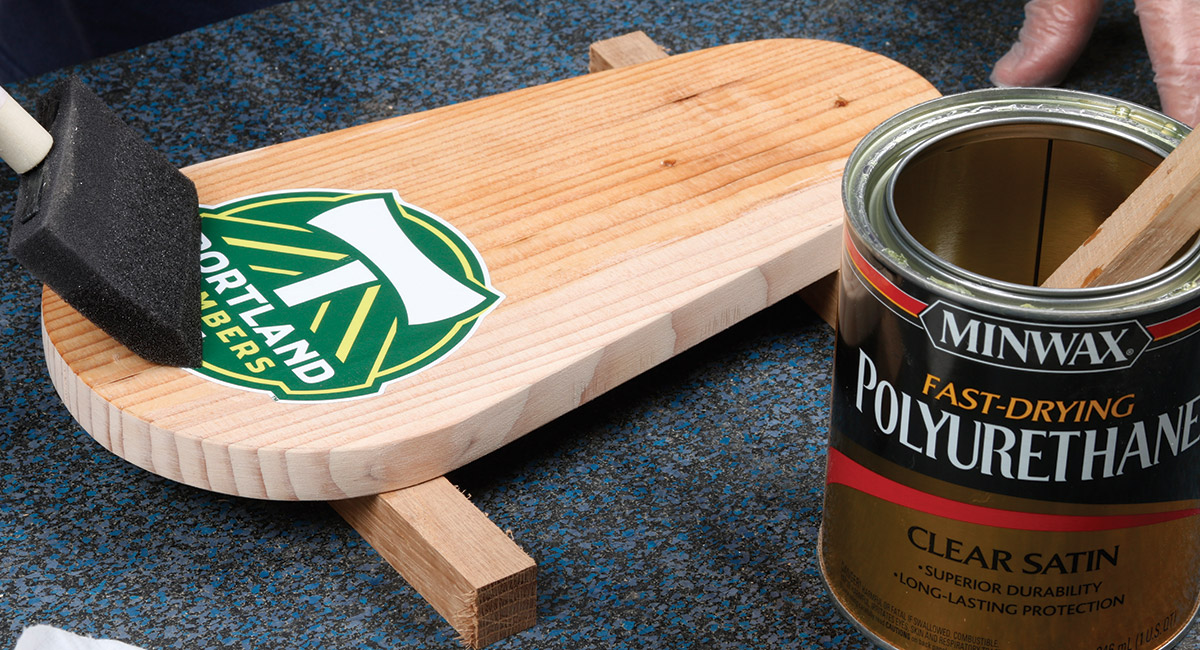
1. Brush it on. Get some oil-based satin polyurethane, stir it well, and brush it on smoothly with a foam brush. Do the top and edges, let it dry, and then flip the board and finish the back too.
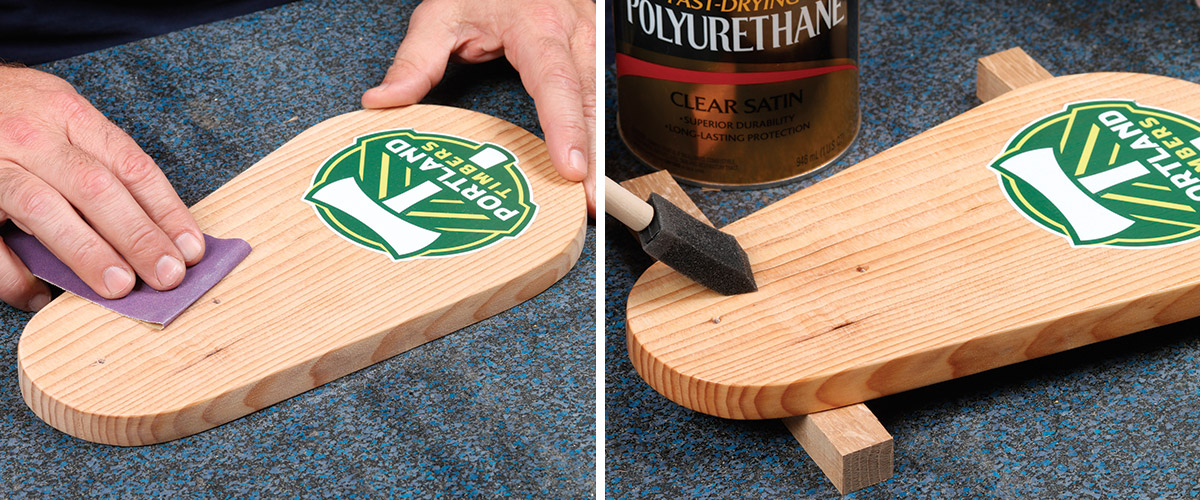
2. Sand and repeat. Using 220-grit paper, sand the wood areas lightly, wipe off the dust with a paper towel, and brush on one more coat.
Attach the hardware and enjoy
The rest is easy. With the finishing done, the hardware goes on quickly.
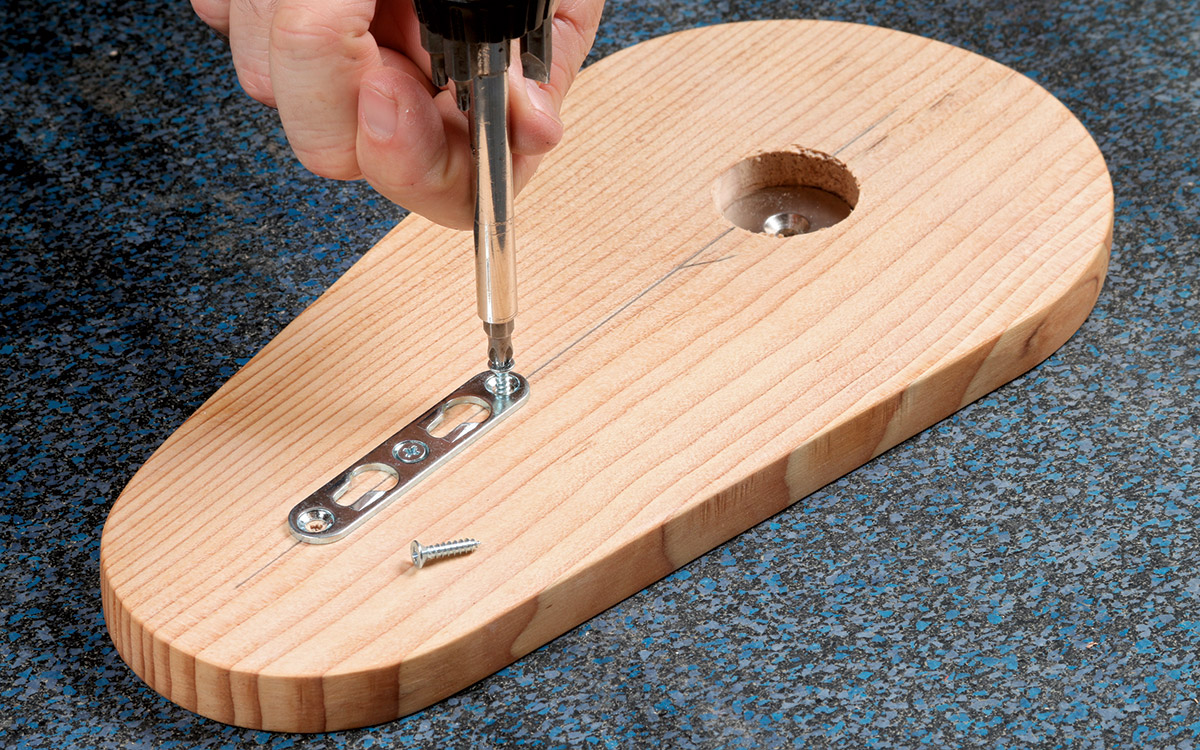
1. Screw on the hanger. This is a double keyhole fitting, for an extra-strong grip. You’ll also need to drive two small screws into the wall or side of a cabinet or wherever you want to hang the opener. The keyhole fitting will grab those screws firmly.
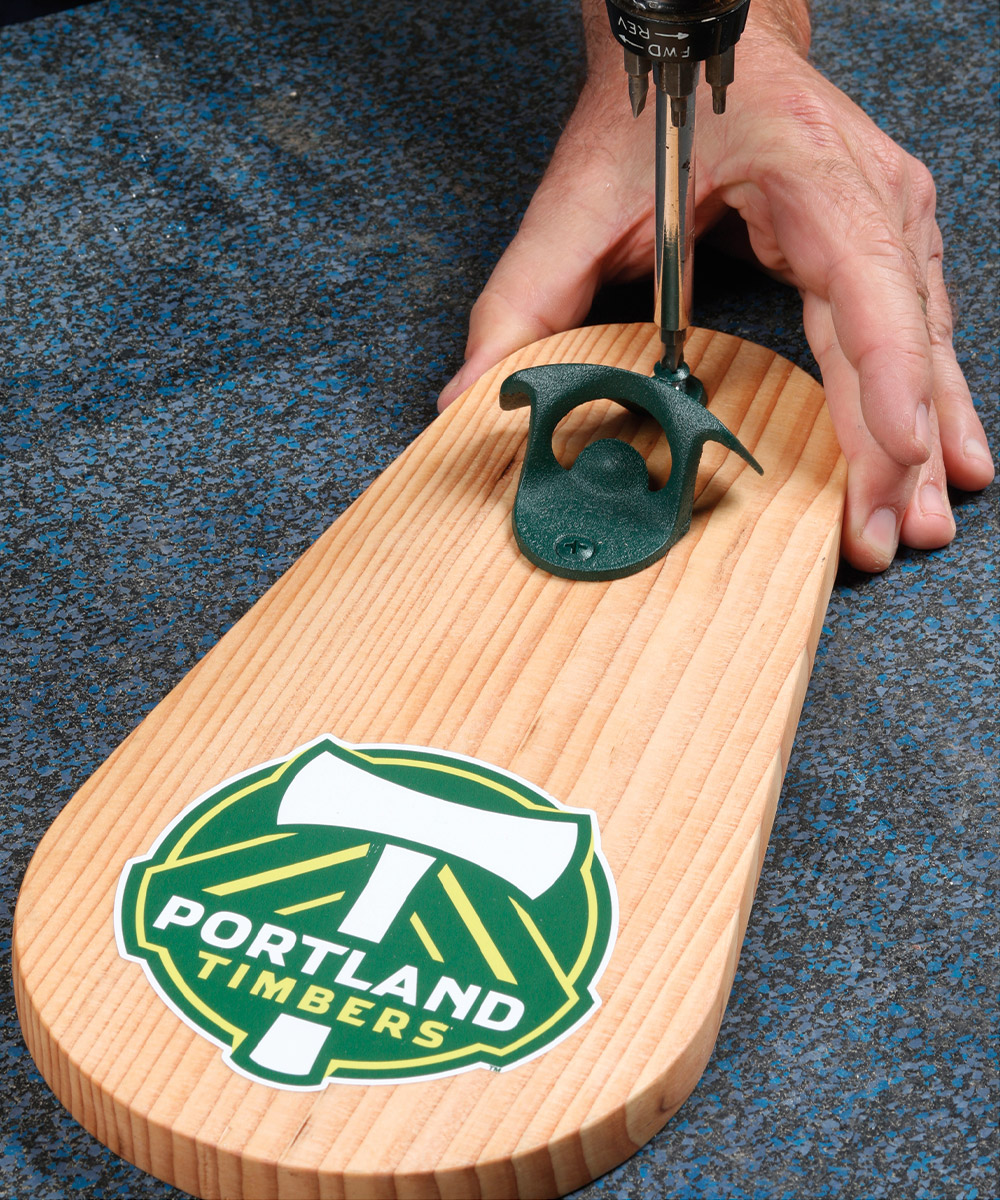
2. Now the bottle opener. This goes high on the front side, wherever you think it looks right. The pilot holes are already drilled, so the screws go in quickly.
3. Score! The caps get caught every time. It’s sure to amaze your friends.
Fine Woodworking Recommended Products

Suizan Japanese Pull Saw



Log in or create an account to post a comment.
Sign up Log in