How to Make a Standing Picture Frame
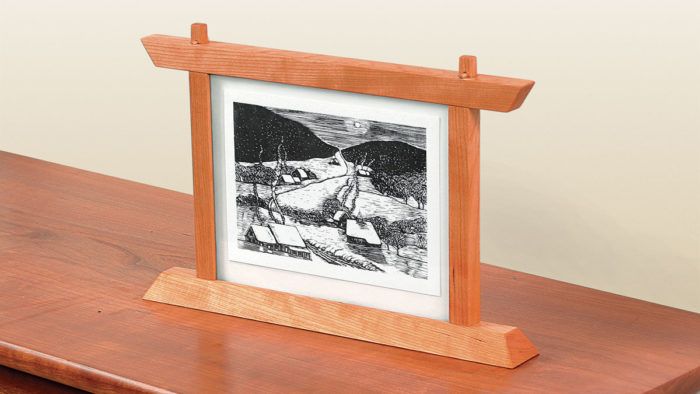
Turn the frame around to change the picture.

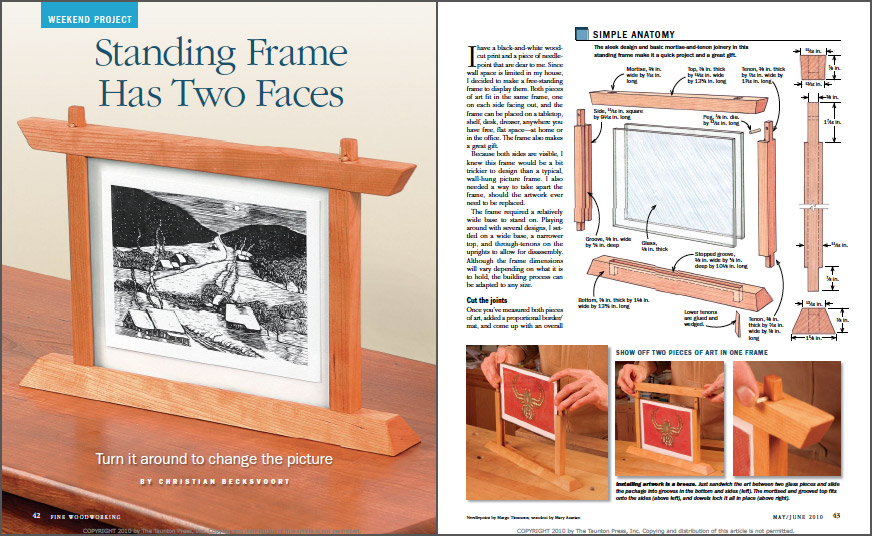
Synopsis: This freestanding frame allows the display of two pieces of art simultaneously on a tabletop, desk, or other flat space. It is designed to be easily disassembled to change artwork. The sleek design and basic joinery in this frame make it a great one-day project. It has a wide base, a narrower top, and through-tenons on the uprights. Grooves, bevels, and mortises are the basic construction method. Tenons, wedges, and pegs keep the frame together. Once you’ve made one of these frames, you’ll want a whole set in different sizes. Luckily, that will be easy to accomplish.
I have a black-and-white woodcut print and a piece of needlepoint that are dear to me. Since wall space is limited in my house, I decided to make a free-standing frame to display them. Both pieces of art fit in the same frame, one on each side facing out, and the frame can be placed on a tabletop, shelf, desk, dresser, anywhere you have free, flat space—at home or in the office. The frame also makes a great gift.
Because both sides are visible, I knew this frame would be a bit trickier to design than a typical, wall-hung picture frame. I also needed a way to take apart the frame, should the artwork ever need to be replaced.
The frame required a relatively wide base to stand on. Playing around with several designs, I settled on a wide base, a narrower top, and through-tenons on the uprights to allow for disassembly. Although the frame dimensions will vary depending on what it is to hold, the building process can be adapted to any size.

Cut the joints
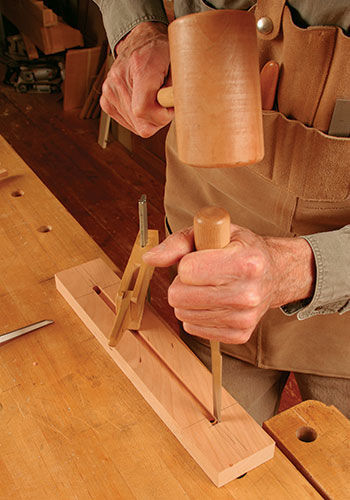
Once you’ve measured both pieces of art, added a proportional border/ mat, and come up with an overall dimension, you can rough out the frame parts for the base, the top, and the two sides. Use a drill press to rough out the mortises in the top and the base.
Cut the through-grooves in the two sides, and then move on to the stopped grooves in the top and bottom pieces. The grooves line up with the mortise holes and run between them.
Square up all four mortise holes in the bottom and top. Both the top and bottom now have a groove centered on the wide faces, ending at the square mortises.
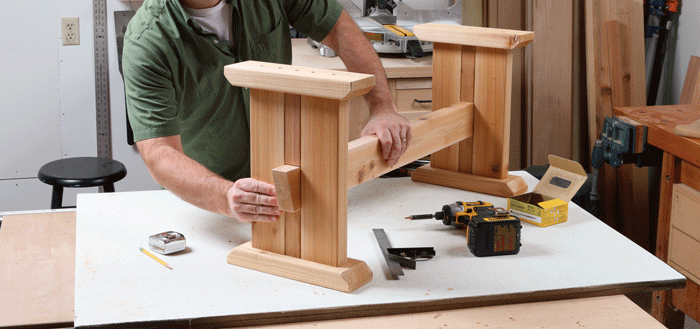
Cutting tenons on the sides of the frame is the last structural operation. With only one height setting, I cut the tenons on the tablesaw using a wide dado blade. Small bevels on the tops of the tenons make the frame easier to assemble.

From Fine Woodworking #212
To view the entire article, please click the View PDF button below.
Fine Woodworking Recommended Products

Suizan Japanese Pull Saw


Comments
I just made a version of this frame, but had to modify the plan as a wall hanging version was needed. I used 7/8 x 1.25" stock and decided on a 2" wide french cleat as the hanger, routing a scant 1/4" deep 45 degree chamfer centered on either side of the top beam to lock into the cleat. I added a reverse curve to the upper and lower beams to give the frame an oriental tea house kind of look. Would post a pic, but this comment window does not appear to permit that. The tusk tennon wedged top mortise is a cool solution. Thanks Christian Becksvoort. Great to stand on the shoulders of giants.
Frank Hruby
Here is a link to my gallery where I have posted Pics of the Oriental teahouse style picture frame:
https://www.finewoodworking.com/share/viewproject/267714
Really nice job, thanks for sharing your variation on this beautiful frame.
Log in or create an account to post a comment.
Sign up Log in