Where to Build
Woodworking all starts with setting up shop, which is nothing more than creating some space and storage (and buying a few key tools).
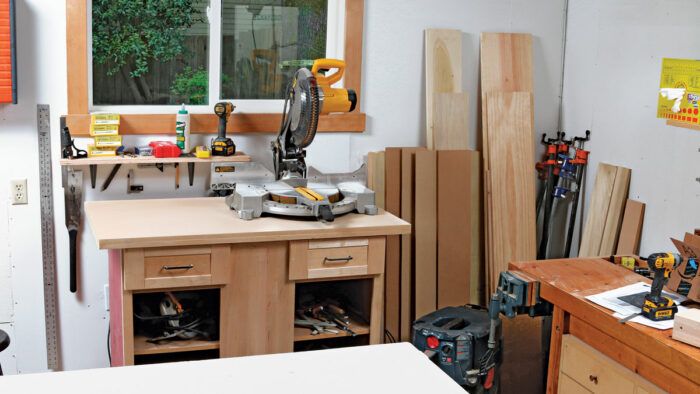
Brighten your corner. You can build projects in an 8-ft. by 10-ft. space or less. White walls and a window will brighten up the place. Add some shelving and a couple of worktables and you’re ready to roll. In the next chapter, we’ll use a surplus kitchen cabinet to build the rolling workstation you see below the window.
You can build all of the projects in this guide in a very small area. You’ll need at least one sturdy table or workbench, but two will be better. One of your main tools will be a miter saw, which is a benchtop power tool, and it’s nice to be able to keep it on a table ready to go.
The other table is for building and assembling projects. Whether you are drilling holes, cutting plywood, driving screws, or whatever, it’s usually most comfortable to work at waist height.
On the walls, I’m not a huge fan of pegboard or cabinets. I find simple shelves to be a lot more convenient. If there is drywall on the walls, be sure to find the studs and screw into those when attaching shelves. In a basement, you’ll need to first attach some 2x4s flat to the concrete wall using powder-actuated nails (available at any home center), and then attach the shelves to those.
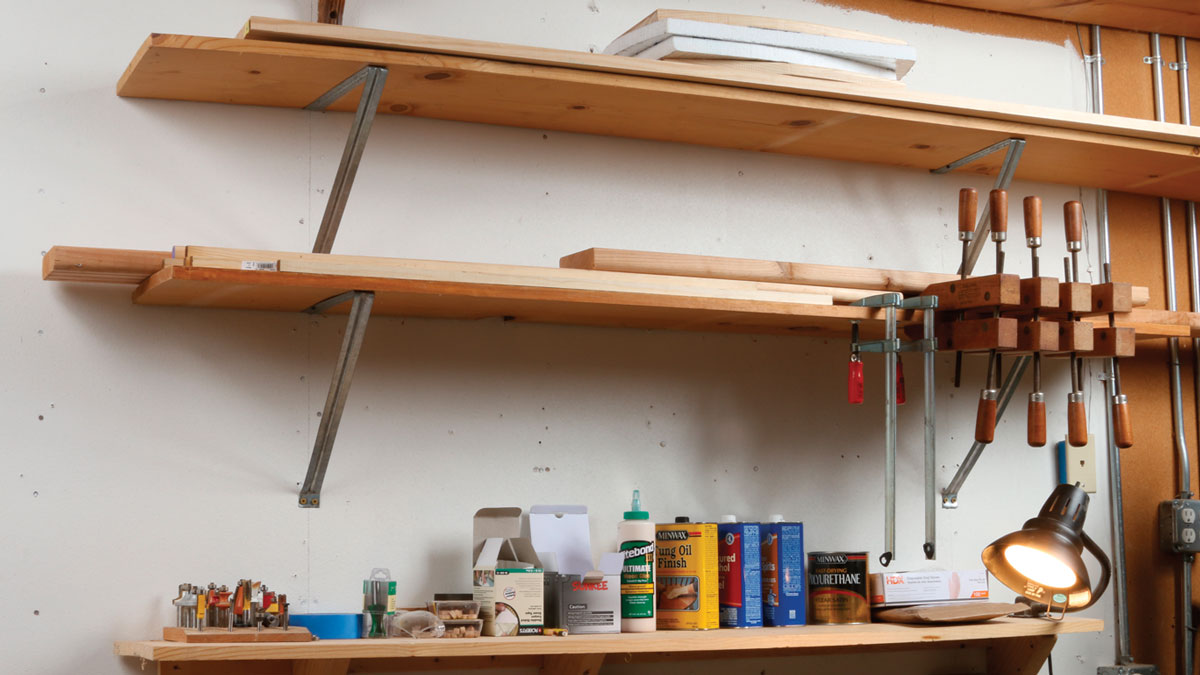
Wood shelves are great because you can stack lumber and supplies on them, drill and saw through them to create tool holders, and store your clamps on them, too, by simply clamping them on.
By the way, it’s nice to have a window or two for natural light and the occasional view of the wide world. We moved out of caves for a reason. Also, a can of white paint goes a long way. White walls reflect light and will make your garage or basement much brighter without buying a single bulb.
 |
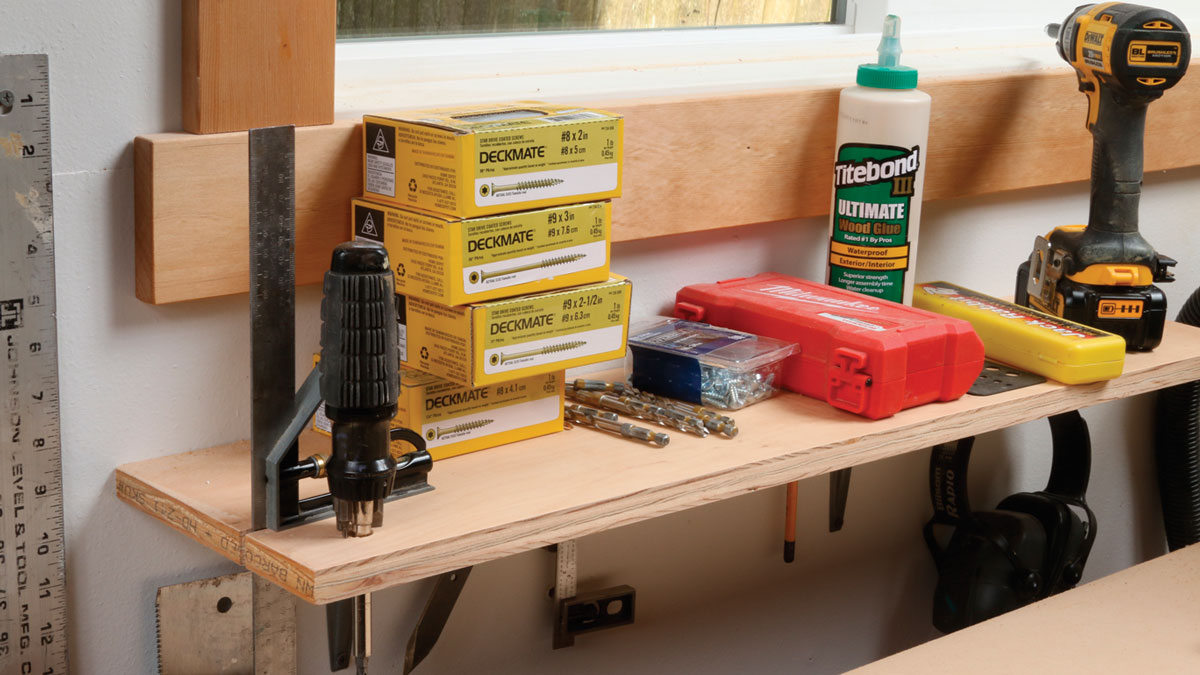 |
Wood shelves simple, effective storage. Shelf brackets are cheap and strong, and any boards will do. You can drill and saw shelves to create tool holders, pile boards and supplies on them, and attach clamps to them for storage.
Let there be light
I learned long ago that if you aren’t comfortable and can’t see well in your workspace, you won’t have as much fun there. You might even start to avoid it. On the other hand, if your shop area is well-lit and at least 55 degrees, you won’t hesitate to throw on a hoodie (or a snappy sweater vest) and spend time there. And you don’t have to spend much cash to make that happen.
Whether you are planning to work in a garage, basement, spare room, or steel shipping container, you probably don’t have enough light on hand for building things. Your goal should be nearly enough light to land a plane.
Seriously, though, you’ll be surprised at what a difference a flood of light makes. No matter where you are in your workspace, you’ll want to see fine print, tiny pencil marks, sanding scratches, and dripping finishes.
 |
 |

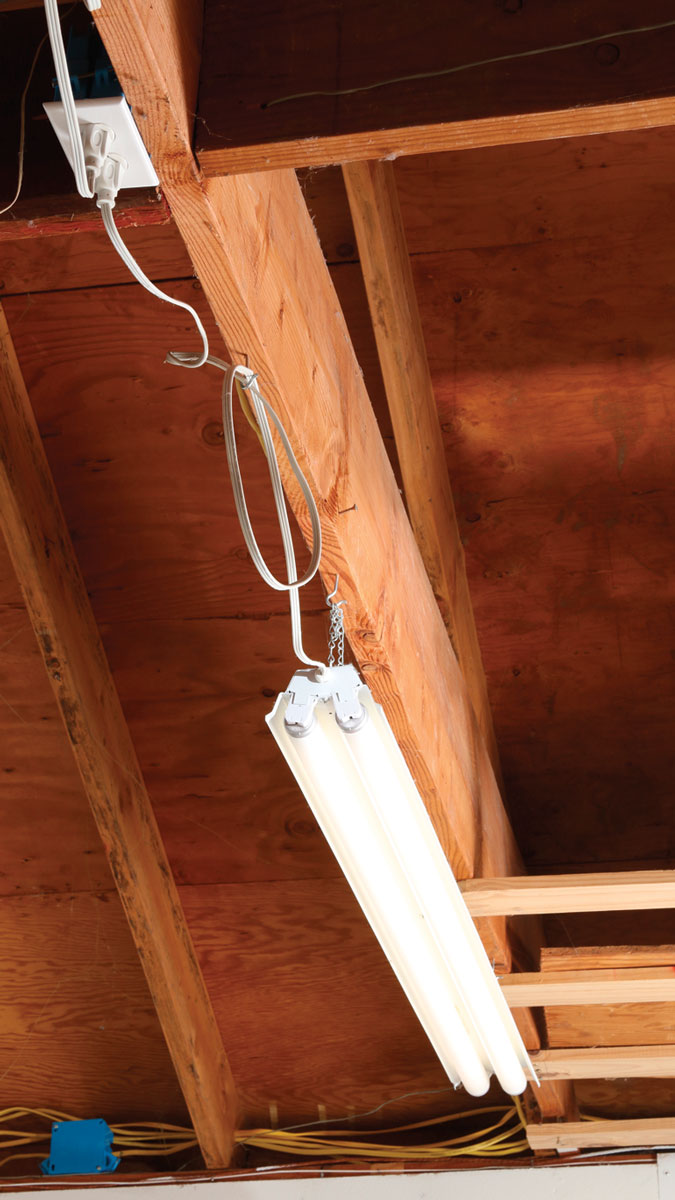
Don’t struggle in dim light. The easiest way to add a flood of light to your shop is to hang fluorescent strip lights (above left), which plug into normal outlets. If you can wire in some plain porcelain light bases, you can use long-lasting, energy-saving 100-watt LED bulbs (above). You’ll need a few more of those than you’ll need fluorescent tubes (above right).
But don’t fret, lights are cheap if you keep it simple. Good old-fashioned fluorescent fixtures are $12 to $20 each at the home center. Spend the $20 and you’ll get fixtures that run quieter and work in colder temps without flickering. The long fluorescent bulbs (“lamps”) will run you another $3 to $5 each. If your ceilings are low, consider getting fixtures with covers, to protect the bulbs from an accidental blow with a long board or pipe clamp.
Basic fluorescent shop lights have standard cords and plugs, so you or an electrician just need to add a few extra outlets to the ceiling and connect them to a switch. Or you can wire together all the fixtures and avoid the dangling power cords.
An even greener option is 100-watt LED bulbs, which screw into standard porcelain light fixtures. Again, you or your local electrician will need to do some basic wiring to mount lots of these fixtures on the ceiling, but LED bulbs throw color-correct light, plus they last much longer and cost less than fluorescent tubes in the long run. That said, the LED approach will be a little spendier than fluorescent fixtures, lumen for lumen (a measure of light).
Let there be heat, too
You don’t need your workspace to be at a steady 68 degrees year-round, but keeping it between 55 and 80 will be much more pleasant. Also, below 55 degrees, some wood glues and wood finishes won’t dry properly.
It isn’t hard to warm or cool a small space enough to be comfortable. You can cool down by opening a window, obviously, or using an air conditioner, but the more common problem is cold, especially north of the Mason–Dixon line.
If you are in a basement, spare room, or attached garage, you’re halfway home, literally, as you’ll soak up some warmth from the living spaces. Do as much insulating and weather-sealing as you can (or want to), and then try one of those electric oil-filled portable heaters. They do a nice job of warming up a small space, and at $40 or $50 at your local home center or department store, you can afford two if need be. They shut off temporarily when they get too hot, which is a nice safety feature.
For more extreme cold or bigger spaces, there are a number of other good solutions. My favorite is a direct-vent propane furnace that mounts on an exterior wall. They have a sealed burner, so wood dust is not an issue. Friends of mine in Southern states have installed very efficient wall-mounted heat pumps (like the units in hotels) that both heat and cool as needed, using electrical power.
The most romantic choice is a wood stove, which also eats up scrapwood. When I lived in New England, I had an old wood stove in my detached woodshop, and I loved the process of making a fire and feeding it during the snowy months as I enjoyed a Zen-like session of building things.
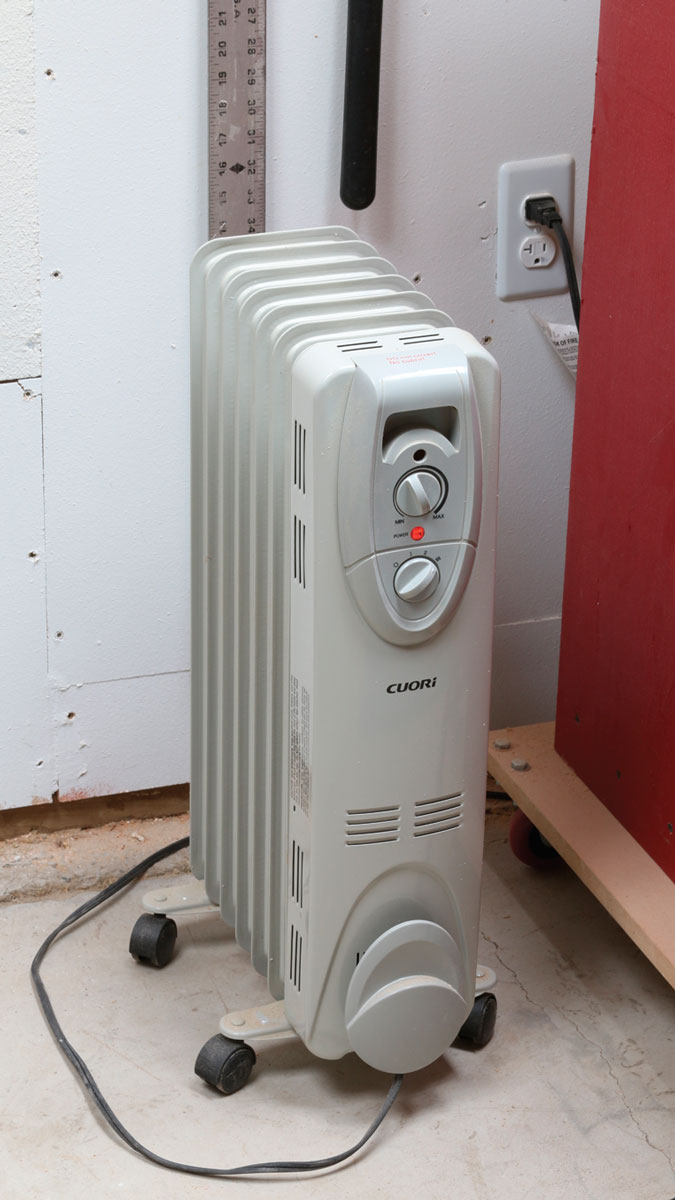
A little warmth for less. If your shop feels like an oven or a freezer, you’ll be less likely to spend time there. An oil-filled electric heater is a cheap and safe way to bring your basement or garage up to a more comfy temperature. At under $50 each, you can afford two. Make sure yours has an automatic shutoff to prevent overheating.


Log in or create an account to post a comment.
Sign up Log in