Making Tight-Fitting Trays for a Box
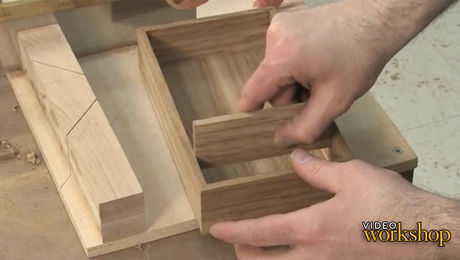
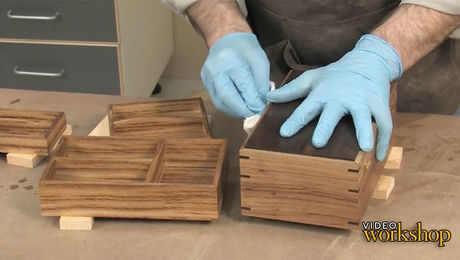
Learn how to cut and assemble small, piston-fit trays for the inside of a mitered box.
Videos in the Series
-
How to Make Mitered BoxesAugust 7, 2012
-
Resawing a Board for a BoxAugust 7, 2012
-
Routing Miters and Grooves for a Mitered BoxAugust 7, 2012
-
Cutting Mitered Dovetails for a BoxAugust 7, 2012
-
Cutting the Top and Bottom Panels for a Mitered BoxAugust 7, 2012
-
Assembly and Glue-Up for a Mitered BoxAugust 7, 2012
-
Installing Hinges and a Lift for a Mitered BoxAugust 7, 2012
-
Making Tight-Fitting Trays for a BoxAugust 7, 2012
-
A Tried-and-True Finish for a Mitered BoxAugust 7, 2012


Comments
Do you have any plans for the grooving plane? What size groove does it cut, and how much offset, and how deep? Thanks.
All of those variables are set by you when you make the plane. Here are the plans: https://www.finewoodworking.com/2011/04/07/make-a-pair-of-grooving-planes
Thanks for the great video. I really miss Matt, Asa and Ed. Gus, I liked your articles and podcasts, I and felt like I kind of knew ya. FWW lost when they let these gents go.
What a lovely box and drawers. I would finish the inside before gluing. Much easier and minimises squeezeout problems.
i am in the middle of making several jewelry boxes
my plan is copied from a Cartier humidor
the humidor sells for $3,000
that being said
i put two shelves in each box and
i spray the inside of the box and shelves with colored flocking and
paint the bottom red
also i spray flocking on the bottom outside of the box
it looks great and
covers ALLLLL your mistakes
thanks michael
An inspiring video. I like to finish as much as possible prior to gluing. It is easier and less staining from glue squeeze out.
Beautifully done. He makes it look easy.
Log in or create an account to post a comment.
Sign up Log in