A Dovetail Box with Wooden Hinges, Part 2
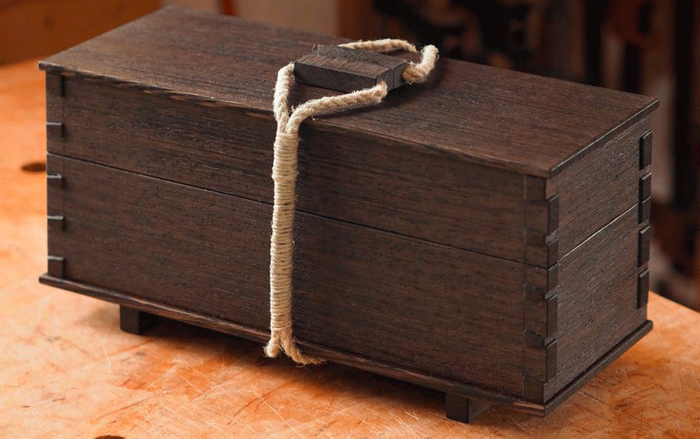
The dovetails typically shine in a box, but with this project the handmade wooden hinges take center stage.
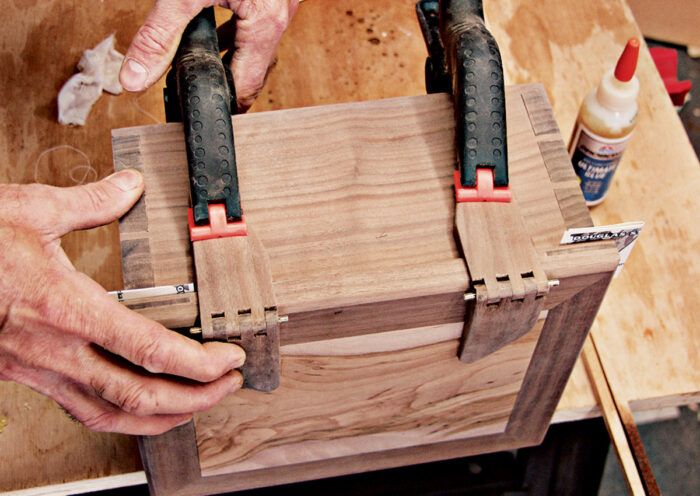
This is the second of two articles on making a dovetail box with wooden hinges. The first article explained how to cut the dovetails and assemble the body of the box. Here, we show how to build the base and lid and install shopmade wooden hinges.
Build a Frame-and-Panel Base
The lid and base of this box are made using a frame-and-panel technique. The base parts are mitered and assembled around a Baltic birch panel that helps reinforce the mitered joints.
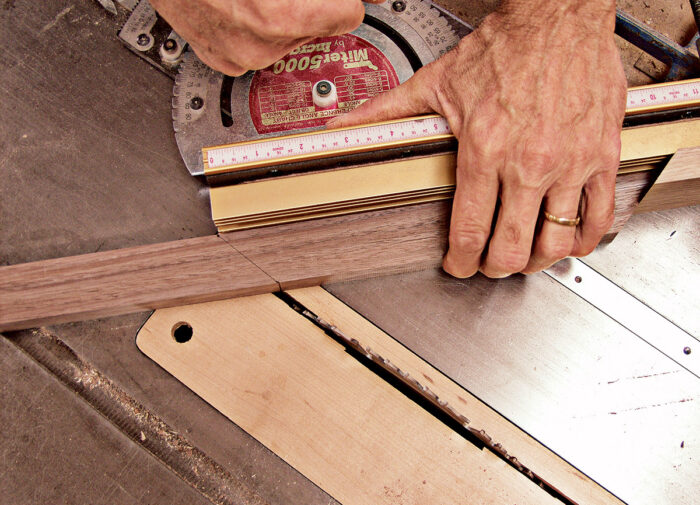
- Use a miter gauge on the tablesaw to cut the frame of the base to length. Use stop blocks to control the lengths of the parts and change the position of the stop blocks to cut each matching pair. A
- Cut 1-1/8-in.-deep grooves on the edge of each piece. Set the fence 7/16 in. from the blade and cut with the top face against the fence.
- Cut a piece of 1-1/8-in.-thick Baltic birch plywood to fit between the grooves cut into the base frame. The plywood panel will not only act as the bottom of the box, but also help to reinforce the miter joints on the base frame.
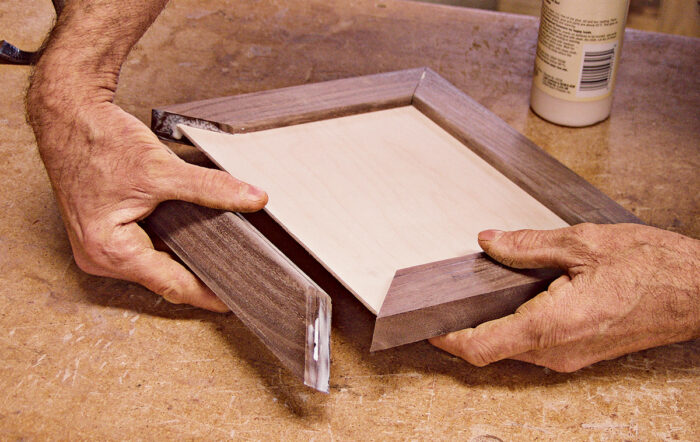
- Spread glue on the mitered surfaces and a bit extra into the grooves that house the bottom panel. To assemble the base, slide all the frame parts onto the bottom panel, then secure the corners with tape until the glue dries. B
- Route a 1/8-in.-deep rabbet around the perimeter of the base to adjust its size to fit within the interior of the box sides. This will allow the box to nest over the base and be easily glued in place after finishing. C
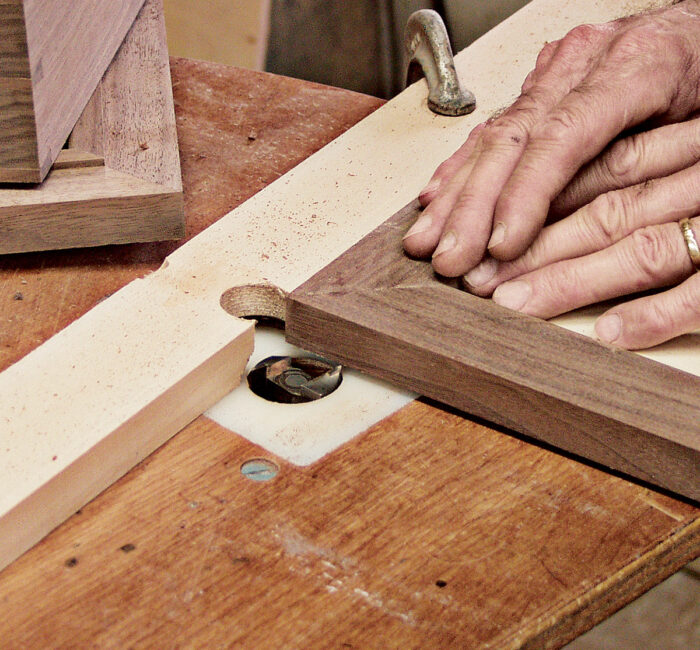
- Use a chamfering bit in the router table to shape the edges of the base. After the base is sanded and finished, it will be ready to add to the finished box.
A
 |
B
 |
C
 |
Make the Lid
The lid is similar in construction to the base, but because it uses solid wood as the panel material, a different method is required to secure the corners. I decided to use keyed miter joints at the corners of the lid frame, a technique used on many other boxes in this book. Rather than using a contrasting species of wood that would draw attention to the keys as a decorative element, I used walnut keys to match the walnut frame.
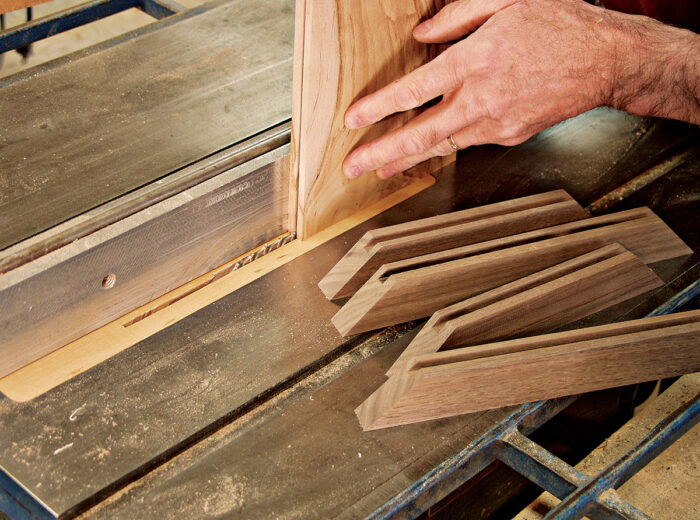
- Cut and miter the frame parts of the lid, then use a 1/4-in.-dado blade to groove the inside edges of each piece. This groove will house the hardwood panel set inside the frame. The saw should be set so that the blade height is 1/4-in. and the distance from the fence to the outside of the blade equals the thickness of the top panel.
- Once the panel is cut to size, you’ll need to cut a tongue to fit inside the grooves on the lid frame. Set both the distance from the fence to the inside of the cut and the blade height. To make the cut, stand the panel on end against the fence. Avoid tearout by cutting the end grain first, then the side grain. A
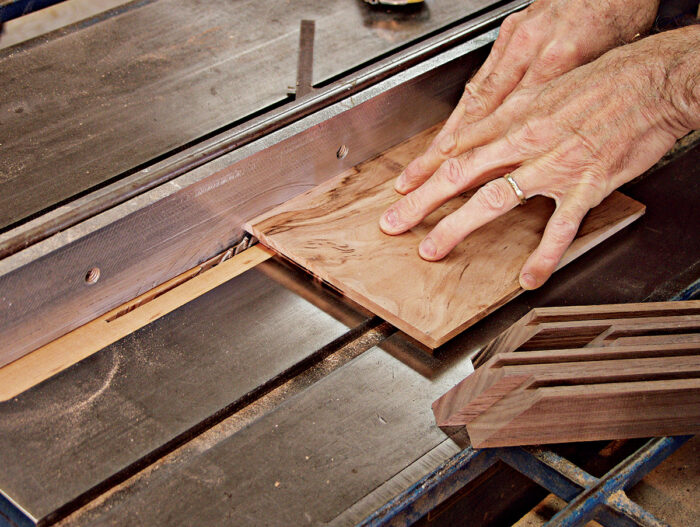
- Adjust the blade height so that it equals the measurement from the face of the panel to the cut made in the last operation. Change the location of the fence so that the distance from the outside of the cut to the fence is 1/4 in. Then finish rabbeting the panel (and forming the tongue) with the stock held flat on the saw. Again, cut the end grain first. B
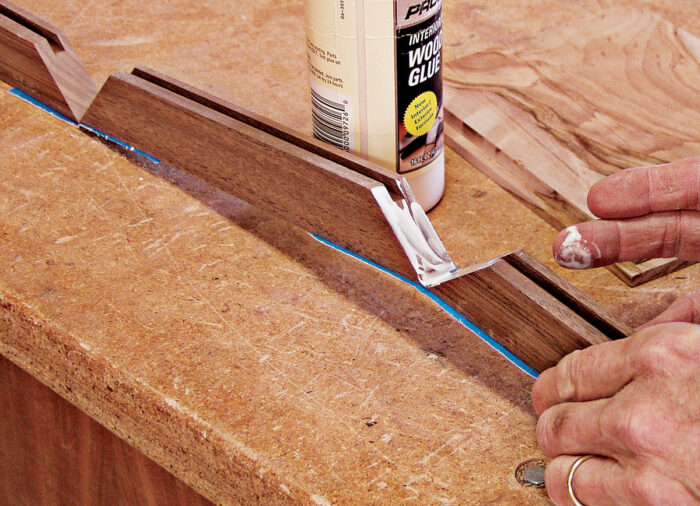
- Apply glue to the miter joints, then assemble the frame around the panel. Use clear packing tape to hold the corners in place. In this case, where you’re making a floating panel, it is best to avoid putting glue in the grooves used to house the panel. Gluing the panel in place would limit the freedom of the panel to expand and contract with seasonal changes in humidity. C
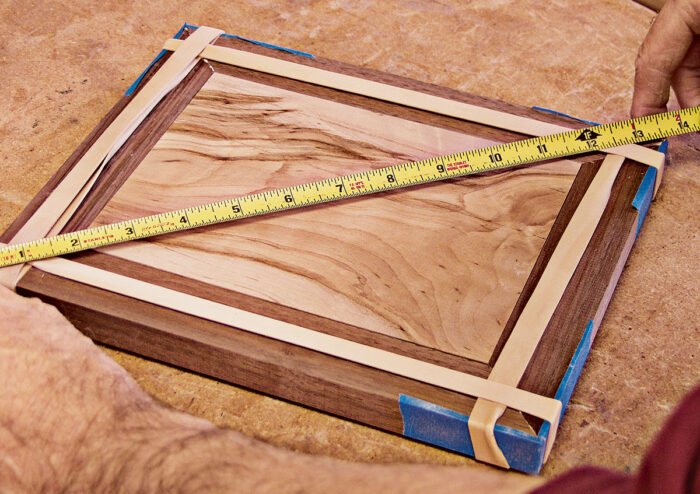
- Use rubber bands to pull the corners tight and double-check to see that the frame is square by measuring corner to corner from both directions. D
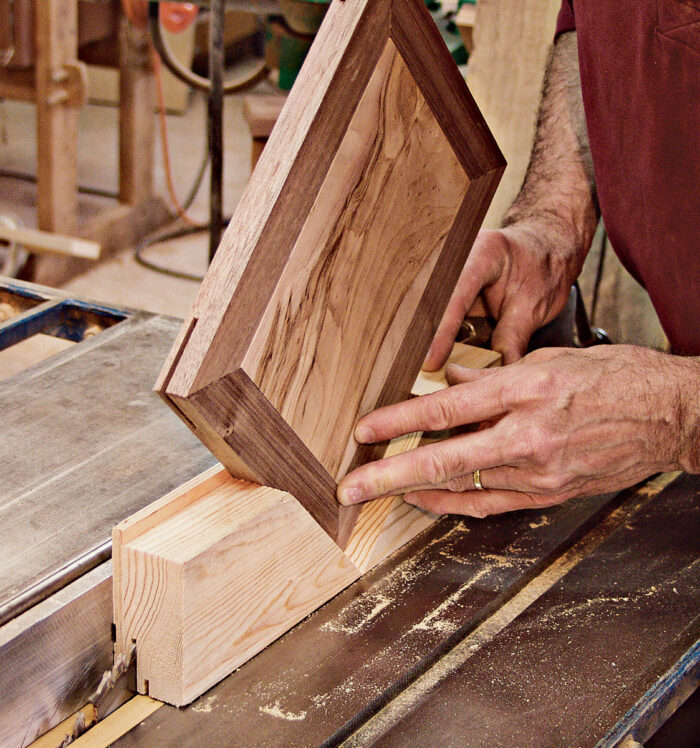
- Use a miter-key jig to hold the lid securely while the key slots are cut. E
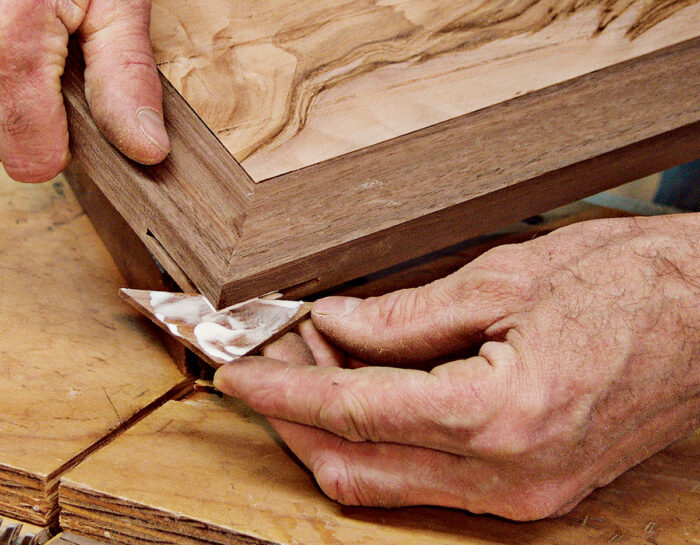
- Cut and insert miter keys in the key slots. After the glue has dried, sand the keys flush with the frame. F
- As a final touch to the lid, use a chamfering bit in the router table to shape the edges.
A
 |
B
 |
C
 |
D
 |
E
 |
F
 |
Install the Hinges
Shopmade wooden hinges are a nice complement to the handcut dovetails on the sides of this box. Making your own wooden hinges is also a straightforward operation. For more on making wooden hinges, see “Shopmade Wooden Hinges.”
Installing wooden hinges is a fairly simple, but you’ll want to make sure you don’t add unnecessary stress on the hinge barrel. Because wooden hinges can be fragile when subjected to stress, they must be positioned precisely and squarely so that they can move freely throughout the normal range of motion. It helps to have a place where they nest squarely built into the design of the box. I cut mortises at the back of the lid to help position the hinges. These mortises also provide a bit of overhang at the back edge of the box.
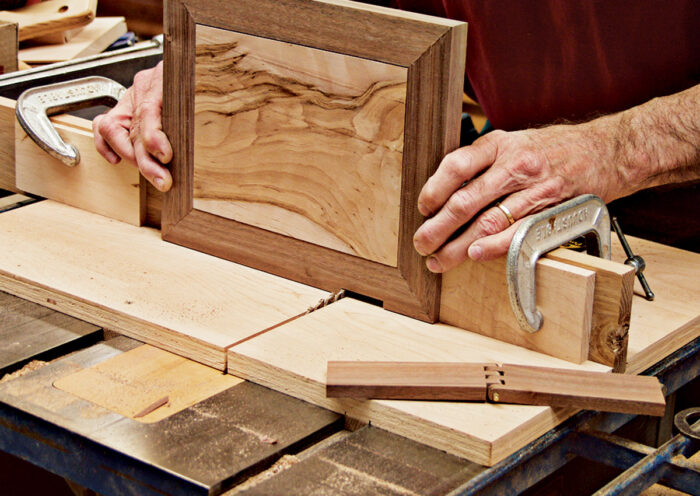
- Use a crosscut sled at the tablesaw to cut the recesses that will serve as mortises for the hinges. Begin by raising the blade to 1/4 in. (two-thirds the thickness of one leaf of the hinge) and clamp stop blocks in place on the sled to limit the range of cuts. To cut the first mortise, make a series of passes as you move the lid between the stop blocks.
- After cutting the first mortise, flip the lid end for end so that the opposite face of the lid is against the sled’s fence. Cut the second mortise using the method in step 1. A
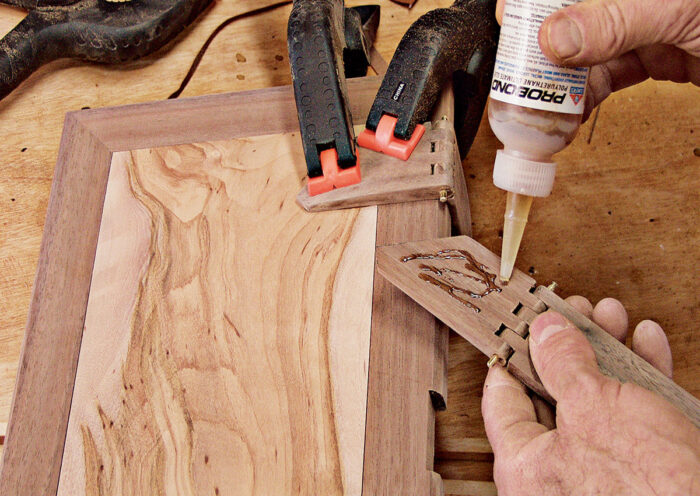
- Test the fit to see that the hinges nest tightly into the mortises on the lid, then secure them using polyurethane glue. Though polyurethane glue is strong and up to the task of affixing these hinges, it can also be messy, so use it sparingly. As the glue cures, it will seep out from the edges of the mortise. If the glue is still wet, you can clean it up with mineral spirits. Or you can simply wait until the glue hardens, then clean it up using a sharp chisel. B
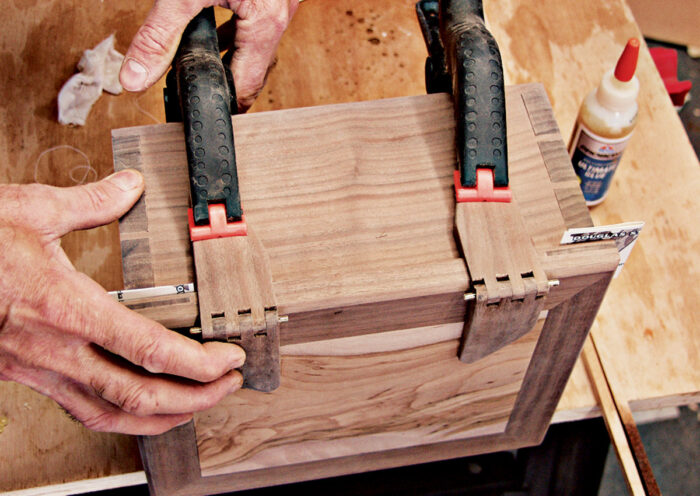
- Spread glue on the other half of the hinges and then clamp the hinges in place. Before clamping, I slide folded business cards between the lid and the box to provide a bit of clearance at the back of the box. C
A
 |
B
 |
C
 |
Finishing Touches
All sanding should be done to the box prior to installing the hinges, but the Danish oil finish should come after the hinges are glued in place. Use construction adhesive like Leech F-26 or Liquid Nails to attach the lid to the base. Use masking tape to hold the base in position while the glue dries.
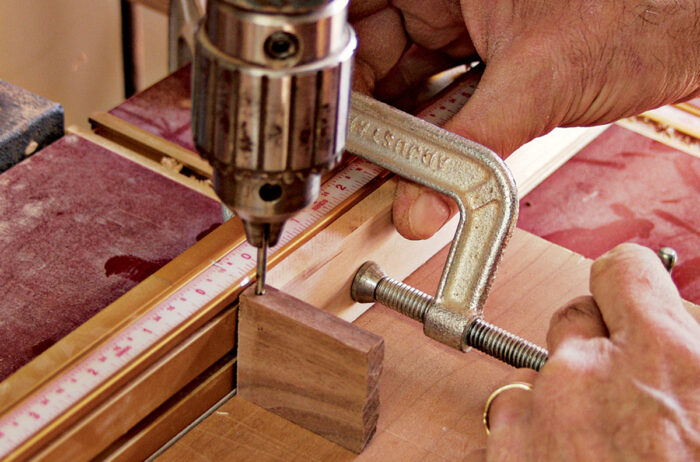
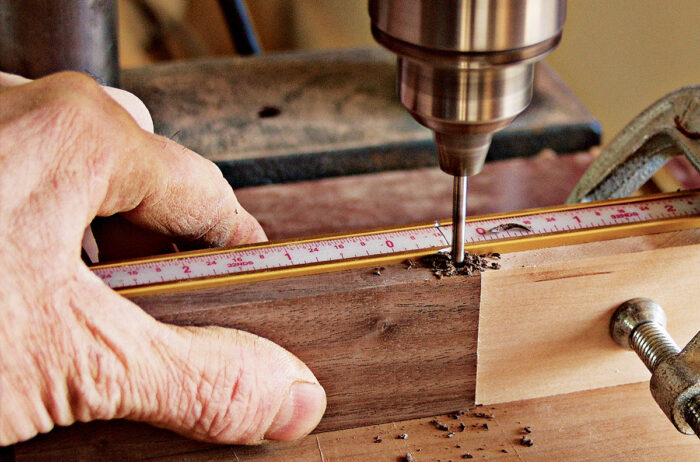
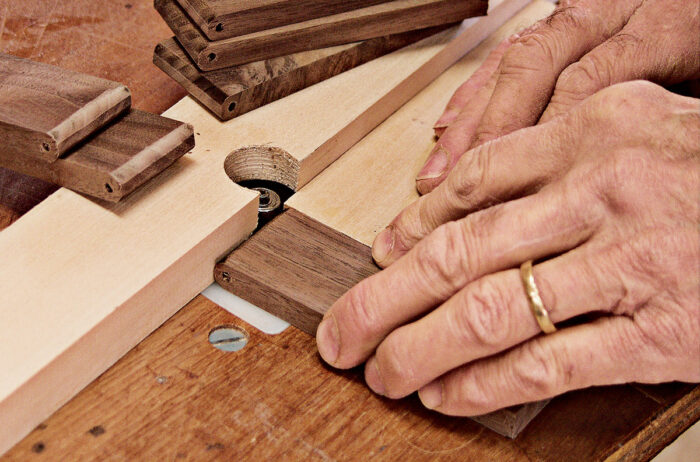
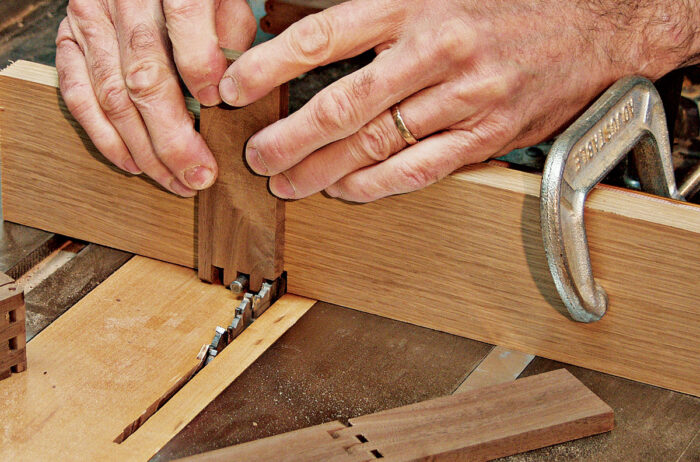
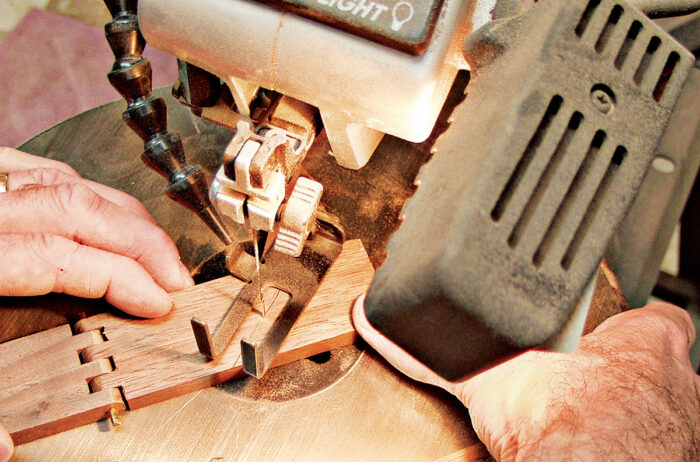
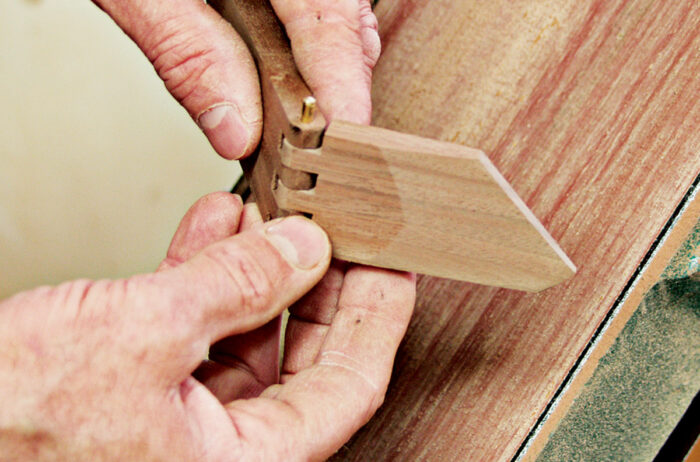
Shopmade Wooden HingesAlthough wooden hinges may not look right on every box design, they can be quite effective when you’re aiming for a more rustic look. But there are challenges in making wooden hinges—particularly in making wooden hinges that last. Wooden hinges—even large ones—are more fragile than metal ones. Also, as a wooden hinge passes through a range of motion any inaccuracies in the way it is machined can cause stresses that lead to failure. When that failure takes place on your highly crafted box, it can be most disappointing. For that reason, I prefer to think of my wooden-hinged boxes as recreational and experimental. If they last a few years to remind me of the fun I had making them, I consider them a success. Making a wooden hinge requires careful setup of your tools. I use a drill press outfitted with a fence to position the holes drilled in the barrel of the hinge. I also use a broken-off and resharpened 1/8-in. drill bit to drill the holes for the hinge pin. The reason I use a broken off bit is because longer bits often bend and wander as you drill. Shortening the drill bit lessens the amount of flex in the bit. |
|
A
 |
B
 |
C
 |
D
 |
E
 |
F
 |
 Excerpted from Doug Stowe’s book, Basic Box Making.
Browse the Taunton Store for more books and plans for making boxes.
Fine Woodworking Recommended Products

Suizan Japanese Pull Saw


Log in or create an account to post a comment.
Sign up Log in