An Elegant Jewelry Box
Hand-cut mitered dovetails make the best of a subtle design.
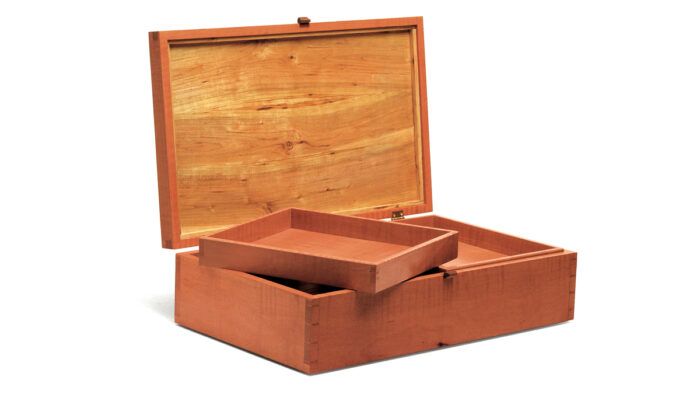
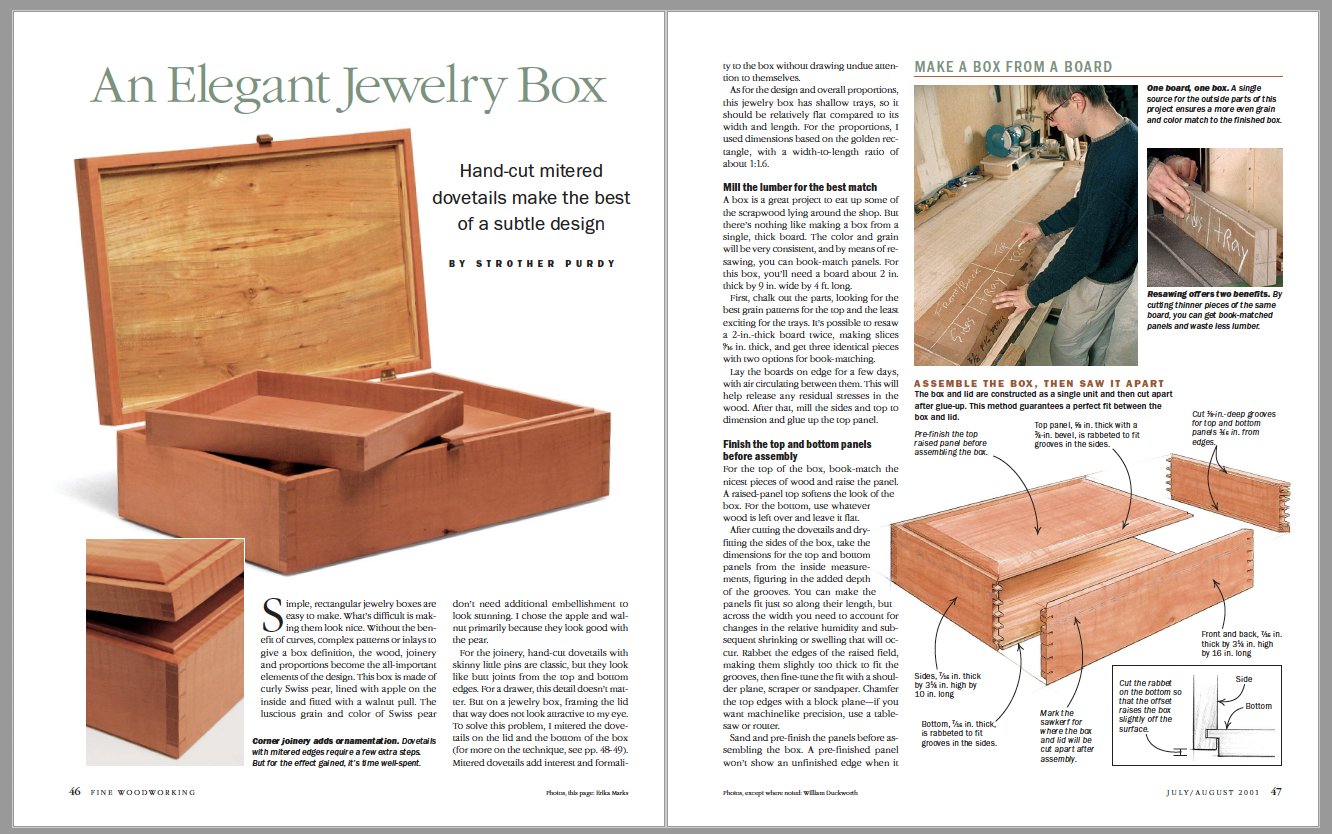
Synopsis: Strother Purdy provides tips on dressing up a plain-pin dovetail box that make it an elegant showpiece. He shows in detail how to display the wood grain to best advantage and how to miter dovetails on the lid and bottom of the box so they don’t look like butt joints. One of his other tips is to build the box and lid as a single unit and then cut them apart after glue-up. His article also explains how to line the box and dimension the trays for best use.
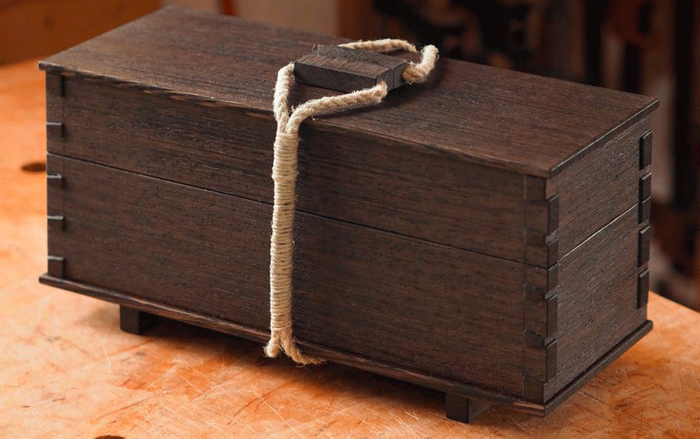
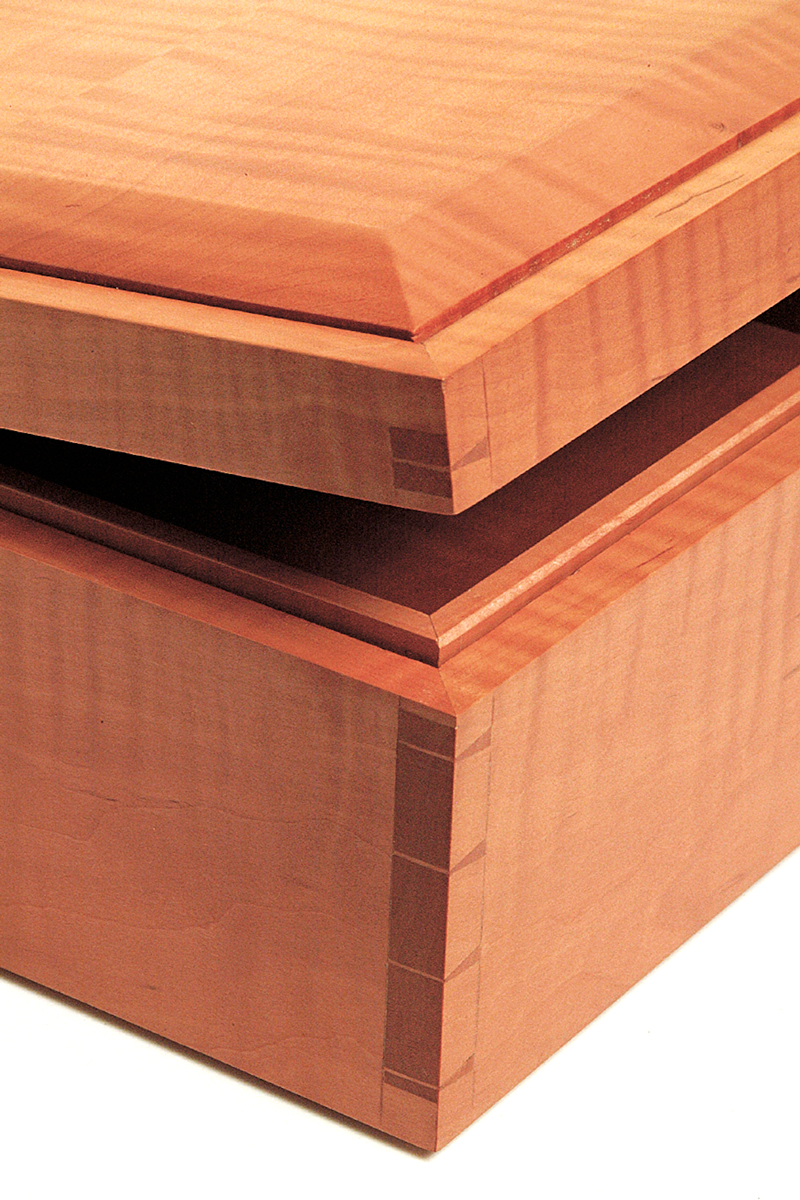 Simple, rectangular jewelry boxes are easy to make. What’s difficult is making them look nice. Without the benefit of curves, complex patterns or inlays to give a box definition, the wood, joinery and proportions become the all-important elements of the design. This box is made of curly Swiss pear, lined with apple on the inside and fitted with a walnut pull. The luscious grain and color of Swiss pear don’t need additional embellishment to look stunning. I chose the apple and walnut primarily because they look good with the pear.
For the joinery, hand-cut dovetails with skinny little pins are classic, but they look like butt joints from the top and bottom edges. For a drawer, this detail doesn’t matter. But on a jewelry box, framing the lid that way does not look attractive to my eye. To solve this problem, I mitered the dovetails on the lid and the bottom of the box. Mitered dovetails add interest and formality to the box without drawing undue attention to themselves.
As for the design and overall proportions, this jewelry box has shallow trays, so it should be relatively flat compared to its width and length. For the proportions, I used dimensions based on the golden rectangle, with a width-to-length ratio of about 1:1.6.
Mill the lumber for the best match
A box is a great project to eat up some of the scrapwood lying around the shop. But there’s nothing like making a box from a single, thick board. The color and grain will be very consistent, and by means of resawing, you can book-match panels. For this box, you’ll need a board about 2 in. thick by 9 in. wide by 4 ft. long.
First, chalk out the parts, looking for the best grain patterns for the top and the least exciting for the trays. It’s possible to resaw a 2-in.-thick board twice, making slices 9⁄16 in. thick, and get three identical pieces with two options for book-matching.
Lay the boards on edge for a few days, with air circulating between them. This will help release any residual stresses in the wood. After that, mill the sides and top to dimension and glue up the top panel.
 From Fine Woodworking #150
For the full article, download the PDF below:
Fine Woodworking Recommended Products
Drafting Tools

Blackwing Pencils

Stanley Powerlock 16-ft. tape measure


Log in or create an account to post a comment.
Sign up Log in