Build a Collector’s Case
Basic dovetailed project is loaded with character.

Synopsis: Details are what matter in this small collector’s case by Gary Rogowski. Protruding, shaped dovetails, side-hung drawers, and inlaid pulls create a strong impression. Yet the piece is simple to build. The dovetails are cut with a router and jig, and the drawers are rabbeted with shopmade runners. The final touch, inlaid diamond-shaped pulls, are cut on the tablesaw, then inset into the front with the aid of a router.
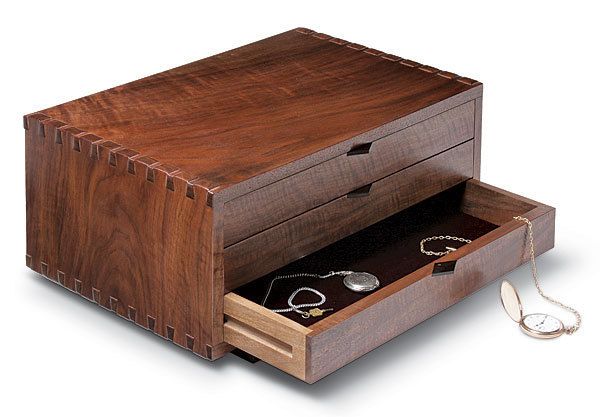
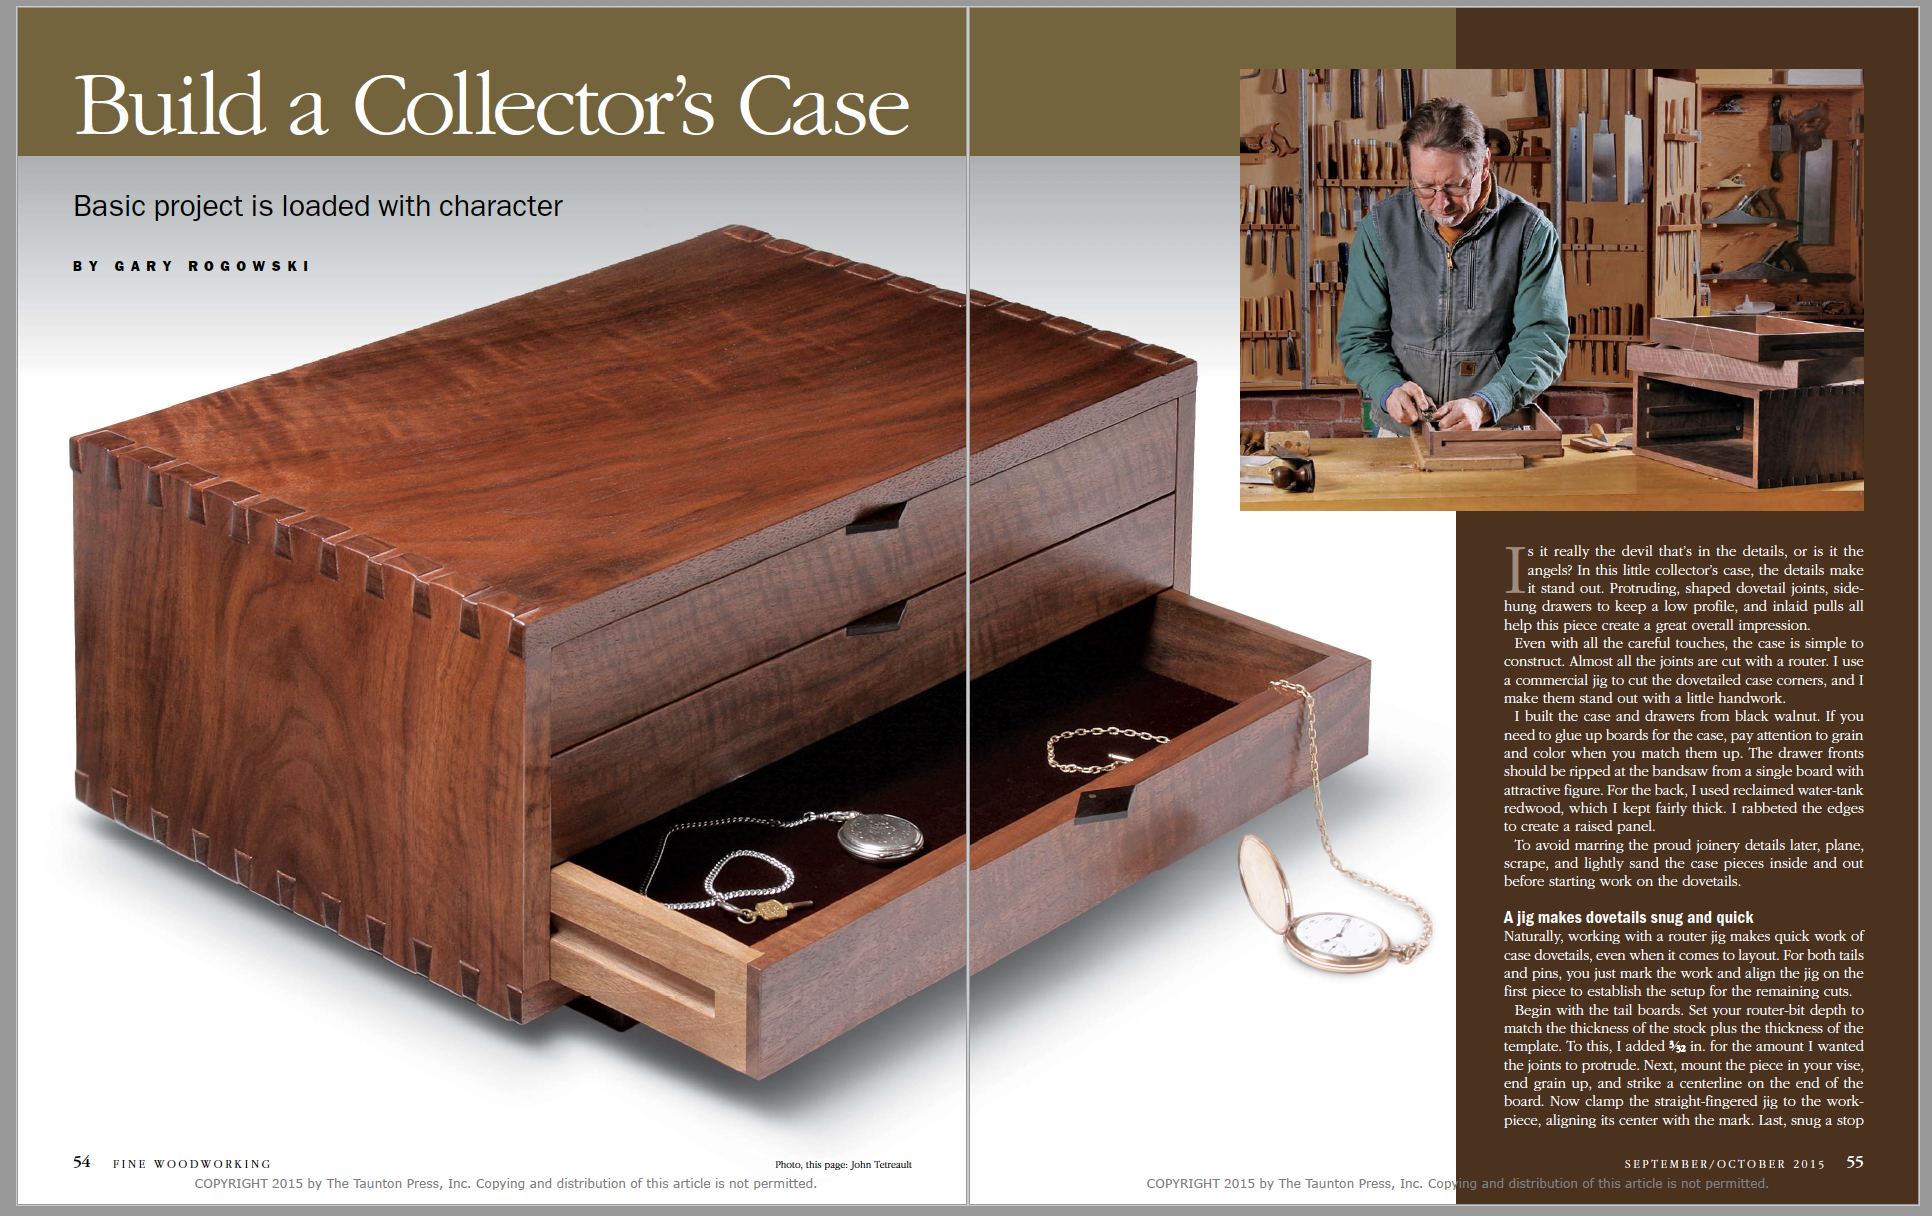
Is it really the devil that’s in the details, or is it the angels? In this little collector’s case, the details make it stand out. Protruding, shaped dovetail joints, sidehung drawers to keep a low profile, and inlaid pulls all help this piece create a great overall impression.
Even with all the careful touches, the case is simple to construct. Almost all the joints are cut with a router. I use a commercial jig to cut the dovetailed case corners, and I make them stand out with a little handwork.
I built the case and drawers from black walnut. If you need to glue up boards for the case, pay attention to grain and color when you match them up. The drawer fronts should be ripped at the bandsaw from a single board with attractive figure. For the back, I used reclaimed water-tank redwood, which I kept fairly thick. I rabbeted the edges to create a raised panel.
To avoid marring the proud joinery details later, plane, scrape, and lightly sand the case pieces inside and out before starting work on the dovetails.

A jig makes dovetails snug and quick
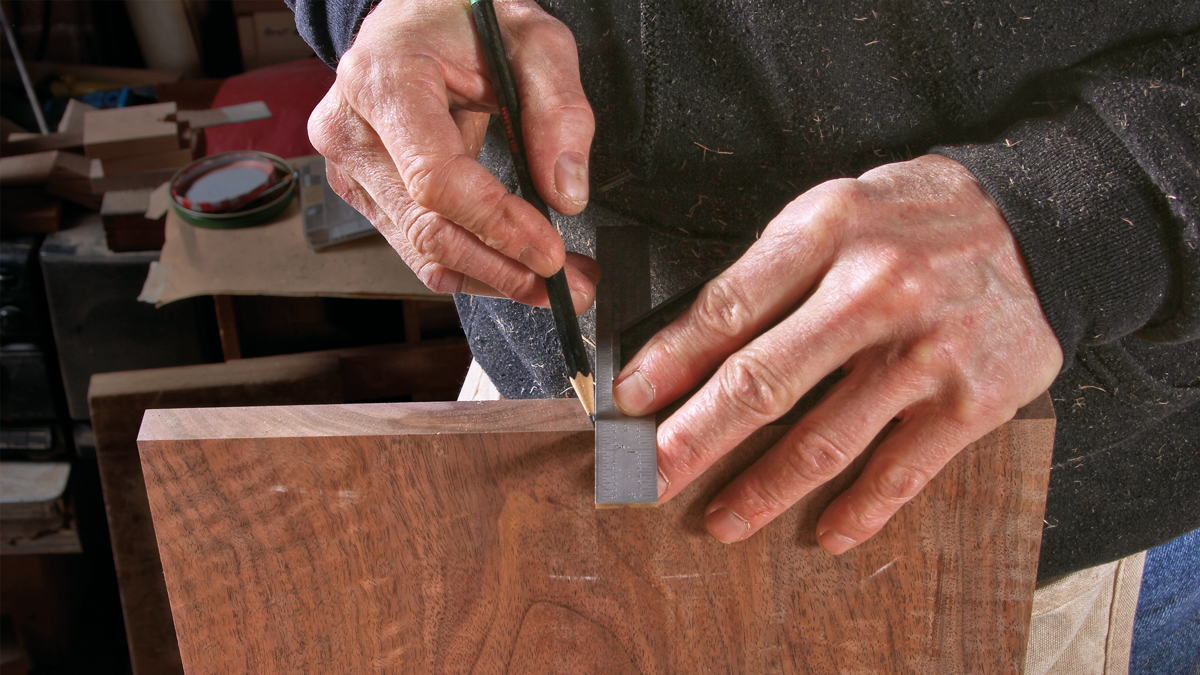
Naturally, working with a router jig makes quick work of case dovetails, even when it comes to layout. For both tails and pins, you just mark the work and align the jig on the first piece to establish the setup for the remaining cuts.
Begin with the tail boards. Set your router-bit depth to match the thickness of the stock plus the thickness of the template. To this, I added 3⁄32 in. for the amount I wanted the joints to protrude. Next, mount the piece in your vise, end grain up, and strike a centerline on the end of the board. Now clamp the straight-fingered jig to the workpiece, aligning its center with the mark block against the end of the workpiece and clamp it to the jig’s wooden cleat. After routing this first set of tails, the block will serve as a reference for locating the jig for all of the remaining tail cuts.
With the dovetail bit installed and set to the proper depth, set the router on top of the template to begin cutting. The bit’s guide bearing is sized for an exact fit between the jig’s fingers, so guiding the router is straightforward. Take care, though, not to lift the router or you risk damaging the jig.
 From Fine Woodworking #249
For the full article, download the PDF below:
Fine Woodworking Recommended Products

Festool DF 500 Q-Set Domino Joiner

Suizan Japanese Pull Saw

Blackwing Pencils


Comments
Why are the runners screwed in and not fully glued in place? Does this prevent binding in some way? Why the relief cut at the rear of the runners?
@Bilk, from looking at the article, the runner is installed across the grain of the case side. The case side will expand and contract across its width with seasonal humidity changes. The runner's length won't change though. Gluing it at the front only allows the side to get wider without the runner trying to restrain it. The back of the runner is recessed so the screw head doesn't foul the drawer. Notice there's a slot in the runner for the screw, too.
maybe should've tied off the drawers with dovetail joints as well. Just a suggestion; not criticism.
Log in or create an account to post a comment.
Sign up Log in