How to make hexagonal boxes
Clark Kellogg shows you how to dig out your attractive scraps and have some small-scale box fun.
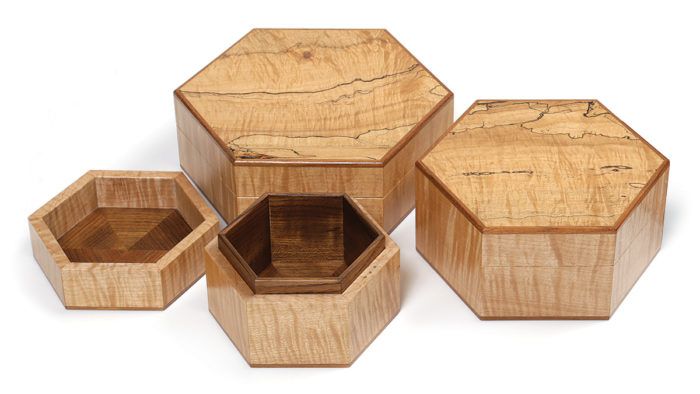
Synopsis: Each of these sweet little hexagonal boxes starts as a strip of solid wood, which becomes the sides. Once that is mitered, rabbeted, and joined, the hexagonal veneered top and bottom panels are set into the rabbets and the box is cut apart to separate the lid. Add a parquetry liner, made from a complementary wood, and more distinctive details, and you have a functional piece of art.
A few summers ago I was given two small pieces of incredible curly maple. I knew they would be perfect for small boxes, but I couldn’t figure out what kind of boxes they wanted to be. I didn’t relish the thought of trying to saw tiny dovetails into such ornery wood, and plain old square mitered boxes felt like a missed opportunity.
Inspiration struck when a yogurt container fell off a shelf in my shop, spilling its cargo: What about a mitered box with six sides? Then, how would that even work, from top to bottom?
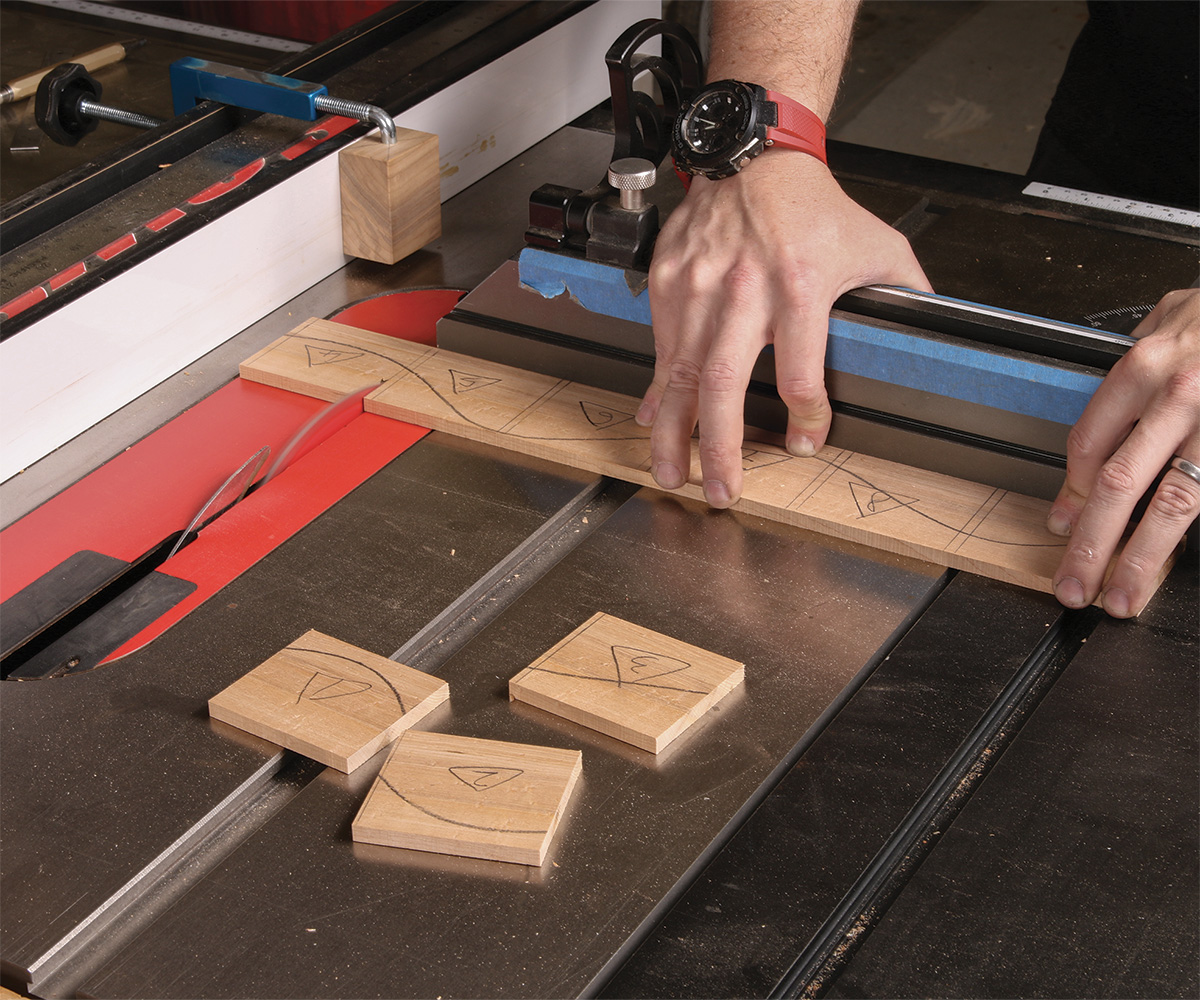
Working at this small scale, and almost entirely at the bench, is a great way to explore a finer level of detail in your work. I developed a few new jigs and techniques for these boxes, and found fitting the pieces together to be really fun. And because these small boxes are made from 1⁄4-in.-thick stock, they are perfect for those pretty little scraps and cutoffs we all tend to hang onto.
Each box starts as a strip of solid wood, which becomes the sides. Once that is mitered, rabbeted, and joined—by wrapping the six-sided tube with blue tape and rubber bands—the hexagonal top and bottom panels are set into the rabbets and the box is cut apart to separate the lid. Along the way, the little vessel is filled with distinctive details, crafted from a complementary wood.
A word on woods
Assuming that contrasting woods are the same as complementary woods is a common mistake. They aren’t. Like colors in clothes or house paint, wood combinations can range from drab to actively awful. Ideally, you want woods that harmonize and complement one another, accentuating the overall form and tone of a piece rather than distracting from it.
One way to see if two or three woods complement one another is to handplane them and sweep the shavings into a heap. Does the pile remind you of a crisp fall day, full of reds and yellows and oranges that belong together? Or does it feel like a headachy day at a carnival? In this case, I used a combination of bird’s-eye maple on the sides, spalted maple on top, and teak for all the details.
Teak works beautifully with maple. Some of my other favorite combinations for boxes and furniture include walnut and beech, walnut and pecan, white oak and wenge, pear and cocobolo, cherry and cypress, cherry and Douglas fir, and maple and pear.
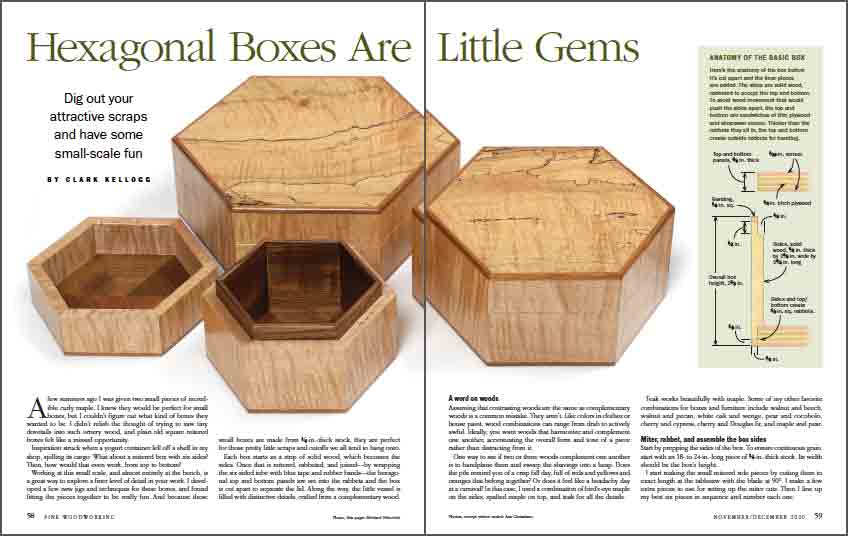
From Fine Woodworking #285
To view the entire article, please click the View PDF button below.
 |
|
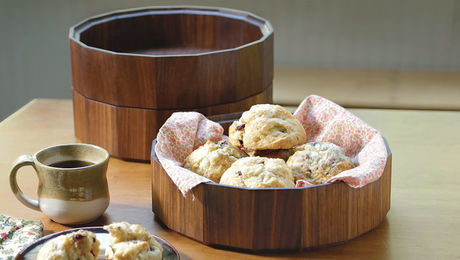 |
Coopered ContainersPeter Lutz demonstrates the jigs he uses to make handsome stackable trays that are light, and strong |
 |
Fine Woodworking Recommended Products

Suizan Japanese Pull Saw


Comments
Here is my attempt at this project. I am not a very good hand tool woodworker so I approached the project with the intent of using mostly power tools. I made a 60-degree sled for cutting the miters. The body is birdseye maple but the top and bottom veneers are quilted maple. I tried several spalted maple tops but they didn't look elegant enough for the box. The banding, inside top and bottom are teak veneers and the body liner is also teak. I made the box significantly taller than the plan. I used 1-1/2 and 2 pound cut shellac for the finish.
Log in or create an account to post a comment.
Sign up Log in