Make a Walnut Display Box, Part 2
In the second part of this mitered-box project, you'll learn how to assemble the box, set the hardware and glass, and apply the finish.
Assembling the box and top
The box and top parts could be made as one and then sawn apart, but I didn’t do that here. I cut the parts separately and assembled them separately. It takes a little longer, but is a bit safer with such a large box. I’m not keen on balancing the small ends on my tablesaw, or creating a large jig to steady the whole box.
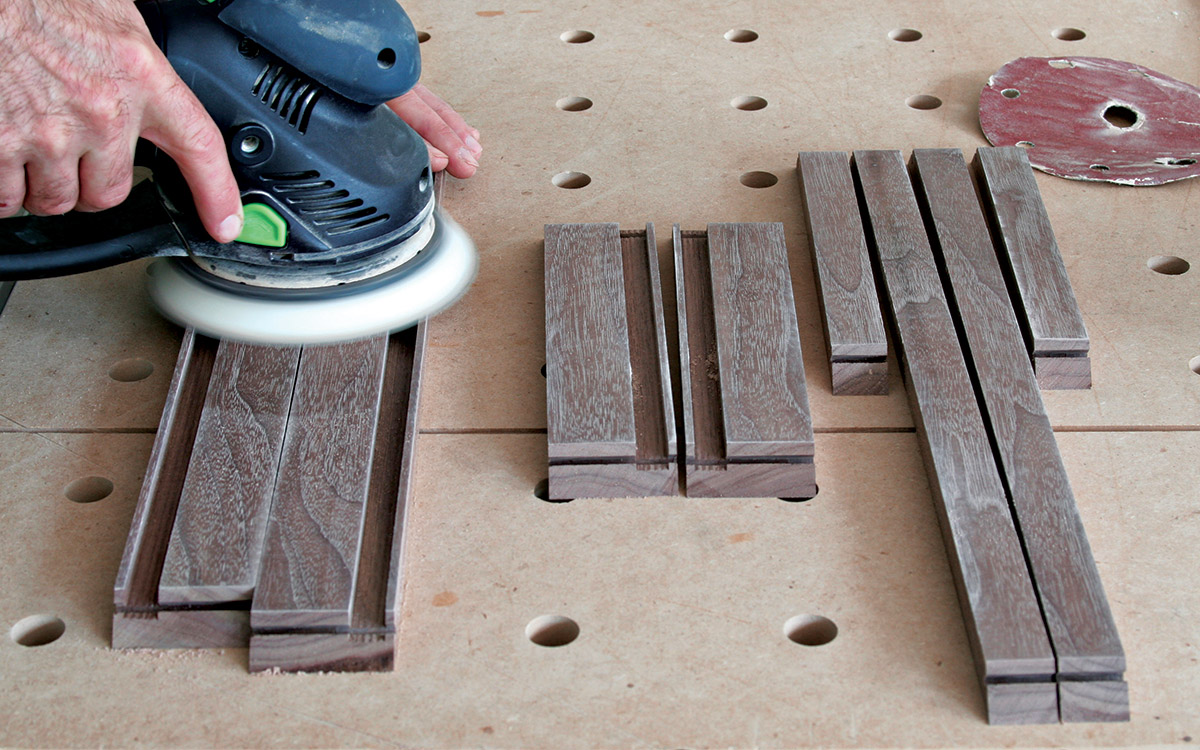
1. Sand the inside faces of all the parts.
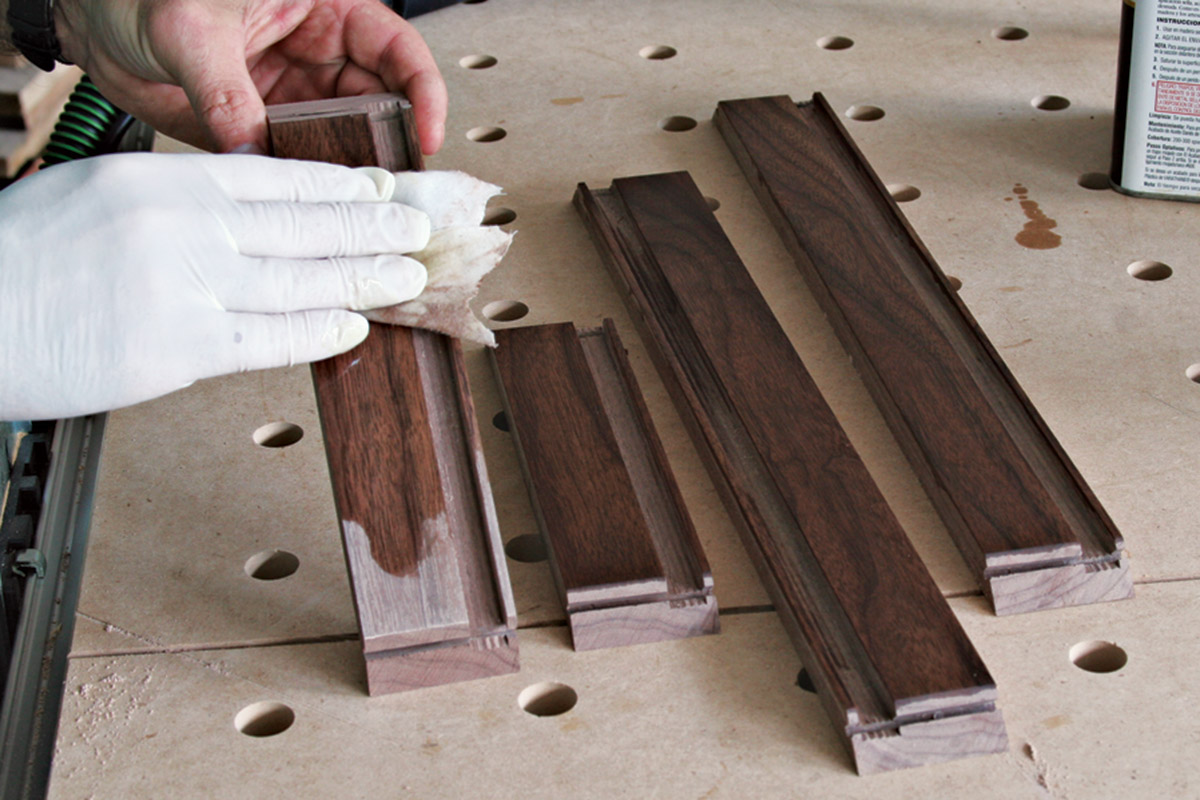
2. Apply finish to the insides of the box sides with a little Danish oil. You need to finish them first because it’s easier to do it now rather than after assembly, when you’d have to mask the leather bottom.
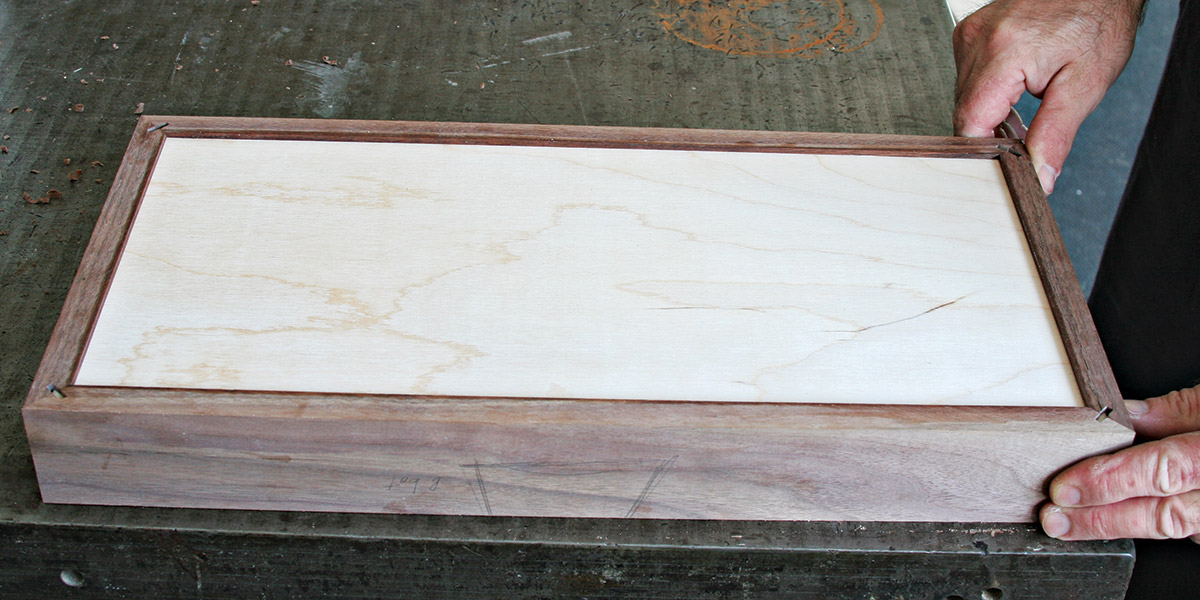
3. Dry fit the box together to make sure the miter joints meet just so. If they don’t, your splines could be too long, or the bottom too big. Troubleshoot and adjust as necessary.
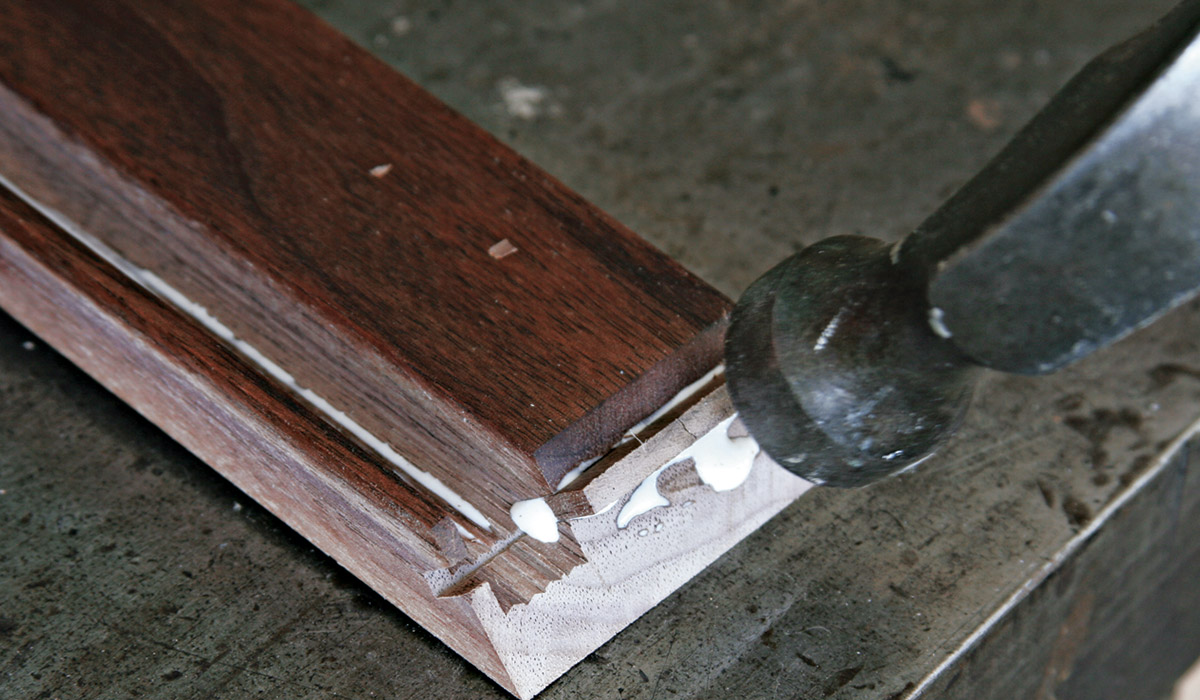
4. Insert the splines into the kerfs with a little glue. Tap them in with a hammer to seat them at full depth. Don’t put the splines across the groove for the bottom.
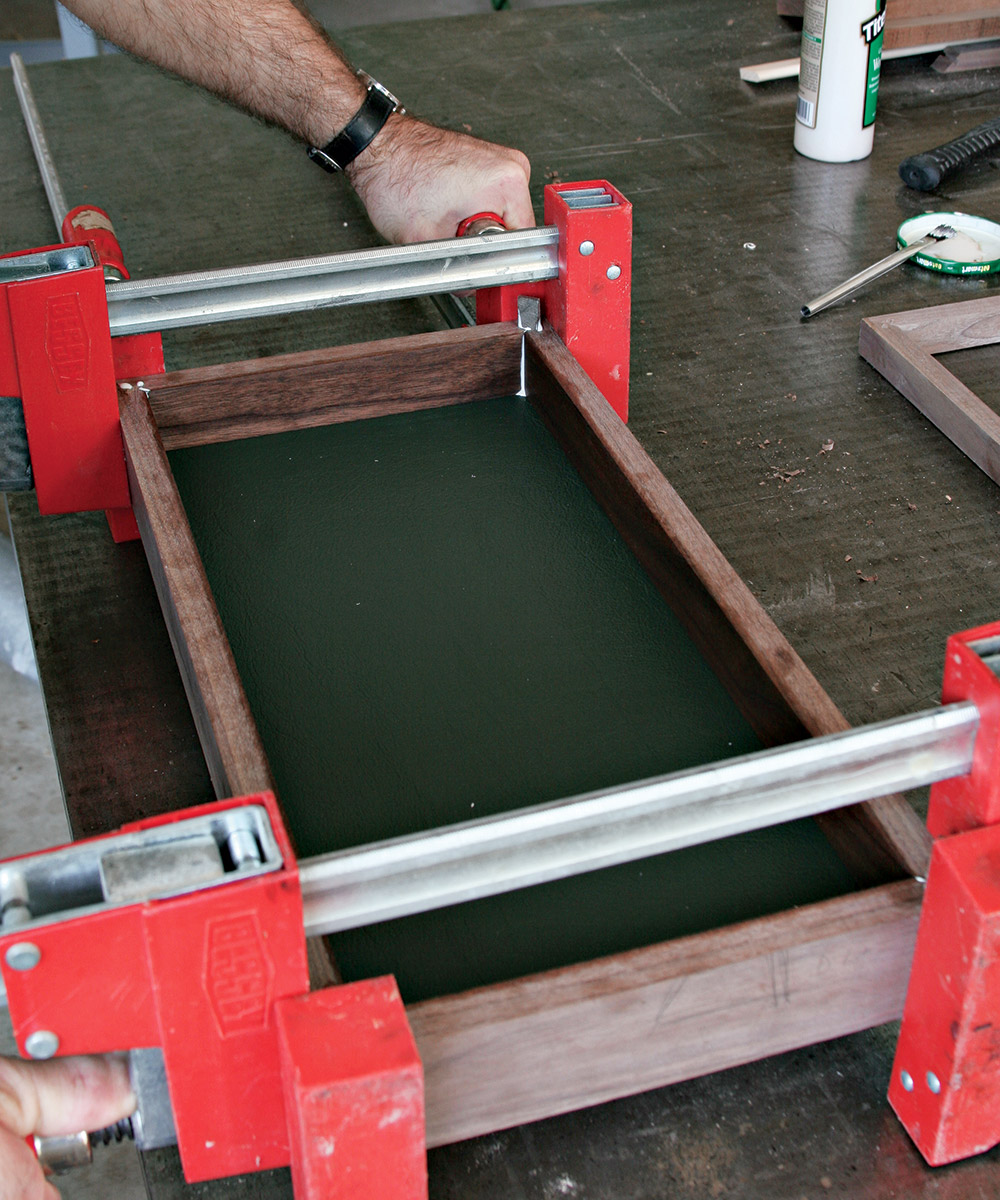
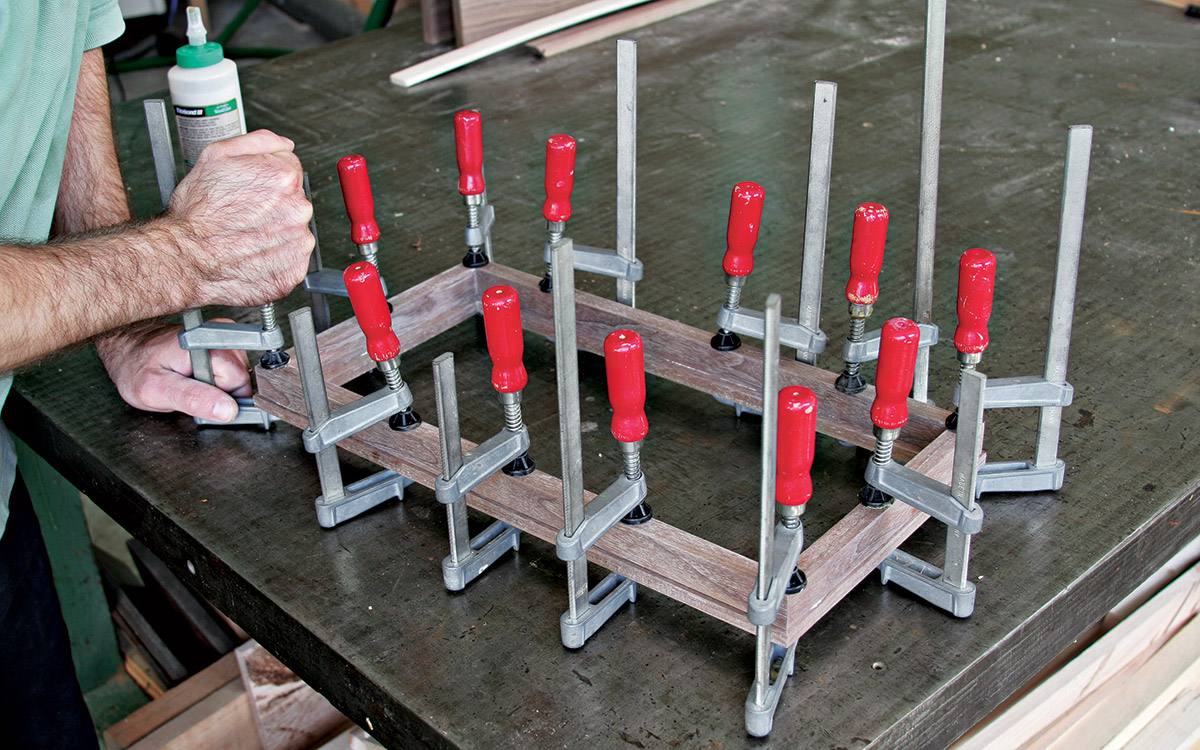
5. Spread glue across the faces of each joint and into the kerfs, and clamp the box sides around the bottom. Clamp from both directions and look to see that the miters come together neatly.
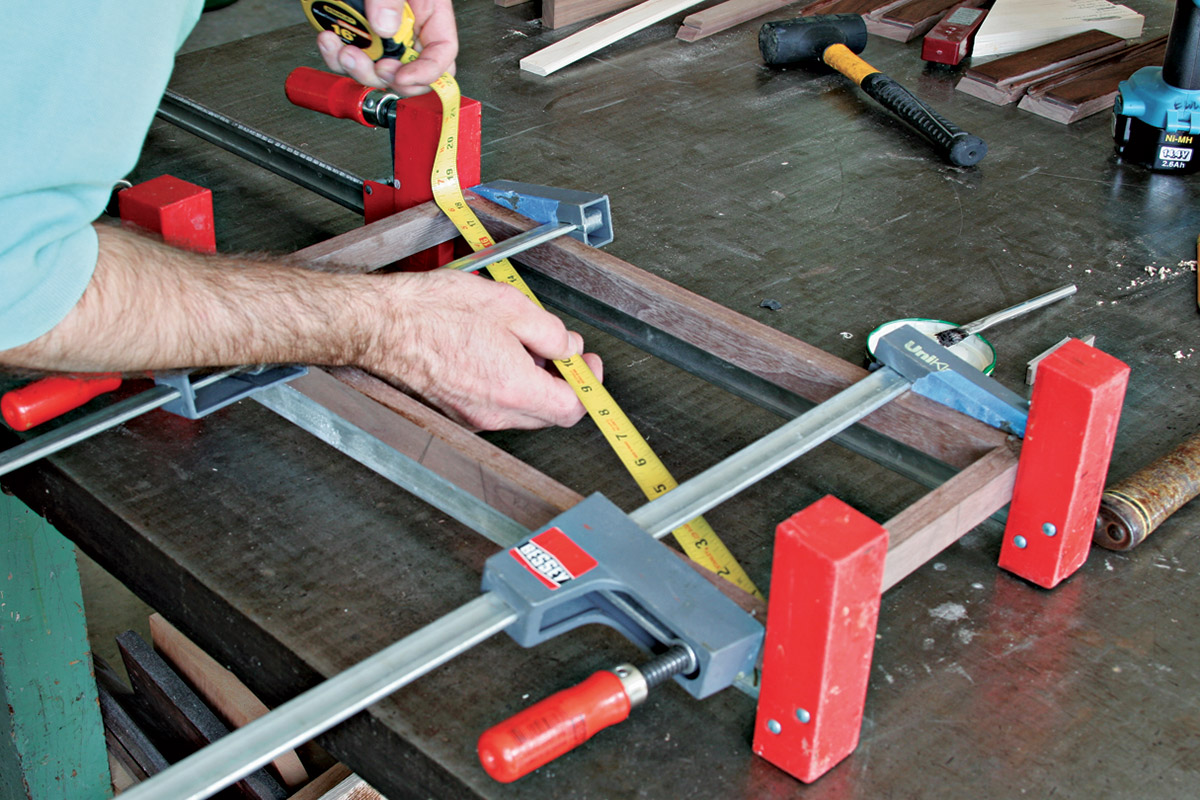
6. For the top, follow the same process as for the box, without finishing the inside faces or capturing a panel. But do check the diagonal measurements after you’ve applied clamps. Because the parts are thin, they can distort and bend easily. Clamping pressure should bring the joints together without bowing the sides unnecessarily.
Making the top trim
The top trim can seem an unnecessary part. After all, why not capture the glass the same way the top was captured in the “Simple Dovetail Box” project? Wood panels on boxes rarely break, but glass is fragile. You need to build this box so you can take the glass out and put a new piece in. The top trim is a simple way to achieve this.
Like the rest of the box, the trim uses a spline miter at each corner. However, the profile of the trim is such that the kerfing work is done very differently.
1. Mill the top trim pieces you set aside at the start of the project to 3/8 in. thickness.
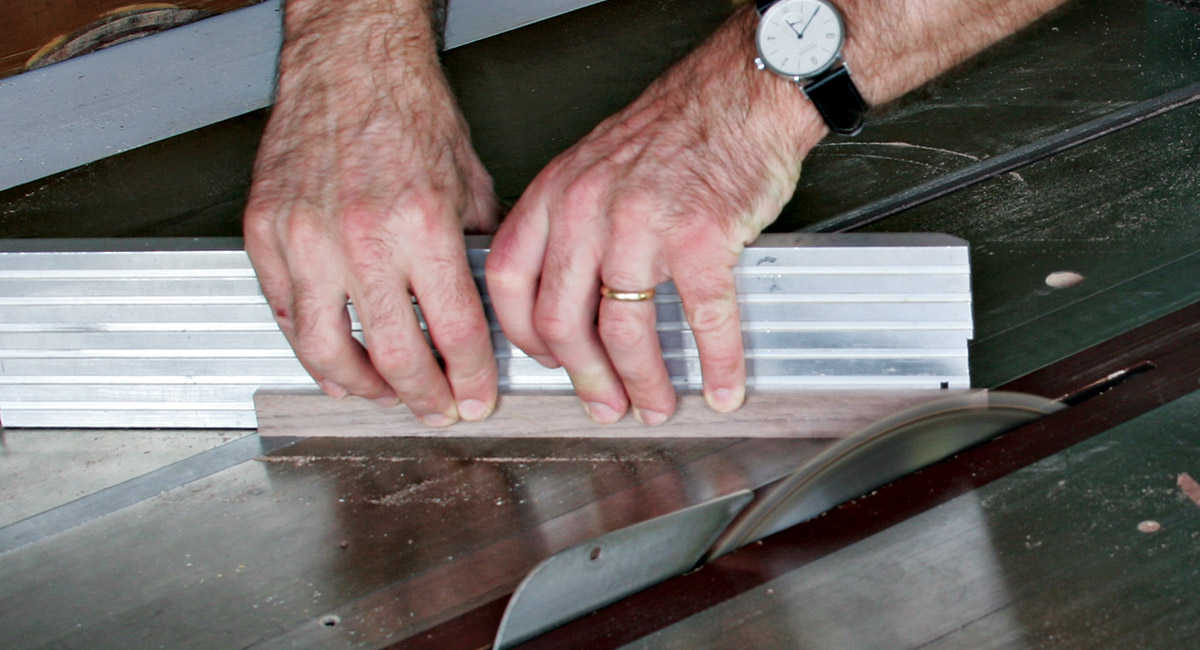
2. Set your tablesaw’s blade to a perfect 90 degrees and the miter fence to 45 degrees. Make test cuts and adjust the miter fence until you get a perfect miter joint.
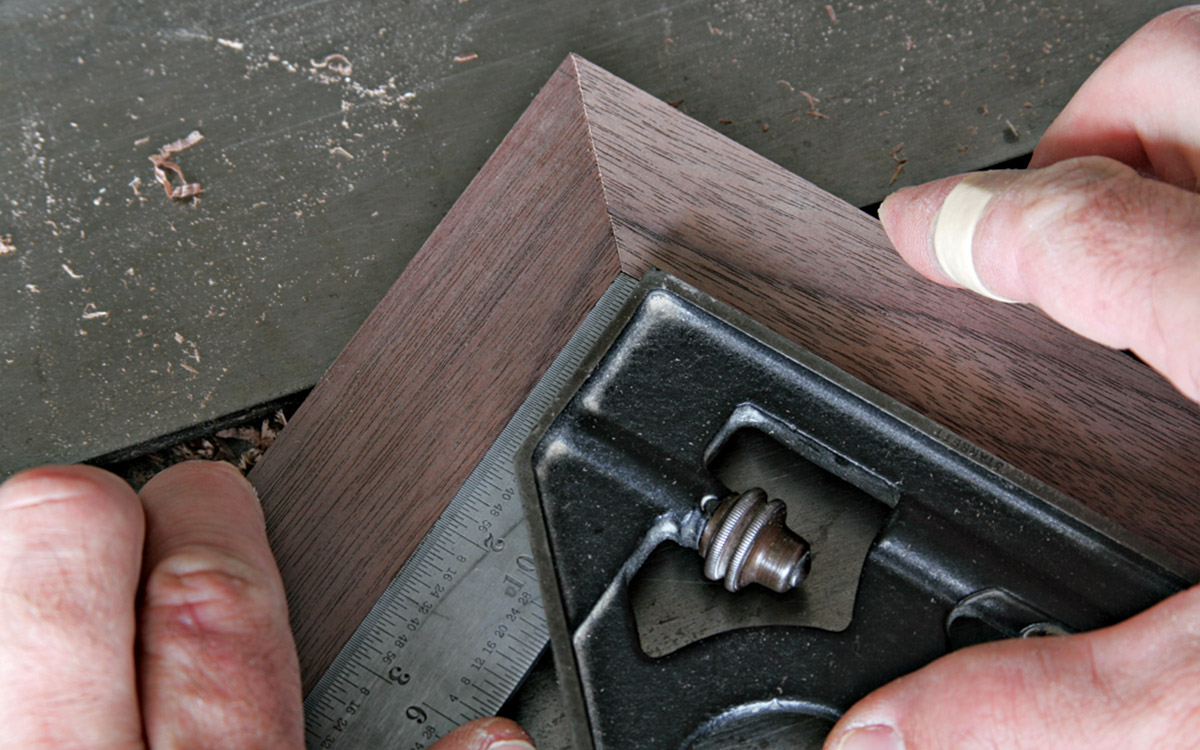
3. When you cut the miters, stack the pieces that should be the same length and cut them at the same time. With small pieces, this is just as good as using a stop block. Of course, make sure their ends are aligned.
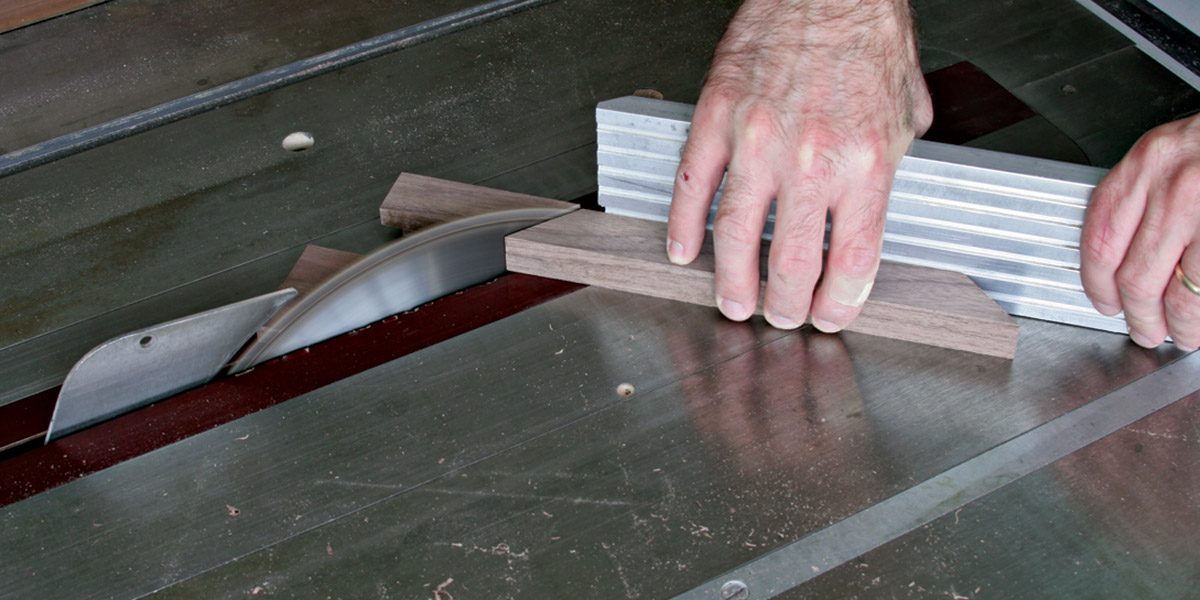
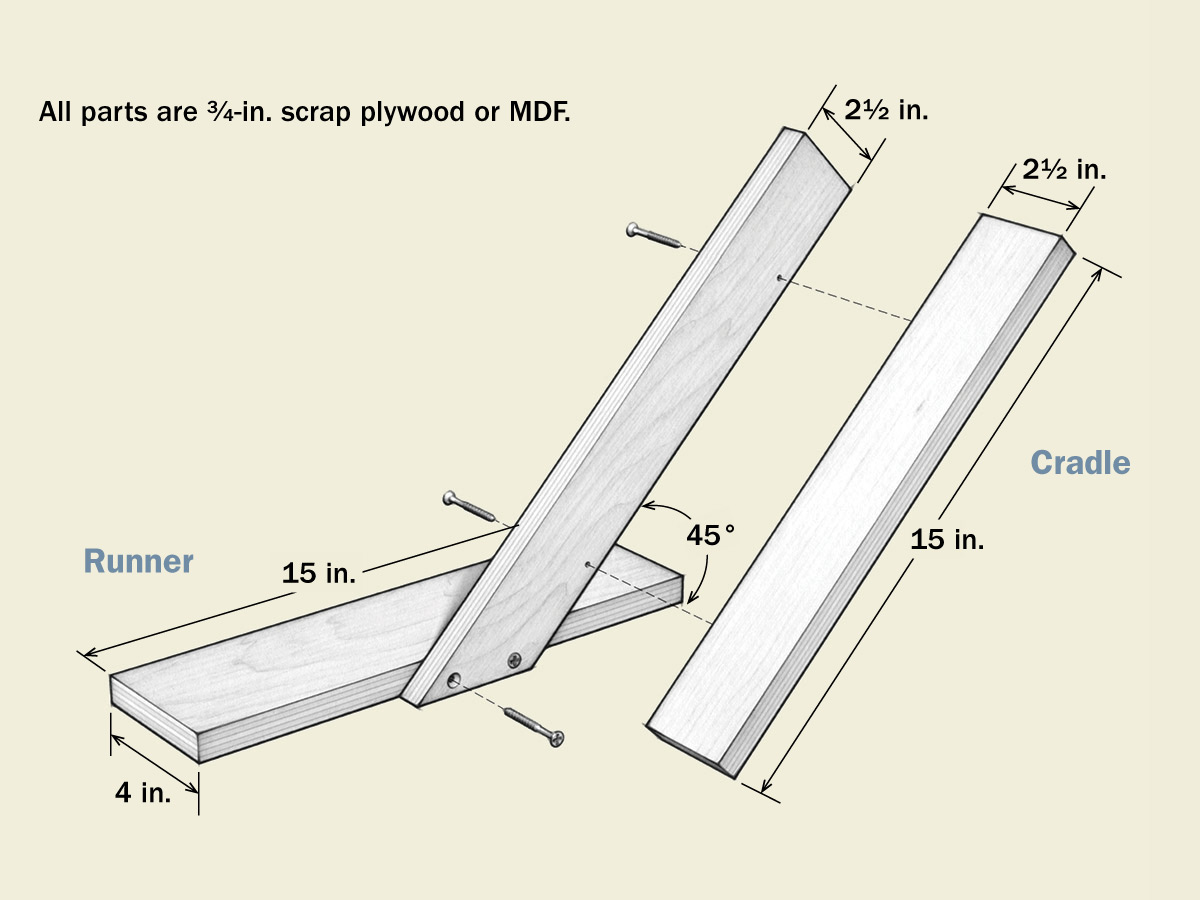
4. To kerf the miters, you need to make a simple jig that holds the workpiece securely, as shown in “Kerfing Jig.” I don’t recommend trying to kerf the trim by holding it against the rip fence.
Kerfing Jig
The jig was built from scrap for this particular box. Unless I plan to make the same box again in the near future, I toss the jig in the scrap bin immediately after use. If I didn’t do this, my shop would become overwhelmed with simple jigs.
The main purposes of jigs are to ensure safety and accuracy. This simple one serves both. The risk of a kickback is high trying to kerf the end of a board on a tablesaw without a jig. And even if you avoid disaster, the cut may not be very straight.
The cradle supports the workpiece. The high side makes it easy to clamp the workpiece securely. The runner gives the cradle stability against the rip fence during the cut. The size of the jig gives you plenty of places to hold that are far from the sawblade.
5. Set the rip fence so that the kerf cut is exactly centered on the trim pieces. Make test cuts on scrap to get it as close to center as you can. If the kerf isn’t centered, the joints between the pieces won’t be even. Kerf all four pieces.
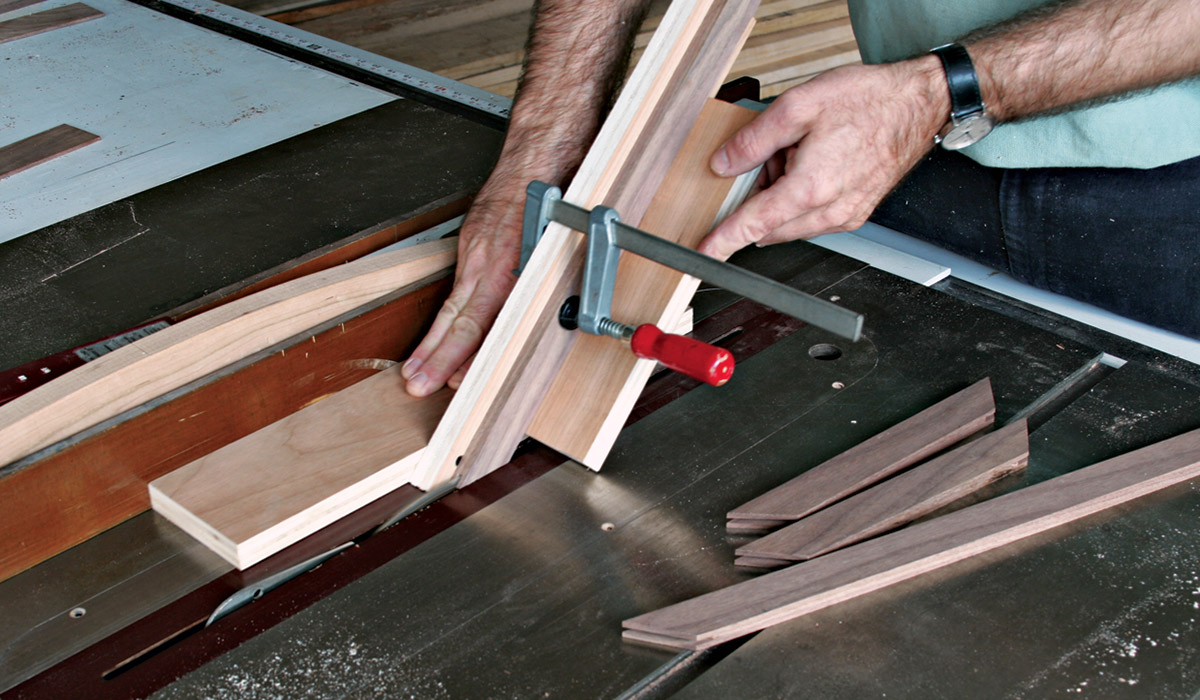
6. Crosscut more splines to the exact width of the joint and test them. The splines should be long enough to stick out at both ends.
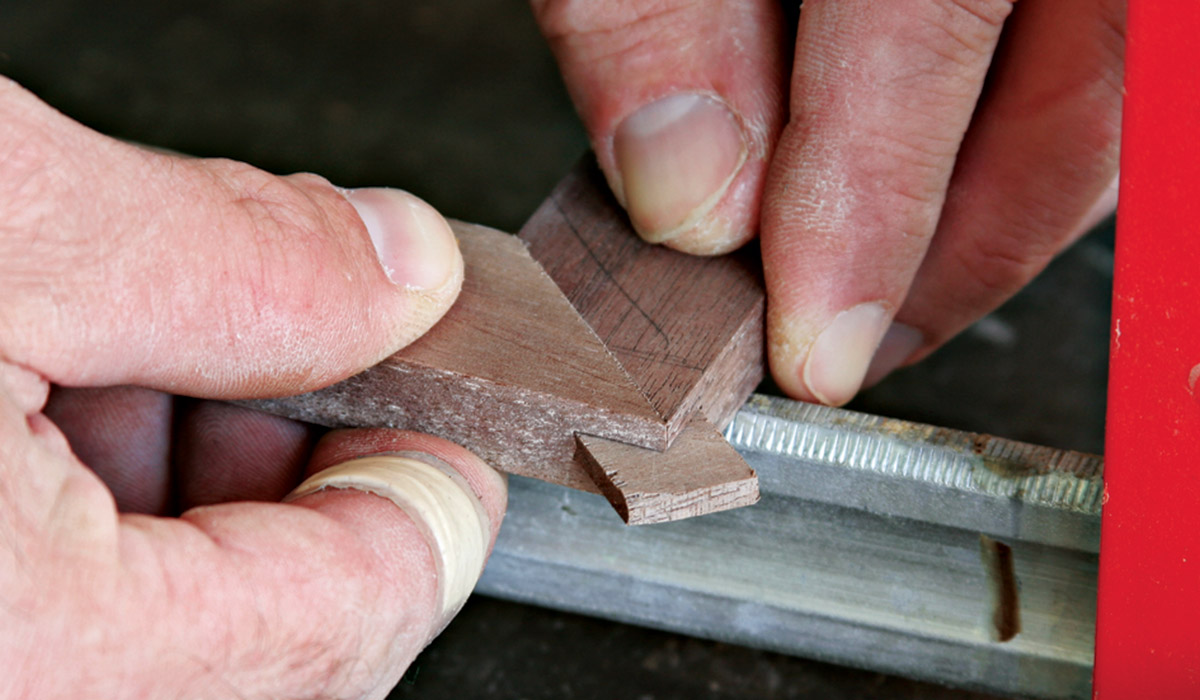
7. Apply glue to all joint surfaces and clamp the top trim frame together.
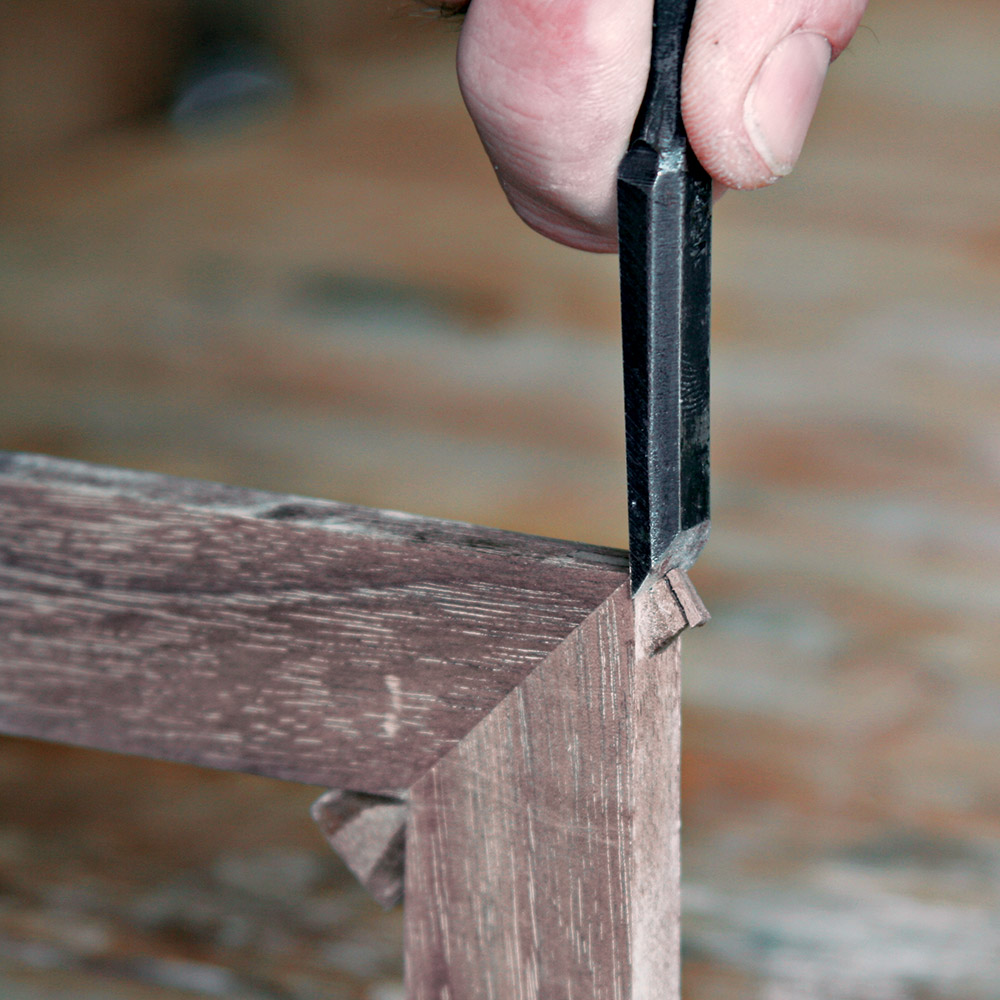
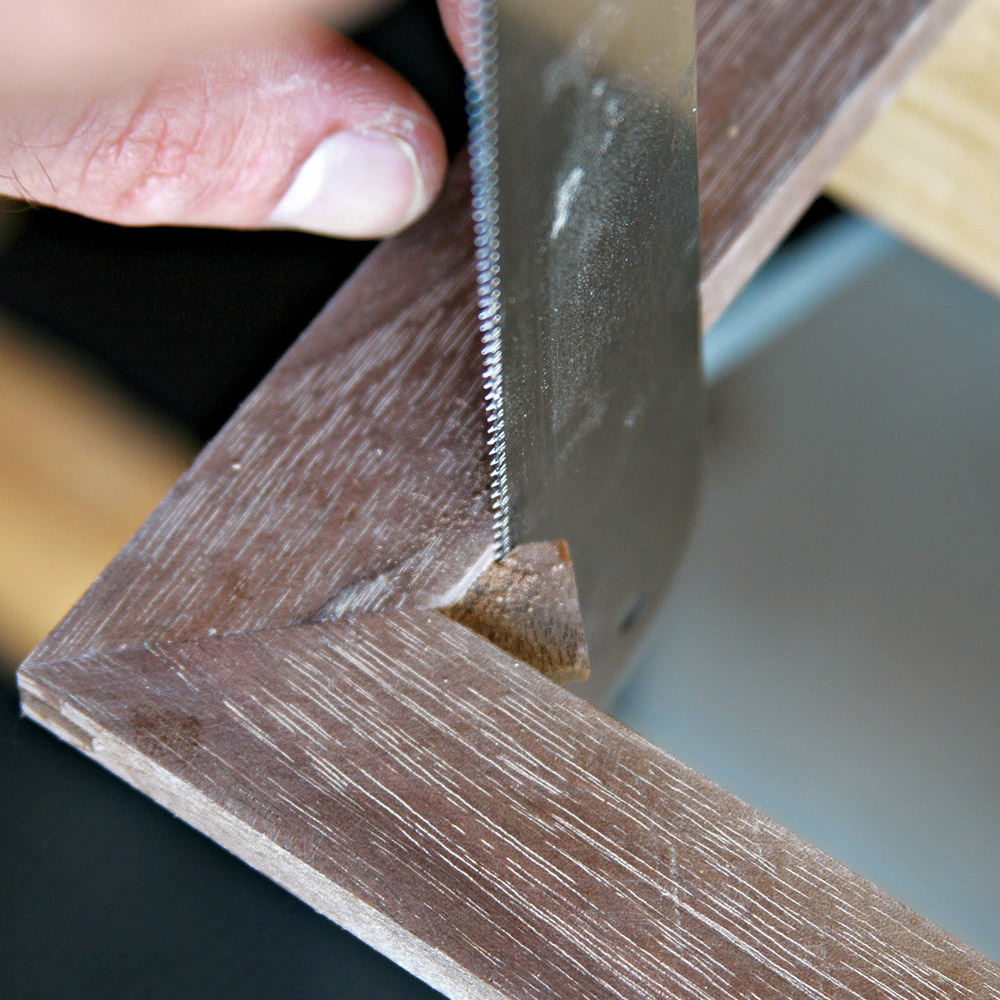
8. When the glue dries, trim the overlong splines. This is harder than it sounds, because you need to be careful of the grain direction to avoid chipping out bits of spline. I clamp the frame to a bench top or in a vise and use a chisel on the outside and a fine-toothed saw (not a backsaw) on the inside.
9. Sand all surfaces of the top trim to 220 grit.
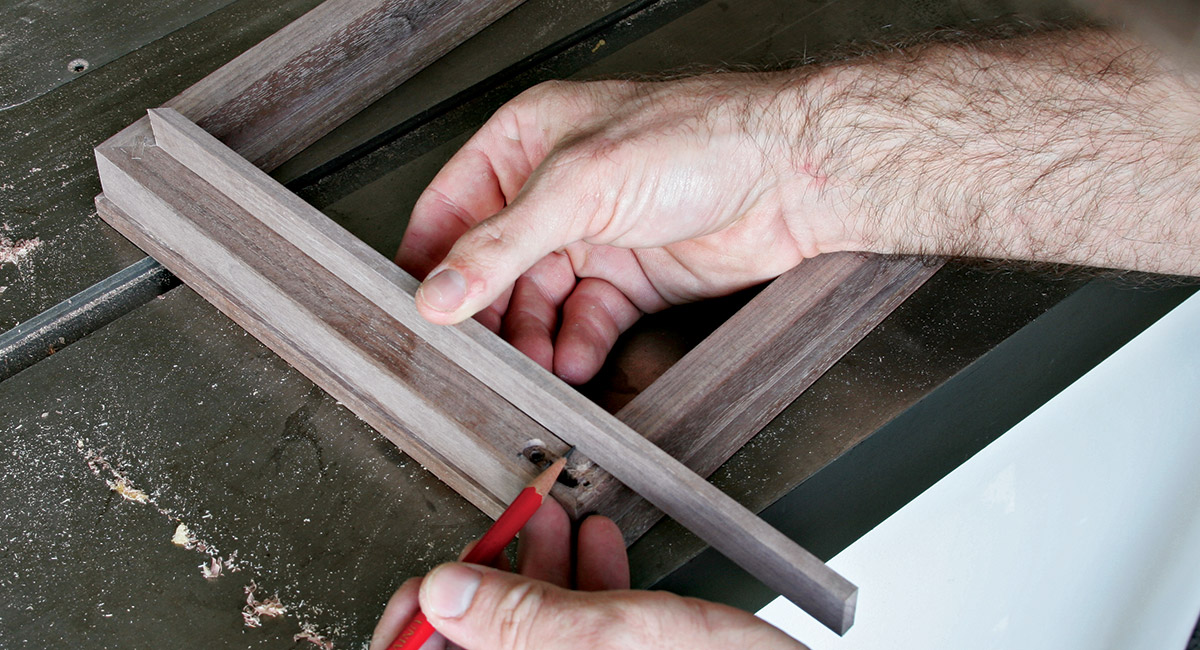
10. Glue and clamp the box top assembly and the top trim frame together. The trim should overhang the box by about 1/8 in. on all sides. G
Setting quadrant hinges
Every time I set quadrant hinges, I’m reminded of how difficult they are to fit and swear to use another hinge the next time. However, quadrant hinges are perfect for holding a heavy top open at just past 90 degrees. And they look great. So I used them here, grumbling all the way. If you have a laminate trimmer and the template specific to the hinge (sold by Brusso), then use them as they simplify the process. But I’ll show you how to set them with less-specialized tools.
1. Center the forward arm of the hinge on the box side and mark where the screw holes should be. Finish fitting one hinge side at a time to reduce confusion. Don’t work on the opposite side of either hinge until you’ve finished both mortises in the box side. This strategy will help with correct alignment.
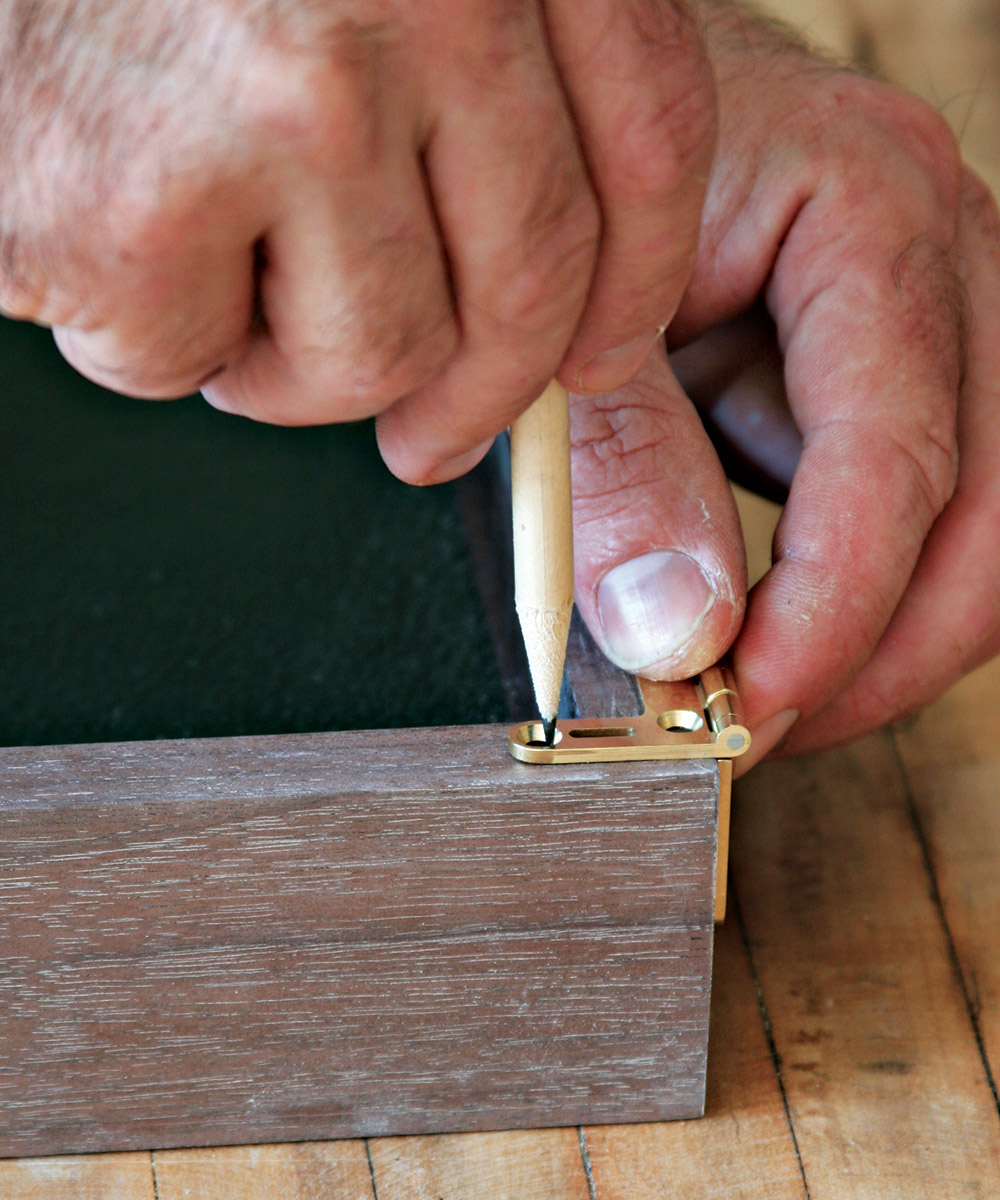
2. Drill pilot holes about 1/4 in. deep for all three of the hinge’s screws.
3. Attach the hinge with steel screws. You don’t want to use the brass screws that come with the hinges because you have to take the hinges off and put them back several times. Repeated use of the brass screws will burr their heads. Use steel screws that are shorter than the finish brass screws. This will ensure the brass screws get a good grip.
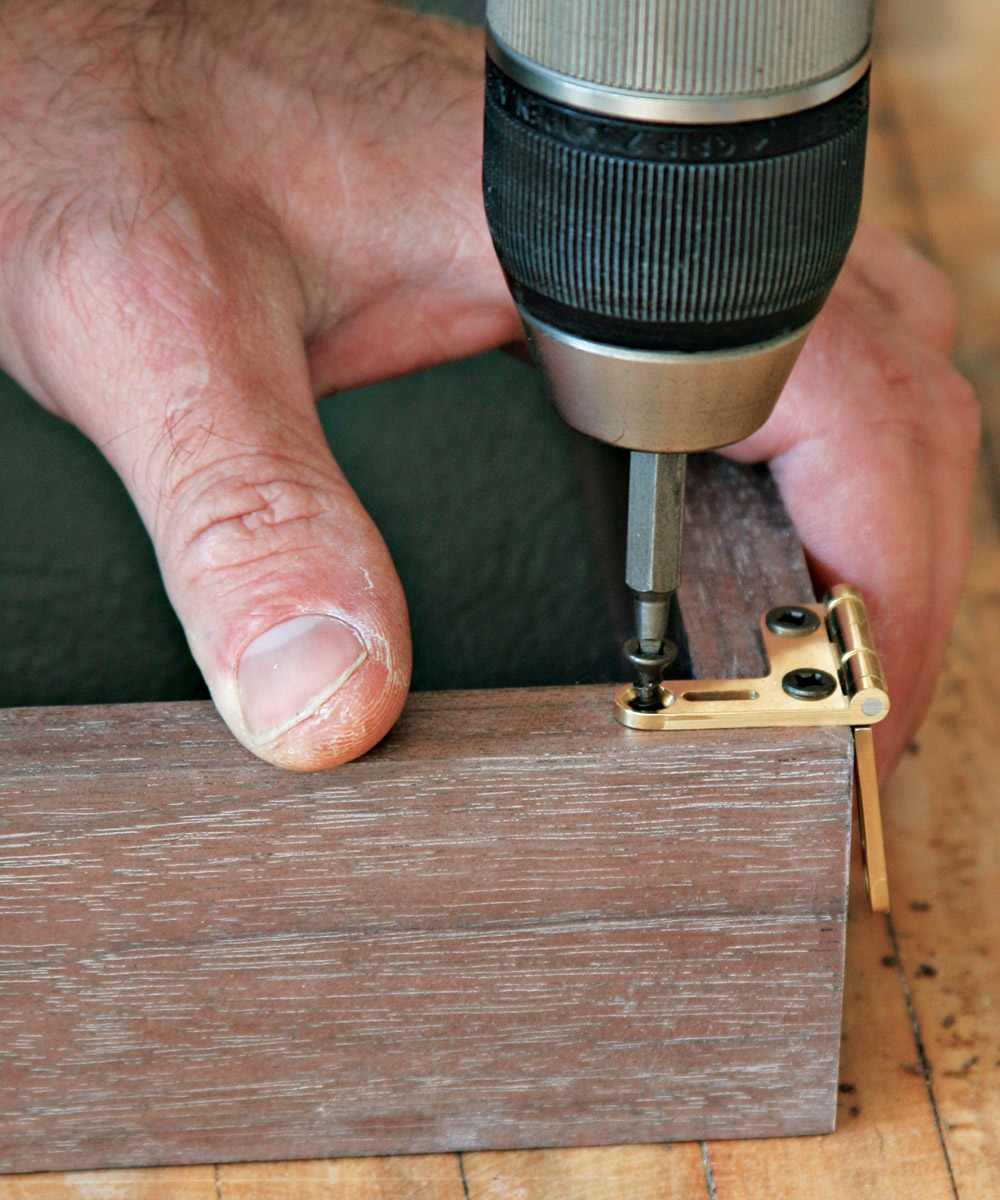
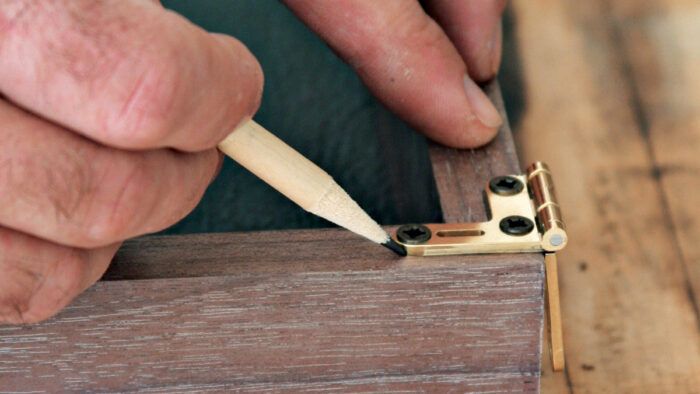
4. Outline the hinge on the box with a sharp pencil.
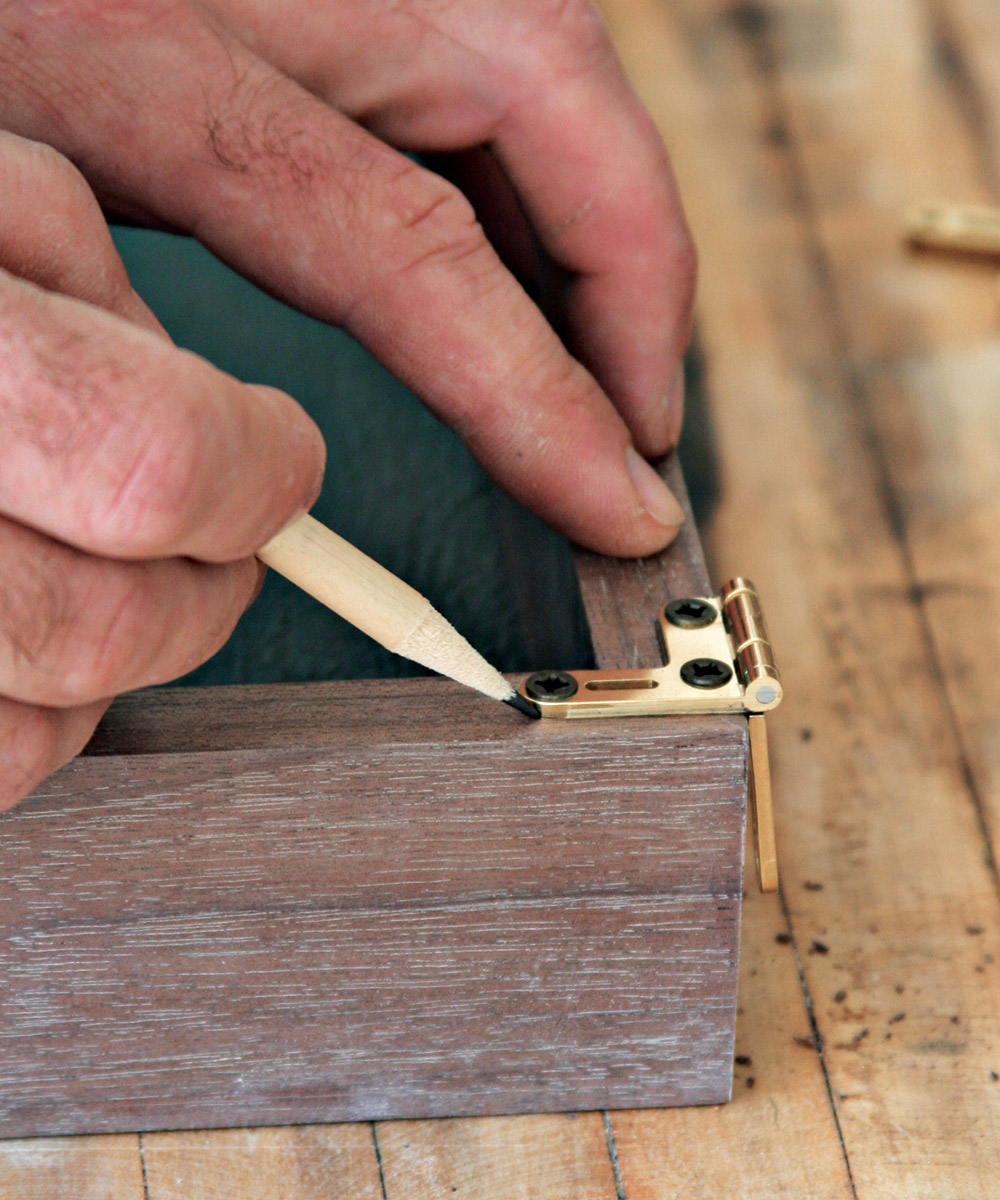
5. Set the marking gauge to the thickness of the hinge. Scribe a line along the face of the box to indicate the depth of your cut.
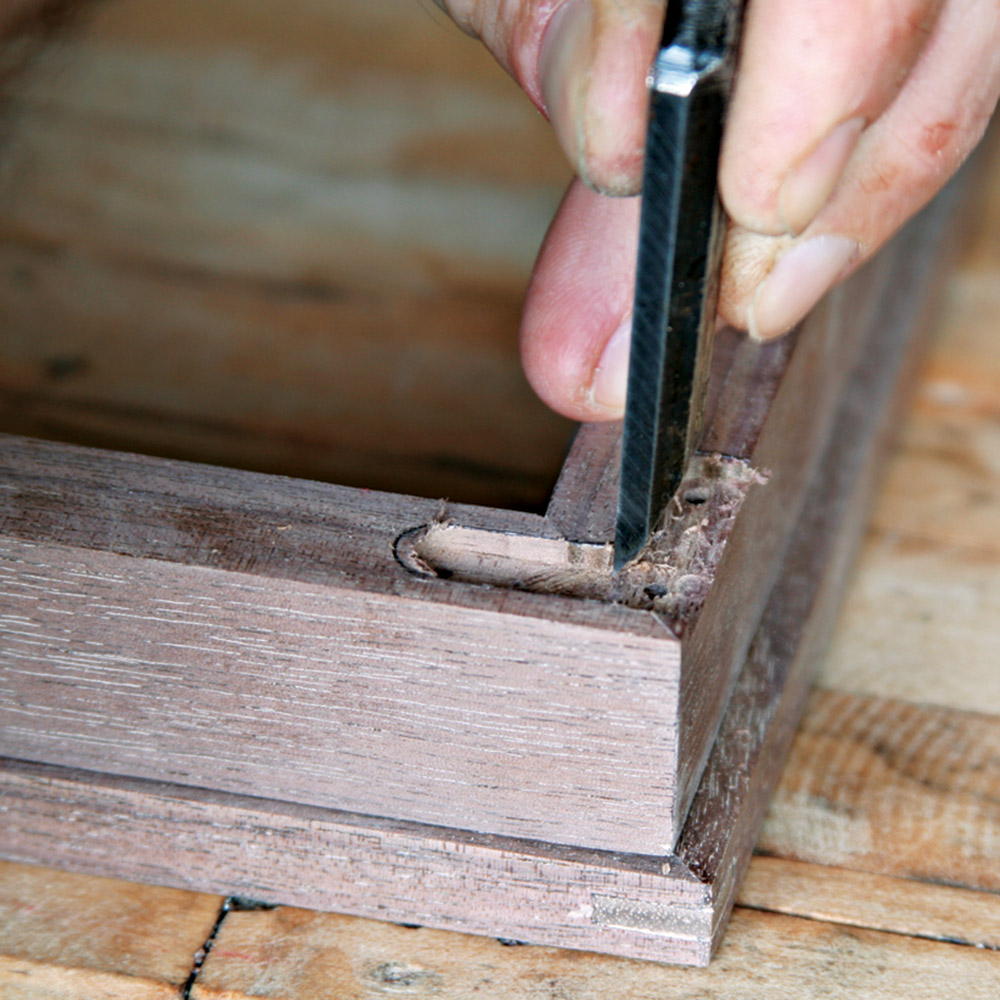
6. Chop the waste out with a chisel right to (but not over) the marking gauge line.
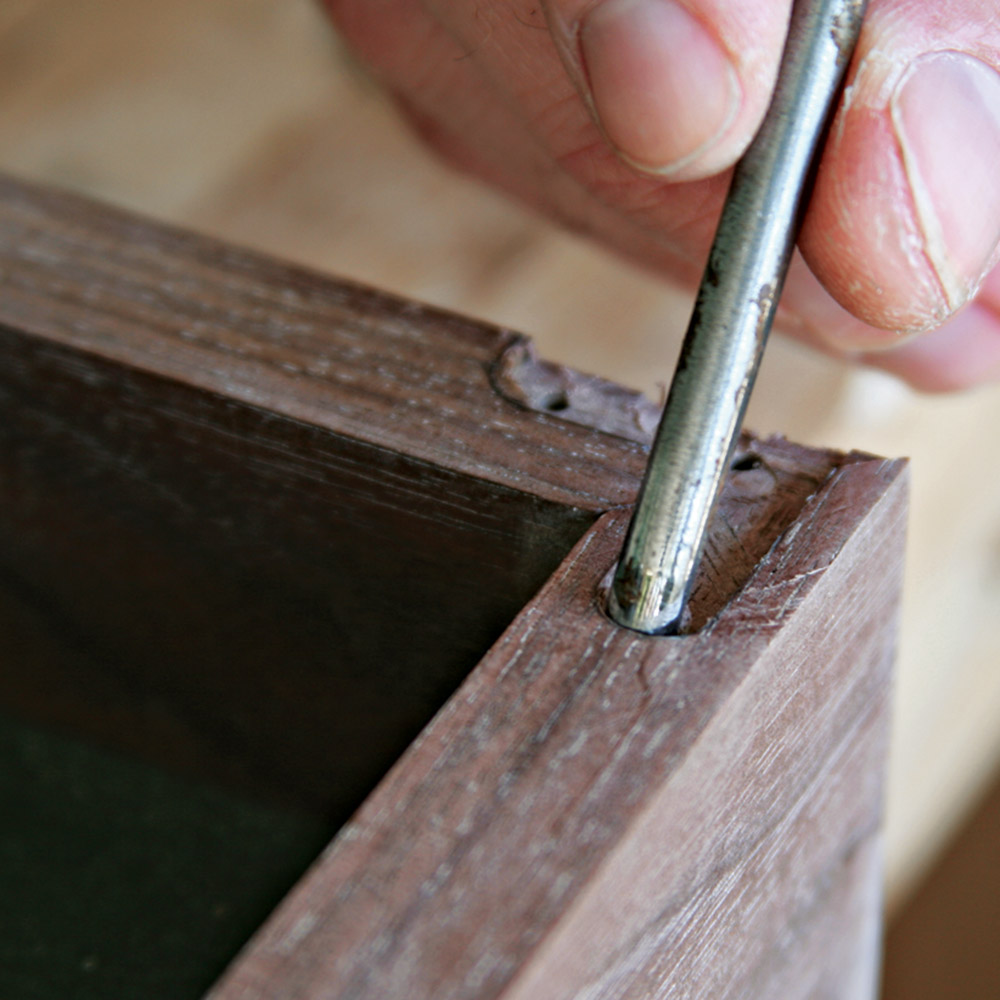
7. Pare the rest of the waste up to your lines with a chisel. Use a small gouge to cut in the curved ends. Be as accurate as you can cutting to your line, trying the hinge occasionally for a good fit. Be careful at the corners of the mortise, as bits can easily flake away. (If they do, try to save them and glue them back after you’ve finished fitting the hinge.)
 |
 |
8. Follow the same steps for the hinge on the opposite side of the box.
9. Set the top evenly on the box and transfer the hinge locations.
10. Set the hinges in the top as you did for the box.
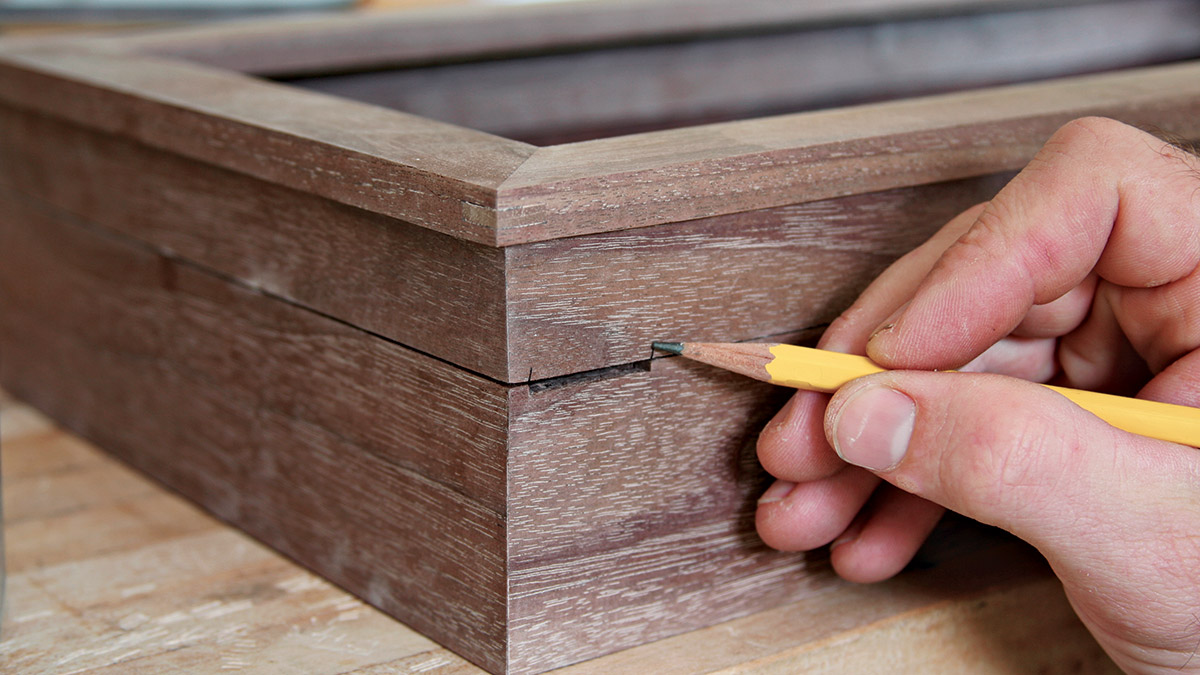
11. The quadrant arm needs a hole drilled down into the body of the box (and up in the top, though not nearly as deep). With the hinge in place, mark the location of the slot for the arm with a pencil.
12. Use tape to set the drilling depth necessary for the quadrant arm.
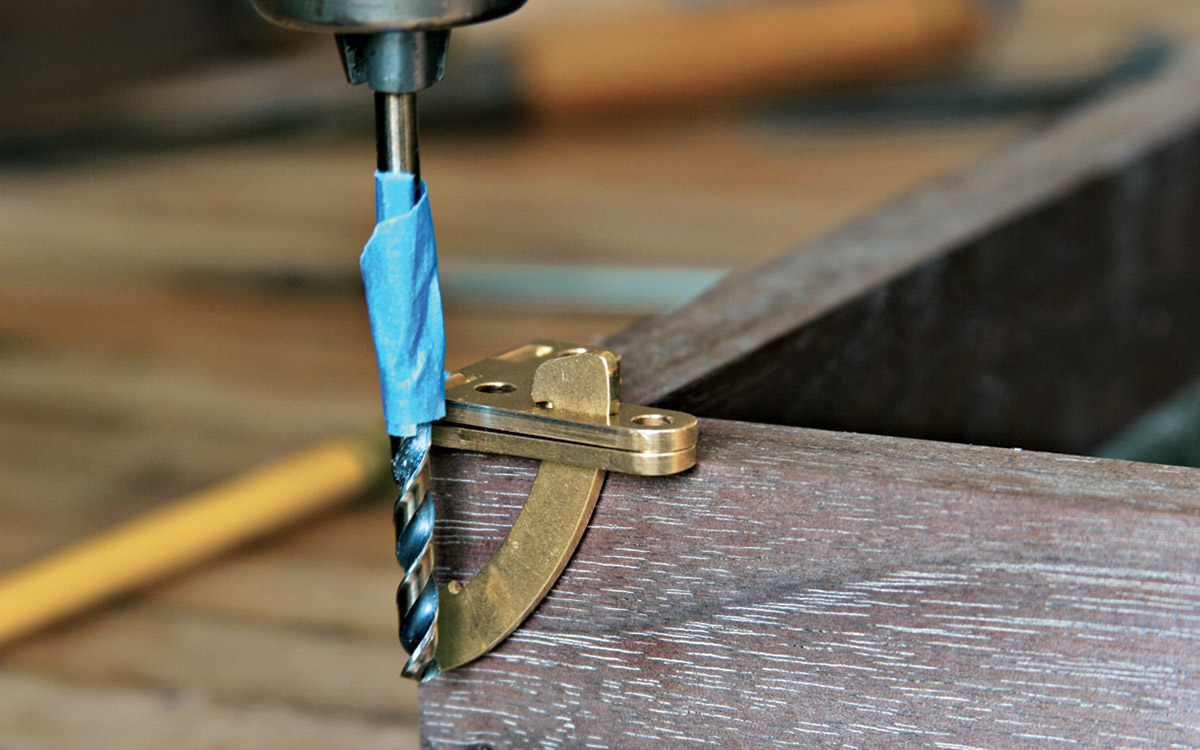
13. Drill out a hole wide and deep enough that the quadrant fits down into the box easily. Be careful not to drill too close to the hinge screw holes.
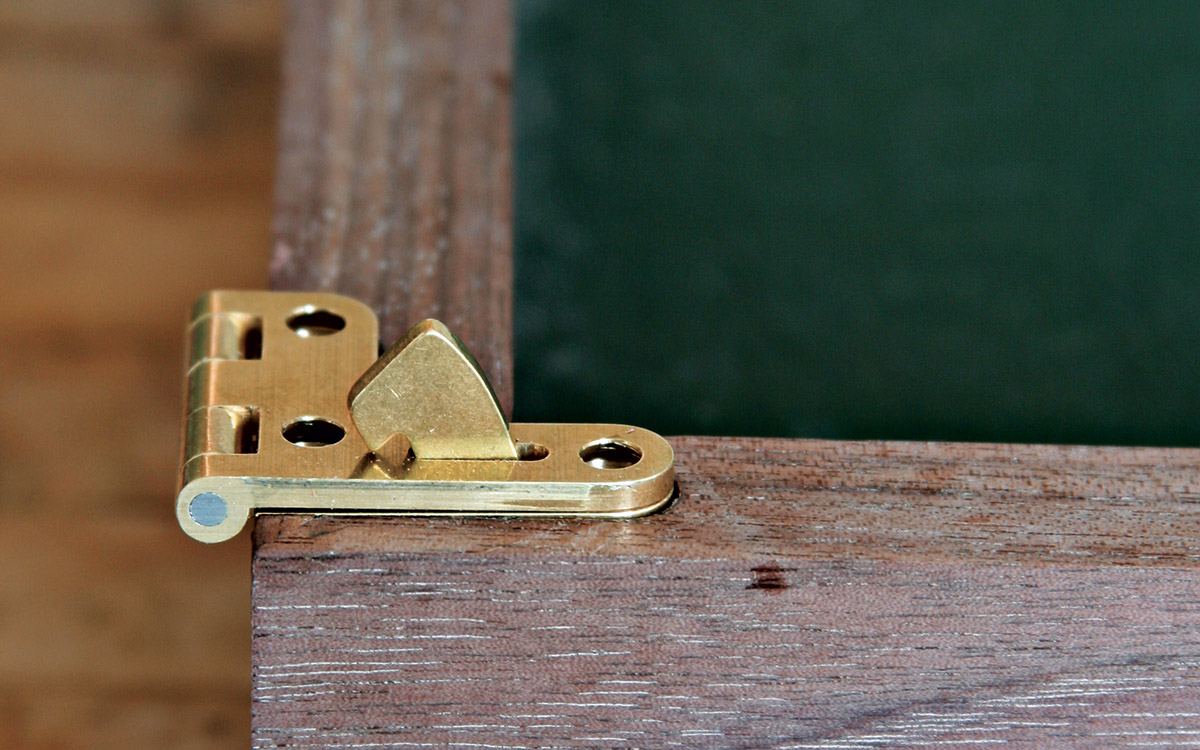
14. Cut up into the box top for the part of the hinge that rests there using the same approach used for the bottom. However, don’t drill as deep, just the necessary amount to allow the top of the quadrant arm to fit up into the box top.
15. With the steel screws, set the hinges in place. If you’re lucky, everything works smoothly. If not, troubleshoot the problem and adjust accordingly. The most common problem I have is when the holes for the quadrant arm are too small or not in just the right place, the box will not close properly.
Fitting the glass and finishing up
An alternative to the brass-plated linoleum nails that will keep the glass stop in place are brass screws. They take more time to put in, but you’re not swinging a hammer near a piece of glass.
1. Mill four pieces of glass stop about 1/4 in. thick by 3/4 in. wide.
2. Miter the ends on the tablesaw using the top itself to determine exact lengths for each piece. It’s best to make miter cuts on small pieces with the miter fence aimed back toward the blade, rather than up toward it in the line of cut. I’m not exactly sure why, but I have a tendency to shatter the tips when I try it that way.
3. Sand the inside faces and one edge of each piece of glass stop. The back sides will be hidden, so there’s no need to make them look nice.
4. Before finishing, sand all the box parts again with 220 grit to smooth away any scratches gotten while mortising the hinges. Also break the edges (which means to make them less sharp) inside and out by lightly running 220-grit sandpaper over them.
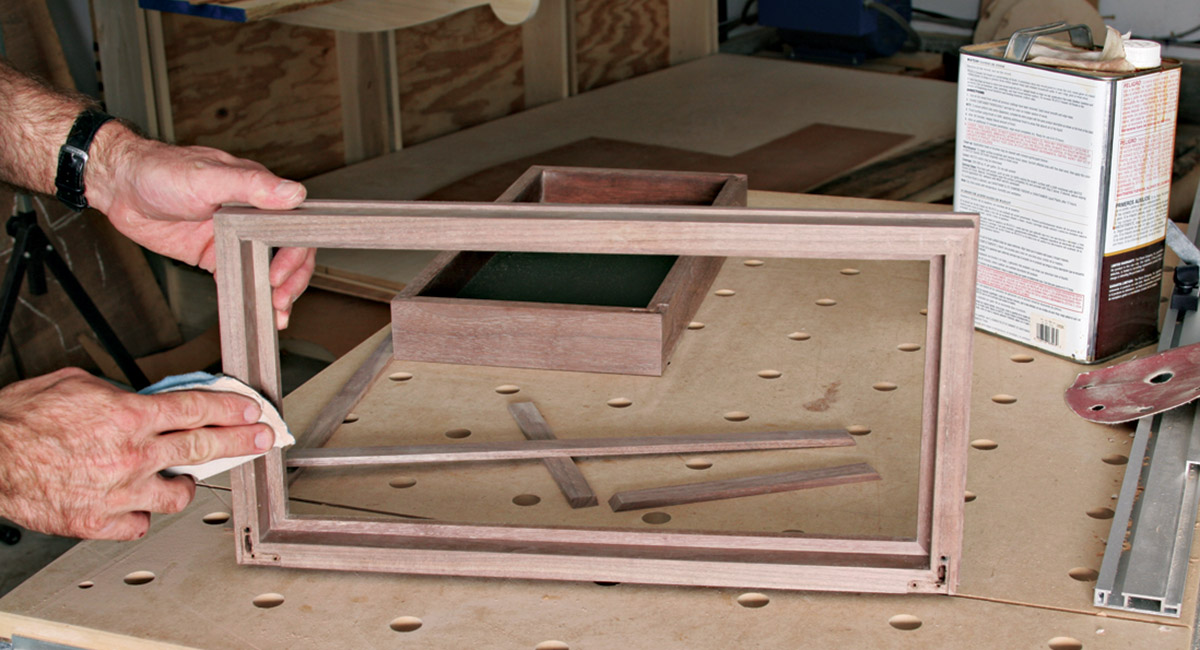
5. Apply a coat or two of Danish oil to all parts. Again, avoid getting finish on the leather lining. Let the finish dry before continuing to work on the box.
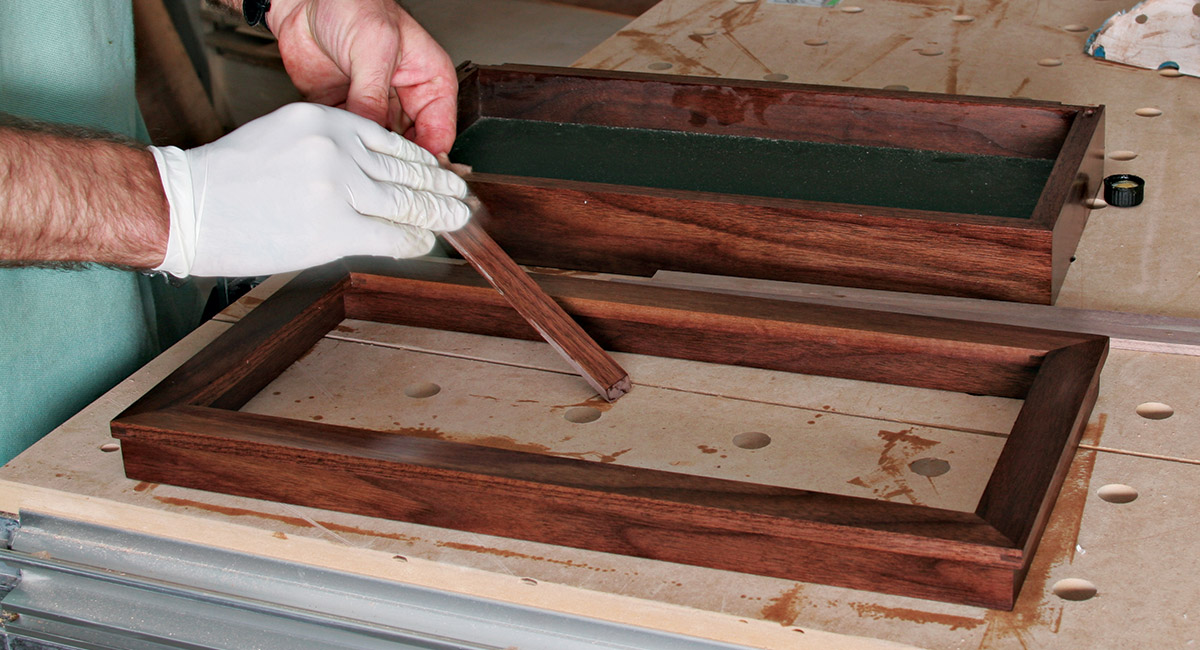
6. Drill two or three pilot holes in each piece of glass stop, evenly spaced, to secure it in the top. Make the holes the same size or just smaller than the diameter of the nails.
Work Smart
When ordering glass, subtract at least 1/8 in. from each dimension of the actual recess. Glass cutters are rarely exact, and the glass simply won’t fit if it’s too big.
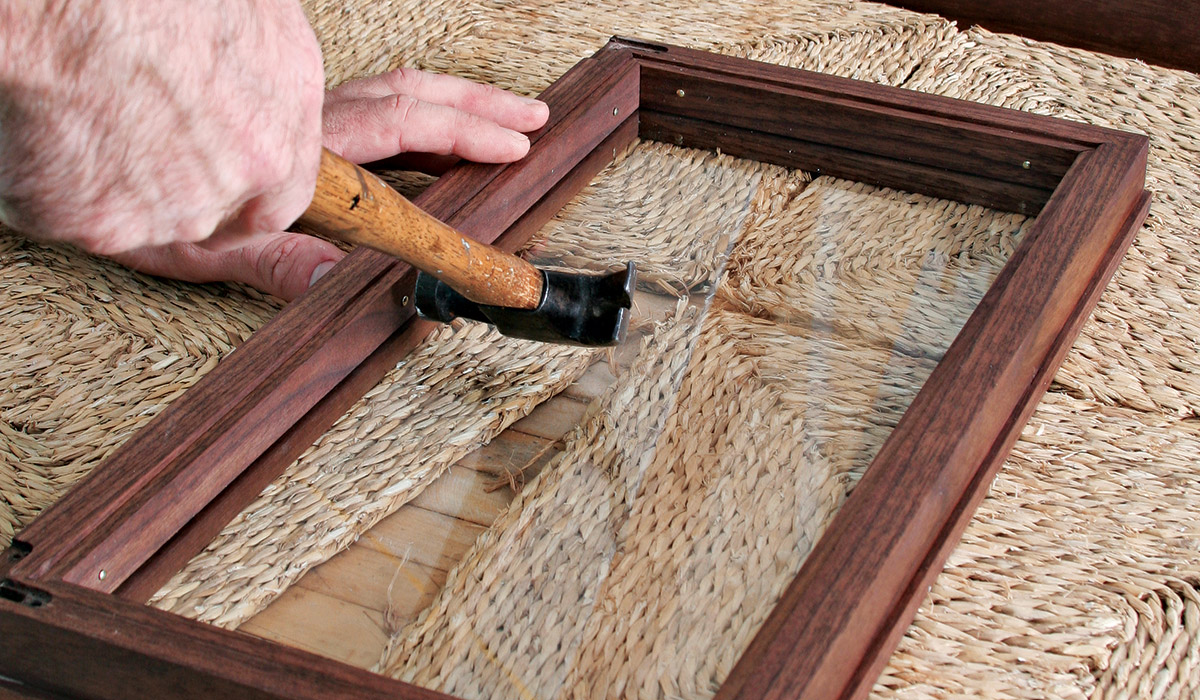
7. Set the glass inside the top and press the glass stop in place. The glass should fit inside the top loosely.
8. Tap the brass-plated linoleum nails home with a small hammer. Check to make sure the nails are not longer than the box sides are thick.
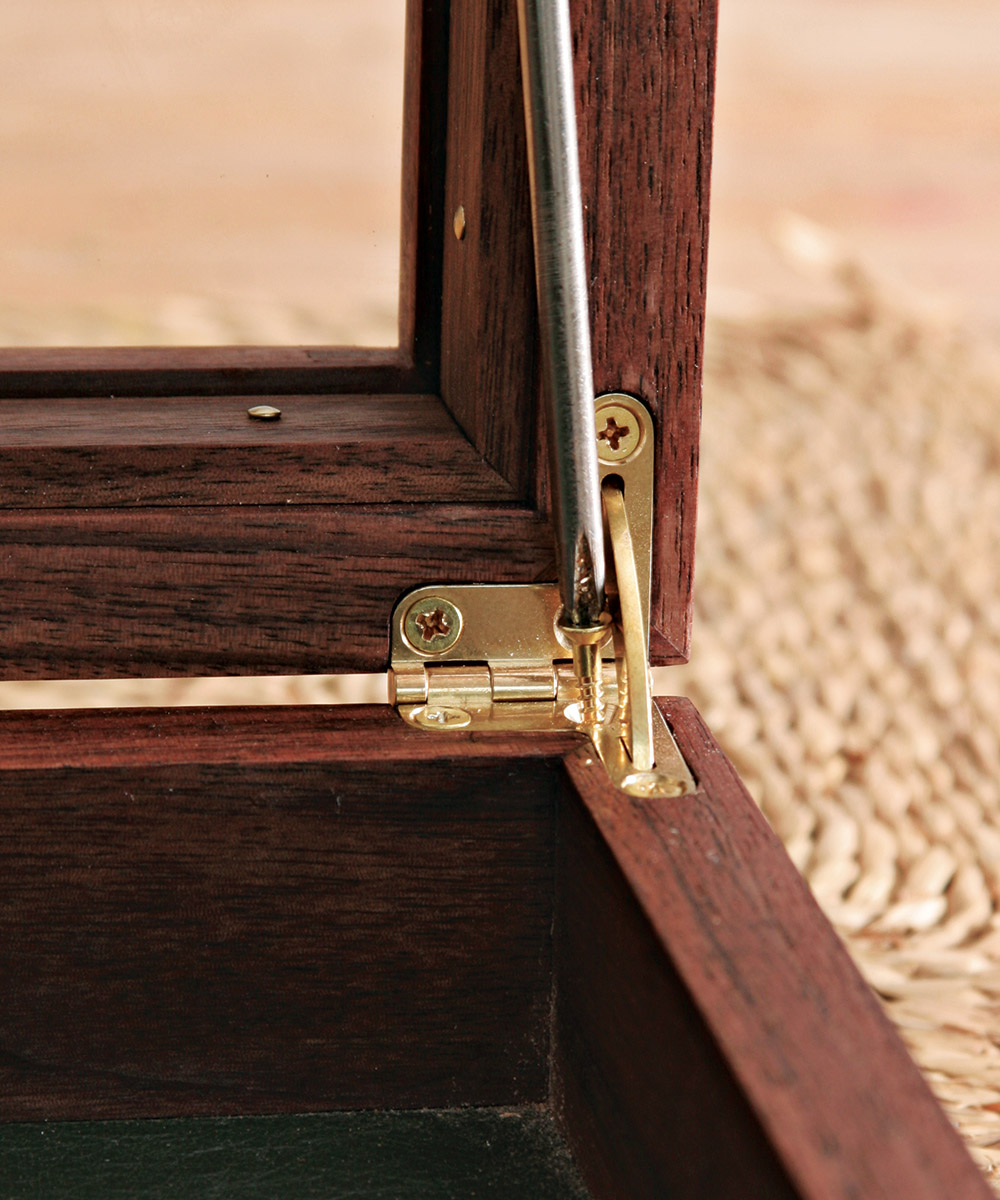
9. With the top and bottom complete, put the hinges back in place. The hardest part is setting the screws in the corner of the hinges. Access to them is partially obstructed by the quadrant arm. So you must put them in at a slight angle.
10. Put little adhesive felt pad feet on the bottom corners of the box. This keeps the box from scratching surfaces and neatly hides the empty miter kerfs.
Choosing Feet
Boxes don’t have to sit flat. You can add feet. The range of options is unlimited, of course, from your own shop-made ideas to commercial wood and metal feet, both historical and contemporary. But instead of showing a huge range of feet ideas, I’d rather ask, what will feet do to the box?
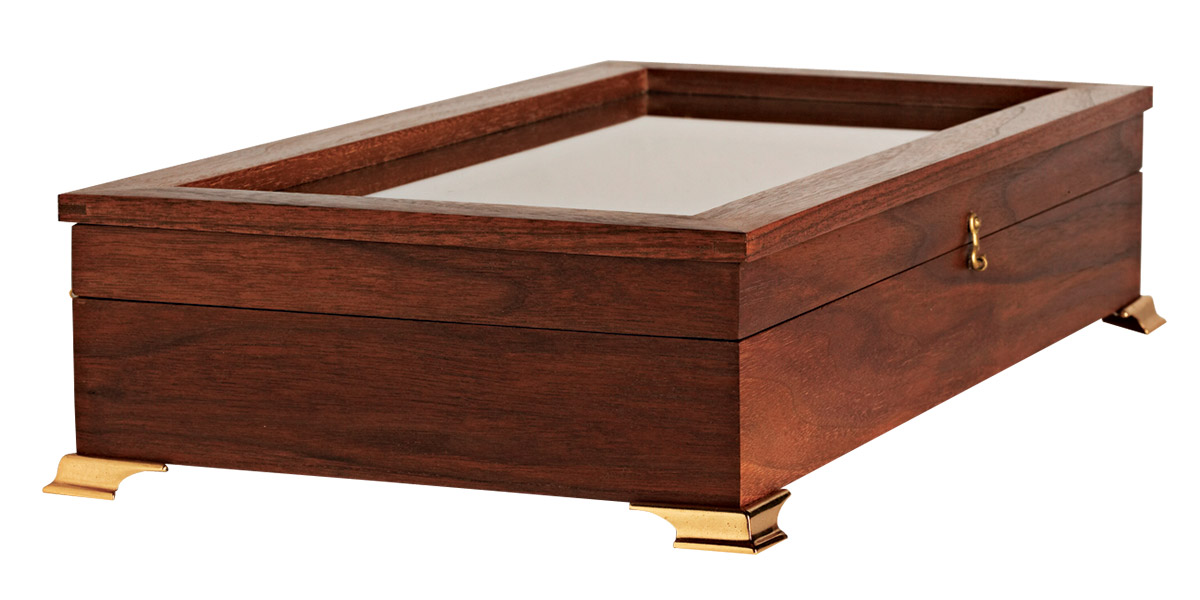
Compare the photo in this sidebar with the photo at the beginning of the project. It’s the same box, just the feet are different. I’ve substituted the felt pad feet that lift the box perhaps 1/16 in. off the surface with these English brass feet.
What words come to mind? Nicer? More elegant? Fancier? With the feet, the box seems presented, perhaps even poised? Or rather, do they make the box look funny or awkward? Do the feet look like they’re not really part of the design, just attached unnaturally?
When you try options such as feet, ask yourself similar questions. If you have the patience and money, try a range of feet until one set pleases. Even sketch options first. I thought the box looked better without the feet. But I was glad to try them on just to see.
Installing the hook eye
After the hinges, you’ll be glad to know the hook eye is pretty simple to install.
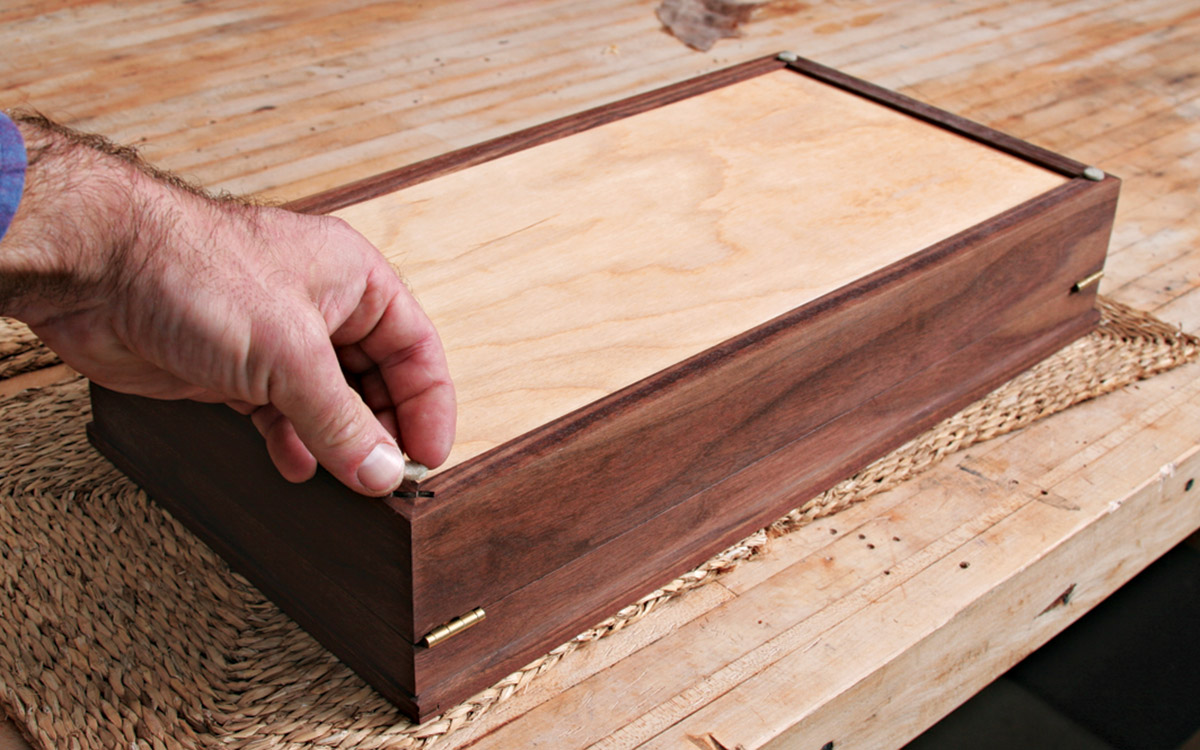
1. Set the box on its back. Center the hook on the front of the box.
2. With a pencil, mark where to drill for the hook and the eye, about equal distance from the top and bottom edges. Remember that the hook should meet the center of the eye as it swings, so locate the hole for the eye accordingly.
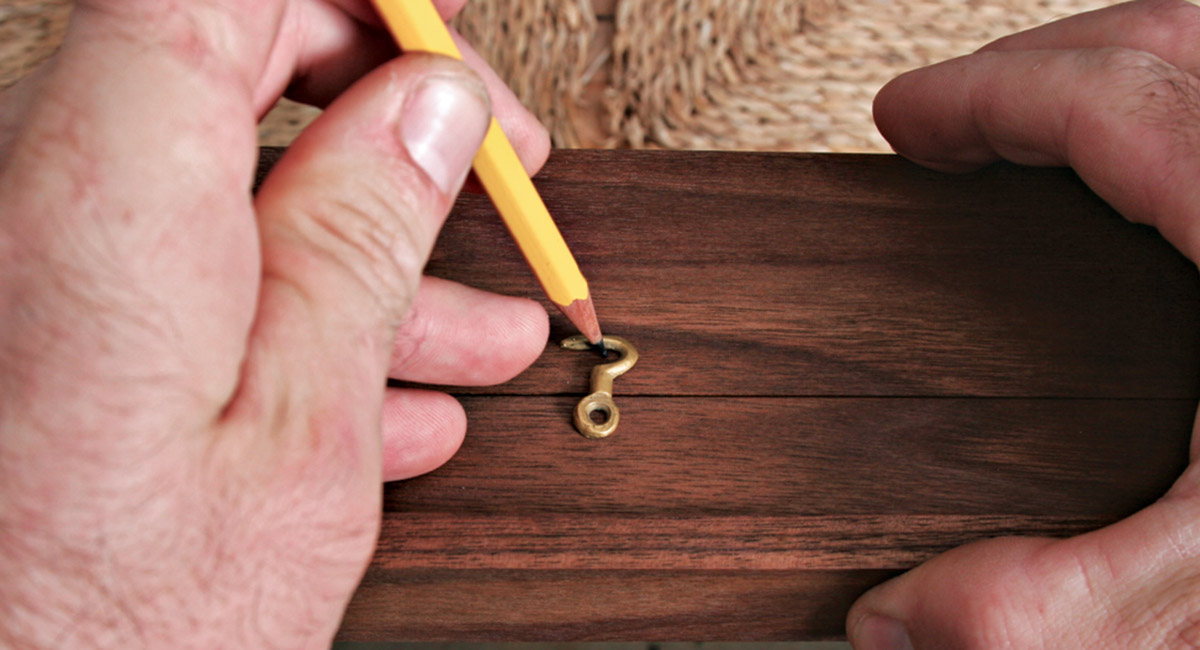
3. Use a thin metal rod, such as a drill bit or small screwdriver, to help set the eye in place.
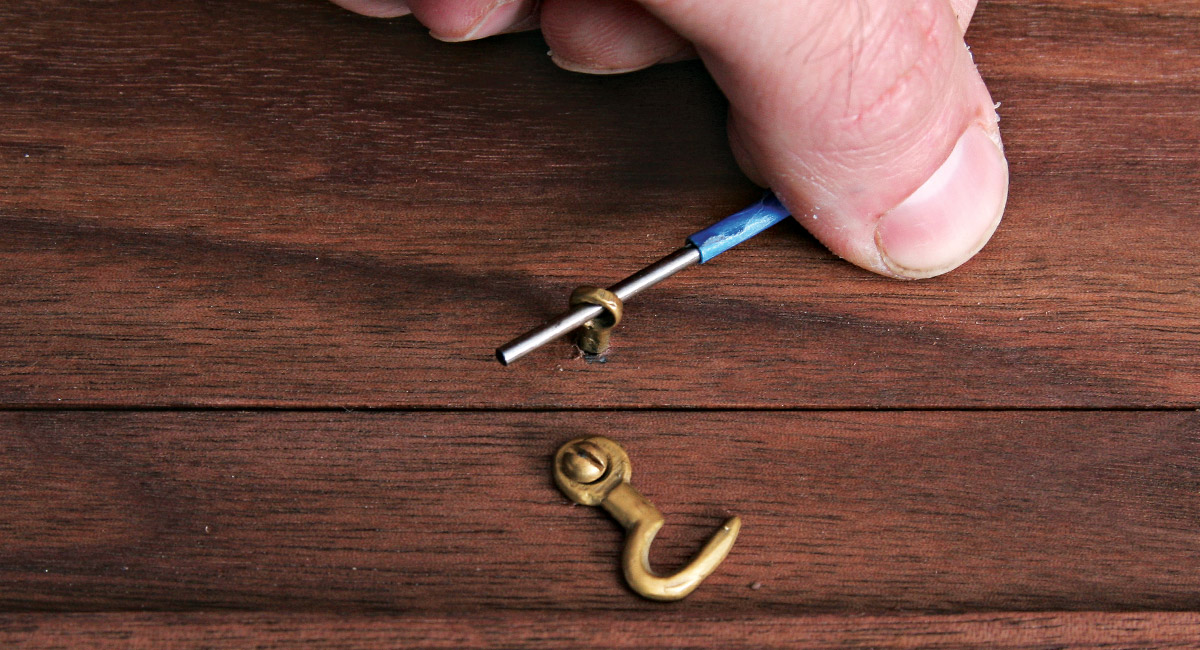
4. If the connection isn’t quite right, try bending the hook just a little bit.
 Excerpted from Strother Purdy’s book, Traditional Box Projects.
Browse the Taunton Store for more books and plans for making boxes.
Fine Woodworking Recommended Products

Osmo Polyx-Oil

Suizan Japanese Pull Saw

Waterlox Original


Log in or create an account to post a comment.
Sign up Log in