Making a Bracelet Box, Part 2
Learn how to assemble the box, make the lid, and install the hinges for a small mitered gift box.
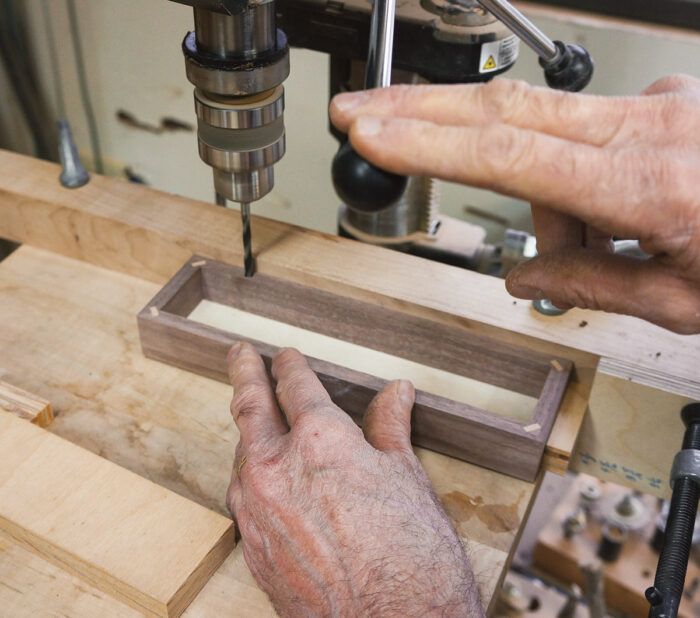
This is the second of two articles on making a small, hinged bracelet box. The first article explained how to cut the mitered corners and splines for the box.
Assemble the Box
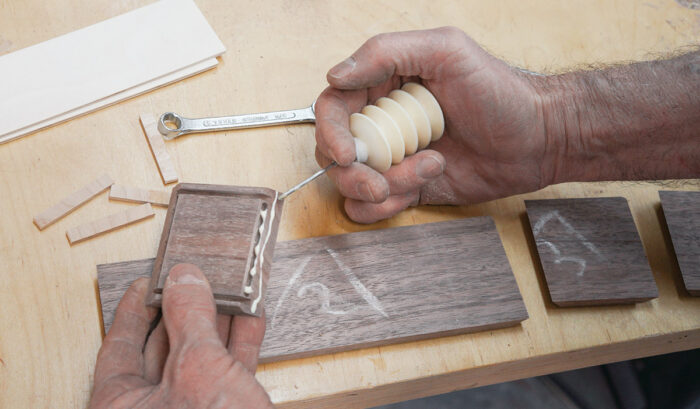
- Use a squeeze bottle to apply glue to the insides of the spline grooves and then spread glue along the miters of each part. A
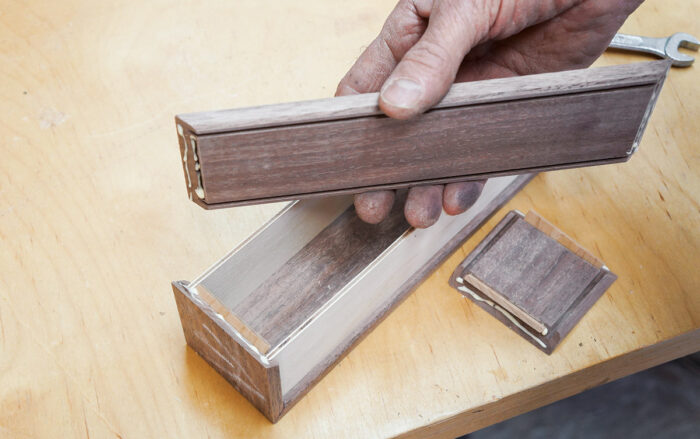
- Put the splines in place and gradually assemble the sides around the Baltic-birch plywood box bottoms, keeping the grain matched at each
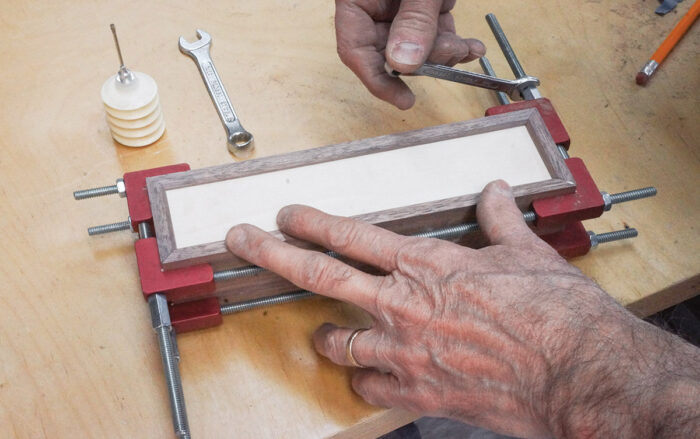
corner. B - While tape and rubber bands are often strong enough to clamp mitered boxes while the glue sets, my experience with the hidden spline joint is that it often takes a bit of additional force to pull the joints tight. Picture-frame clamps that pull evenly on each corner work well to hold parts tight as the glue sets. C
A
 |
B
 |
C
 |
Separate the two boxes
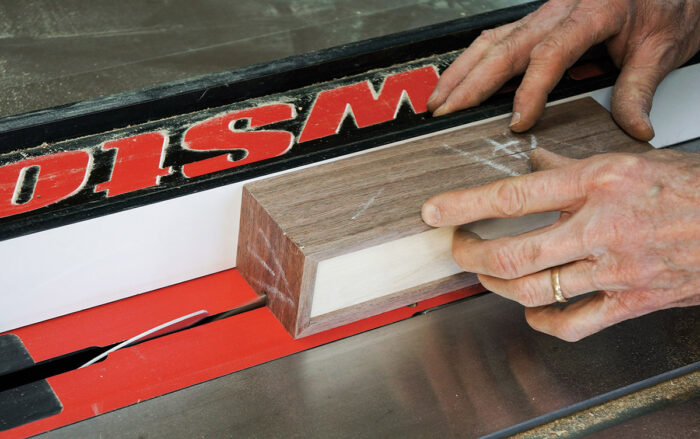
- After the glue sets, use the tablesaw with the blade height set just below the thickness of the stock to cut the assembled closed-form box into two boxes. D
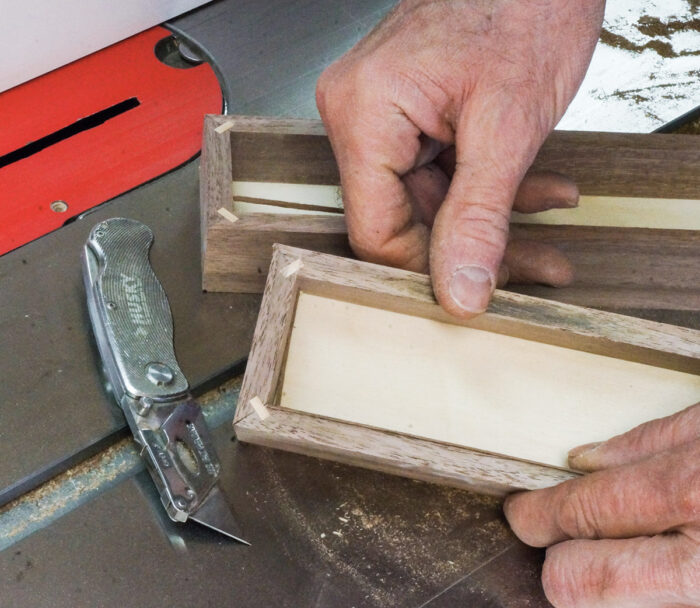
- Use a knife to finish the cut. Carefully break any remaining edge back toward the outside of the box (rather than toward the inside) as this will give a cleaner edge on the inside of the box. E At this point, you can see the contrasting spline, providing evidence that a craftsman was present in the making of this box.
D
 |
E
 |
Make the Lid
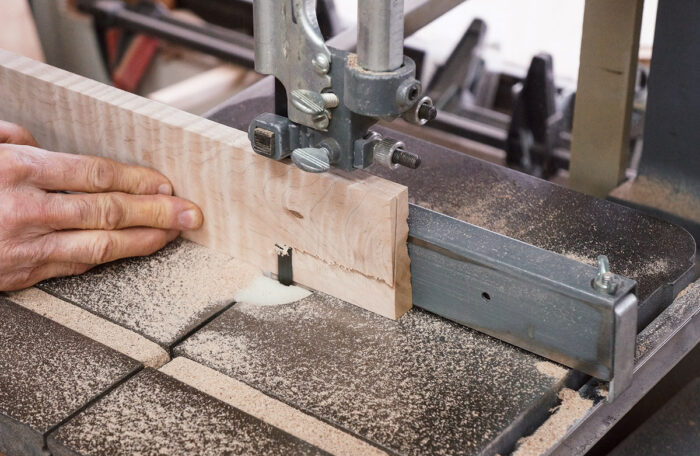
The lid requires a bit of thickness at the back of the box to accommodate the type of hinge used. But that same thickness at the front of the box would make the lid heavy and thick and the design less delicate. A simple solution is to make an angled cut on the bandsaw, leaving the lid 5/8 in. thick at the back and only 5/16 in. thick at the front edge. This technique, particularly when used with additional curved cuts, leads to some interesting optical effects, giving the lid’s flat planes a sense of curvature that tricks the eyes in a pleasant way.
- Plane the wood for the lid to thickness and rip it to width. Then, with the bandsaw table tilted to about 5 degrees, make the angle cut along the length of the stock. A
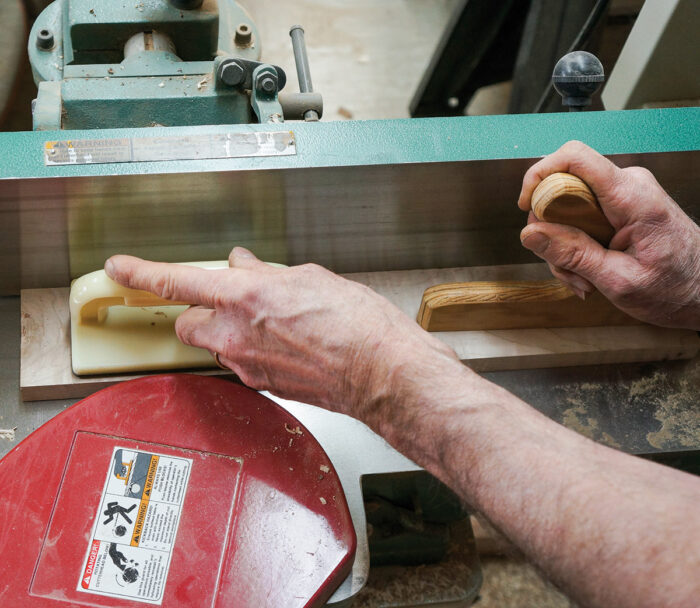
- Smooth the bandsawn cut with the jointer. I set the depth of the jointer to take a shallow cut, and make a second cut if the first doesn’t do the job. Sawing and then jointing the lids two at a time makes for safer handling in both operations. B
A
 |
B
 |
Work SmartWhen you cut your lids to length, use a stop block on the sled for precise cuts. Also cut a story stick of the exact same length to use to set up stops for drilling the holes for the mini barrel hinges. |
Prepare for the Hinges
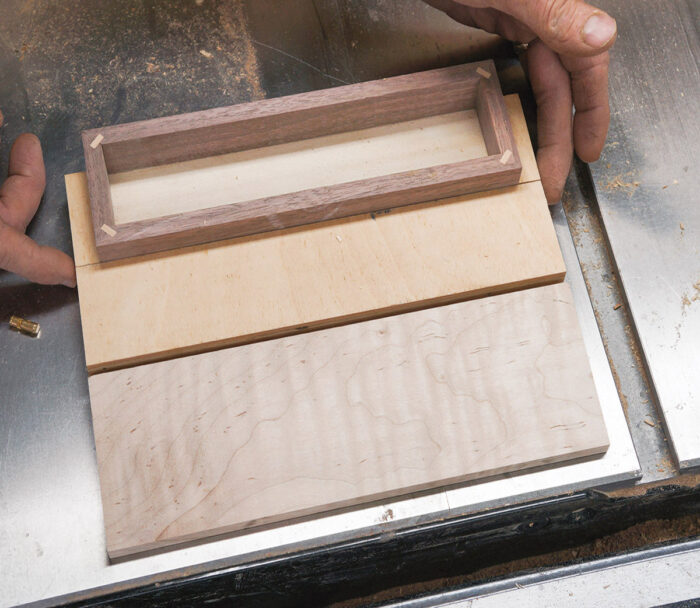
Using 5mm mini barrel hinges takes some exacting work, as they must be perfectly aligned. To get the holes lined up exactly on both the lid and the base, I first make a story stick of thicker stock (in this case 3/4-in. plywood) cut at the same time that I cut the lids to length using the crosscut sled and stop block. For this technique to work, the lid and story stick must be exactly the same length, so cutting them with the same setup is the best way to guarantee success. Since the base is shorter than the lid, drilling hinge holes in the base requires spacer blocks as a guide. I cut these from the same stock used to make the story stick. Cut the spacer blocks so that, when aligned at the ends of the box, they also align with the longer story stick. A The more precise this step, the better, and you will find your touch more effective at discerning differences in length than your eyes alone. If making more than two boxes, you may need to make more than one story stick, as slight variations in the length of boxes will cause misalignments in the setup and drilling of hinge holes.
A
 |
Drill the Hinge Holes
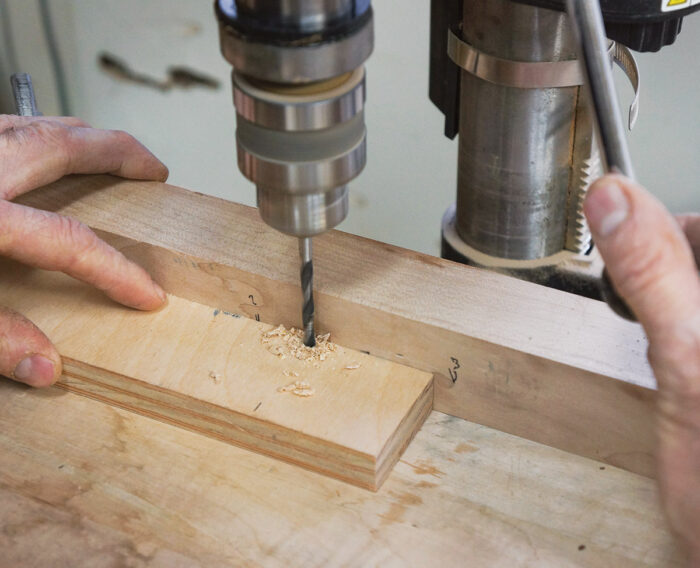
- Set up the drill press with a fence located so that the center of the drill is at the center of the 3/8-in. stock used for the box sides. A piece of scrap left over from making the sides can be useful for setting up this step. Mark the hinge location on the story stick and drill all the way through using a 5mm. brad-point bit. A
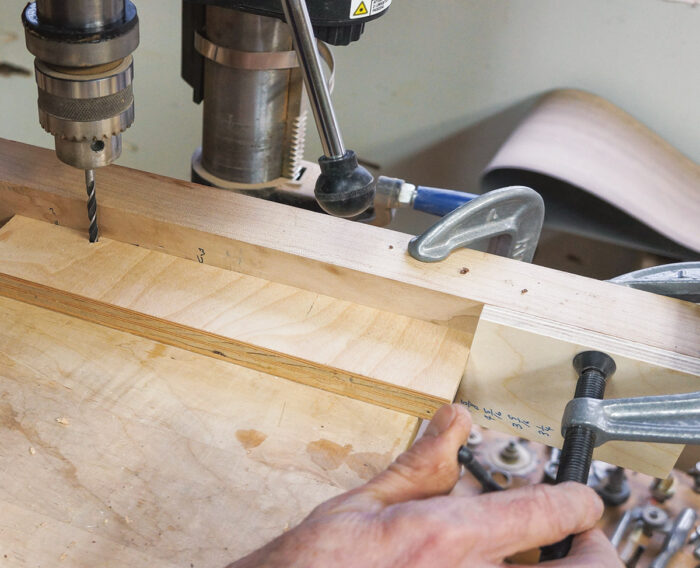
- With the drill still lowered into the hole, clamp a stop block on the left side of the fence while it is held against the story stick. Flip the story stick over with the same edge against the fence, and lower the drill into the hole. With the drill bit in the hole, clamp a stop block to the fence on the right, again with the stop block against the story stick. B
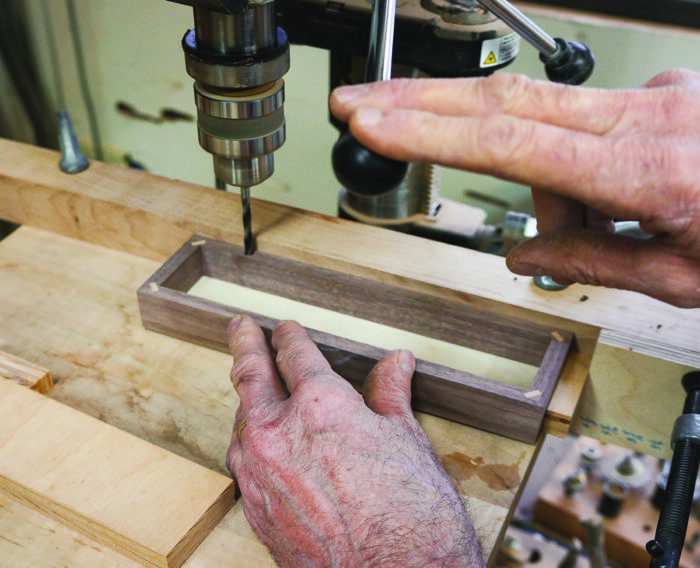
- Drill the body of the box on the back edge with the box held against one spacer and stop block and then the other. Having the spacer in place on each side is essential to compensate for the longer lid. The depth of the hole should be carefully set to be no deeper than one-half the length of the hinge. C
A
 |
B
 |
C
 |
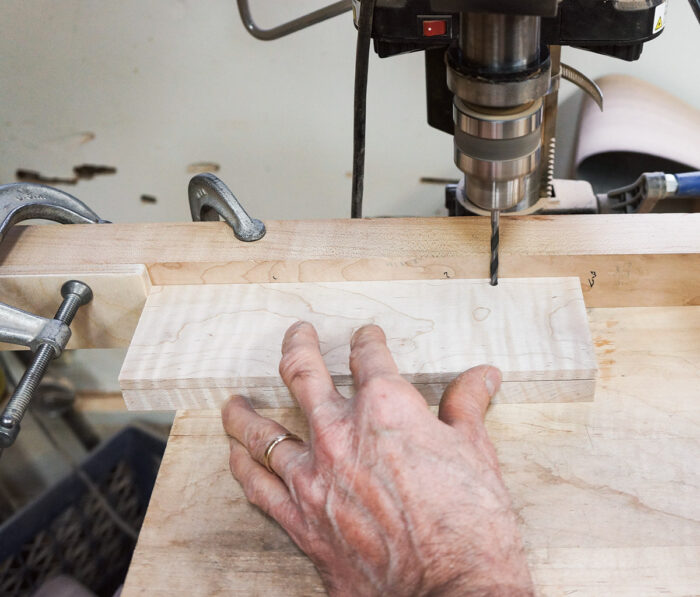
- To drill matching holes in the lid, remove the spacers and double up the lids so that the lower one nested to the upper will hold it at a right angle. Again, the depth of the hole must be carefully set to drill no deeper than half the length of the hinge. D
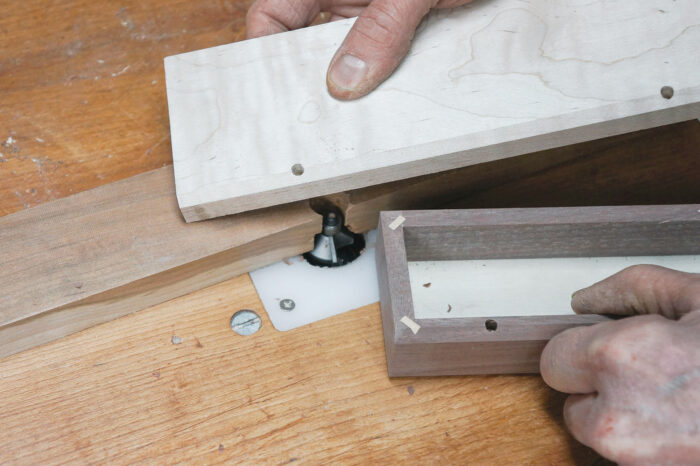
- In order for the hinges to open, clearance must be provided in the form of a chamfer cut in both the top and bottom. The chamfer also provides a 90-degree stop when the lid is open, so it is both an attractive and useful feature. Use the router table and 45-degree chamfering bit to rout along the back edge of both the lid and body of the box. E
D
 |
E
 |
Shape the Lid
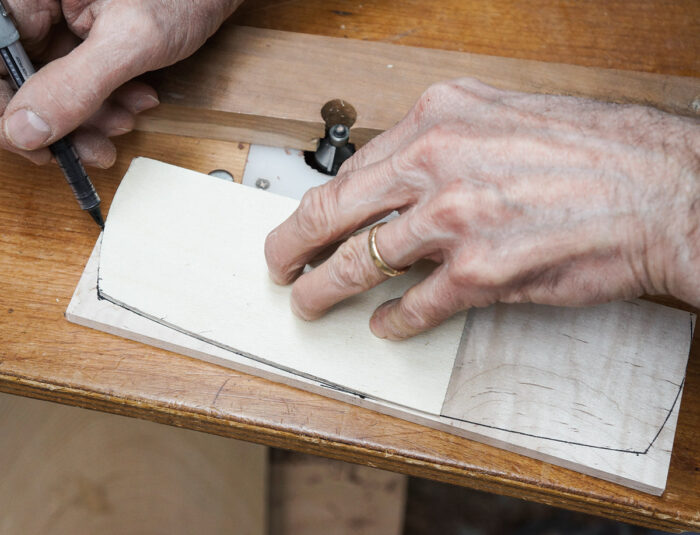
- Make a simple template to mark the shape of the lid. Half a lid shape will do, and the template can be made from cardstock or thin plywood.
- With the straight side of the template laid against the back edge of the box lid, trace and mark with pen or pencil, and then flip the template to create a symmetrical shape on the other end. A
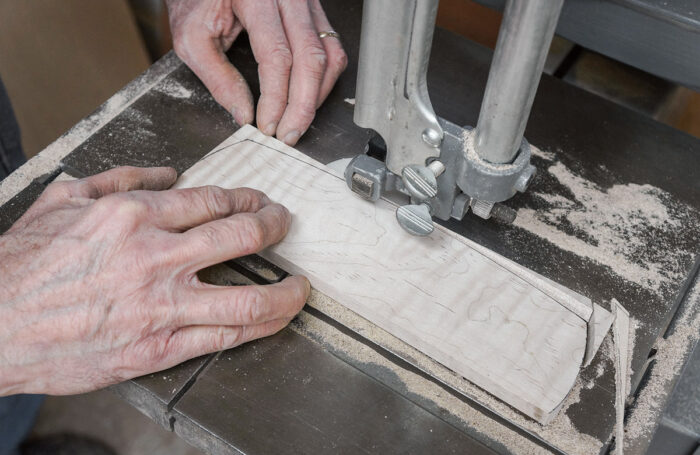
- Use the bandsaw to cut the lids to shape. B Then sand the ends and front smooth and rout the edges.
A
 |
B
 |
Install the Hinges
The 5mm barrel hinges have small grooves along their length that allow them to be glued in place.
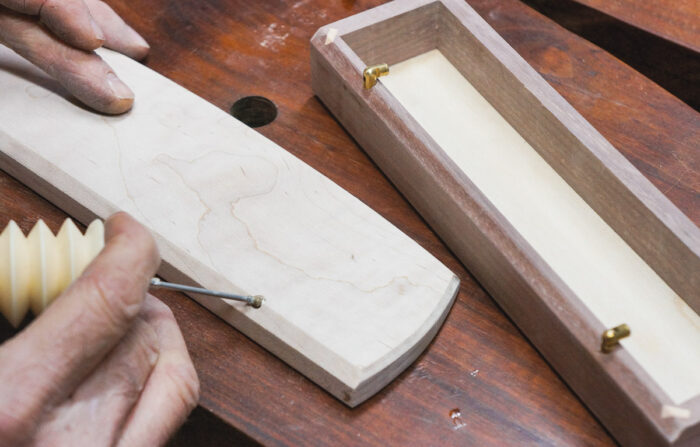
- Use a squeeze bottle to apply just a bit of glue to the inside of the mounting holes before pushing the hinges in place. A
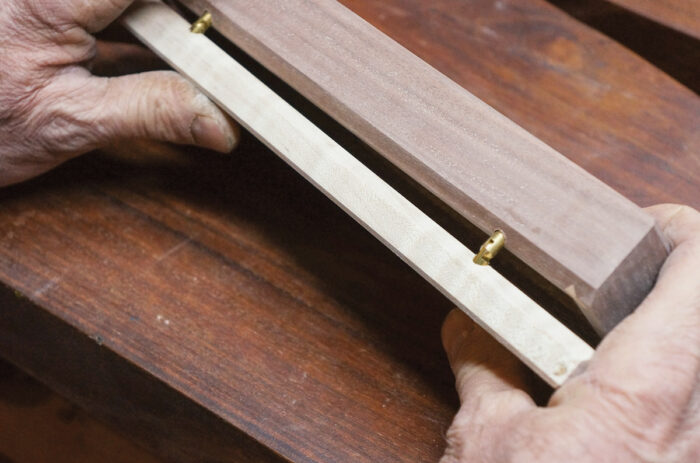
- Here you can see why careful alignment of holes in the lid and body of the box is essential. Gently nurse the hinges into the holes, being careful that they are going in at the right angle to be able to bend. Get both to seat fully in one part first, and then squeeze the lid and body of the box gradually to get them joined to each other. B
A
 |
B
 |
 Excerpted from Doug Stowe’s book, Beautiful Boxes.
Browse the Taunton Store for more books and plans for making boxes.
Fine Woodworking Recommended Products

Suizan Japanese Pull Saw


Log in or create an account to post a comment.
Sign up Log in