Milling Stock for a Dovetailed Box
How to mill parts for a box that are straight, flat, and square.
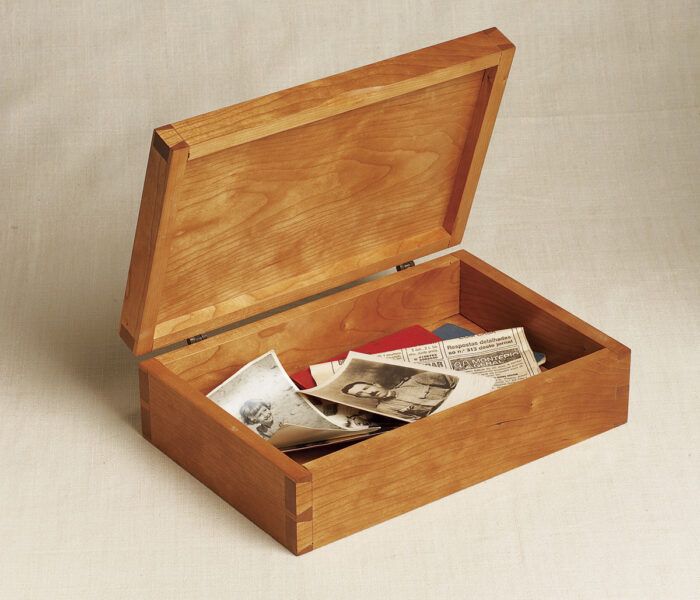
In many years of woodworking, I’m not sure if I’ve found greater satisfaction than with the first dovetailed box I made. Building it, however, was nerve wracking. I puzzled over the angles and spacing. While sawing, I forgot what was waste and what was not. When the joints looked right but didn’t go together, I was sorely tempted to reach for a hammer. But was I thrilled when I got the box together in the end.
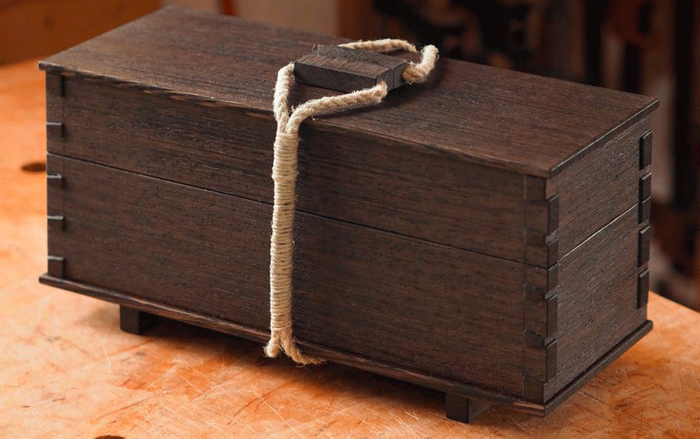
This is a really simple, unadorned box, and excellent as a first dovetailed project. It’s also useful for “male jewelry.” I have one on my dresser. It holds a jumble of cuff links, two watches, a miniature compass, three tie tacks, ticket stubs from a 1985 Tom Petty concert, two jackknifes, and a broken ink pen. If you don’t need such a box, well, then it also makes a great gift. This project will be covered in three parts. Here we’ll cover milling. In the next two parts I’ll show how to lay out and cut the joinery and how to assemble the box and install the hinges.
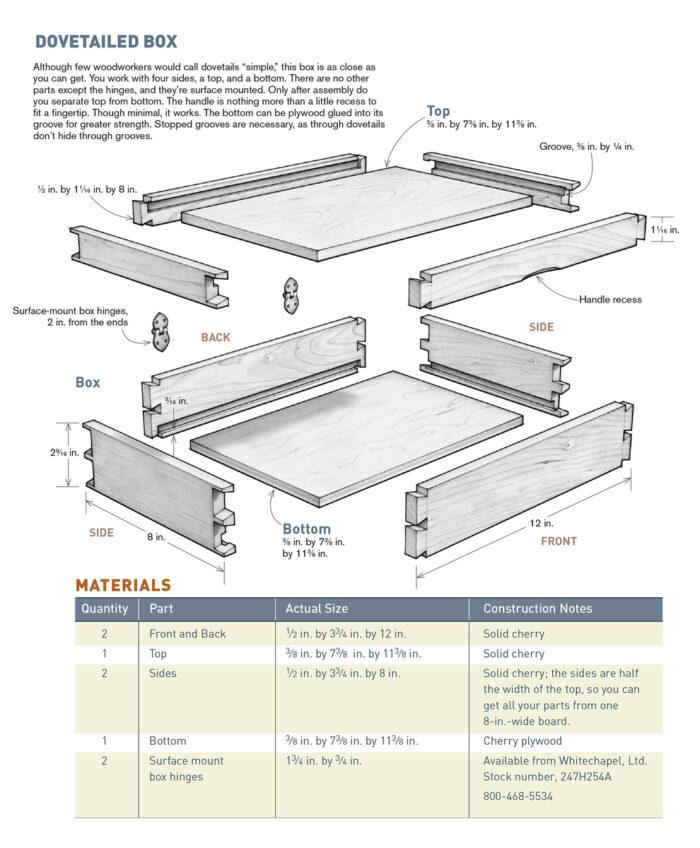
The basic design for this box was passed along to me by a fellow woodworker who learned it from another woodworker, and so on, back, I’d guess, all the way to the Egyptians. The top and bottom are captured in grooves. You glue together a sealed box, then saw it into a separate top and case. This approach simplifies the project and ensures the top and bottom halves match.
The surface-mount hinges and cut-in handle greatly simplify the project’s details. The one challenge is the dovetails. If you’re new to them, cut a practice set or two before you make the box. Then feel the triumph when you put it together and it looks great.
Milling the Cherry Stock
Cherry is an easy wood to work. It is medium in hardness, which means it is not a chore to cut with hand tools, yet it doesn’t dent or crush easily. The main trouble with cherry is the sapwood, which is a bright cream color that only yellows with age. Sadly, most cherry lumber is sold with a lot of sapwood, making it hard to work around. So at the lumber yard inspect your boards carefully if you wish to avoid a two-toned box.
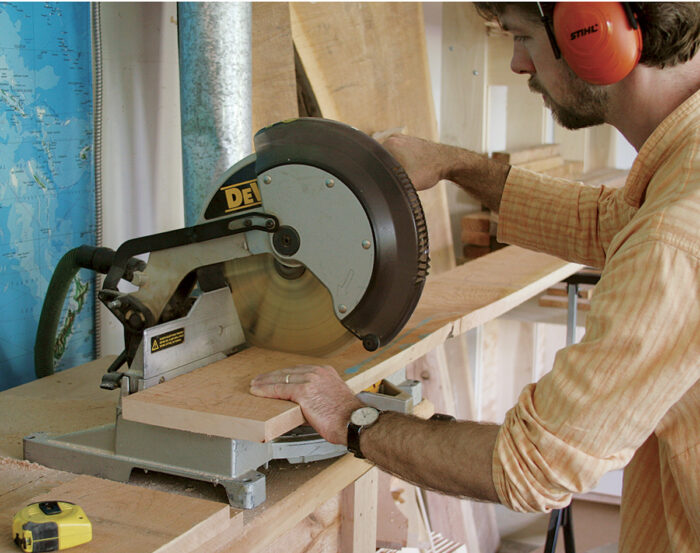
1. From your rough stock, crosscut oversize blanks, about 13 in. long, for the two sides. Crosscut one 17-in. blank for the two ends because they’re too short on their own for milling. And crosscut a blank for the top, also 1 in. oversize. A handsaw and bench hook work fine, but a chop saw is faster. A
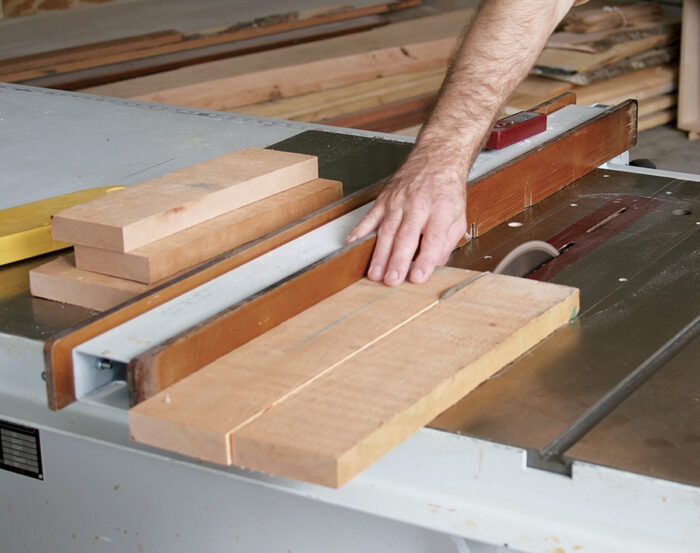
2. Rip the side pieces to about 1/4 in. over width on a tablesaw. B
3. Joint a flat face on each board. Plane the sides down to 3/8 in. thickness and the top to 1/2 in. If you don’t have an 8-in. jointer, rip the top into two 4-in.-wide pieces. Mill them with the sides, then glue them back together after you’ve gotten them to final thickness. Depending on the grain, the joint can be invisible. C
4. Stack the parts on edge in your shop for a day to let any internal stresses show themselves. D
5. If the boards have bowed, cupped, or twisted overnight, joint them flat again. Then plane them all to the final 1/2-in. thickness. Plane the top down to 3/8 in. thickness.
6. Rip the boards to finished width and crosscut them to finished length. E & F
7. For the bottom, you can mill a piece of solid cherry to 3/8 in. thick, or use a piece of plywood. I used two pieces of 3/16-in. cherry plywood glued together because I had them in the shop. (See “Plywood or Solid” for my reasons.)
A
 |
B
 |
C
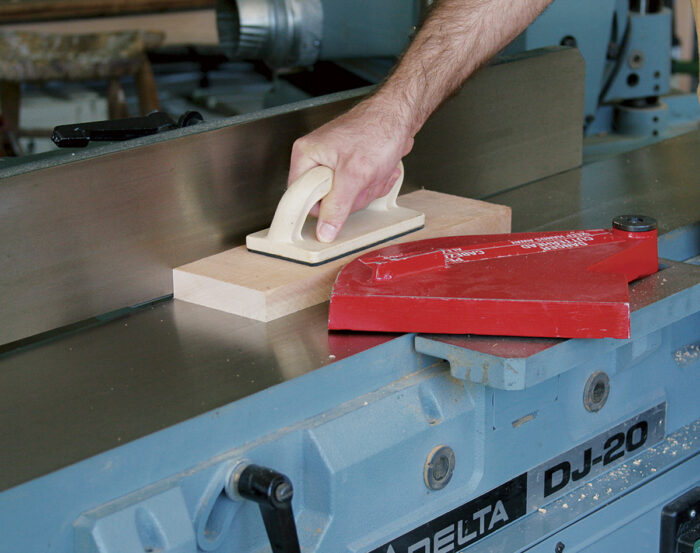 |
D
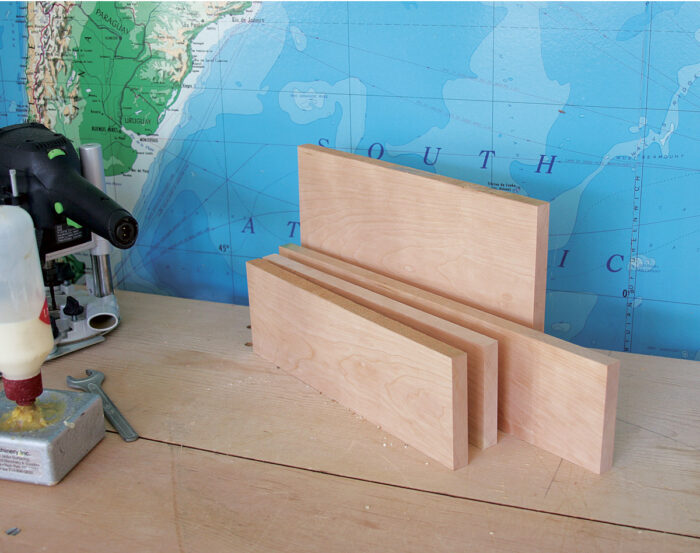 |
E
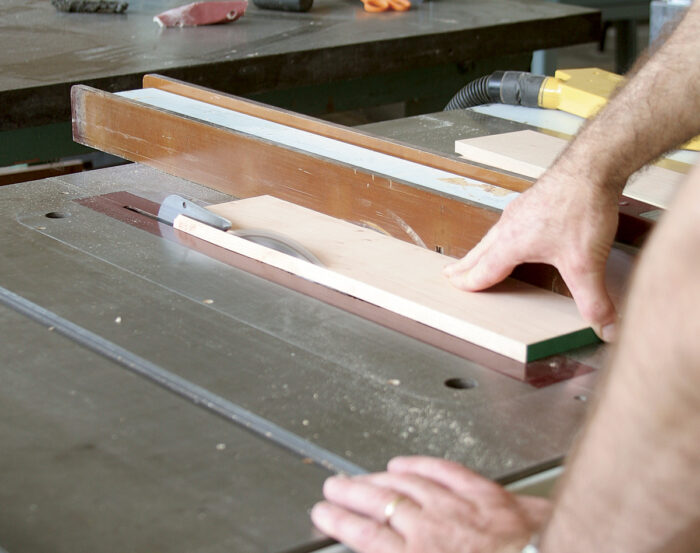 |
F
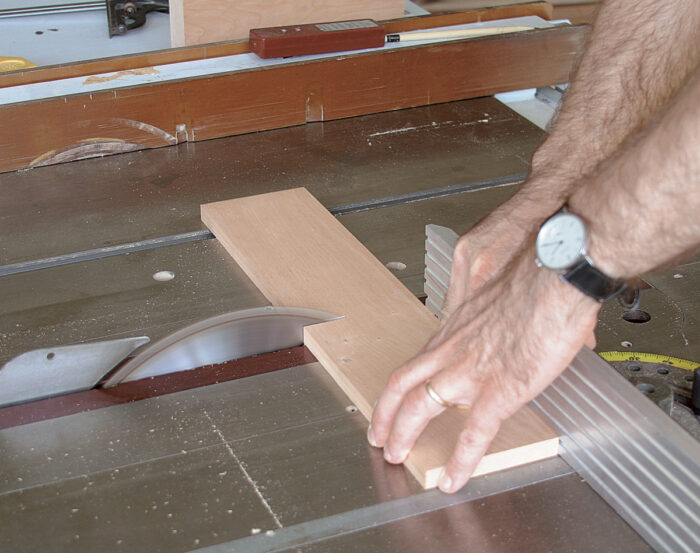 |
Plywood or SolidBecause the top and bottom of this box are flat and captured on all edges, both can be made from 1/4-in. or 3/8-in. plywood. There are several advantages to this. First, plywood is stronger than solid wood and can be glued into its groove (solid wood should never be). Second, plywood is a time saver because it doesn’t need as much milling. The trouble with plywood, however, is that the surface veneers have seams. Although some are nearly invisible, others shrink apart over time and show the lighter-colored core veneers. So in this project, I make a solid top for looks and a plywood bottom for ease and strength. One big mistake to avoid is using a thin and light 1/8-in.-thick plywood bottom with a thick and heavy solid-wood top. The top-heavy box will fall over backward every time you open it. |
 Excerpted from Strother Purdy’s book, Traditional Box Projects.
Browse the Taunton Store for more books and plans for making boxes.


Comments
In step 4, should it say “plane the sides down to 5/8” thickness”, not 3/8”? It looks like 1/2” is the final thickness. It seems the top was left 1/4” thick here to allow movement before final planing, so I am assuming this was just a typo? Or is the final thickness of the sides wrong in the drawing?
Log in or create an account to post a comment.
Sign up Log in