Make Your Boxes Stand Out
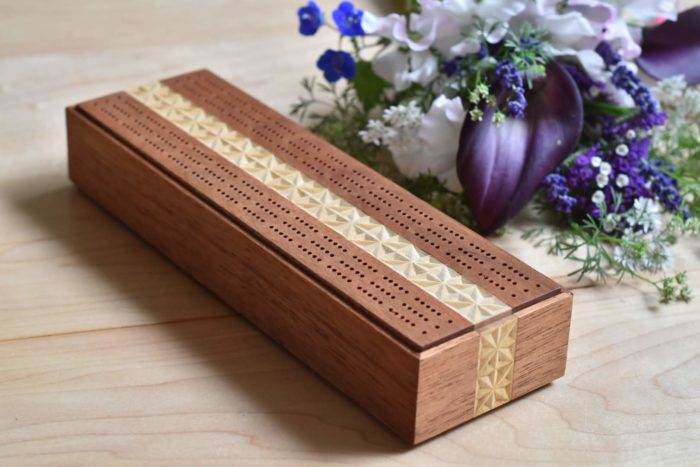
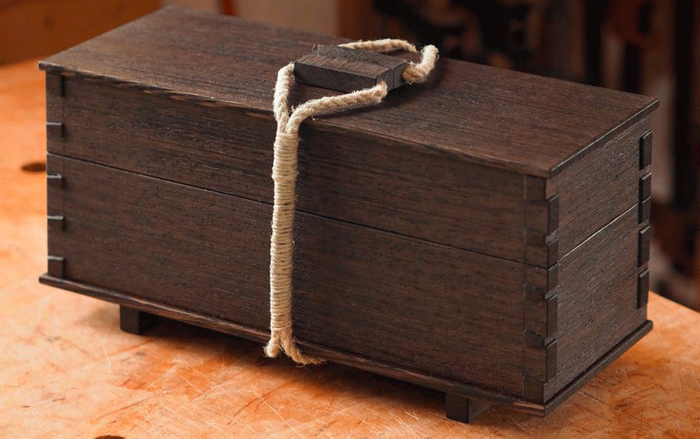
Amy Costello's beautiful boxes feature a step along the bottom that creates a revealing shadow line. Here's how she cuts this detail with a single setup on the tablesaw.
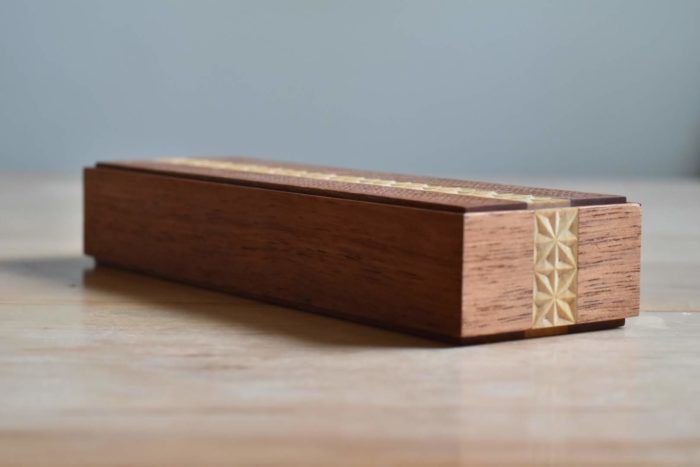
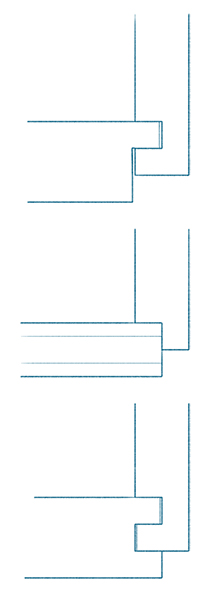 I love the look of small boxes with stepped-in bottoms. This little detail, called a reveal, lifts the main mass of the box up off the surface it’s resting on, making it feel lighter and more delicate. There are a couple of options for creating this kind of bottom.
One is to cut a groove along the inside of the box and a rabbet along the edge of the bottom that fits inside the groove. This requires at least two different table saw setups (one to cut the groove and one to cut the rabbet), and in solid stock it requires that you leave a little gap around the bottom to allow room for wood movement. This method also limits the depth of the reveal to the full thickness of the box sides. On my boxes, that’s too much.
Another option is to make a bottom out of plywood and glue it directly into a rabbet around the bottom edge of the box. This requires careful fine-tuning with a plane to get the bottom to fit into the rabbet perfectly, and the plywood edge has to be masked with paint or veneer, another time-consuming process.
A third option, and the one I’m going to discuss in depth today, is to cut a pair of interlocking grooves: one in the box sides and one along the top edge of the bottom. If you do it right, this requires only one tablesaw setup for both joints, increases flexibility in the dimensions of the reveal, and creates a joint that allows for wood movement without creating visible gaps.
Use interlocking grooves for precise reveals
To begin, the sides and bottom of your box should be at their final dimensions. The thickness of the bottom depends on the thickness of the tablesaw blade you plan to use to cut the joint. Tablesaw blades are typically either 1/8-in. for a standard blade or 3/32-in. for a thin kerf blade. The bottom of your box should be thicknessed to the thickness of your reveal + the width of your tablesaw blade twice. For example, if I want a 1/8-in. reveal and I’m using a 3/32-in. tablesaw blade, the thickness of my box bottoms will be 1/8 + 3/32 + 3/32, or 5/16-in. To determine the length and width, take the overall length and width of the box and subtract the reveal twice from each dimension. For example, a 10-in. long box with 1/8-in. reveals will have a bottom that is 9 3/4-in. long.
One setup for every part
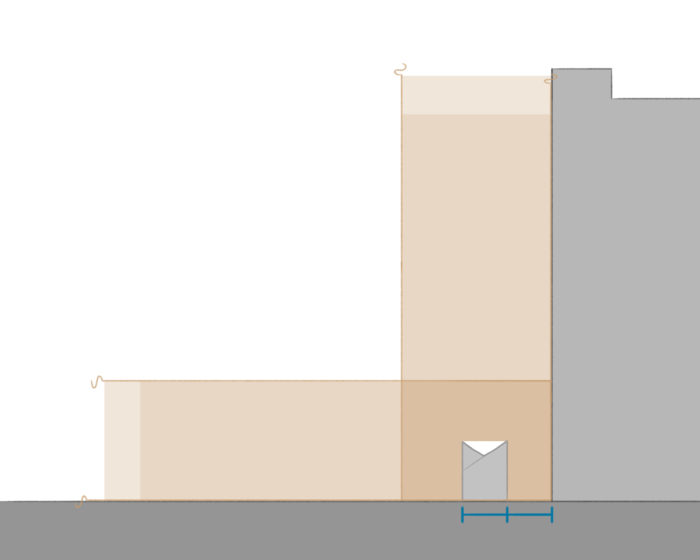
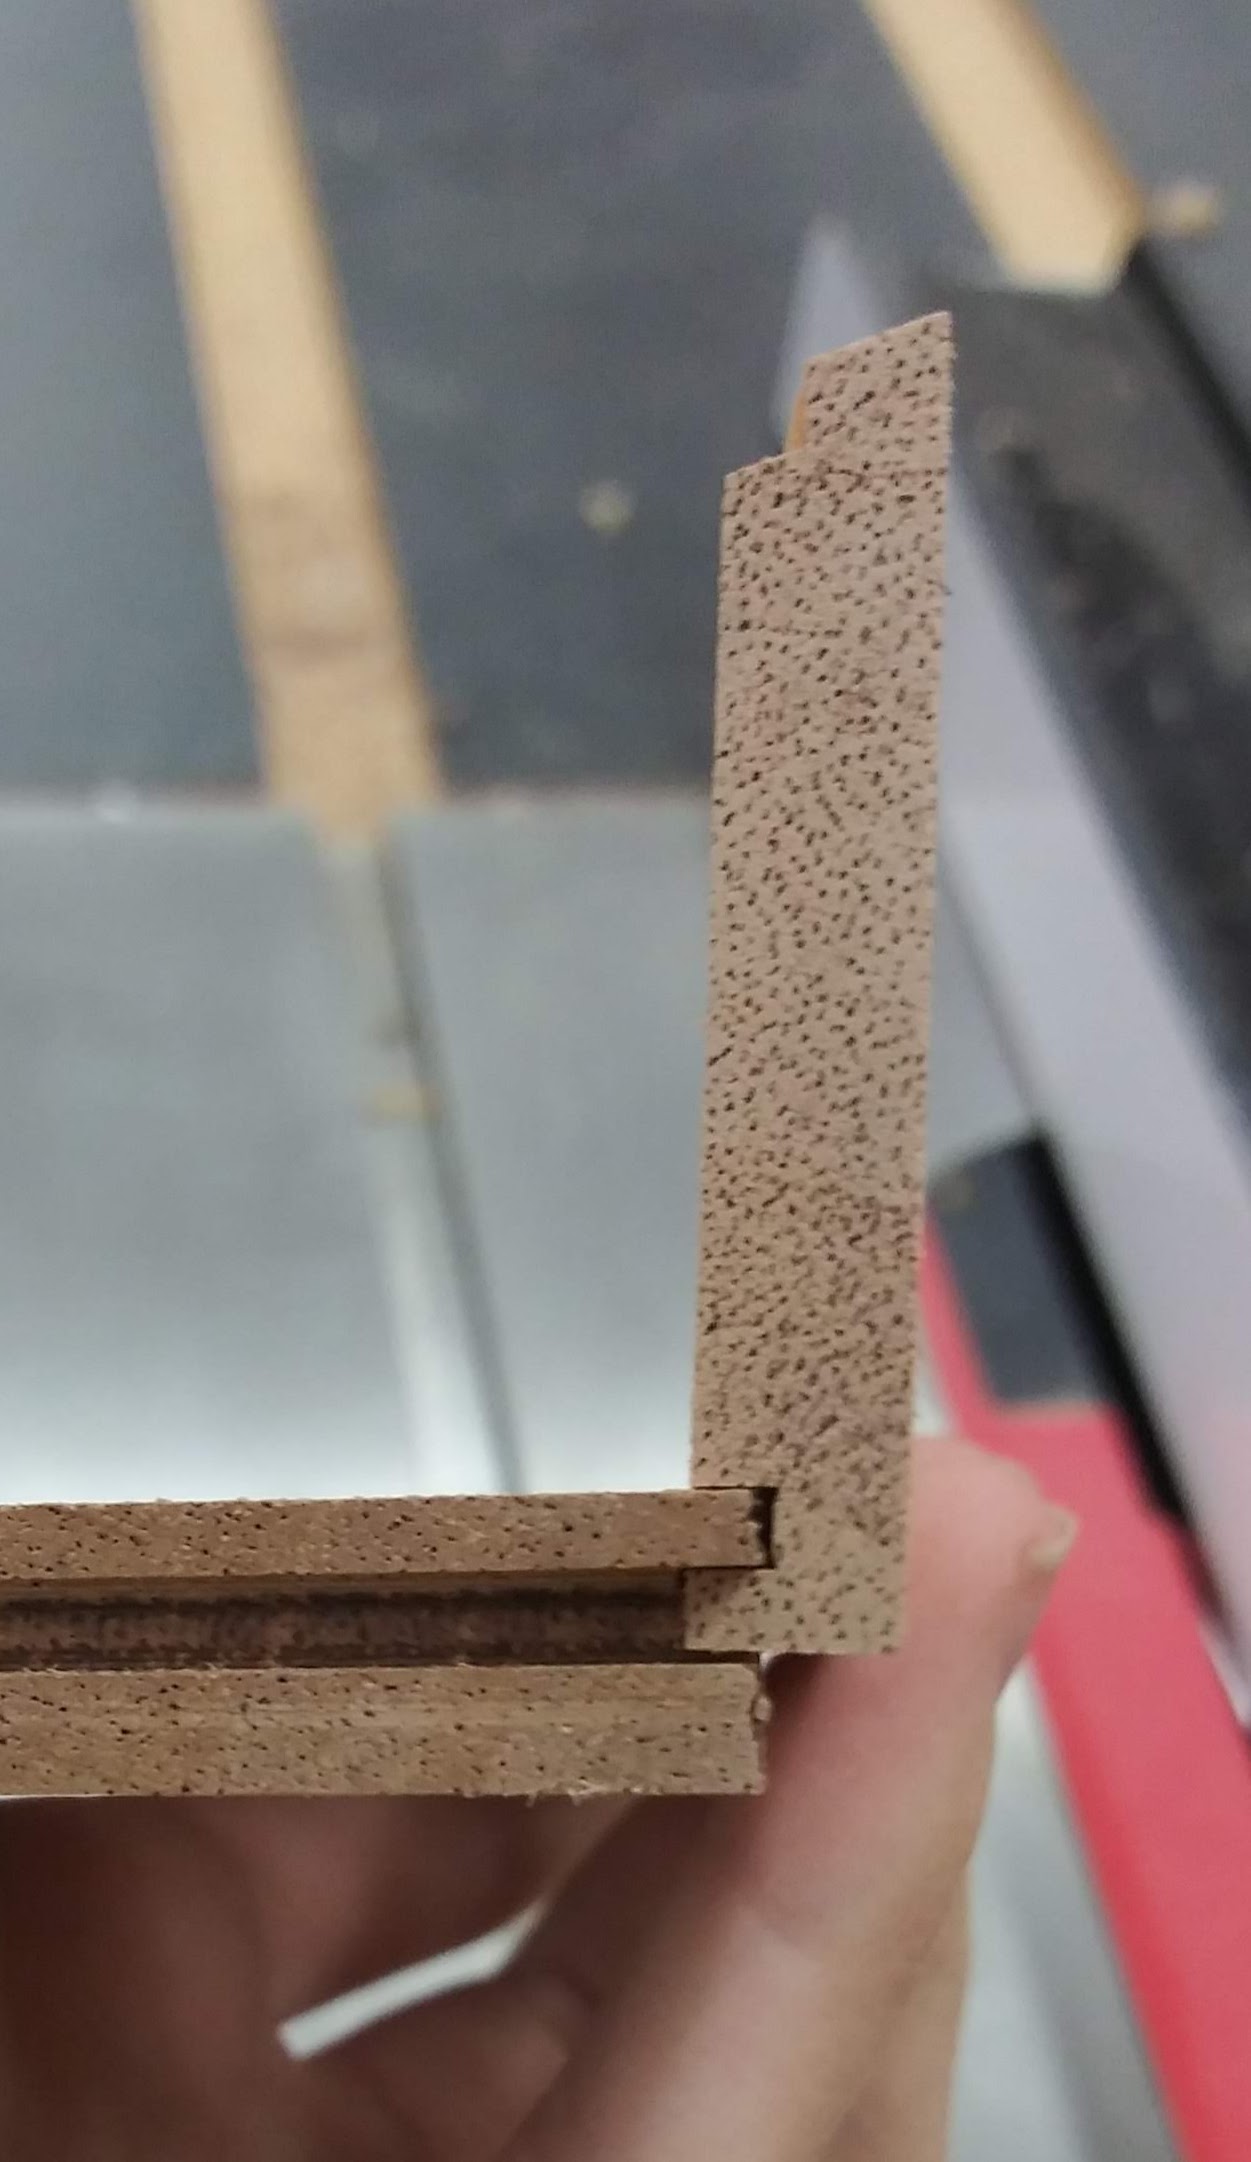 Next, set up the tablesaw so that the distance between the fence and the blade is exactly the same as the thickness of the blade. You’ll want to test this setup on a piece of scrap wood until you have it perfect. You’ll know you have it right when two grooves cut on separate pieces of wood can interlock with each other snugly.
To determine the height of the blade, take the thickness of your sides and subtract the depth of your reveal, then bump the blade up just a little bit to allow for wood movement. For a box with 1/4-in. thick sides and a 1/8-in. reveal, the blade height should be 1/8-in. + a smidge.
Once the saw is set up, you’re ready to cut both joints. Run all of your side pieces over the saw with the inside down and bottom towards the fence. Then run all four edges of your bottom over the saw with the inside facing the fence. Assemble the box, and place a dab of glue inside the grooves on the center of the endgrain sides of the bottom to keep the bottom centered perfectly.
Fine Woodworking Recommended Products

Suizan Japanese Pull Saw


Comments
Just in time. I have five boxes in process. The raised appearance appeals to me so tomorrow I will try to modify my work. My wood is beautiful but I won't attempt to add your fancy design. Thank you.
I hear ya cedarlog, Amy's got chops when it comes to fancy boxes.
Such a cool design, but how did you end up getting the jarrah dust out of the basswood pores?
Wow. I've always wondered about the best way to achieve this effect - now I know! Thanks!
Log in or create an account to post a comment.
Sign up Log in