Morris Chair: Advice on Upholstery
Some advice about making the cushions for the bow armchair.
Start your 14-day FREE trial to watch this video
Plus, access more than 500 video workshop episodes when you become a member
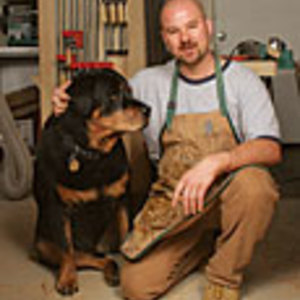
Gregory Paolini began woodworking in high school and found that he had an affinity for the Arts and Crafts style.
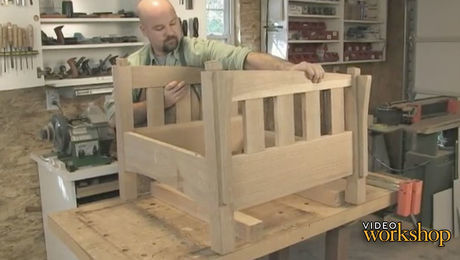
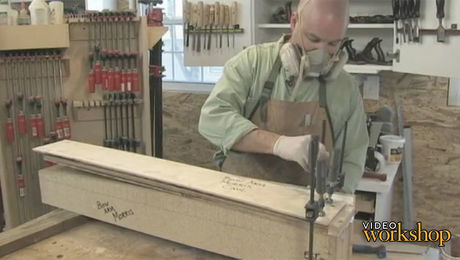
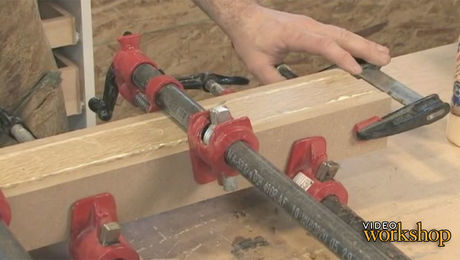
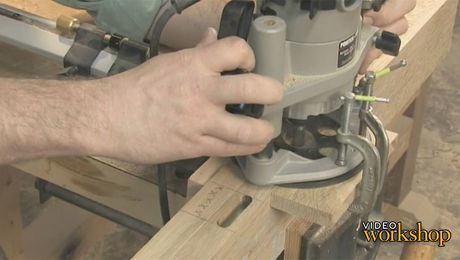
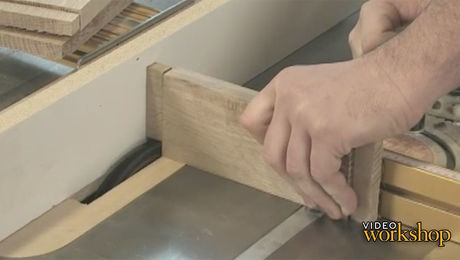
In this video workshop, he’ll show you step-by-step how to make a comfortable Arts and Crafts recliner. For the most part, the construction is straightforward. But the most distinctive part of the chair–its bow arms–presents two big challenges: making a curved lamination, and cutting a mortise-and-tenon joint on the curved arms and side frame.
He’ll show how laminating the arms gets you around those challenges. And he’ll also demonstrate how to get striking quartersawn grain everywhere it counts, including a simple and authentic method for making a leg with four quartersawn faces.
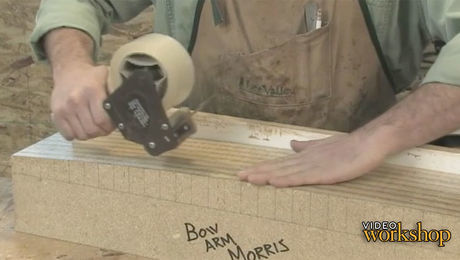
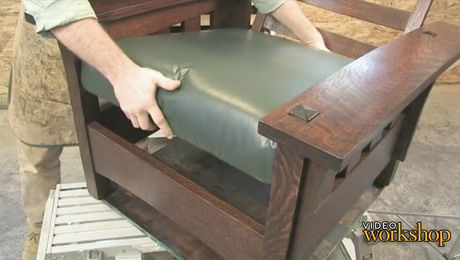
In this episode, Paolini gives a brief overview of the upholstery process.
Produced by: David Heim; Video by: Gary Junken; Editing by: Michael Dobsevage
For more information about upholstery
A Woodworker’s Guide to…
Videos in the Series
-
Build A Bow-Arm Stickley Morris ChairAugust 7, 2012
-
Morris Chair: Bending Form for the Bow ArmAugust 7, 2012
-
Morris Chair: Bend the Bow ArmsAugust 7, 2012
-
Morris Chair: Legs with Quartersawn FacesAugust 7, 2012
-
Morris Chair: Router-Cut MortisesAugust 7, 2012
-
Morris Chair: Tenons on the Table SawAugust 7, 2012
-
Morris Chair: Through TenonsAugust 7, 2012
-
Morris Chair: Through MortisesAugust 7, 2012
-
Morris Chair: Constructing the BackAugust 7, 2012
-
Morris Chair: Finishing TouchesAugust 7, 2012
-
Morris Chair: Pivot and Support PinsAugust 7, 2012
-
Morris Chair: Glue Up and Finishing StrategiesAugust 7, 2012
-
Morris Chair: Advice on UpholsteryAugust 7, 2012


Comments
Great video. I found it very informative and easy to follow. With a smooth cigar, a glass of Scotch and a good David Baldacci book I think I know what my next project will be.
Same here. A beautiful chair and great instruction. Well done, Paolini. Ps. I like the book and scotch idea by canguys.
Very excellent video. I think I would do the legs differently. Once I'd cut the four faces to size, I'd bevel the edges at a 45 deg. angle. Put them together and measure the inside to get the measurement of a center core. Then it's already to glue up. I use strips of rubber I got by cutting some bike tires lengthwise to bind this together. This method gives a tremendously strong leg with no joinery showing. I've use this method before and know it works.
Log in or become a member to post a comment.
Sign up Log in