Morris Chair: Legs with Quartersawn Faces
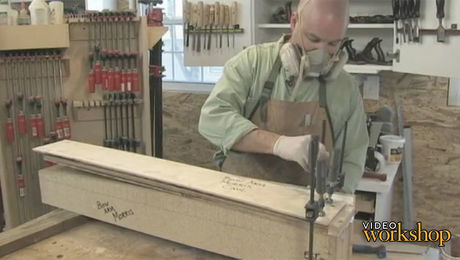
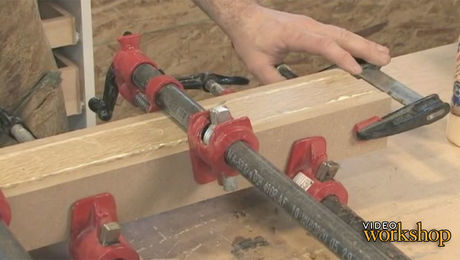
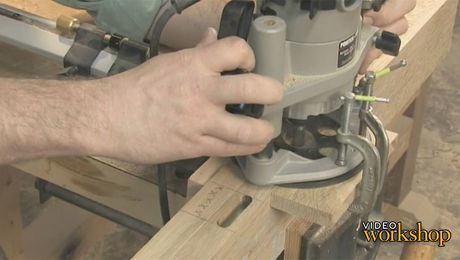
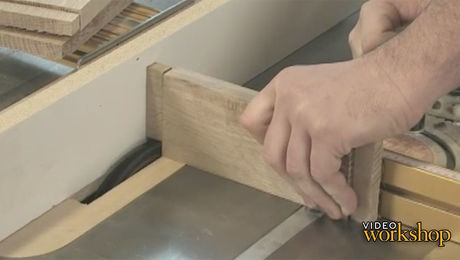
How to get four attractive quartersawn faces by veneering over a solid wood core.
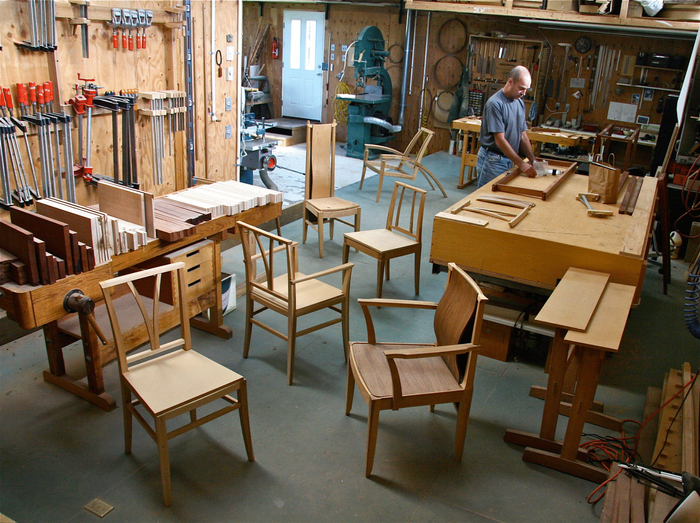
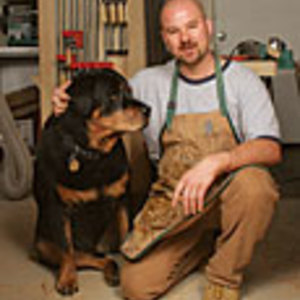
Gregory Paolini began woodworking in high school and found that he had an affinity for the Arts and Crafts style.
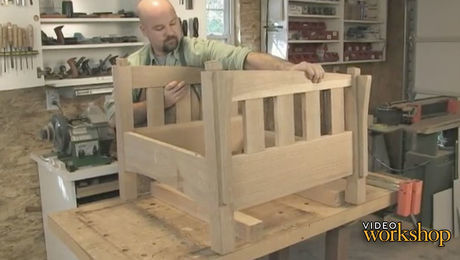
In this video workshop, he’ll show you step-by-step how to make a comfortable Arts and Crafts recliner. For the most part, the construction is straightforward. But the most distinctive part of the chair–its bow arms–presents two big challenges: making a curved lamination, and cutting a mortise-and-tenon joint on the curved arms and side frame.
He’ll show how laminating the arms gets you around those challenges. And he’ll also demonstrate how to get striking quartersawn grain everywhere it counts, including a simple and authentic method for making a leg with four quartersawn faces.
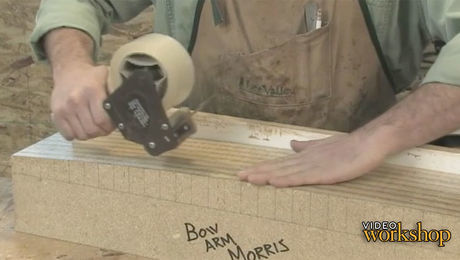
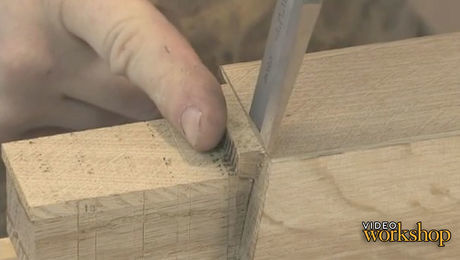
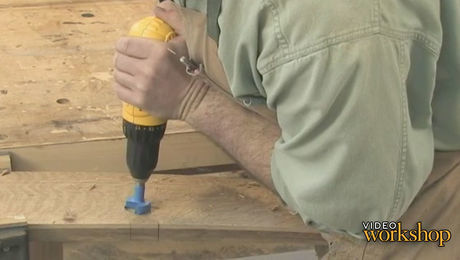
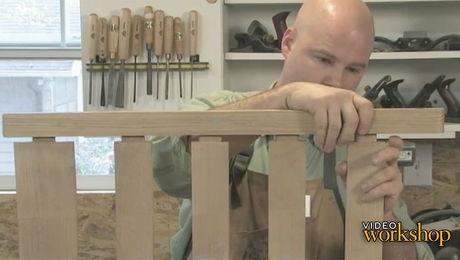
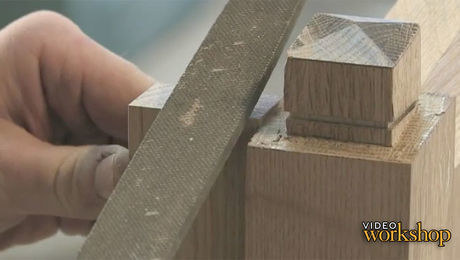
In this episode, Paolini shows a simple way to get four quartersawn faces using a solid core with veneers over the flatsawn edges.
Produced by: David Heim; Video by: Gary Junken; Editing by: Michael Dobsevage
For more information about upholstery
A Woodworker’s Guide to Upholstery
For plans
How to Build a Bow Arm Stickley Morris Chair
For Paolini’s finish recipe
Arts and Crafts Look Without Harsh Chemicals
Videos in the Series
-
Build A Bow-Arm Stickley Morris ChairAugust 7, 2012
-
Morris Chair: Bending Form for the Bow ArmAugust 7, 2012
-
Morris Chair: Bend the Bow ArmsAugust 7, 2012
-
Morris Chair: Legs with Quartersawn FacesAugust 7, 2012
-
Morris Chair: Router-Cut MortisesAugust 7, 2012
-
Morris Chair: Tenons on the Table SawAugust 7, 2012
-
Morris Chair: Through TenonsAugust 7, 2012
-
Morris Chair: Through MortisesAugust 7, 2012
-
Morris Chair: Constructing the BackAugust 7, 2012
-
Morris Chair: Finishing TouchesAugust 7, 2012
-
Morris Chair: Pivot and Support PinsAugust 7, 2012
-
Morris Chair: Glue Up and Finishing StrategiesAugust 7, 2012
-
Morris Chair: Advice on UpholsteryAugust 7, 2012


Comments
Cutting a long miter, though challenging, will allow the thin quartersawn piece to disappear without the visible glue seam. Once the three pieces are glued up, cut out the thickness of the veneered plank in between miter cuts on two sides. The veneered piece, with mitered edges, will "drop" into this recess. Glue seams with be at the edges of the post and unnoticeable.
The Stickley chair is one of very many derivations of the William Morris chair, the original of which was fully cushioned and had an adjustable back, which made it very comfortable. Cushioning the arms makes an arm chair so much more comfortable. I am not a fan of Gothic Revival. I don’t like oak, except brown oak, and I prefer original gothic designs.
Great and interesting video. I visited the William Morris house and workshop last year. The quality of workmanship was surprisingly not wonderful.
Heavens above! Why does this guy use a router table to trim off a small overhang on his thick side veneers on this leg? Use a hand plane for god's sake! Seems like you people in the US are obsessed with using table saws and router tables for everything! Not really craftsmanship at all, especially this guy.
You remind me of the late, great Pat Paulson, who noted that when people would tell him he wasn't qualified to run for President, would respond with, "Well, all I can say is, 'Picky, Picky, Picky'.".
My only question is, where do you wipe your finger to get the glue off? I've found that paper towels aren't exactly satisfactory. My pants, or other cloths, don't work as the glue hardens and is no longer water soluble.
Well, outside of a pair of garden pruning shears to trim your fingers just above the glue line, have you considered moistening the paper towels? (While you didn't mention what kind of glue you're having this problem with, I would suggest trying plain water first.)
Fine Woodworking, in one of their books published by Taunton Press titled, "In the Craftsman Style", pub. 2001 on page 132, there was an article by Patrick Nelson that solved this dilemma that Stickley solved with two not widely available shaper bits a hundred plus years ago, that is now solvable with one modern lock-mitre router bit in a router table.
[Addendum: In fact, I just opened an e-missive from chipsfly.com, and they have an EZ-Check digital gauge that should make setting up the lock-mitre bit (and much more) a snap. "Who knew?"]
Log in or create an account to post a comment.
Sign up Log in