Elegant Dining Chair: Slip Tenons
Cut the slip tenons in bunches and fine-tune the fit of the joinery.
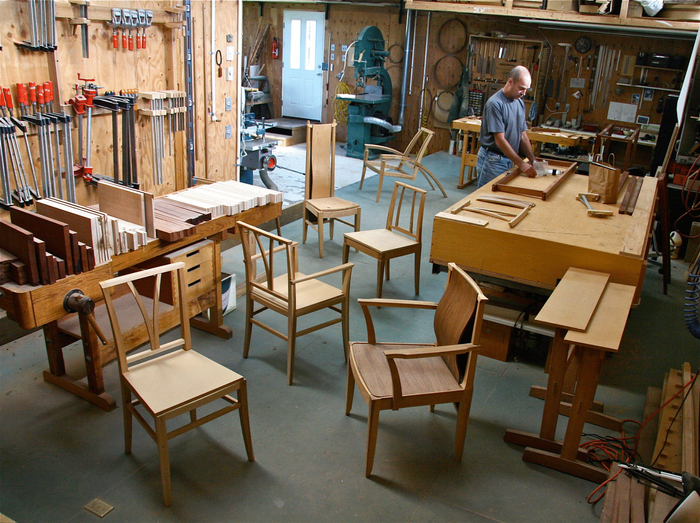
In this video workshop, Matthew Teague will show you how to build one of his favorite furniture projects, an elegant, solid-wood chair. He’s built a number of chairs based on this design, and will share the tips and tricks he’s learned along the way.
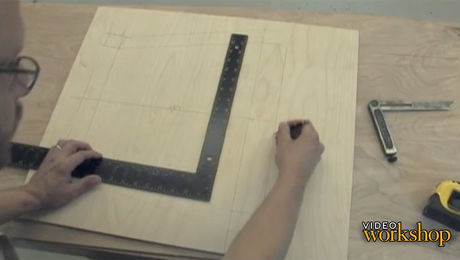
Chairmaking intimidates many woodworkers because of the angled joinery that’s typical of most chair designs, but it’s not as hard as you might think. To simplify this chair’s construction, Teague used slip tenons (also called loose or floating tenons) to connect the parts. It also helps to use full-size templates to lay out the joinery.
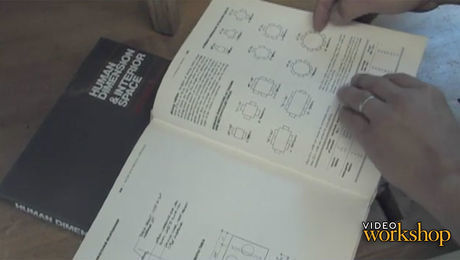
A set of woodworking plans is available to guide you in your build, but Teague also shows how to adjust the chair proportions to be comfortable in a range of sizes.
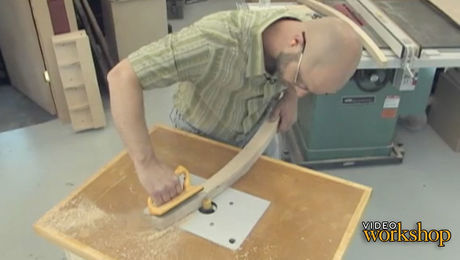
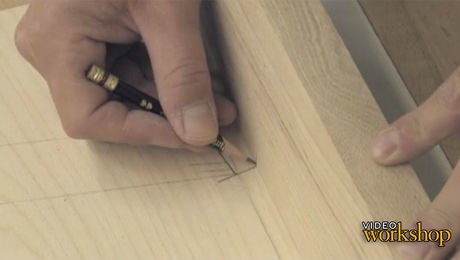
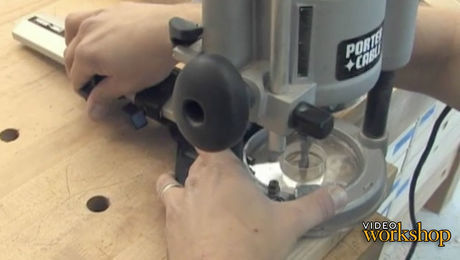
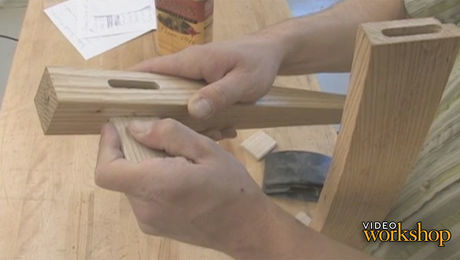
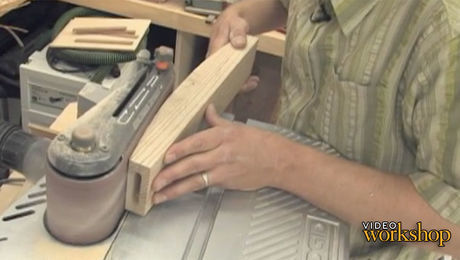
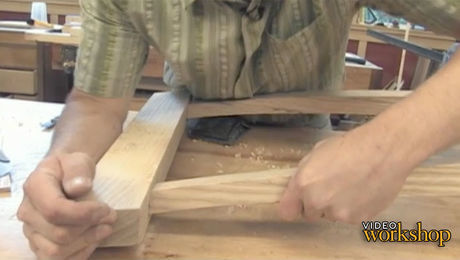
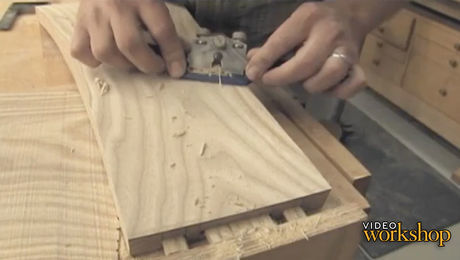
In this episode Teague shows how to cut the slip tenons with an assembly-line setup and how to fine-tune the fit of the joinery.
Produced by: Gina Eide; Video by: Gary Junken; Editing by: Michael Dobsevage
Videos in the Series
-
Build an Elegant Dining ChairAugust 7, 2012
-
Elegant Dining Chair: Templates and PatternsAugust 7, 2012
-
Elegant Dining Chair: Shape the Rear LegsAugust 7, 2012
-
Elegant Dining Chair: The Best Grain for PartsAugust 7, 2012
-
Elegant Dining Chair: MortisesAugust 7, 2012
-
Elegant Dining Chair: Slip TenonsAugust 7, 2012
-
Elegant Dining Chair: Shape the Legs and RailsAugust 7, 2012
-
Elegant Dining Chair: Joinery for Crest Rail and Back SplatAugust 7, 2012
-
Elegant Dining Chair: Final SmoothingAugust 7, 2012
-
Elegant Dining Chair: Assembly and Glue-upAugust 7, 2012
-
Elegant Dining Chair: Upholstery and FinishingAugust 7, 2012



Comments
What a good idea, for when two tenons meet. I shall be using that.
Interesting video but I cannot believe that your demonstration is showing using a table saw without a guard.
I concur, at the very least he should be using a splitter at the rear of the blade when ripping material. A fundamentally very unsafe practice ! One would think FWW would screen their videos and not show unsafe practices. He makes a comment about avoiding kickback but is not using a splitter or guard - very strange !
Who has the time or patience to drill out or rout out mortises, make lengths of loose tenon stock on the table saw, hand plane it to thickness, square up the mortise ends or round over the tenon stock edges without accidentally narrowing the tenon width or shortening your fingers, cut the tenons to length off the stock and then have to deal with some of the mortises being 1/16” off. If you want to feddle all day doing that you are just going to spend more time making more mistakes and making more sawdust waste. Buy a Festool Domino. Expensive, but you cut out nearly every operation in this video. Every mortise in that chair can be made, fitted with a Domino tenon, dry-fitted, disassembled, glued, reassembled and clamped in under 30 minutes. The tenons are already made, chamfered, and grooved for more glue surface area. Every mortise is identical. You have several different choices for mortise and tenon thickness. The smallest is suitable for joining mitered end grain on picture frames and the largest works on large table legs. You are 99.99% accurate and done in 1/10 the time.
Log in or create an account to post a comment.
Sign up Log in