A Modern Bench
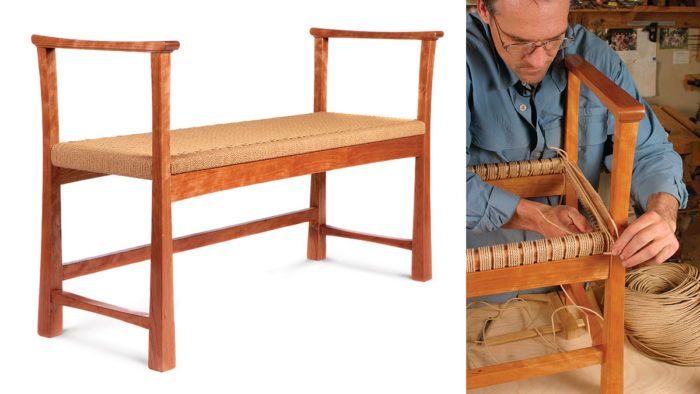
This Scandinavian-inspired bench features straightforward joints, graceful curves, and a woven cord seat.

Synopsis: A chair by famed Swedish designer Carl Malmsten inspired Mark Edmundson to design this bench when he was still a woodworking student. Since then, he has built quite a few. It is a good project for mastering mortise-and-tenon joinery, for working with gently curved components, and for learning to weave a seat. The legs are curved on their two outside faces, but are square on the inside for more straightforward joinery. The curved armrests seem to float above the legs. The Danish cord seat is woven by looping the cord over L-shaped nails.
This bench has been part of my entire woodworking career. I designed it as a student in the College of the Redwoods fine woodworking program. A chair by famed Swedish furniture designer Carl Malmsten inspired the shape of the armrests and legs; the Danish-cord seat adds texture. Over the years I’ve made a half-dozen benches like this one, and used the Danish-cord weave on many pieces.
The bench is a good project for mastering mortise-and-tenon joinery, for working with gently curved components, and, of course, for making a woven seat. You can get all the parts from one 8/4 plank that’s 7 in. to 8 in. wide and 8 ft. to 10 ft. long. In a pinch you can use a secondary wood or sapwood for the seat rails because the Danish cord hides the wood completely.
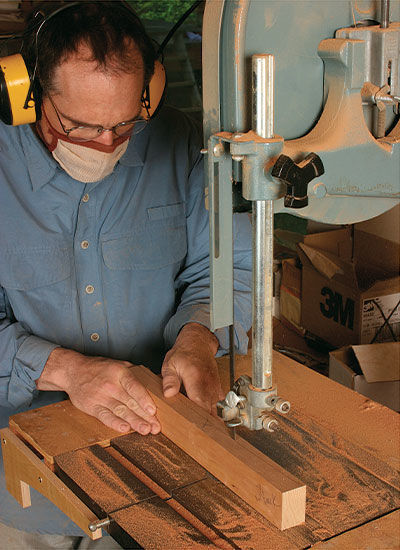
Cut the legs, armrests, and lower side rails from the outside edges, where you’ll have straight quartersawn grain. It’s a good idea to have enough stock for an extra leg blank. Take the long seat-support rails from the middle of the plank.
Legs are square where it matters

Make templates for the leg, the curved rails, and the armrests. It’s imperative that you know which legs go left, right, front, and back, because of the way they’re curved. Label them clearly.
Mark the leg template with the locations of the top and bottom of each mortise. Transfer the mortise locations to the leg blanks, beginning with the side-to-side mortises. Remember not to mark mortises for a lower support rail on the front two legs. Similarly, transfer the locations of the front-to-back mortises from the template to the leg blanks, then trace the curve on the outside of each leg.
Refer again to the drawing for the widths of each mortise, the distances from the edge of the leg to the mortises, and the spacing between double mortises. Tenon lengths tell you the depth of each mortise. Transfer these measurements to each leg, then cut all the mortises, using a router or a hollow-chisel mortiser. If you use a router, chop the ends of each mortise square with a chisel.
Learn how Edmundson finishes this bench in a finishing recipe feature.
From Fine Woodworking #194


Log in or create an account to post a comment.
Sign up Log in