Basic Chair, at First Glance
Hank Holzer has managed to pack an outstanding number of technical challenges into what appears to be a simple chair.
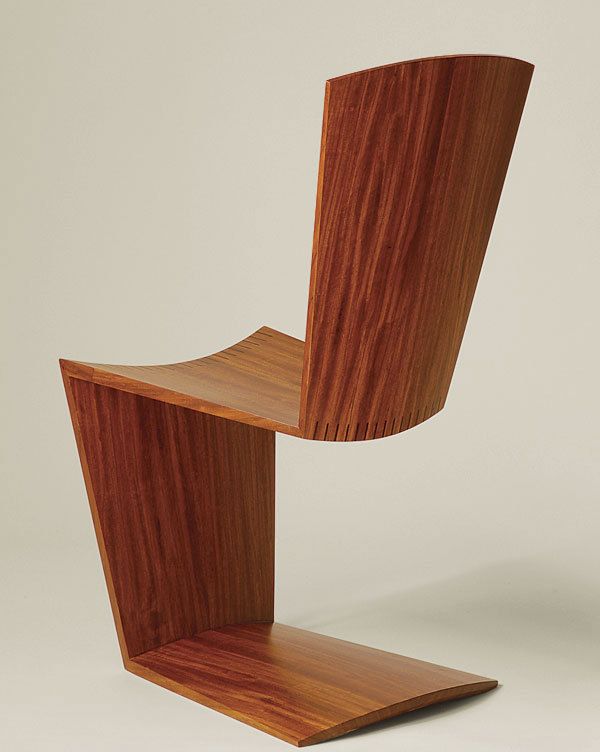
Hank Holzer has managed to pack an outstanding number of technical challenges into what appears to be a simple chair. Working from a single board, Holzer cuts it into smaller blanks, tapering and coopering them into four workpieces and taking care to keep the grain continuous. Those four pieces are then mitered, glued, and splined. The tricky part is maneuvering through these processes with irregularly shaped stock.
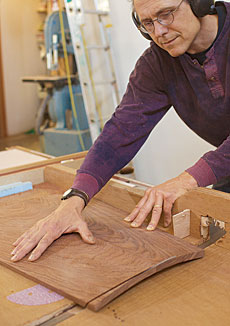
1. Mitering on a curve.
Once the coopered boards are refined with a power planer and belt sander, Holzer cuts the miter using a crosscut sled. A spacer keeps the angled board square to the blade. When cutting the other end curved side up, blue foam wedged underneath keeps the board from rocking. Photo: Aaron Bama.
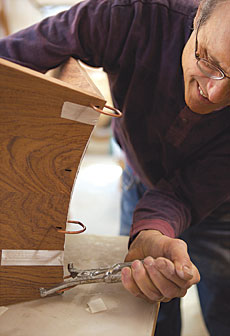
2. Glue one L at a time.
Two L shapes make up the full body of the chair, and Holzer attacks them one at a time. Because the spring clamps leave a slight indentation, he places them where a spline will cover the mark. Photo: Aaron Bama.
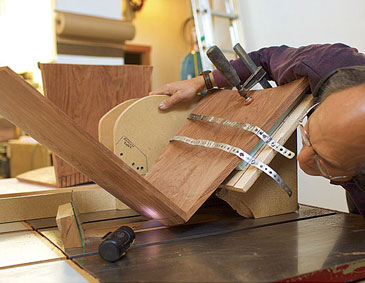
3. Spline the joint.
A shopmade jig holds the L in place. Photo: Aaron Bama.
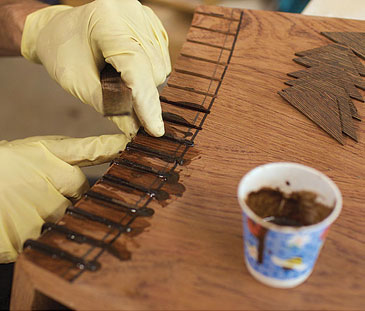
Holzer uses a mirror and flashlight to improve his line of sight. For each slot, the blade height is adjusted to match the curved joint line. He uses West Systems epoxy, thickened with sawdust, to lock triangular splines in place. To maximize the glue surface, the splines go nearly through to the inside of the mitered joint. Photo: Aaron Bama.
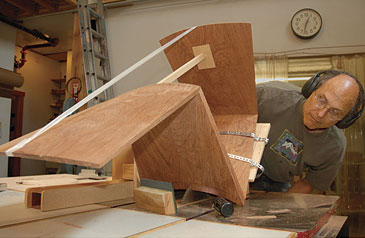
4. Join the two Ls together.
To cut the spline slots on the final miter joint, Holzer secures it to the same jig. But because the yellow glue and miter now hold the full weight of the chair, he adds a vertical strap and a spacer to immobilize the joint. Photo: Ethan Holzer.
From Fine Woodworking #207.
Top photo: Hank Holzer
Fine Woodworking Recommended Products
3M Blue Tape

Stanley Powerlock 16-ft. tape measure

Jorgensen 6 inch Bar Clamp Set, 4 Pack


Log in or create an account to post a comment.
Sign up Log in