Build a Classic Corner Chair with Project Plans
This 18th-century beauty is all curves, but the joinery is straightforward.

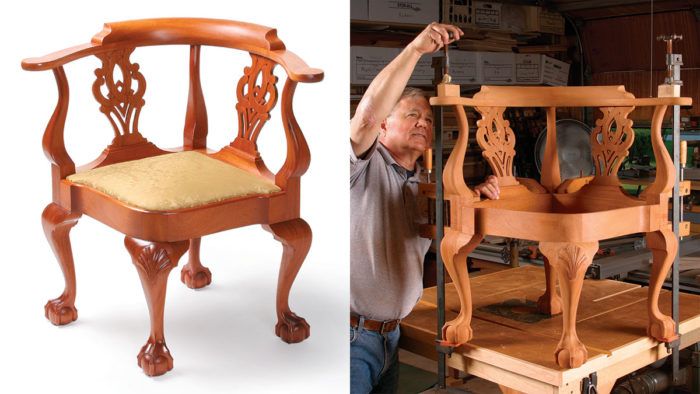
Synopsis: This corner chair is loosely based on one that was made in New York around 1765. The cabriole legs, relief-shell carving, and curved front rails reflect the earlier Queen Anne period, while the ball-and-claw feet and intricate splats reflect the later Chippendale style. Though the chair has lots of curves, the construction is simple mortise-and-tenon joinery without the compound angles found on many chairs. If you aren’t a confident carver, eliminate the shell, replace the ball-and-claw foot with a pad foot, and you’ll still have a very handsome chair.
The corner chair, sometimes called a roundabout chair, became fashionable in England and America in the late 17th and early 18th centuries. Supposedly created for a gentleman to sit on while wearing his broad coat and sword, it may owe its name simply to the fact that it sits nicely in the corner of a room. Regardless, it provides today’s sitter with an optimal amount of back and arm support, especially when writing at a table or a desk.
Though the chair has lots of curves, the construction is simple mortise-andtenon joinery without the compound angles found on many chairs. If you aren’t a confident carver, eliminate the shell, replace the ball-and-claw foot with a pad foot, and you’ll still have a very handsome chair.
Shapely legs for a shapely chair
The two side legs and the back leg transition into the arm supports, while the front leg terminates at the seat. Pay close attention to the end-grain orientation when you lay out the stock: The front leg should be oriented for a bull’s-eye grain pattern on the exposed knee. The other legs should have straight, vertical grain.

Transfer your patterns onto 16/4 stock machined to 3 in. square, but leave enough length for two knee blocks per leg. The knee blocks serve primarily as a transition between the legs and the seat rails.
While the leg blanks are square, lay out and cut all the mortises, then create the tenons that enter the arm rail. All the tenon shoulders must be at the same elevation for the arm to fit flush. Cut around the perimeter of the blank using a dado blade. The tenon is not centered, so set the elevation of the blade carefully for each cut. Drill a 7/8-in.-dia. hole in a piece of scrap to use as a gauge when rounding the tenons.
Cut away the knee-block stock and then rough out the cabriole legs on the bandsaw. Cut the square sections housing the mortises proud of the pattern, as you will flush them to the fronts of the glued-in seat rails later. This is particularly important for the front leg because you will remove a large amount of stock, and leaving it square also aids clamping the leg to the rails.
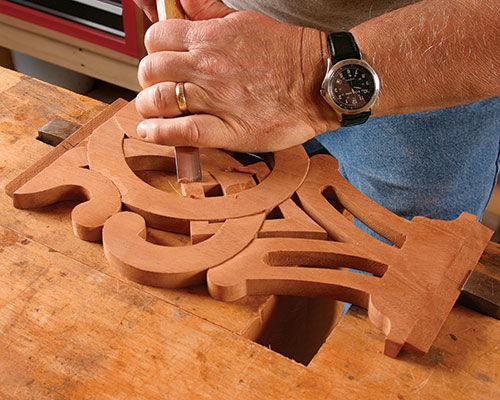
Shape the legs and carve balland-claw feet (see Master Class, FWW #186), but hold off on the knee shell until the post of the front leg is rounded into the adjoining seat rails.
From Fine Woodworking #215
For the full article, download the PDF below:
Fine Woodworking Recommended Products

Sketchup Class

Dividers

Stanley Powerlock 16-ft. tape measure


Log in or create an account to post a comment.
Sign up Log in