Build a Curved-Leg Stool
Simple bends provide stability and visual flair for this light, comfortable bar stool.
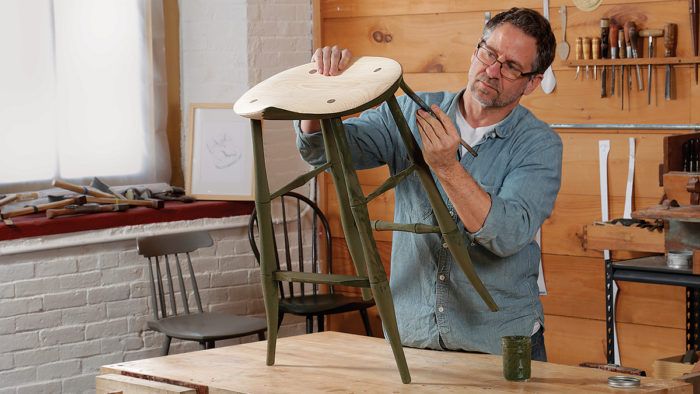
Synopsis: This curved-leg bar stool can be made using green wood or air-dried or kiln-dried planks. The turned, bent legs offer a lot of stability within a slim profile. Peter Galbert uses a bending form and a simple stovetop steamer pot to achieve the curved feet. Mortises in the carved seat for the legs are drilled and then reamed out, and the tenons are wedged for a perfectly tight fit. A carved footrest adds comfort and style.
Making my way into chairmaking was a long process, and between early chair attempts I built stools to help advance my turning, shaping, and joinery skills. Stools not only offered quick and invaluable lessons in the craft, but they also supplied my workshop and my house with some of the most enduring and useful pieces that I’ve ever produced. Among my favorite designs is this curved-leg bar stool. It’s comfortable, light, and useful, and its bent legs add an elegant flair, offering the stability of a larger footprint without affecting the slim silhouette of the piece.
Unlike most of my chairs, this stool can be made using wood from planks instead of logs, although care should be taken to select straight-grained material of a suitable strength and ability to bend. The bend is slight enough to be made in kiln-dried as well as air-dried wood.
Turn and bend the legs
Turning the long, thin legs without letting vibration creep in takes patience and sharp tools. Be careful also with placement of the V-grooves, as they determine the location of the stretchers. And take care to get the shape of the lower portion of the leg just right. It’s not a straight taper, but a slight reverse curve from convex to concave.
Once the legs are turned, it’s time to build the bending form. It is made from two pieces of 3/4-in. plywood, each band-sawn to the shape of the leg’s curve. Tilt the bandsaw table 25° for the cut, so when the two halves are screwed together, there’s a channel along the curving edge to cradle the leg. I line the channel with 1/2-in. hard felt. when the leg goes into the form the felt compresses, conforming to the leg without making dents or flat spots. Three small clamping blocks, also V-shaped on the edge and lined with felt, are attached by swiveling arms to the main form.
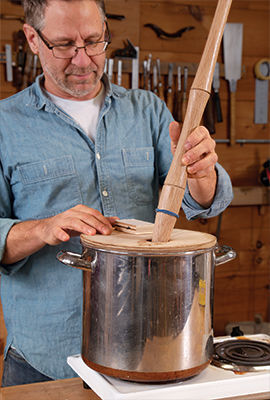
Begin the bending by boiling 2 in. of distilled water in a tall pot. I make a plywood lid for the pot with a hole drilled in it for the leg. A rubber band wrapped around the leg acts as a stop and keeps the leg from getting stuck when it swells. depending on the stock, as little as 45 minutes in the steam may suffice. when you pull the leg from the pot, insert the foot in the form and secure it with clamps. Then, using the length of the leg as a lever, draw the top of the leg to the form and clamp it in place. The leg can come out of the form once it has cooled (in an hour or so) or overnight if you want a more exaggerated bend. Dried wood—whether kiln- or air-dried—has the ability to hold a bend nearly instantly. But if you use green wood, leave the leg in the form longer.
If you are using white oak or have trouble with checking, consider wrapping the steamed section of the leg in clear wrap before inserting it in the form. This slows the loss of moisture and heat and helps prevent splitting. When the leg comes out of the form, wrap the foot in paper to slow the moisture exchange.
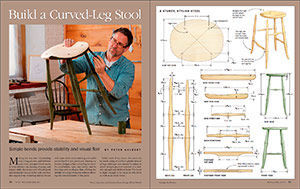
From Fine Woodworking #275
To view the entire article, please click the View PDF button below.
Fine Woodworking Recommended Products
CrushGrind Pepper Mill Mechanism


Comments
WoW Man! level God!
Log in or create an account to post a comment.
Sign up Log in