Building a Chair, Arts and Crafts Style
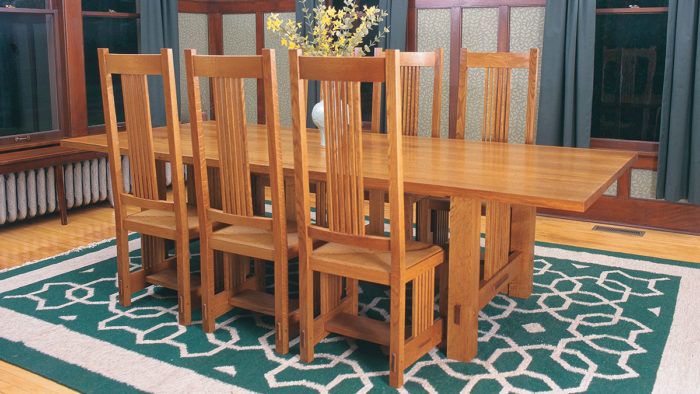
Joinery details make this chair strong and handsome.

Synopsis: Rex Alexander designed a set of dining chairs inspired by the work of Greene and Greene, Stickley, Frank Lloyd Wright, and others. He built a chair prototype to be sure of its comfort, proportions, joinery details, and tool and jig preparation. The chairs have rush seats and vertical slats on both the sides and back, some of which are curved. Detailed project plans clarify all 35 parts. Alexander explains how to machine the parts, cut the mortises, and cut the tenons on the tablesaw. He used jigs to rout the back posts and the mortises. He tells how to fine-tune and dry-fit the parts and how he finished the chairs with a mixture of raw tung oil, boiled linseed oil, and polyurethane. Then he talks about tackling the seat frame and weaving the rush seat, which is time-consuming.
When the curator of Dennos Museum in Traverse City, Mich., asked me to design and build some Arts-and-Crafts style furniture for an upcoming exhibit, I jumped at the chance. We agreed that I’d look for a customer who would buy the furniture after the exhibit. I approached Jay and Sue Wisniewski, who have been steady clients on a number of projects. They were excited by the idea.
I immediately ordered more than $100 worth of books by or about Stickley, Greene and Greene, Roycroft and others. These books gave me a feel for designs of this period. And they told me what type of wood to use and how it should be cut and finished. I studied detailed drawings and proportions to help with the design.
The deal with the museum didn’t work out, but my clients gave me the go ahead for a dining table and some chairs. We still had to agree on a final design, and it had to be compatible with a reproduction Frank Lloyd Wright chandelier they had already bought for the dining room.
I learned that Gustav Stickley, in designing his No. 384 chair, was influenced by Wright’s work. I knew I had found the inspiration to my design problems. It was this chair (first built in 1905), with its rush seat and vertical slats on both the sides and the back, that I drew upon to arrive at the final design for these chairs.
Solve problems by building a prototype
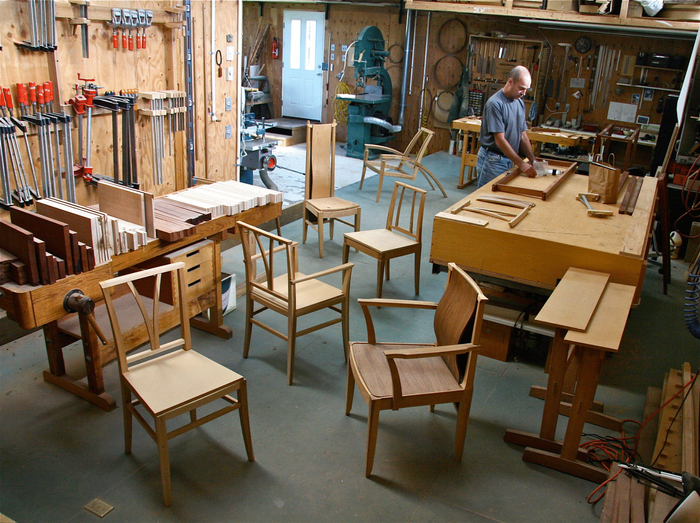
I developed a scale drawing of the chair to help determine a materials list. For several reasons, I also decided to build a prototype: the joinery is complicated, I had to buy tooling and make jigs, and I wanted to be sure my clients were satisfied with the comfort of this chair. Also, I could use the prototype to verify the proportions and to resolve some of the details of the frame and the fit of the inset rush seat.
Building six chairs is a small production run. A prototype helped me to organize each step and avoid many construction problems. I made the prototype with poplar scraps accumulated from other jobs and assembled it without glue so it could be taken apart. A mistake with poplar at this stage would not be too costly.
Once I was happy with the prototype, I took it apart and measured each piece for a final materials list. Each chair was made from front and back posts, seat rails, side stretchers, a horizontal stretcher, curved upper and lower back slats and vertical slats. There were 35 pans in all, including four oak dowels to pin the stretchers to the front and back posts.
From Fine Woodworking #122
For the full article, download the PDF below:
Fine Woodworking Recommended Products

Dividers

Estwing Dead-Blow Mallet


Log in or create an account to post a comment.
Sign up Log in