Curved-Back Adirondack Chair
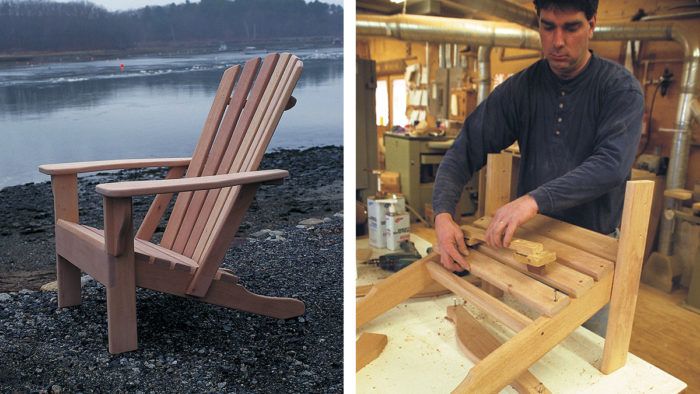
Built from 1-inch-thick mahogany, this outdoor chair will weather well with or without a finish.

Synopsis: Scott Masi share his plans for an Adirondack chair that’s not only comfortable to sit in but also easy to get in and out of. This chair has a curved back and a flat seat and is built using patterns and several jigs. A detailed project plan shows the overall dimensions and parts. All of the curved pieces on this chair are traced from patterns and cut on a bandsaw. Masi routs and sands the pieces carefully. He trusts his eyes and hands during assembly, more than layout lines, and he builds the chair from the ground up. Also find tips on finishing outdoor furniture.
My grandfather, who is almost 90 and not as spry as he used to be, pointed out to me that the comfort of a chair isn’t just based on how good it feels when you sit in it but also on how easy it is to get out of. A beanbag chair is a good case in point. Sitting in one might be as comfortable as being in the womb; but getting out of one is about as difficult.
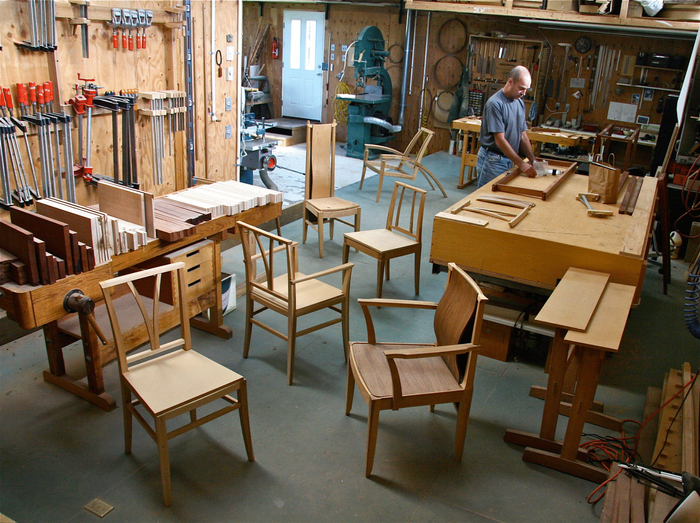
When I finished boat-building school, I sort of fell into the Adirondack-chair business by accident. The first chair was made as a wedding present. The design was adapted from an old chair my mother had bought at a yard sale. The chair was such a hit with the newlyweds that they quickly wanted a few more. Word got around that I was making the chairs, and the next thing I knew, I was in business. I’m not sure how many Adirondack chairs I’ve made by now, but it has to number in the thousands. I have patterns for all of the pieces and several simple jigs for the construction. After all of the pieces are cut and sanded, it takes me about 45 minutes to put a chair together.
Mint-julep arms and a comfortable slope
There are as many different designs for Adirondack chairs as there are mosquitoes in the Adirondack Mountains. All of the old chairs had arms wide enough to rest a drink on, and most of them had a flat seat and a flat back. Many of the newer designs employ curves in the seat and the back.
An early prototype of my current chair was built with a deep curve to the seat. The chair looked graceful, but to get out of it my grandfather had to scootch way forward in the seat, grab the ends of the arms and hoist himself to his feet. In the process of hoisting, he pulled the chair’s back legs off the ground, and when he stood up and let go of the chair, the legs crashed back to the ground.
It occurred to me that a flat seat would allow the sitter to be higher off the ground and thus would make getting out of the chair much easier. Besides, people are factory equipped with a padded seat and a bony back. The chair I now make has a gentle fanned and curved back that conforms to people’s unpadded backs and a flat seat that doesn’t have to conform to their padded bottoms.
Trace, cut, rout, sand
It’s best to trace all of the curved pieces on this chair—legs, arms, arm brackets and back stretchers—from patterns and then cut them on a bandsaw.
From Fine Woodworking #136
For the full article, download the PDF below:
Fine Woodworking Recommended Products

Dividers


Compass


Log in or create an account to post a comment.
Sign up Log in