Garden Chair: Resawing Thin Plies
Learn how to resaw the thin plies of wood required for the garden chair's bent laminations.
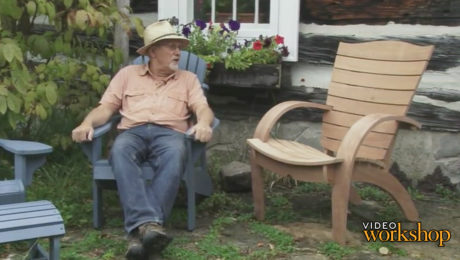
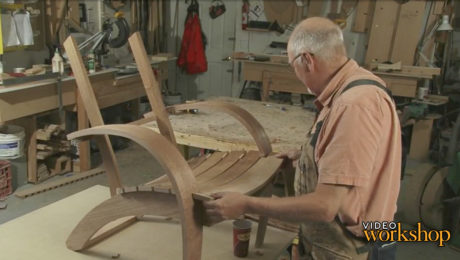
In this video workshop, Michael C. Fortune shows you step-by-step how to build a beautiful garden chair with classy curves. Although curves can be intimidating, Fortune walks you through the entire process of building and using forms to achieve bent laminations that will stand the test of time.
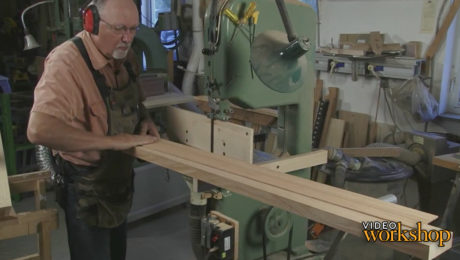
In this episode, you’ll learn how to resaw the thin plies of wood required for the garden chair’s bent laminations.
Produced by: Asa Christiana; Video by: Gary Junken; Editing by: Michael Dobsevage
Download the plans for this chair from the Digital Plans Library. Plus, browse 100+ other plans available for members only.
Check out our collection of articles specifically picked to help with this project.
Videos in the Series
-
Build a Garden ChairApril 2, 2014
-
Garden Chair: Bending FormsApril 2, 2014
-
Garden Chair: Resawing Thin PliesApril 2, 2014
-
Garden Chair: Bent Lamination Glue-UpApril 2, 2014
-
Garden Chair: Trimming and Shaping Bent LaminationsApril 2, 2014
-
Garden Chair: Shaping Parts and Basic Chair JoineryApril 2, 2014
-
Garden Chair: Assemble the FrameApril 2, 2014
-
Garden Chair: Seat and Back SlatsApril 2, 2014



Comments
Michael, where have you been all my life? I have struggled with my bandsaw for years. After following your tips on squaring up the bandsaw, I am finally beginning to get real pleasure out of this important tool. Thank you!
Thanks for the videos. I have been planning to make this chair from the time that it appeared as an article in the magazine a few years ago. The video has rekindled that desire. Thanks. Ita a great help.
Great video. Very educational to learn good technique from someone so skilled!
Why can't you joint a board 1/2 inch thick? Will it flex too much over the cutter head?
I would never joint a board half an inch thick. I consider it far too dangerous. Best not to experience a board breaking as it passes over the knives! I got away with it once a long time ago. Never again. 2” is my minimum if I can’t use a Stanley number 5,and if it is straight grained without knots, (and if I’m using push bits on a modern large guarded planer wearing goggles and Kevlar protection all over☺️). Actually I usually just use the thicknesser. It’s good enough for most jobs just like this one.
Great video! Well I don't think that bandsaw is passing any nickel test ;-). And glad to hear that it whines just like mine and that there are saw marks on the pieces just like mine. But it goes to show you, it's not the tool it's the woodworker and certainly I don't have Michael Fotune's skills!
Not to be too "Picky, picky, picky", as Pat Paulson used to quip, but shouldn't the bandsaw table be made square to the blade, BEFORE you square the fence to the blade? (I know he sort of said so in passing, but isn't "Clarity the soul of [avoiding] 'Oops'"?)
How is the resaw fence held in place? Earth strength magnets? If so, how large and strong?
I have trouble resawing as shown even when my blade is perpendicular to the table and parallel to the fence. It won't stay tight to the fence. Is there another video that speaks to this problem?
Michael did this video on band saw drift a few years ago.
https://www.youtube.com/watch?v=vNdrkmx6ehI
Yes. Check out his bandsaw tuning video. If you folllow his instructions and take care how you wheel your band saw around the shop so as not to take it out of tune, this Tool's value in your shop will increase dramatically. Don't try to compensate for drift by adjusting the fence.
Great Chairs Michael. I have made 2 of them, one with African Mahogany and one from Poplar. Both turned out great!
Log in or create an account to post a comment.
Sign up Log in