Four Wild Windsors
Eric Cannizzaro gives a tour of the inventive chairs he builds that combine traditional greenwood Windsor parts with live-edge plank seats.
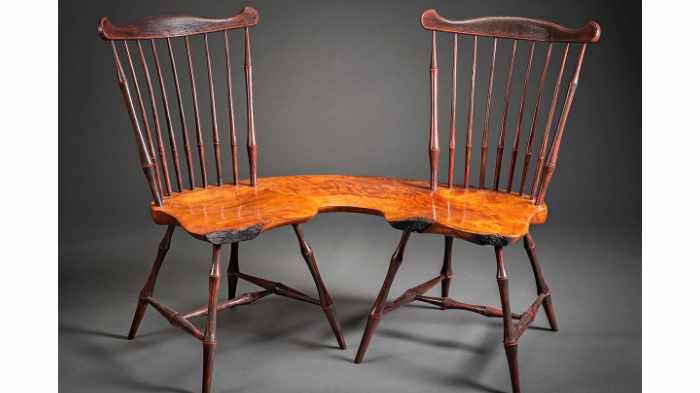
Eric Cannizzaro’s “Wild Windsor” on the back cover of FWW #283, which pairs two traditional fanback Windsor chairs with a live-edge slab seat, was the first of four recent pieces he’s made in a series he calls Conversation Chairs. The four pieces share the slab-and-Windsor idea, but the designs evolved and the difficulties mounted with each new chair as Eric went on to create a tete-a-tete, a triple chair, and a rocker. We’ve asked him to describe how he arrived at the idea in the first place and to relate some of the challenges he met and techniques he used along the way. -Jon Binzen
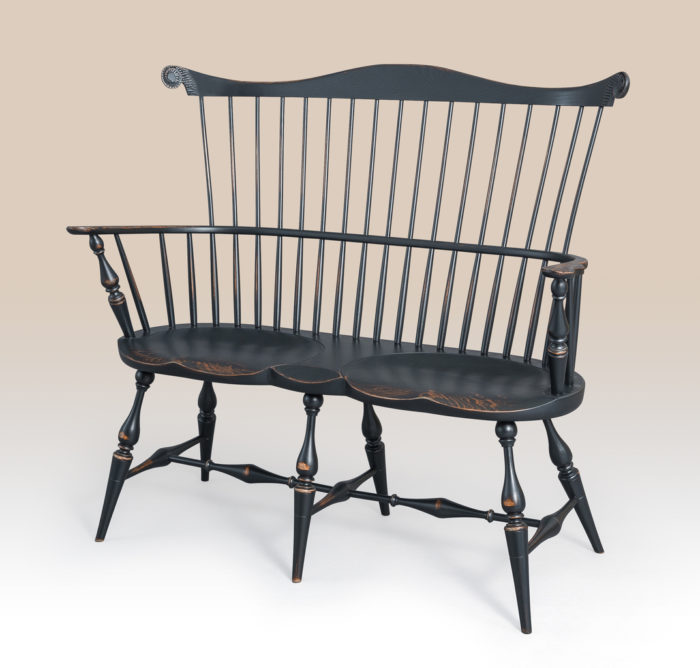
When I started exploring chairmaking a few years ago, I was inspired by Shaker and Windsor chairs. I was particularly drawn to bench forms: Shaker meeting house benches and Windsor settees.
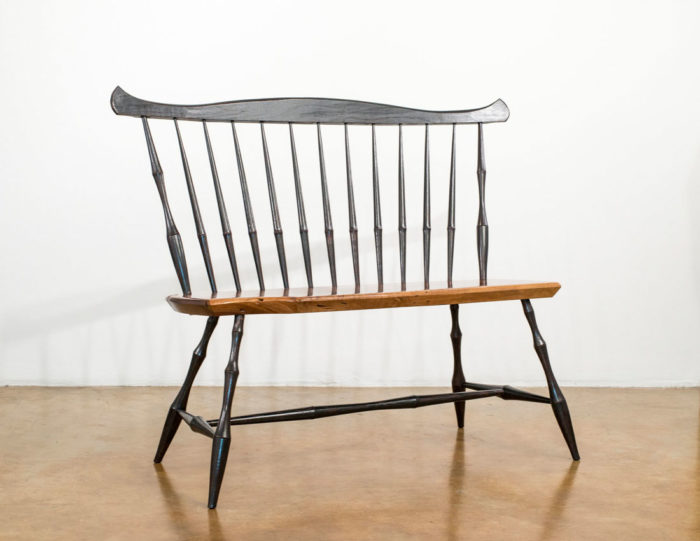
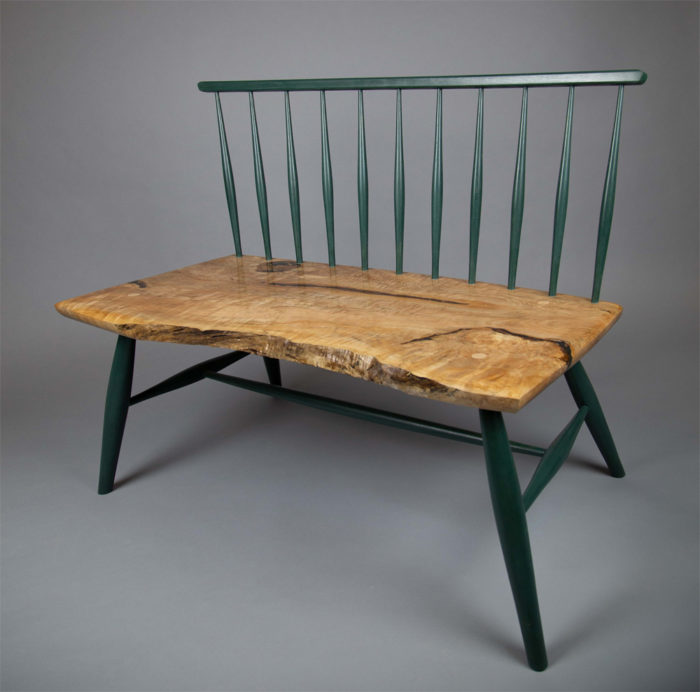
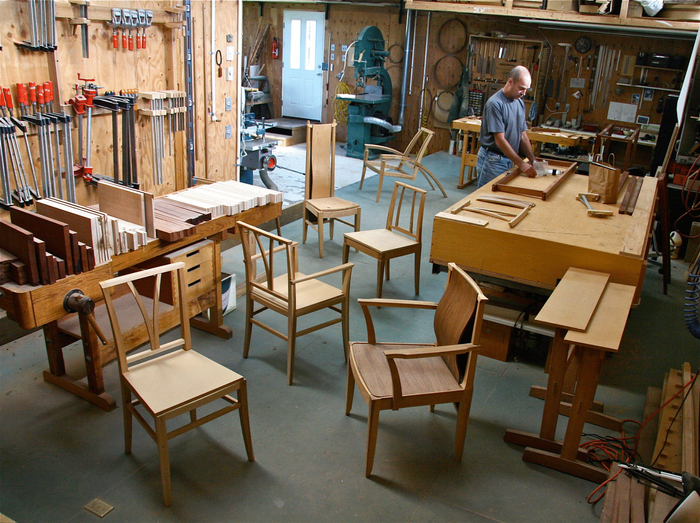
The first six chairs I built myself were benches. Using Mike Dunbar’s and Peter Galbert’s books on chairmaking to guide me, I built them during a residency at the Arbutus Folk School in Olympia, Wash. Here are two of them.
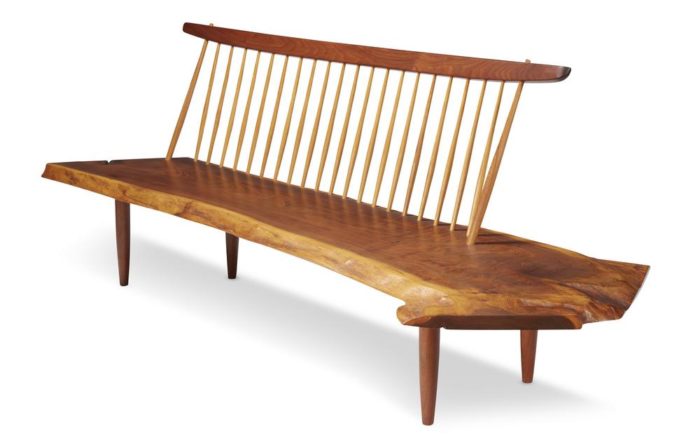
As I got deeper into furniture making, I looked at all sorts of chairs online. I was really inspired by George Nakashima’s Conoid benches, with their live-edge slab seats and asymmetrical placement of spindles.
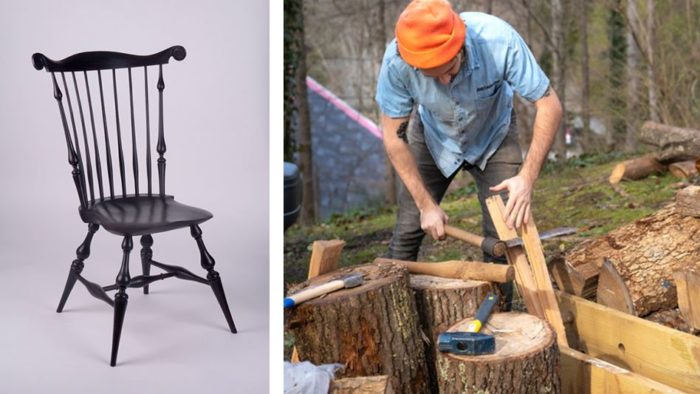
In the fall of 2018, I spent a few weeks with Curtis Buchanan, a Windsor chairmaker in Jonesborough, Tenn. I had admired his chairs online, but visiting him was a real game changer. It was the first time I’d seen chairmaking tools in the hands of someone who knew how to use them, and the first time I’d worked split green wood.
THE INITIAL CONVERSATION
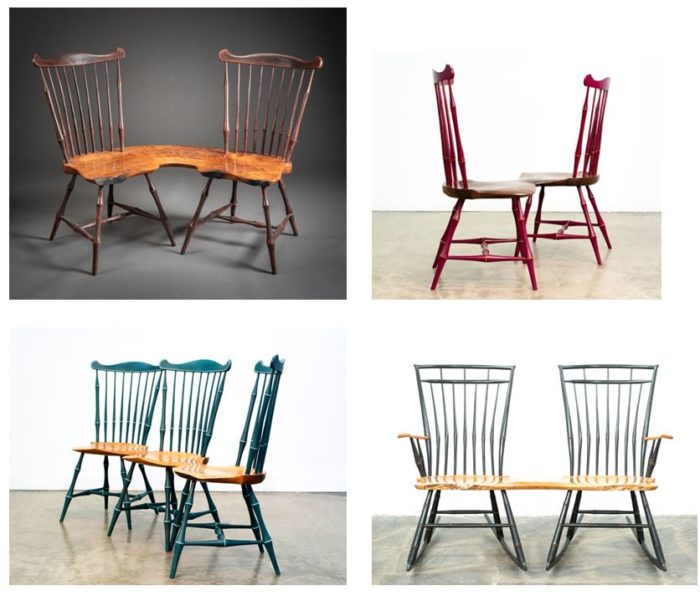
I left Curtis’s place with a little pickup truck full of red oak and chair plans. I drove back to Olympia and started making the first Conversation chair. I began each of the Conversation chairs by splitting and riving parts from a log.
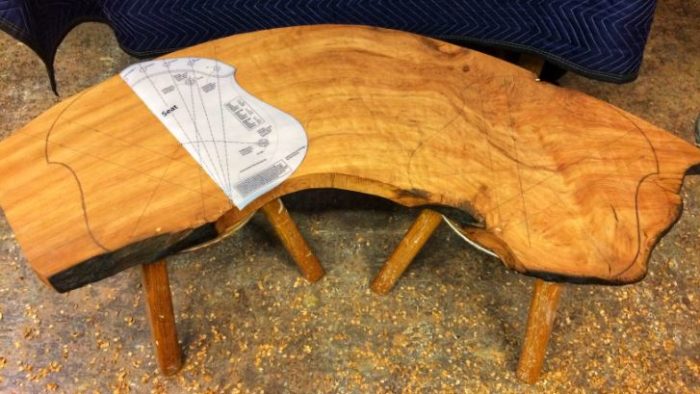
A friend of mine in Olympia had a stack of redwood slabs from a tree that had been through a fire, and he offered me one as a gift. Here I’m starting to lay out the seat shapes with the slab resting on a couple of short stools.
I got the first Conversation chair partway done (along with a more conventional Windsor) in Olympia.
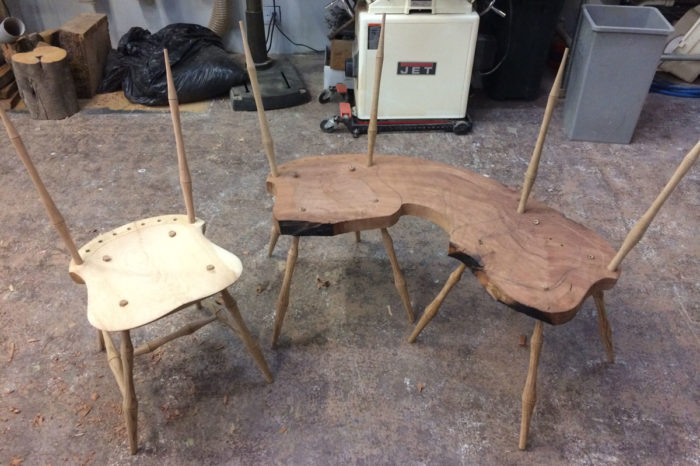
As I was shaping the seat I thought a lot about how much of the contours of a traditional Windsor I wanted to incorporate. After gluing up the undercarriage I leveled the legs, which was a bit of a challenge. A stack of spacers in different thicknesses came in handy.
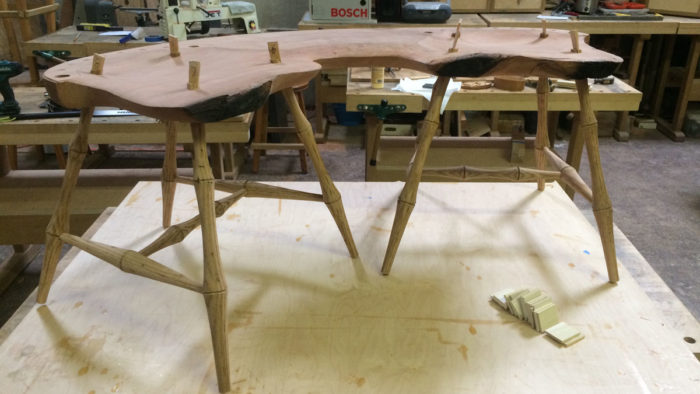
With the half-finished chair in my truck, I made another cross-country drive from Washington to Tennessee, where I would be working with Curtis again.
When I arrived, I assembled the backs and finished up the piece in his shop.

TETE A TETE: CONVERSATION NUMBER TWO
While I was finishing the first of these chairs I was accepted for a yearlong residency at Arrowmont School of Arts and Crafts, in Gatlinburg, Tenn., and I built the next three Conversation chairs while I was working there.
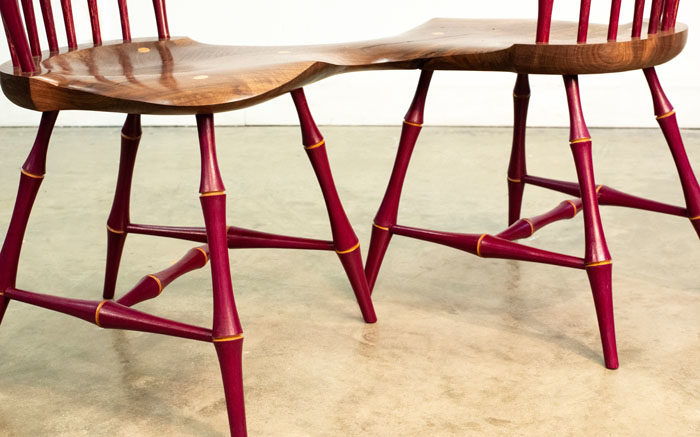
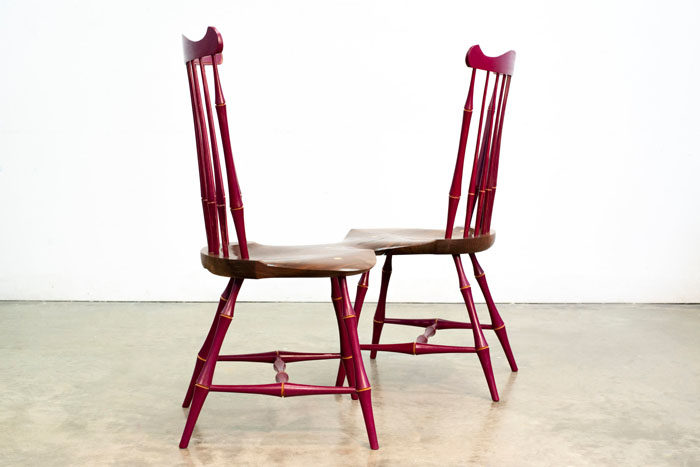
By the time I’d finished the first Conversation chair I was pretty excited to get on to the next, and I decided to do an asymmetrical version of a tete-a-tete chair.
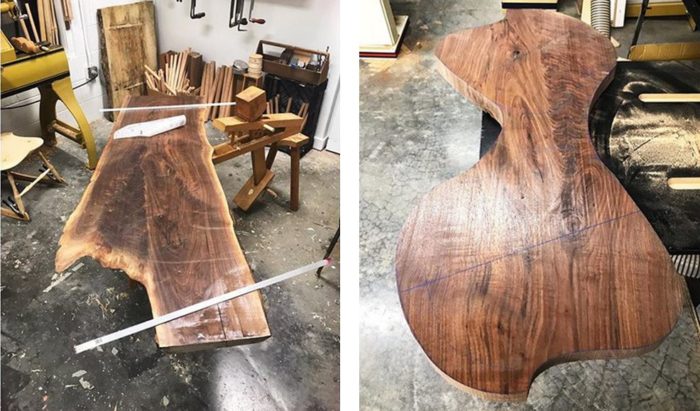
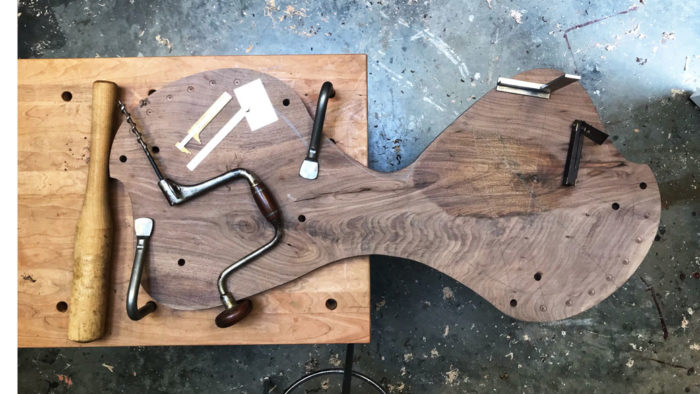
I picked out a plank of walnut for the seat at Jeffries Wood Works, a great lumberyard outside Knoxville, and got to work.
After I put the paint on the legs—plum with mustard in the grooves—I was pretty scared of the Lakers uniform vibe it was giving. But after burnishing and shellac it looked much better.
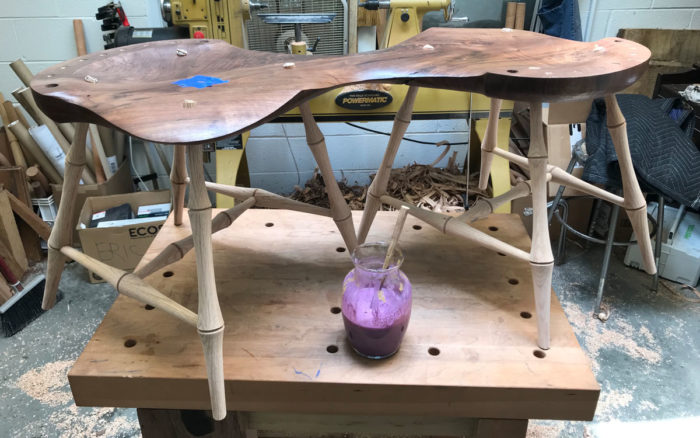
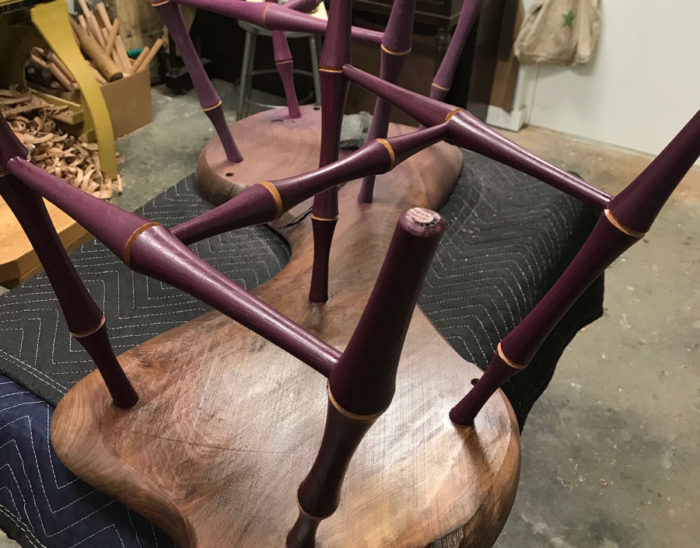
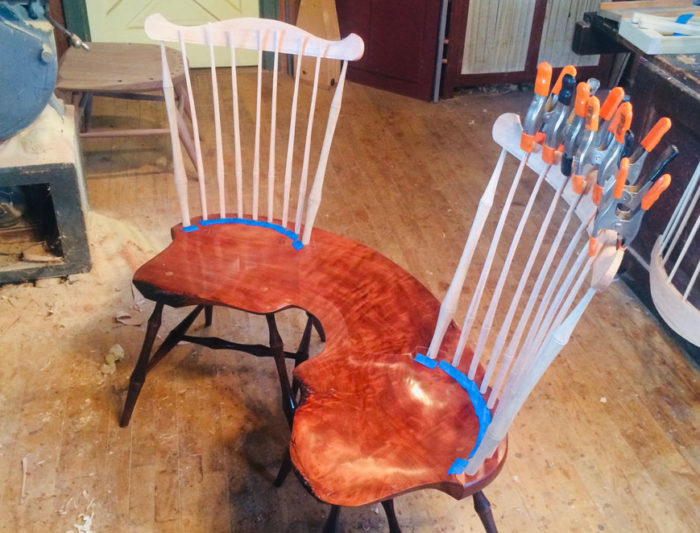
I had encountered some kinks in the order-of-assembly with the first Conversation Chair, but in building this second one I worked them out. This was my sequence: carve the seat and apply some finish, assemble the undercarriage to the seat, completely finish and wax the top of the seat, assemble the back and tape off for painting.
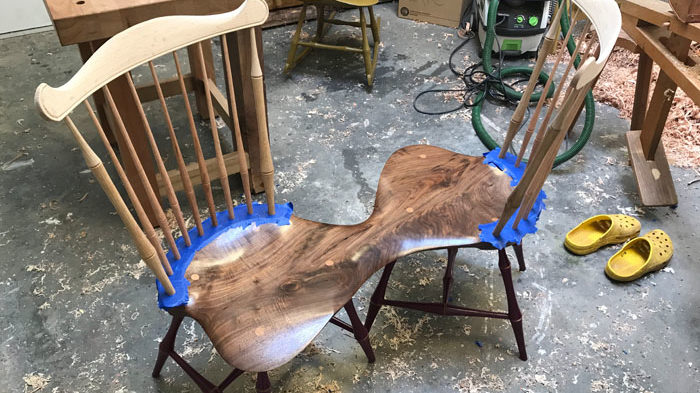
I went for a more fluid, sculptural seat on this chair, abandoning the gutters, large flat surfaces, and live edges of the first piece. This was closer to what I wanted to achieve: a stark juxtaposition between the seat and the traditional Windsor spindles and legs of the chair.
THE TRIPLE: CONVERSATION THREE
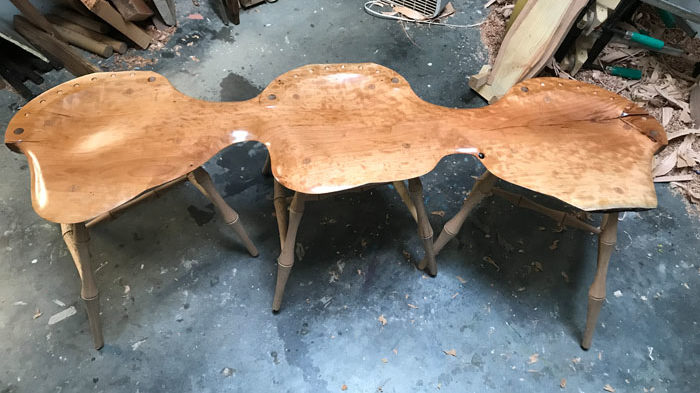
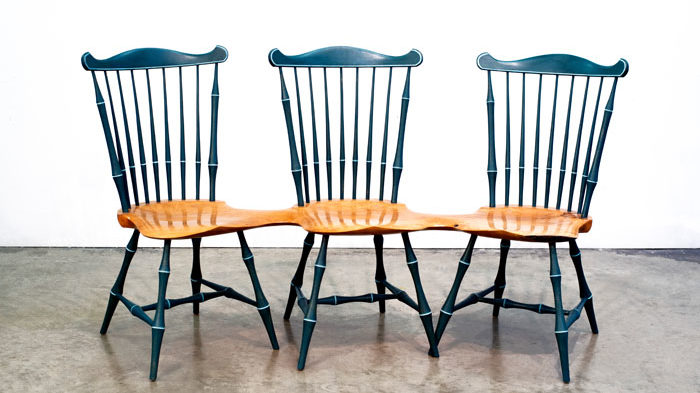
Feeling set on my techniques and process after making the tete a tete, I decided to put three chairs in the third piece, thinking of it more as a long bench and continuing to play with balance and asymmetry.
Once the seat was carved I applied several layers of shellac and then glued up the undercarriage. I used hide glue in all the joinery and wedged the leg tenons from above.
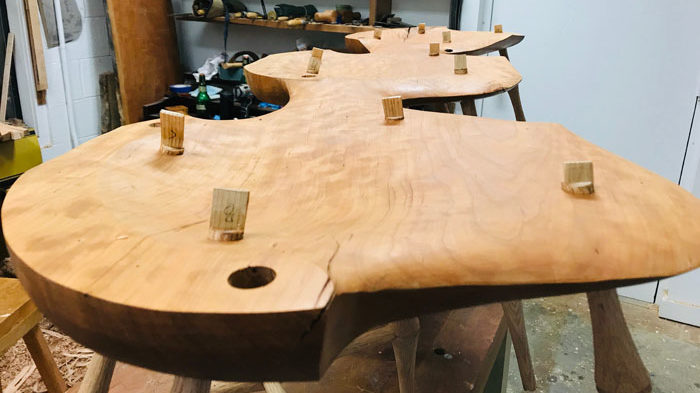
With the seat and undercarriage complete, I started assembling the backs.
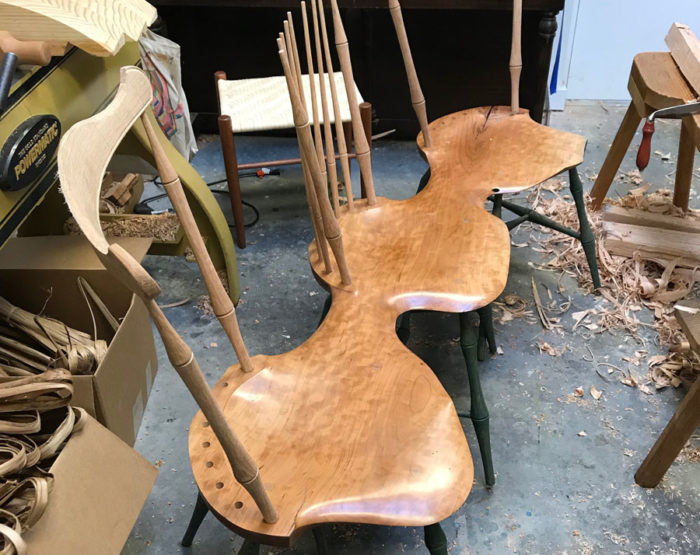
The only flat surface in the Arrowmont shop large enough to level the legs of this three-seater wound up being the tablesaw. The size of the piece—along with a twist that developed in the seat after I’d carved it—made this one much trickier to level than the previous two.
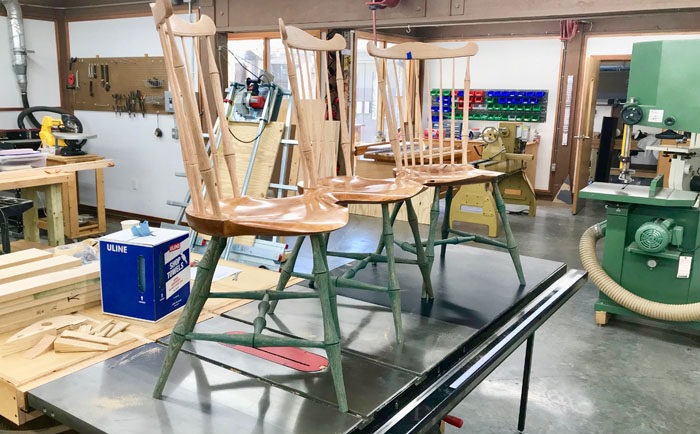
When I was finished leveling, the leg cutoffs told the tale…
TALKING ROCKER: CONVERSATION FOUR
Where do you go after building a triple chair? By the time I was ready to start the fourth piece I’d been thinking of making a double rocker for some time.
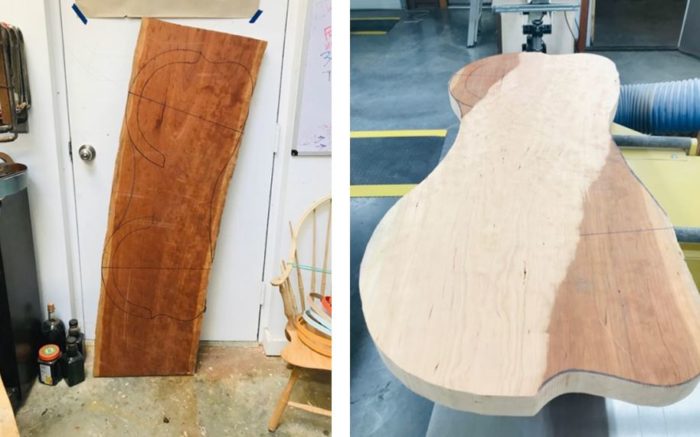
After laying out the perimeter shape on an 8/4 black cherry slab, I cut it out on the bandsaw, then flattened the slab in a planer. A thickness sander would also do the trick. After building the first three chairs, I was familiar with the compromises involved in leveling a piece with chairs whose centerlines are not parallel. With those limitations in mind I laid out the two rockers so they were slightly turned in toward each other, but neither was forward of the other.
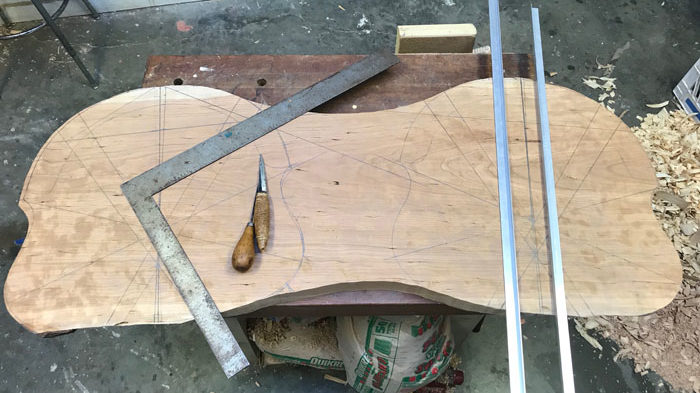
Next I laid out the seat precisely, drawing in all the mortise locations and the sightlines for drilling.
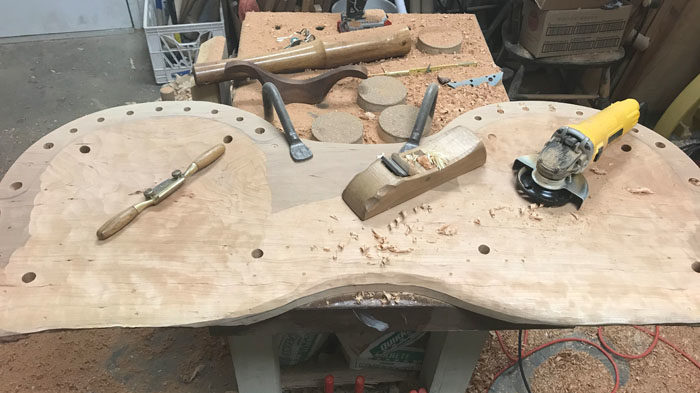
When I had the legs dry-fitted and the stretchers made, I put them aside and shaped the kiln-dried cherry seat. I used a combination of tools for the job. An angle grinder with an Arbortech attachment took the place of the adze and scorp used for hollowing seats of softer materials. I also used a travisher, spokeshave, and handplane.
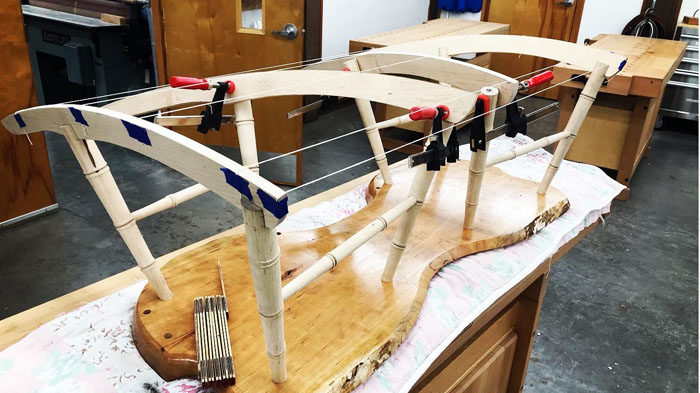
With the seat finished and the legs and stretchers in place, I set the two outside rocker blades first, as if I were assembling a regular rocking chair. Then I strung them up to get several reference points for the arcs of the center two rocker blades.
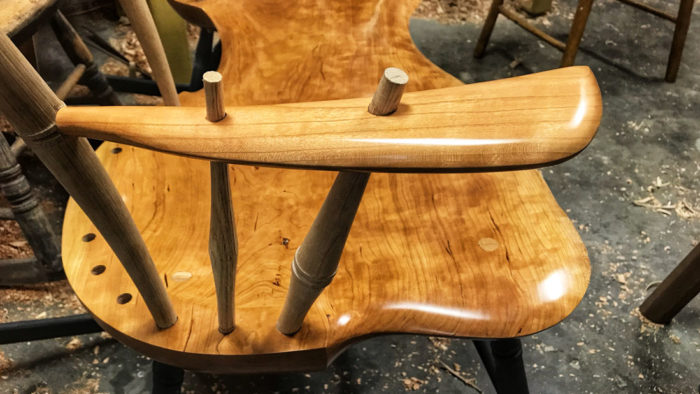
For this first Conversation Chair with arms, I decided to make the arms match the shaping and clear finish of the seat.
Once I had the whole piece assembled, I taped off the seat…
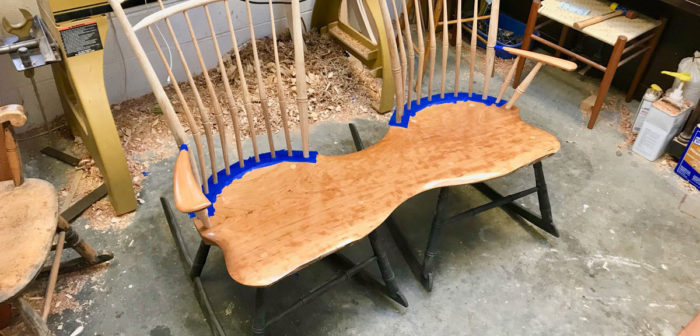
…and painted the upper carriage.
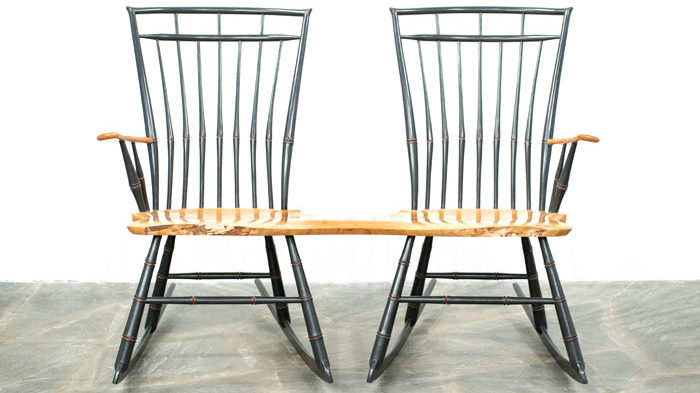
This whole conversation isn’t complete—I have a fifth chair in the works!—but currently I’m spending most of my time designing and building more functional Windsor and ladderback chairs and chairmaking tools.

Growing up in South Burlington, Vt., Eric Cannizzaro spent many days in the woods and in the workshop with his grandfather, a biology teacher and high school principal who loved bird watching, trout fishing, and carving wood and stone. These predilections all passed right along to Eric, who studied ecology and natural history at Evergreen State College in Olympia, Wash., and worked as a bird bander and field biologist in the United States, Mexico, Central and South America, and Borneo. But when he got a term-time job in the woodshop at Evergreen he began a parallel odyssey into woodworking that led him to the Arbutus Folk School in Olympia, to Arrowmont School of Arts and Crafts in Gatlinburg, Tenn., and recently to Jonesborough, Tenn., where he is setting up shop. You can find Eric’s portfolio at at ericcannizzaro.com
 |
The Why of Windsor Chairs |
Curtis Buchanan: Windsor Master |
|
 |
The Soul of Nakashima |
Fine Woodworking Recommended Products
Circle Guide

Drafting Tools


Comments
Very impressive design and innovation. A tremendous amount of skill to design & make them. Just one problem - who wants to actually sit in them, especially those slab seated items with the backside-ache inducing flatness and the back-of-knee biting waney edges?
Somehow sculpturing adventures seem to have absorbed the joinery; artistic whimsy supplanted the craft.
Lataxe
I love these pieces! I am only about a year into my adventure in windsor chairs and these pieces blow my mind! I'd love to see photos of folks sitting in them.
Log in or create an account to post a comment.
Sign up Log in