Build a Garden Chair
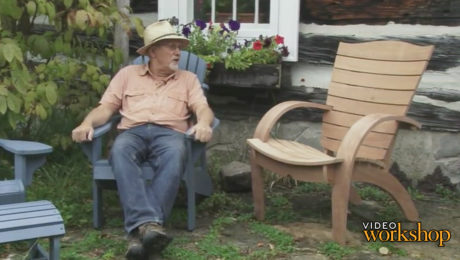
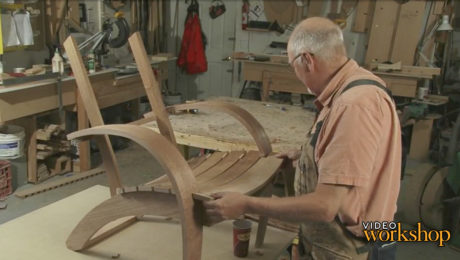
Get an overview of what's involved in building a beautiful garden chair with classy curves.
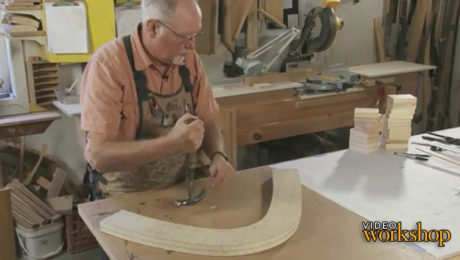
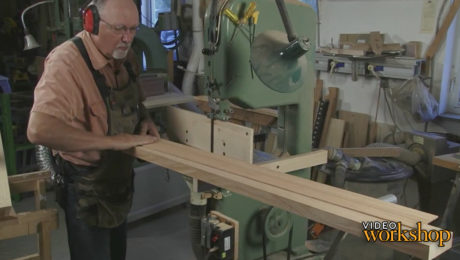
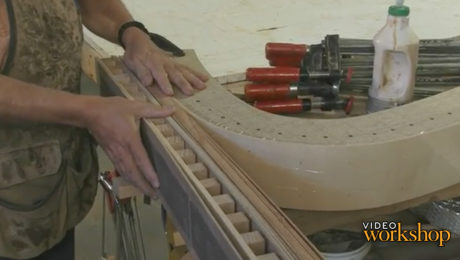
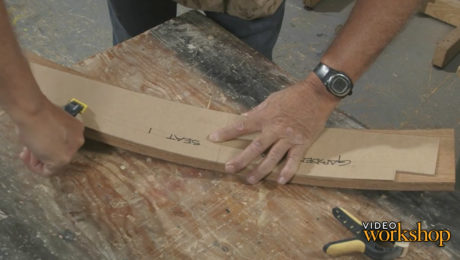
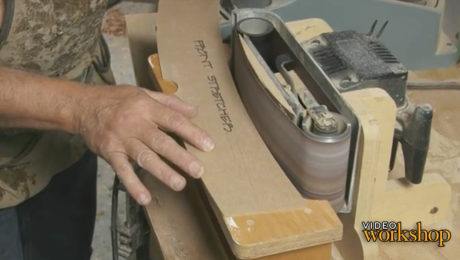
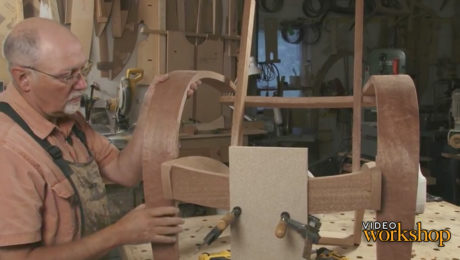
In this video workshop, Michael C. Fortune shows you step-by-step how to build a beautiful garden chair with classy curves. Although curves can be intimidating, Fortune walks you through the entire process of building and using forms to achieve bent laminations that will stand the test of time.
Produced by: Asa Christiana; Video by: Gary Junken; Editing by: Michael Dobsevage
Check out our collection of articles specifically picked to help with this project.
Download the plans for this chair from the Digital Plans Library. Plus, browse 100+ other plans available for members only.
Videos in the Series
-
Build a Garden ChairApril 2, 2014
-
Garden Chair: Bending FormsApril 2, 2014
-
Garden Chair: Resawing Thin PliesApril 2, 2014
-
Garden Chair: Bent Lamination Glue-UpApril 2, 2014
-
Garden Chair: Trimming and Shaping Bent LaminationsApril 2, 2014
-
Garden Chair: Shaping Parts and Basic Chair JoineryApril 2, 2014
-
Garden Chair: Assemble the FrameApril 2, 2014
-
Garden Chair: Seat and Back SlatsApril 2, 2014



Comments
I purchased the full size plans and watched the videos and built two of the chairs. This is a great project. I am a pretty experienced woodworker with a fairly complete shop, but I had never bent wood nor had I used my bandsaw as extensively as is done in this project. The chairs came out great and I developed bandsawing and bending skills.
I also want to pass along some tips that I came up with in the course of building the chairs. While the plans and instructions are great, I think that there are better ways to do a few of the things that you need to do on this project.
FIrst a recommendation... if you haven’t done a lot of resawing (like me) practice a lot before you start working on the project. I did some of this but wish that I did more. When selecting wood. I found that the mahogany came in two significantly different colors. If you can, choose one for the entire project. This will help make sure that adjacent parts match and also that if you have to put plies from different boards together in a bent slat, they match.
The instructions call for planing the plies down to a hair under 1/8 of an inch. I have a Dewalt 13” planer in great shape with in and out feed tables and dust collection and I put new knives on it for the job. I had also upgraded it with a digital readout for thickness - HIGHLY RECOMMENDED. While I can plane this thin, I found out that not all wood was up to it. Some of the plies just gave up and shattered under the stress of being planed. This could be dangerous as the ply kicks back a bit when that happens. It also ruins a ply that was supposed to go in the middle of an ordered sandwich to bend. I found a much better way... I happen to have a Supermax drum sander. What I started doing is planing the board before I resawed it per the instructions but instead of planing the other side of the ply, I ran it thought the supermax. MUCH BETTER! I previously bought a Shelix upgrade for my planer cutterhead. I suspect that this will do better, but I haven’t installed it yet.
The author also called for scraping the edge of the glued up plies with a paint scraper. I am not skilled enough to do that well.... but I found a much better way. I have a handheld Bosch planer - the kind that you would use on a door to plane it to size. This tool is PERFECT for the job of removing squeeze out. It also makes it unnecessary to run the ply over the jointer.
I also have a spindle sander with an inflatable drum on one side and a flap wheel on the other. I won’t say that this is the only way, but it makes smoothing out concave and convex edges and rounding off the corners WAY easier and faster.
Overall, this is a great project with terrific plans and instructions. I highly recommend it.
Mark
The "How-To" is so darn good. I don't like Adirondac chairs and this is just a variation. I don't like them because i find them way uncomfortable and hard for an old fart like me to get in and out of them. I still bookmarked the series for the techniques! Thanks! Maybe make longer bent arms/feet and raise it?
So, redesign the project to your specifications. Then, keep us posted. Oh, I prefer the appellation: "Elder Flatulence". (That's a "High Class" Old Fart.)
can someone give me an idea of how much wood is needed for this chair?
According to the plans 16 board feet.
However, the board feet is calculated on the finished dimensions of each 1/8" ply, not the wood you need to start with.
The plans suggest you add 50% for wastage, so you should look at purchasing something like 24 board feet.
Nothing to do with this particular project. I love these projects done in segments.
I would like to see a Play All button or a Play Next at each episode.
Log in or create an account to post a comment.
Sign up Log in