Japanese Garden Bench
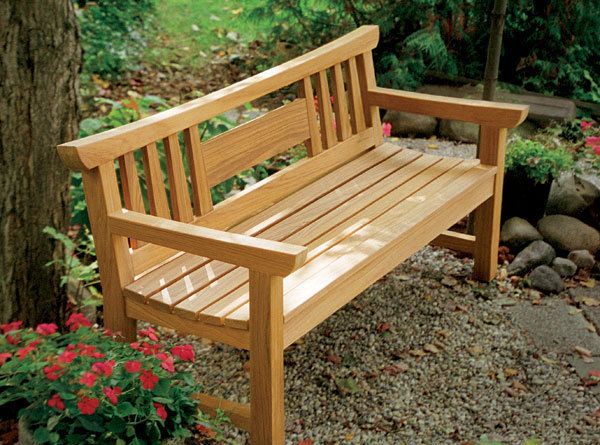
Mortise-and-tenon joinery and outdoor-friendly materials ensure a long, happy life for this Asian-inspired bench.

Synopsis: Russell Jensen designed this bench with a blend of traditional Tudor and Asian styles. The curved armrests, crest rail, and tapered back splats contribute to the Asian feel, while the chunky front legs and angled back legs are strictly Tudor. The angled rear legs are shaped on the tablesaw using a tapering jig. Simple mortising jigs ensure that the 40 different mortises used to join the bench are completed quickly and accurately. Jensen used teak for his bench, but gives advice on choosing other outdoor-friendly woods that would work.
A client approached me about a Tudor-style garden bench I had made for the local university. She loved the bench, but wanted something more Asian in style. I decided to incorporate elements from Gary Rogowski’s Asian-style bed, adding a curved back rail and armrests as well as tapered back splats with a cross rail between them. The final design is a blending of Asian aesthetics and traditional Tudor style. The curved top rail, armrests, and tapered splats are very reminiscent of Buddhist temple gates in Japan, while the straight, chunky front legs and angled back legs are strictly Tudor.
Since this is an outdoor bench, I used teak. Highly weather resistant, teak is my first choice and is worth the expense and extra care it takes to work, but there are less-expensive woods such as Spanish cedar, white oak, ipé, and jatoba that also work well outdoors. This bench is built almost entirely with mortise-and-tenon joints, and because there are so many, you’ll need an efficient way to crank them out. I’ll demonstrate a simple template-guide jig for the mortises, and time-tested methods for making tenons to fit. Even though teak can be tricky to glue, the combination of mortise-and-tenon joinery and marine epoxy ensures the bench will last.

Choosing and milling the stock
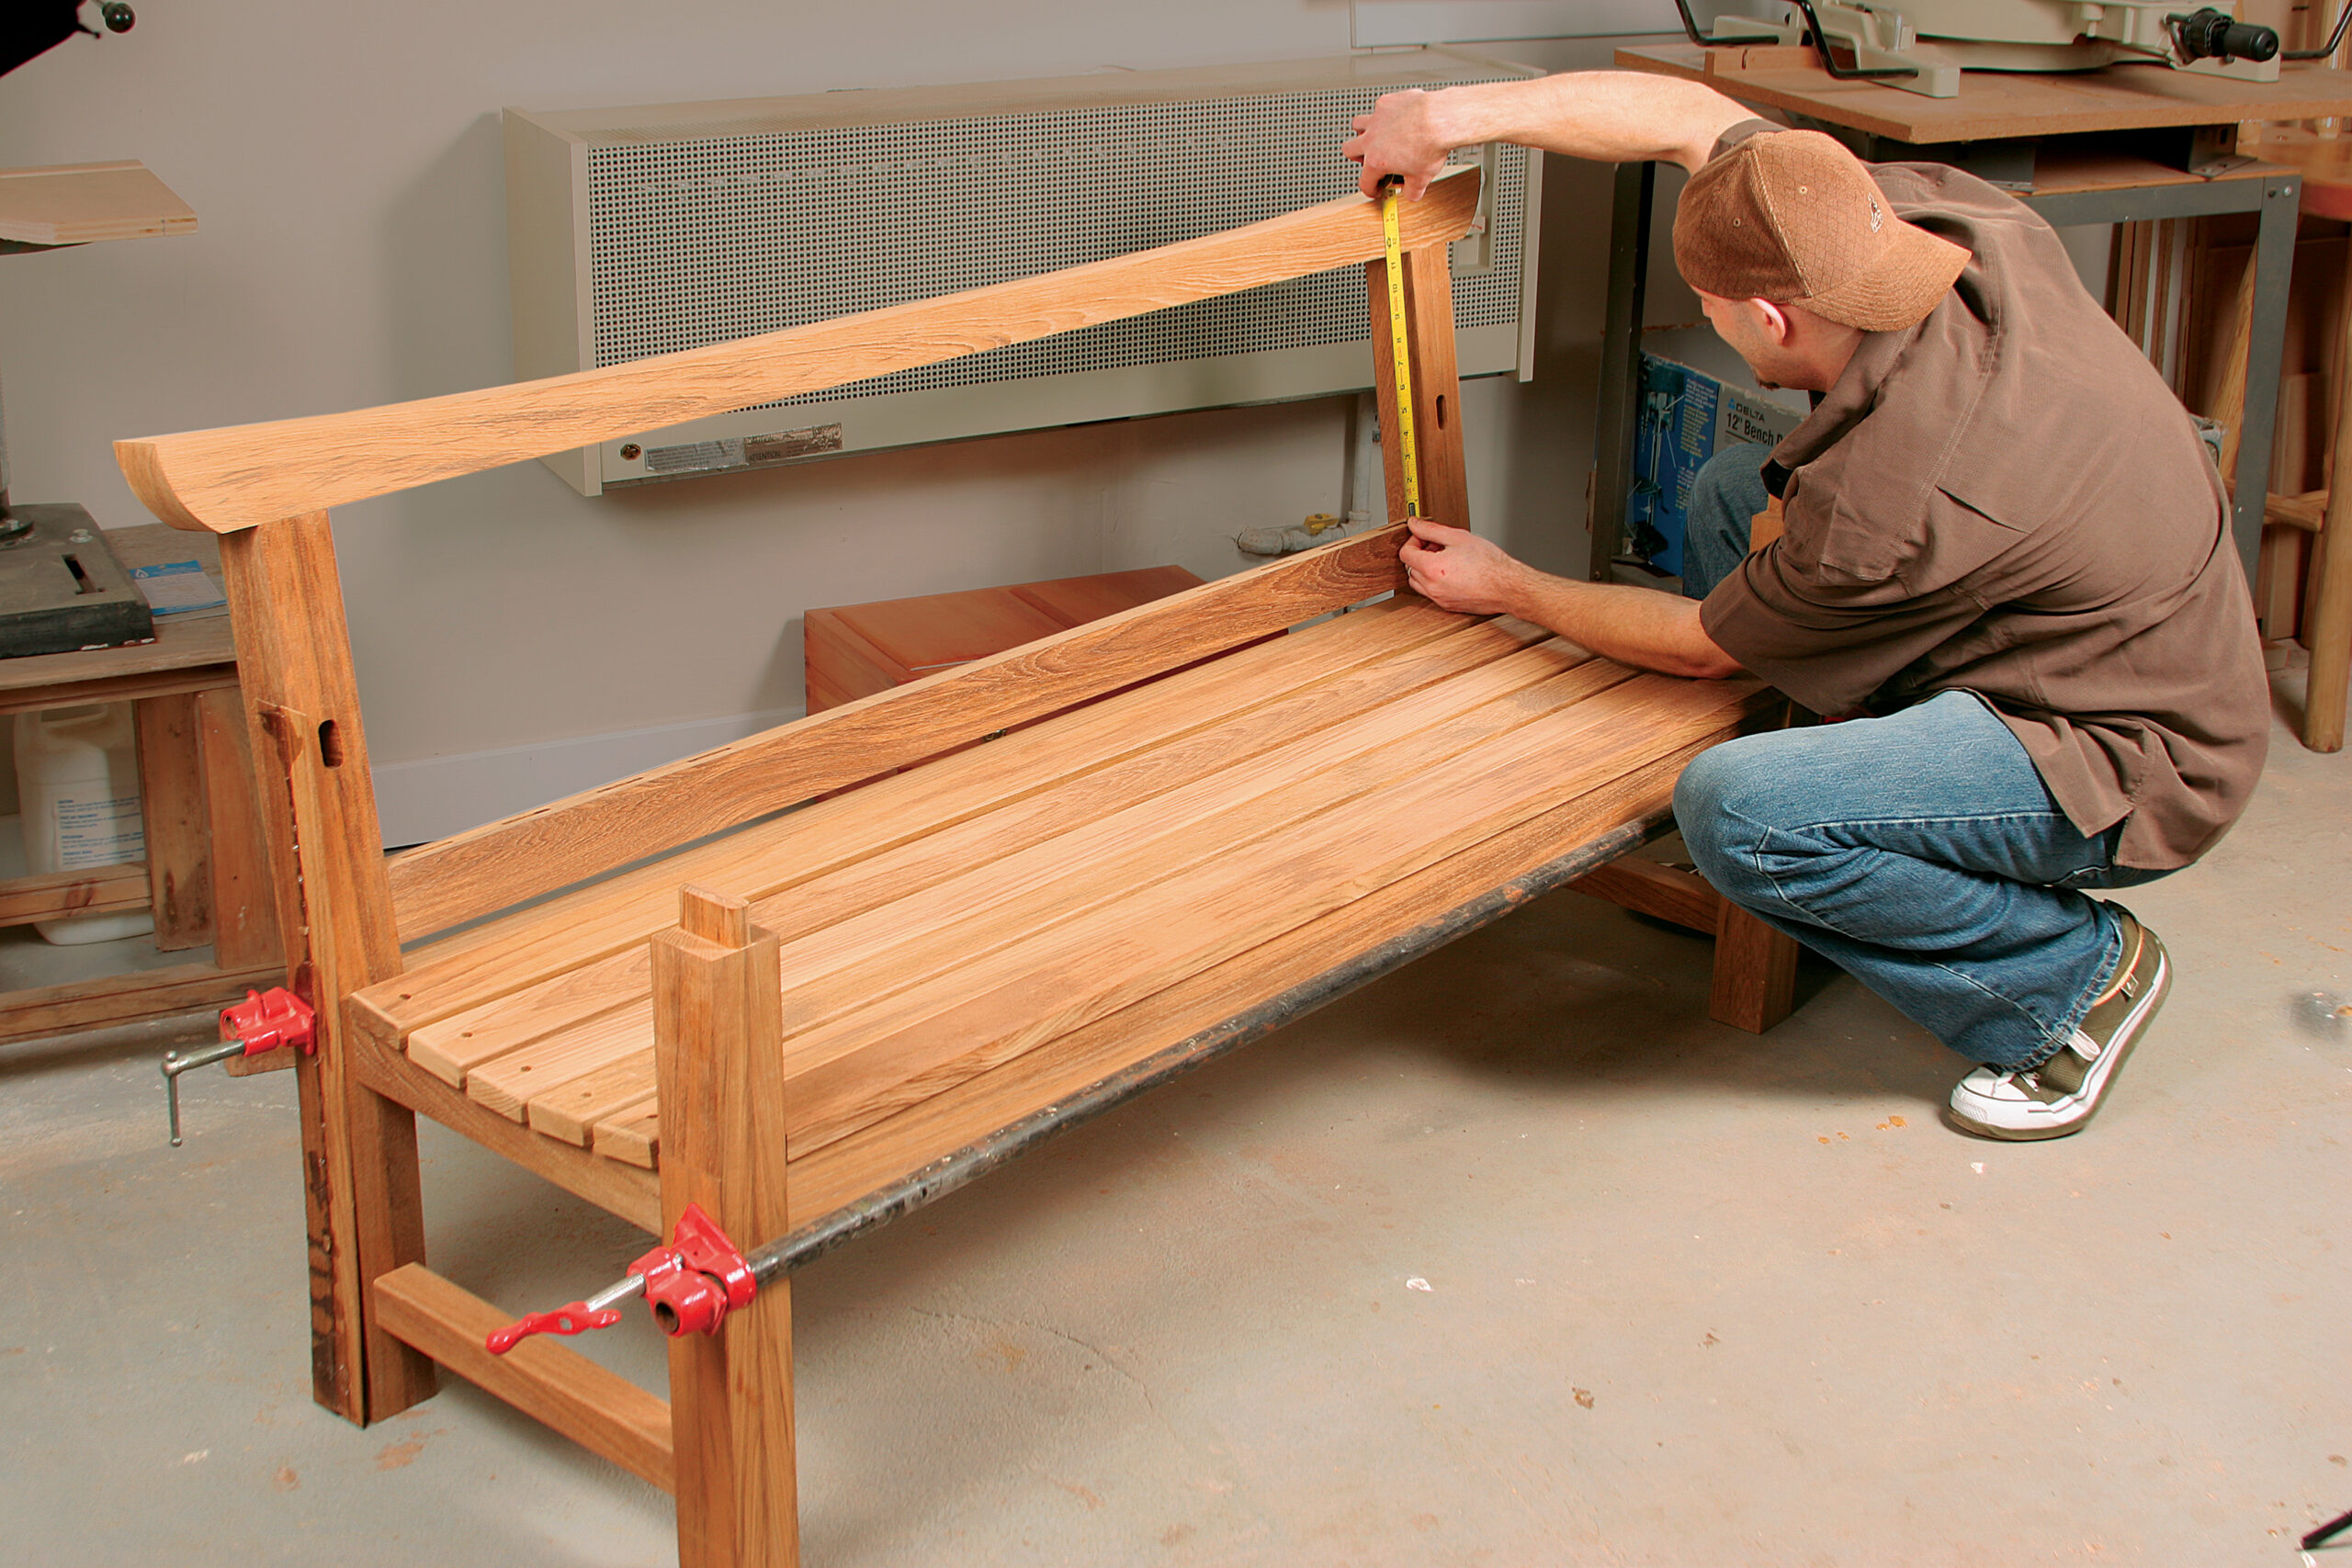
I made the bench out of 4/4, 6/4, and 8/4 teak. Start by rough-cutting the lumber a couple of inches longer than you need. All the 21⁄2-in.-thick parts, such as the legs, arms, and curved back rail, are made of 6/4 stock glued together with West System epoxy. I do this because 12/4 teak is expensive and hard to find, but it is a good idea regardless of the wood. When choosing stock for the rear leg, steer away from using plainsawn stock on the front of the leg, as this will result in an unattractive, stepped-grain pattern when the angle is cut.
After gluing the legs, arms, and rear rail, allow the epoxy to cure and then mill all the lumber to thickness. now true up all the edges on the jointer and rip everything to width. To give yourself a little play when cutting out the patterns, leave about 1⁄4 in. extra on the width of the curved pieces and tapered back splats.
From Fine Woodworking #198
For the full article, download the PDF below:


Comments
The angled vertical plane of the back is offset from center moving it forward. If this is not done the back will be uncomfortable to sit against, as your back will rest on the Crest Rail only with no lumbar support. This makes the design a bit awkward. Most benches will place the back plan between the back legs (not over top) and to keep the thinner dimension of wood of the back in the same alignment, and centered on the legs, for comfortable sitting. The article does not cover this aspect well as it is focused on router techniques vs design. Moreover the illustration misrepresents that the back is moved forward. It also shows a 3/4 tenon and the actual picture it is 1/2 inch. It is an important part of the design and your readers may be mislead on a project with expensive 12/4 wood.
Can't comment on the focus of the article being technique over design but the tenon discrepancy is a good catch. We are checking into it and I'll get you a response on that one soon.
-Ben
Hi Ben, was a clarification ever issued regarding robdurante’s observation regarding lumbar support for this Japanese Garden Bench project? I was going to order the plans but wonder if this is clarified in the plans.
Quick question, what's the total number of board feet needed for this project please?
I'm slowly working through this project. I'd appreciate more information on working with epoxy on the M&T joints. Should an additive be used to thicken the epoxy? If so, how thick? How do you deal with squeeze out?
I want to make this garden bench and I would appreciate any advice you have to offer. Specifically, what difficulties did you face that were not seen in advance? But any and all feedback would be appreciated.
Log in or create an account to post a comment.
Sign up Log in