Mockups Quicken the Chair Design Process
Same-sized models of chairs solve problems before they can cause a deadlock in the workshop.

Synopsis: Most furniture designs start with a two-dimensional drawing, but drawings can fail to capture the complexities of a three-dimensional object and they’re worthless for determining comfort, writes custom furniture maker Keith Allen. He shows how to skip the drawing and begin with a full-scale mock-up. In his mock-ups, Allen deals first with size, geometry, and ergonomics, and then addresses form and aesthetic details. His method alleviates what he calls the tedium factor in building chairs.
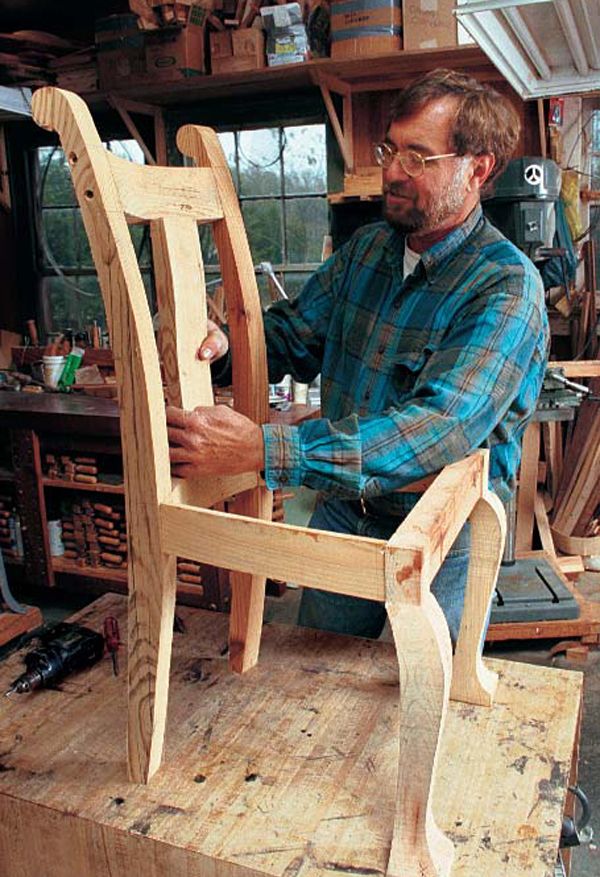
Compared to any other furniture, chairs are more difficult to make. They’re hard to design and hard to build. They need to be as lightweight as possible to make them easy to move around. Yet they also need to be strong to survive almost certain abuse. Most furniture designs begin with two-dimensional drawings, but drawings can fail to capture the complexities of a three-dimensional object such as a chair, and drawings are worthless for determining comfort.
To my mind, the chair maker’s ultimate challenge is psychological. After surmounting all of the obstacles to design and construction, the custom chair maker is then called upon to produce precisely repeated multiples. I regard this boredom factor as the most difficult aspect of chair making.
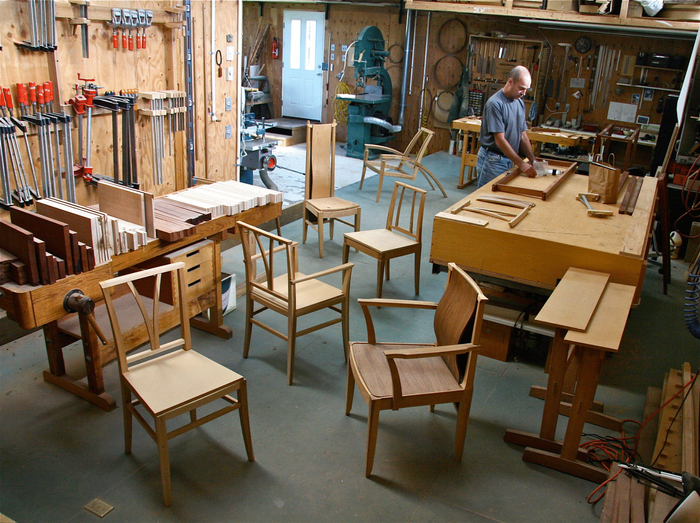
For chairs, I usually dispense with drawings and begin instead with three-dimensional mock-ups. I can test-drive a good mockup for comfort, and I can better assess how the chair is going to look. The mock-up can reveal any structural weakness early on as well as provide a convenient basis for precisely cloning multiples if I have more than one chair to make.
I make mock-ups of inexpensive, even junk, material. The parts are typically fastened together with butt joints, using a few toenailed screws per joint. I use #2 square-drive screws, 2 in. to 3 in. long, and predrill pilot holes and countersinks for the screw heads. Cutting a dry biscuit joint in the pieces being joined often makes it easier to align them during assembly.
You can easily change the dimensions and the joint geometry of mock-up parts by trial and error, as the chair design evolves experimentally. A compound-miter saw is a useful tool for this process. I record angle setups directly on the pieces as I cut them. The resulting mock-up is strong enough to test for comfort, and the temporary joinery gives me a good feel for whether permanent joinery will be strong enough to withstand likely abuse.
Make the transitions in stages
I’ve learned to make mock-ups in two stages. During the first stage, I determine the size and geometry of the parts and resolve ergonomic issues: how wide to make the front of the seat, for instance. In the second stage, I concentrate on form and aesthetic details: Should the top edge of the crest rail be rounded over or left square?
From Fine Woodworking #139
For the full article, download the PDF below:
Fine Woodworking Recommended Products

Circle Guide

Blackwing Pencils

Compass


Log in or create an account to post a comment.
Sign up Log in