Oval Chippendale Stool
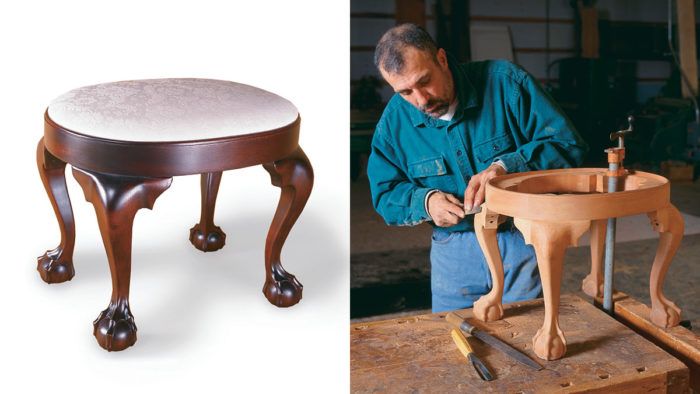
The curved frame and the carved cabriole legs come together with simple joinery.

Synopsis: Period furniture maker Randall O’Donnell shows how this small stool doesn’t require a lot of material, but it shows off a lot of Colonial Philadelphia hallmarks: finely carved feet on graceful legs tenoned into a thin curved frame, topped off with an upholstered slip seat. He starts by making full-sized patterns and a rabbeting template (template drawings are included in the article). Next, he joins a rectangular frame and shapes the oval. He uses a bandsaw to cut the cabriole legs and turns the tenon on a lathe. A photo sequence details how he carves a ball-and-claw foot. He then fits the knee blocks and fairs the upper legs before finishing the piece.
It’s real easy to get excited about making a stool like this. Compressed into this little gem are the chief hallmarks of the Colonial Philadelphia chair makers: finely carved feet on graceful legs tenoned into a thin curved frame, topped off with an upholstered slip seat. Less than a handful of original oval stools exist today. To my eye, this Chippendale-style stool commands a presence far beyond the small amount of material needed to build it.

With its curves, carving and fine proportions, 18th century-style furniture is hard to ignore. Over the years, I’ve built all kinds of things from wood, but making furniture in this style continues to offer the most satisfying challenge. That challenge lies not just in the cutting and carving but in researching the history and construction details of the piece.
In my part of the country, there are not a lot of original examples of this type of furniture to examine, so to capture the essence of a particular piece, I have to do a lot of homework. First I read all of the related books and magazine articles I can find. Then I travel to check out similar pieces in museums or, if possible, in private collections. The research is far more time-consuming than actually making the piece.
This stool is an outstanding example of the Philadelphia Chippendale school of chair making. For chairs with curved seats, Colonial Philadelphia chair makers tenoned the legs up into a stout frame. In most other areas, chair makers tenoned the frame members into the leg the same way a table’s aprons are tenoned into its legs; that resulted in a strong joint but a wide frame. The Philadelphia approach sacrificed just a little bit of strength for an elegantly thin frame.
Although making a curved frame and attaching curved legs may appear daunting, the joinery is dirt simple. In this article, I’ll describe how to construct the frame and make and carve the legs. I’ll also show you a foolproof assembly process and touch on applying the finish.
Make full-sized patterns and a rabbeting template
Start by making full-sized plywood patterns of the seat frame, leg and knee block. Additionally, you’ll need to make a template to guide the router for wasting away material to form the rabbet for the slip seat.
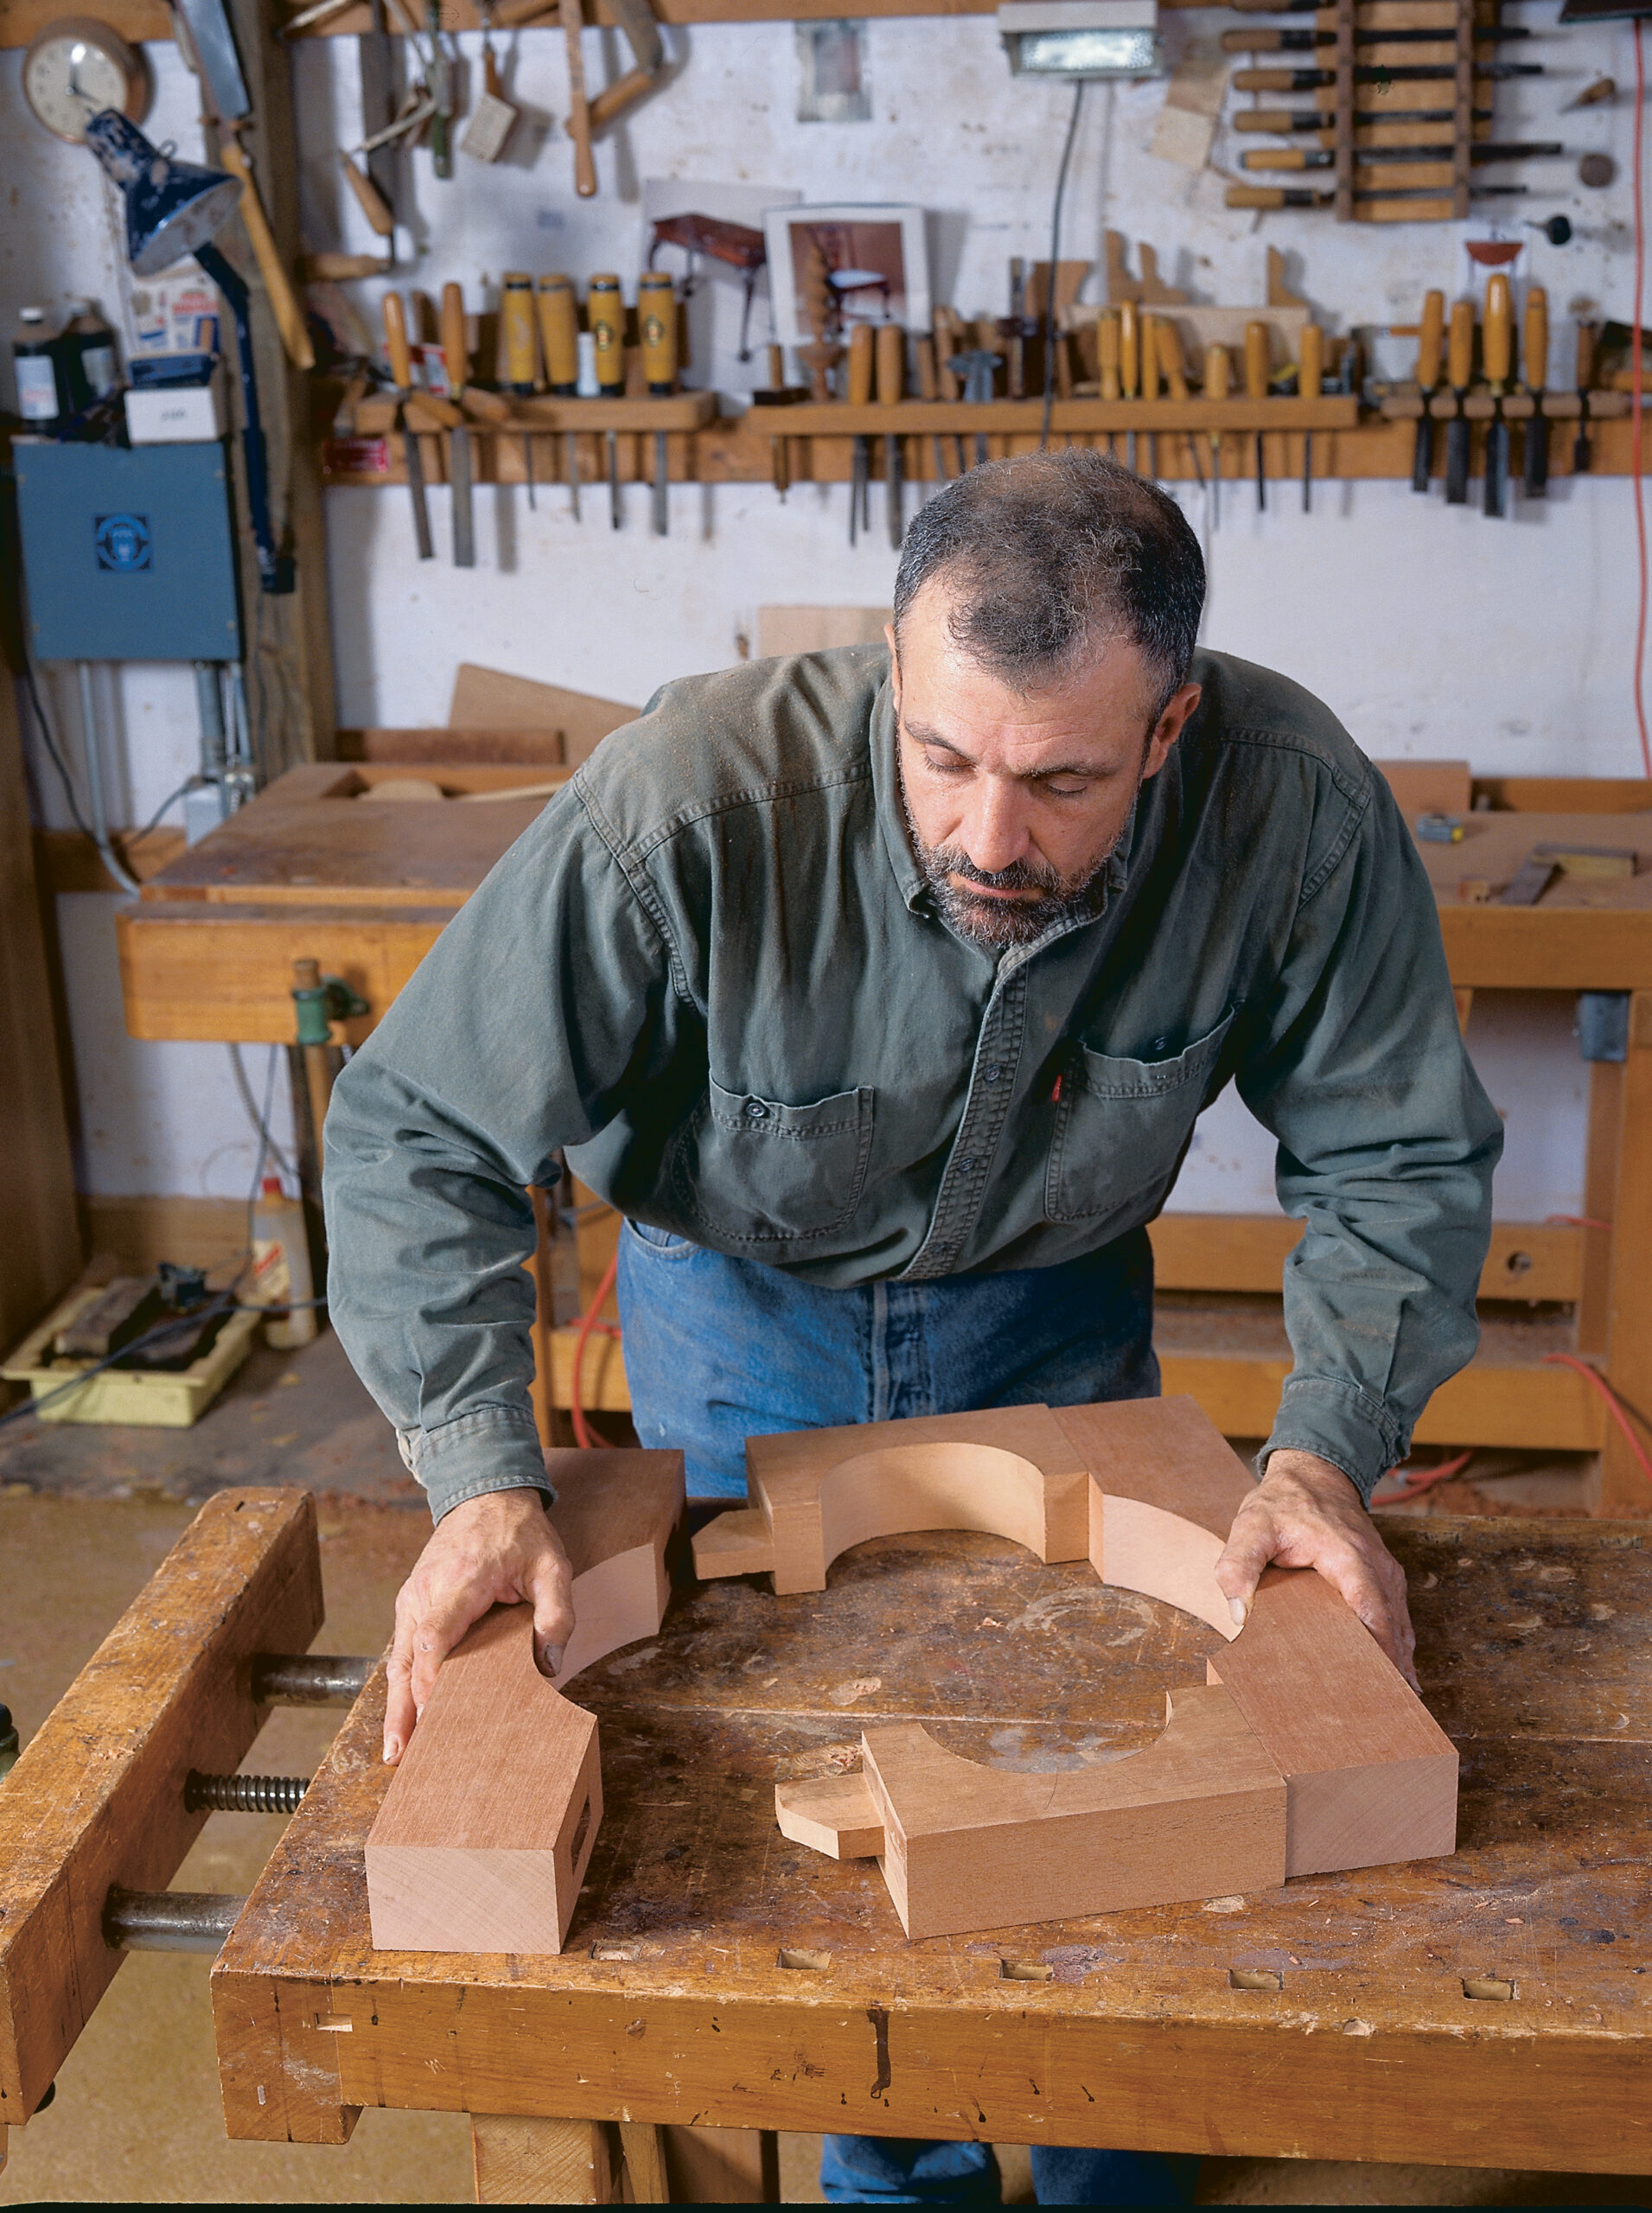
The frame pattern provides the curve of the oval and the mortise location for the leg tenon. To avoid cutting errors, enlarge this quarter-segment pattern to full size and use it to make a complete oval pattern. Mark out one quarter of the oval, and then, using the centerlines as reference marks, flip the pattern over to mark out the remaining quadrants.
I make a plywood router template for rabbeting the frame for the slip seat. When sizing the oval opening in the template, figure in the offset between the router bit and the guide bushing you will use to cut the rabbet. Be sure to save the interior offcut from the rabbeting jig. It will be used as a router platform for cutting the bead on the top edge of the frame.
From Fine Woodworking #135
For the full article, download the PDF below:
Fine Woodworking Recommended Products

Dubuque Clamp Works Bar Clamps - 4 pack

Stanley Powerlock 16-ft. tape measure


Log in or create an account to post a comment.
Sign up Log in