Build a Comfortable Outdoor Chair: Assembly
Trim and shape the curved parts and put the chair together.

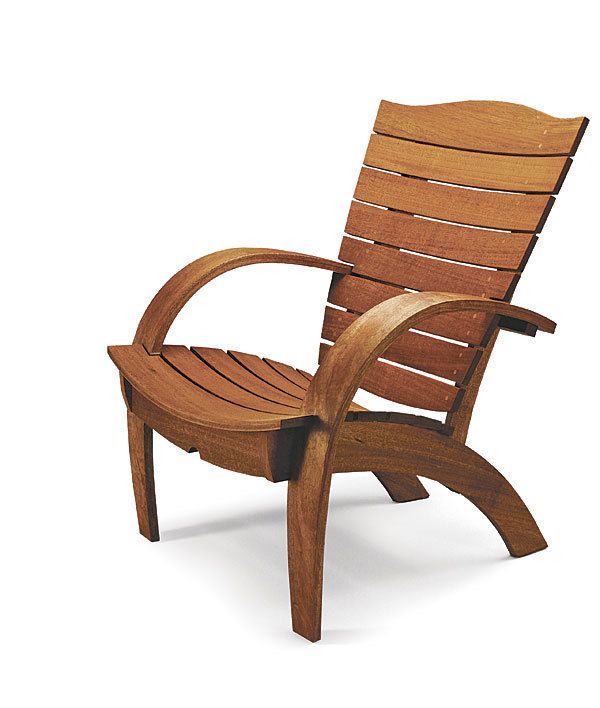
Synopsis: Part 2 of the Garden Chair project takes the curved laminations created in Part 1 and turns them into a chair. Patterns make it easy to trace the shapes of each part, and mark the locations of the notches and screw holes. With them, you’ll trim the laminations to size, cut out the rest of the parts, and put the chair together. Michael Fortune gives tips on trimming bent-laminated pieces and ensuring they fit together tightly. Simple joinery is the key.
When I set out to redesign the classic Adirondack chair, I wanted to capture the spirit of the original while making it more comfortable and attractive. With that in mind, I added a few more curves, inspired by the plants in my garden. But I didn’t stop there. The seat is closer in height to an indoor dining chair, and does not have the severe backward slope of the classic. That makes it much easier to rise up from. It can even be pulled up to an outdoor dining table. At the same time, there is nothing to stop you from falling asleep in the sun.
In Part 1 (FWW #240), I showed how to make the two types of bent laminations you’ll need: one for the arms and front legs, and one for the seat and back slats. Now I’ll show you how to trim those laminations to size, cut out the rest of the parts, and put the chair together. The joinery amounts to a few small notches and a pile of screws, so it goes quickly.
As with most chairs, the various angles and joints took me a while to work out. But you’ll have no such trouble. I’ve outlined patterns for every part (see p. 53). Be sure to make them all, using 1⁄8-in. Masonite or MDF so they can be flexed into the curved parts. The patterns make things easy. you’ll use them to trace the shapes of each part, and also to mark the locations of the notches and even the holes for the screws.
Using bent-laminated pieces
In Part 1, I finished up by jointing one edge of each lamination to create a nice reference edge. The rest of the shaping and trimming happens on the bandsaw. I don’t trim curved parts on the tablesaw because of kickback danger. For most of the slats, which have straight sides, you can just bandsaw the opposite edge parallel using the rip fence, keeping the curve down on the table at the cutting point.
The other laminations are cut to specific shapes. The arms have a long curved line bandsawn down one side, and a shallow curve on the inside. Before laying out and bandsawing the arms, place them back on the bending form and transfer the mark for floor level onto their edge and face. That will help you align the pattern.
Read “The Garden Chair, Part 1: Bent Lamination,” (FWW #240)
Download the plans for this chair from the Digital Plans Library. Plus, browse 100+ other plans available for members only.
For the full article, download the PDF below.


Comments
how much wood does this project take?
Log in or create an account to post a comment.
Sign up Log in