Traditional Upholstery Method
Time-tested tools and materials still give the best results, and anyone can do it.
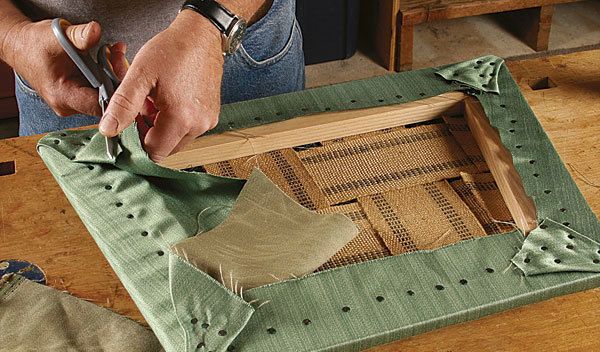
Synopsis: You can make an upholstered seat using traditional materials in a time-tested way. Basic upholstery tools cost around $60, the materials can be bought online, and the techniques are easily learned. The result will look and feel authentic and will last a lifetime.
Many woodworkers hesitate to build a chair, particularly a period version, because of the upholstered seat. They think the options are either shopmade with foam rubber, which won’t look correct, or an expensive professional job. But you can do the job yourself using traditional materials in a time-tested way. Basic upholstery tools cost around $60, the
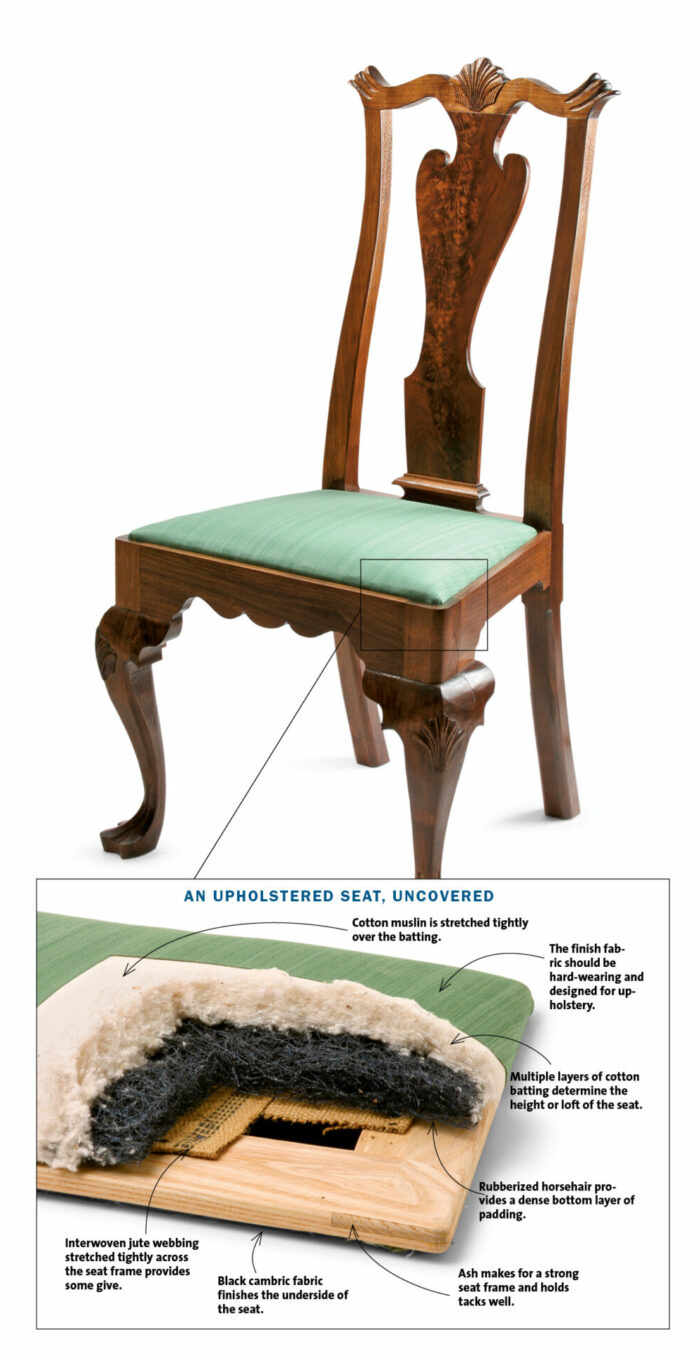
materials can be bought online, and the techniques are easily learned. The result will look and feel authentic and last a lifetime.
The frame is the foundation
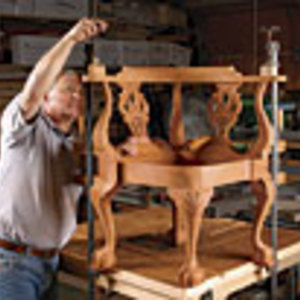
The seat frame anchors all the upholstery. while it can be constructed from any medium-density hardwood, ash works best because it is strong and holds upholstery tacks firmly. You can use mortise-and-tenon joinery or, as in this case, bridle joints. The frame is 21⁄2 in. wide; the outer dimensions depend on the thickness of the outer fabric. A 3⁄32-in. clearance between the frame and the chair rails is fine for most fabrics, but leather will require a larger gap.
The frame should extend 1⁄4 in. above the chair rail, but put an 8° to 10° bevel on the top outside edge. Starting even with the chair rail, the bevel creates a transition from the upholstered seat to the chair frame and helps reduce wear on the upholstery fabric, as does rounding over the frame’s outside edges.
Step 1: Weave a web
Tack and fold: Cut off a strip of webbing about 6 in. longer than the width of the frame. Tack down one end just inside the bevel using five #6 tacks, staggering the tacks slightly to avoid splitting the wood. Fold the webbing over the tacked end to create a double layer, and tack this down as well, interspacing the tacks with the first set.
Stretch and tack: Stretch the webbing across the frame using a webbing stretcher. The webbing should be tight but not enough to distort the frame.
From Fine Woodworking #215
For the full article, download the PDF below:
Fine Woodworking Recommended Products
Bessey K-Body Parallel-Jaw Clamp

Festool DF 500 Q-Set Domino Joiner

Estwing Dead-Blow Mallet


Log in or create an account to post a comment.
Sign up Log in