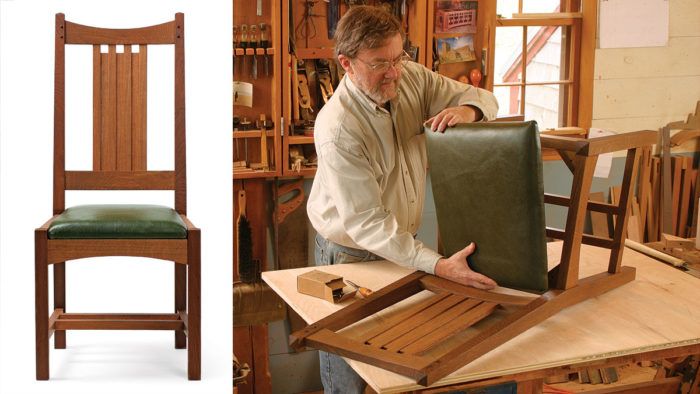
Arts and Crafts Side Chair
With templates for curves and joinery, you can make a roomful of chairs to fit around your dining table.

Synopsis:This Arts and Crafts-style chair would fit comfortably in a dining room or a library. With its curved back rest and angled joinery, it offers plenty of construction challenges, but a variety of jigs and templates make the curves and angles easier to handle. The back legs are shaped using a template, and a router box simplifies cutting the angled mortises. Another template ensures consistent curves in all of the chair rails. The rails of the back rest are curved on their front and back faces, and the crest rail is arched on its top edge. Both rails are mortised to hold the back splat, a curved assembly of narrow strips.
I designed this chair in 1993 for a design competition sponsored by the Maine Arts Commission. My intention was to design a chair that would be sturdy, comfortable, and clearly derivative of Arts and Crafts styling, but still compatible with contemporary interiors. Since then I have made many of these chairs with very little design change, including one set ordered by Disney Films in 1999 for the movie “Bicentennial Man.” This version is made of white oak, though I’ve made the same chair in cherry and walnut.
Because I wanted the chair to function either as a dining chair for long, leisurely meals or as a reading chair for a desk or library table, an upholstered seat was a must. The degree of back slope, depth of seat area, arch or curvature of the back rest, and other critical dimensions also contribute to the comfort. I use jigs to duplicate curved and angled parts, as well as to create accurate angled joinery. These jigs will come in handy if you decide to build a set of chairs.

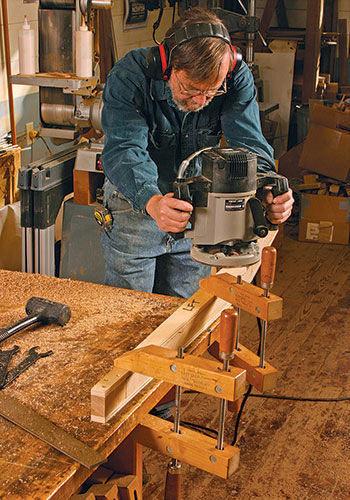
Shape the back legs using a template
First, trace the back legs on the stock using a full-size template made from 1/4-in.-thick Masonite. Rough-cut the legs to shape using a jigsaw or bandsaw, being careful to leave the line. The only cuts that should be exactly to the line at this point are the top and bottom cross-grain cuts.
For final shaping, mount the back legs in a template-routing jig that works with both legs. Use a large-diameter, bearing-guided straight bit (1/2 in. or more). Amana makes a 1 1/8-in.-dia. by 1 1/2-in.-long bit with a top-mounted ball-bearing guide (part No. 45468) that allows you to shape the leg in one pass.
Once you have both rear legs shaped, cut the front legs to length. Now you’re ready to lay out and cut the mortises.
From Fine Woodworking #190
For the full article, download the PDF below:


Comments
It would be great to have a whole series on how this chair was built, like Kevin Rodel's Limbert inspired Coffee Table
Does this actually have a link to templates? What I see on the side from SHIFT Templates looks like an advertisement.
Log in or create an account to post a comment.
Sign up Log in