Weaving a Danish Cord Seat: Wrapping Side to Side
Evenly spaced pairs of cord create a foundation for the final weaving.
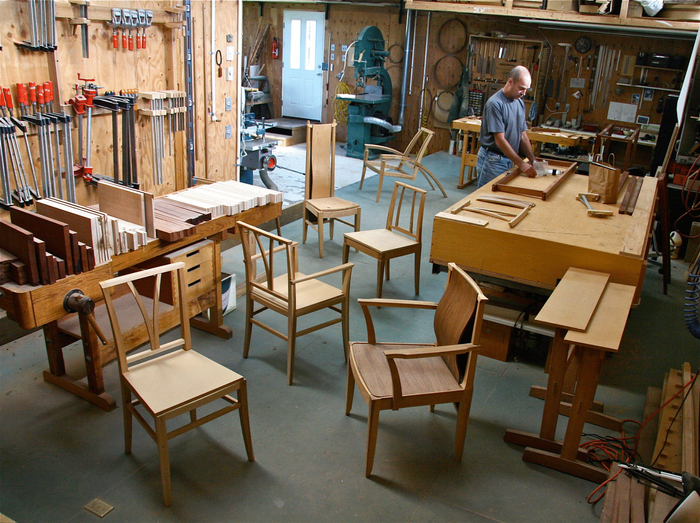
A woven Danish-cord seat is ideal for many modern or chairs, benches, and stools. The cord, actually tightly rolled brown paper, resembles rush or raffia. Special L-shaped nails, evenly spaced on the insides of the seat rails, hold the cord tight. In this three-part series, Mark Edmundson shows how to create the weave, step-by-step. Find links to the other video steps in this series below.
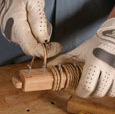
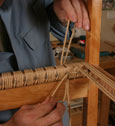
The second step in a Danish-cord weave involves wrapping strands of cord from front to back, hooking pairs of these strands on the L-shaped nails. Gaps between these warp strands leave space for the side-to-side weave that completes the seat. In this detailed video, Edmundson shows how to tack the cord in place, how to hook it over the nails, and how to use a bent piece of stiff wire to help pull the cord through some tight spaces near the legs.
ABOUT THE SERIES
Mark Edmundson, a graduate of the College of the Redwoods Fine Woodworking program, shows how to create a distinctive woven seat on a bench inspired by a classic Danish design.
| ON VIDEO: STEP-BY-STEP WEAVING |
|
|
Step One: Wrapping Front to Back This covers most of the rail with cord |
|
|
|
Now Playing Step Two: Wrapping Side to Side Evenly spaced cord creates a foundation for the final weaving |
|
|
|
 |
Step Three: Finishing Up Long strands woven side to side complete this distinctive seat |


Comments
Mark - great job of explaining the weaving process. I have taken a few basket making classes, and with that experience and what you've shown me in this video - I am excited to apply this technique to my work working. Thank you for taking the time to share your trade and experiences.
Log in or create an account to post a comment.
Sign up Log in