10 Best Fixes for Finishing Mistakes
Cures for common problems, and how to prevent them in the first place.
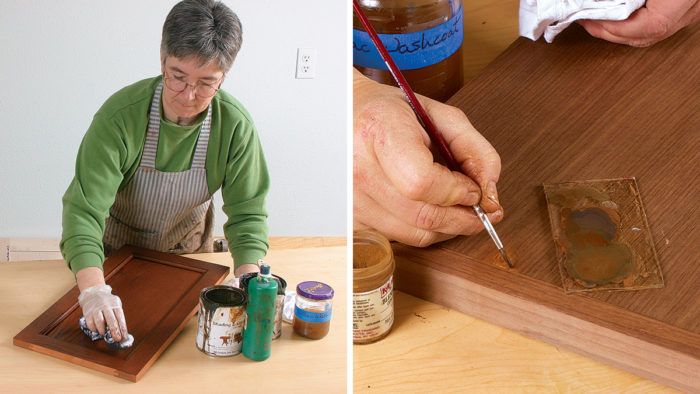
Synopsis: No one, whether hobbyist or professional, is immune to finishing mistakes. In this article, professional finisher Teri Masaschi offers remedies for 10 common problems, from surface flaws such as scratches and tearout, glue residue, and oversanding; to color mistakes such as uneven dye stain, bad color, or blotchiness; to topcoat problems such as drips and sags, contaminated finish, burn-through, and witness lines from oversanding. Masaschi demonstrates how to fix these problems after they happen, and what to do differently to avoid the problem next time.
Hobbyists and professionals alike make mistakes in the shop. When you’re building a piece, fixing an error is fairly straightforward: Back up and start again by milling a new piece, recutting a joint, or fitting in a patch. But finishing mistakes can be harder to overcome—hence the dread many woodworkers feel.
Problems can pop up at any one of three points in the finishing process—surface preparation (and assembly), staining and coloring, and applying the topcoat. I’ll show you some of the methods I use as a professional to back out of a mistake and to try to keep it from happening in the first place.
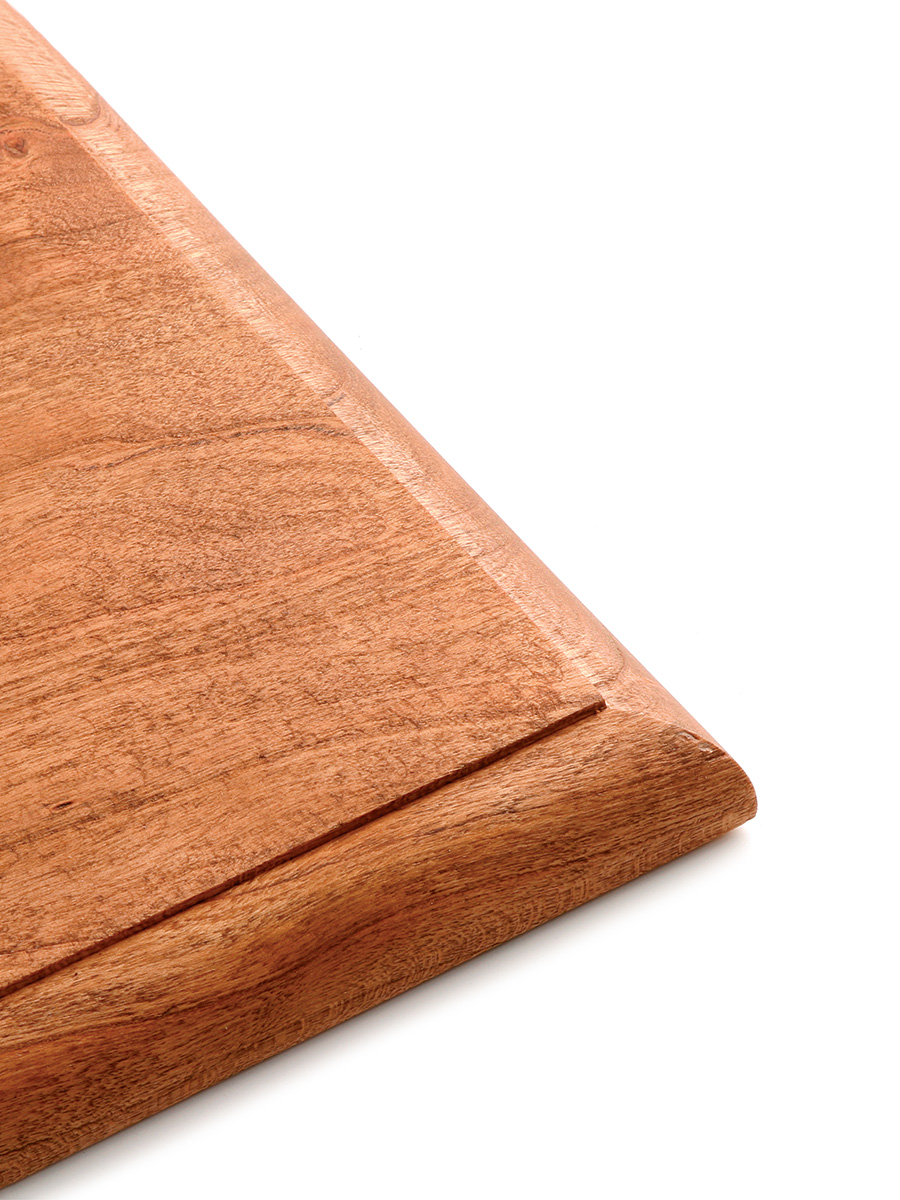
The best way to avoid mistakes altogether is to practice on a sample board. Testing the colors and materials you want to use will alert you to problems before you risk ruining an expensive project. Also, resist the urge to rush through the finishing process. You can nearly always tell when someone has taken a shortcut.
And finally, even if you make mistakes you can’t fix, after suffering through them you probably won’t repeat the same ones again.
1. Scratches and Tearout
Problem: A random-orbit sander left its signature pigtail marks, or you didn’t use the right paper to eliminate scratches left by coarser grits. Or, cutting or planing tore out some wood fibers, leaving a divot in the surface. If the first swipe of stain shows vivid swirls or scratches all over the work, stop.
Solution: Sand the piece again, this time changing paper frequently and working your way systematically through the grits. If you’ve oiled or stained the piece and find that swirls show up in only one or two spots, sand those areas by hand with P220-grit wet-or-dry paper, wetting it with some of the same finish you used. This method works well with most oil finishes or oil-based pigment stains. If you used stain, reapply it carefully to match the surrounding stained areas.
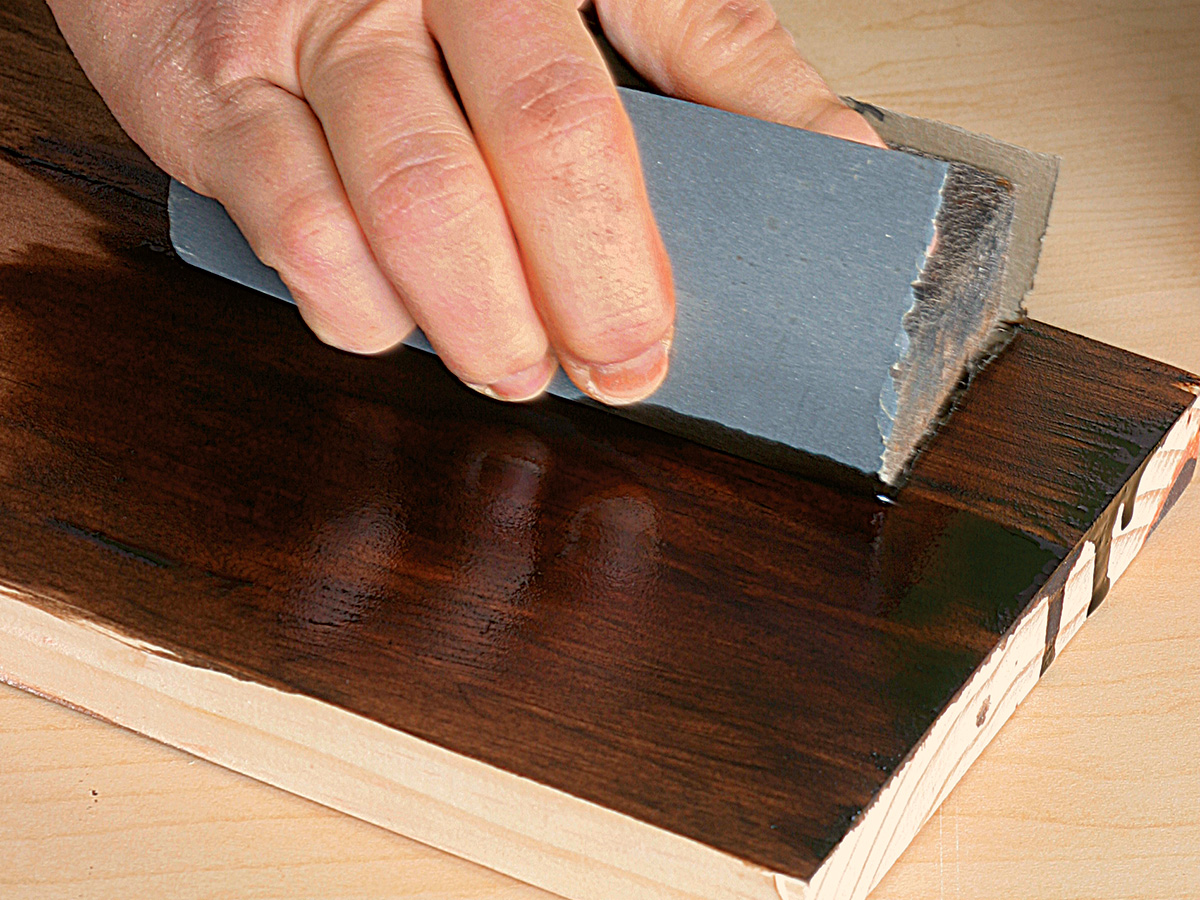
If you used a dye, resand a stand-alone area, such as an entire stile. If it is a large surface, sand the damaged area, feathering the edge between sanded and unsanded parts. Then apply more dye.
To eliminate tearout, sand, plane, or scrape the surface. Wipe the surface with mineral spirits to check the smoothness. If the imperfections are small enough (generally no larger than a pinhead), you can fill them after you’ve stained and sealed the piece, using fill sticks, the wax crayons sold for touching up scratches.
If you aren’t coloring the wood, small amounts of tearout can be OK in some places (legs, frames, etc.). But stain makes them pop.
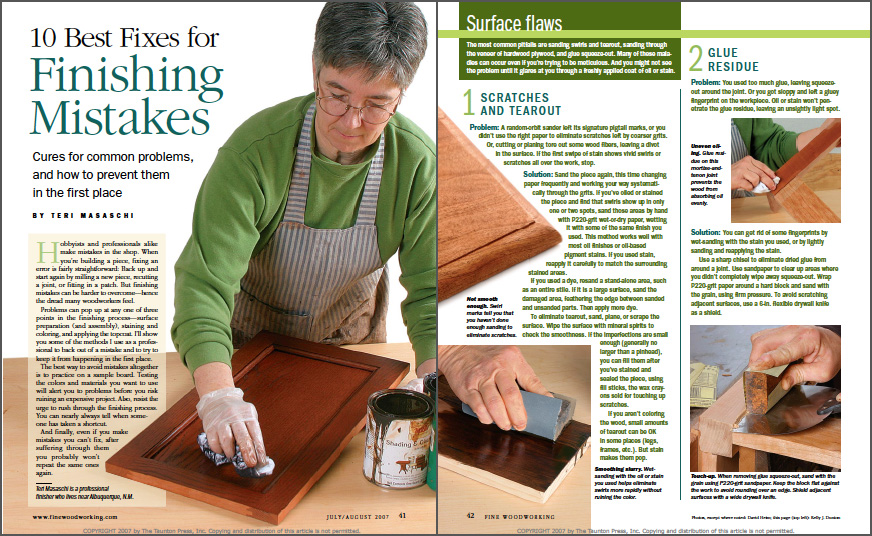
From Fine Woodworking #192
To view the entire article, please click the View PDF button below.
Fine Woodworking Recommended Products

Bahco 6-Inch Card Scraper

Odie's Oil

Bumblechutes Bee’Nooba Wax


Log in or create an account to post a comment.
Sign up Log in