A Spit-Shine Wax Finish
This polishing technique gives you a glass-like surface that is easy to repair.
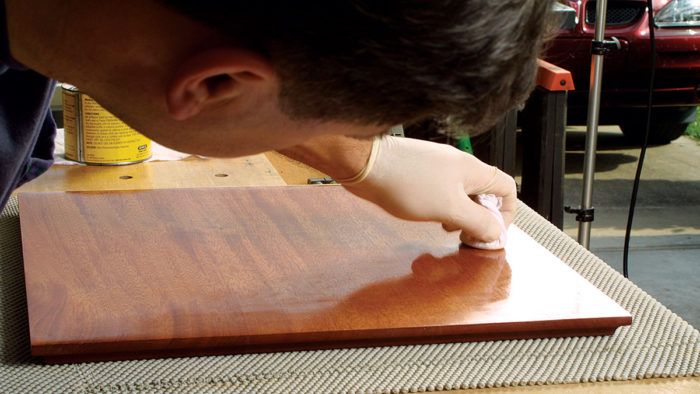
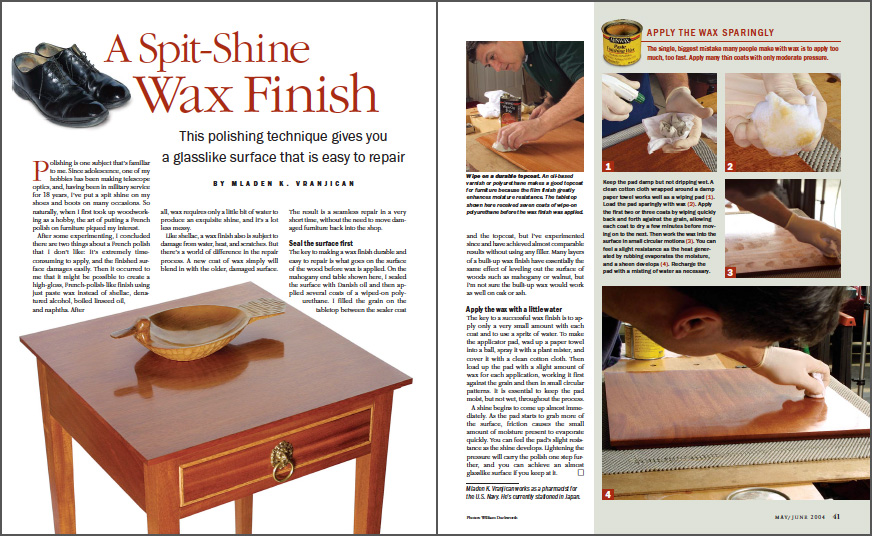
Synopsis: Try this method for adding a wax finish to furniture as an alternative to the traditional shellac-based French Polish. Hobbyist woodworker Mladen K. Vranjican details his technique for creating a reflective polished finish on a mahogany table, first by sealing the surface with Danish oil and polyurethane, then by hand-rubbing the surface with paste wax and water. His four-step application method is simple and makes for easy repairs down the road.
Polishing is one subject that’s familiar to me. Since adolescence, one of my hobbies has been making telescope optics, and, having been in military service for 18 years, I’ve put a spit shine on my shoes and boots on many occasions. So naturally, when I first took up woodworking as a hobby, the art of putting a French polish on furniture piqued my interest.
After some experimenting, I concluded there are two things about a French polish that I don’t like: It’s extremely time-consuming to apply, and the finished surface damages easily. Then it occurred to me that it might be possible to create a high-gloss, French-polish-like finish using just paste wax instead of shellac, denatured alcohol, boiled linseed oil, and naphtha. After all, wax requires only a little bit of water to produce an exquisite shine, and it’s a lot less messy.
Like shellac, a wax finish also is subject to damage from water, heat, and scratches. But there’s a world of difference in the repair process. A new coat of wax simply will blend in with the older, damaged surface. The result is a seamless repair in a very short time, without the need to move damaged furniture back into the shop.
Seal the surface first
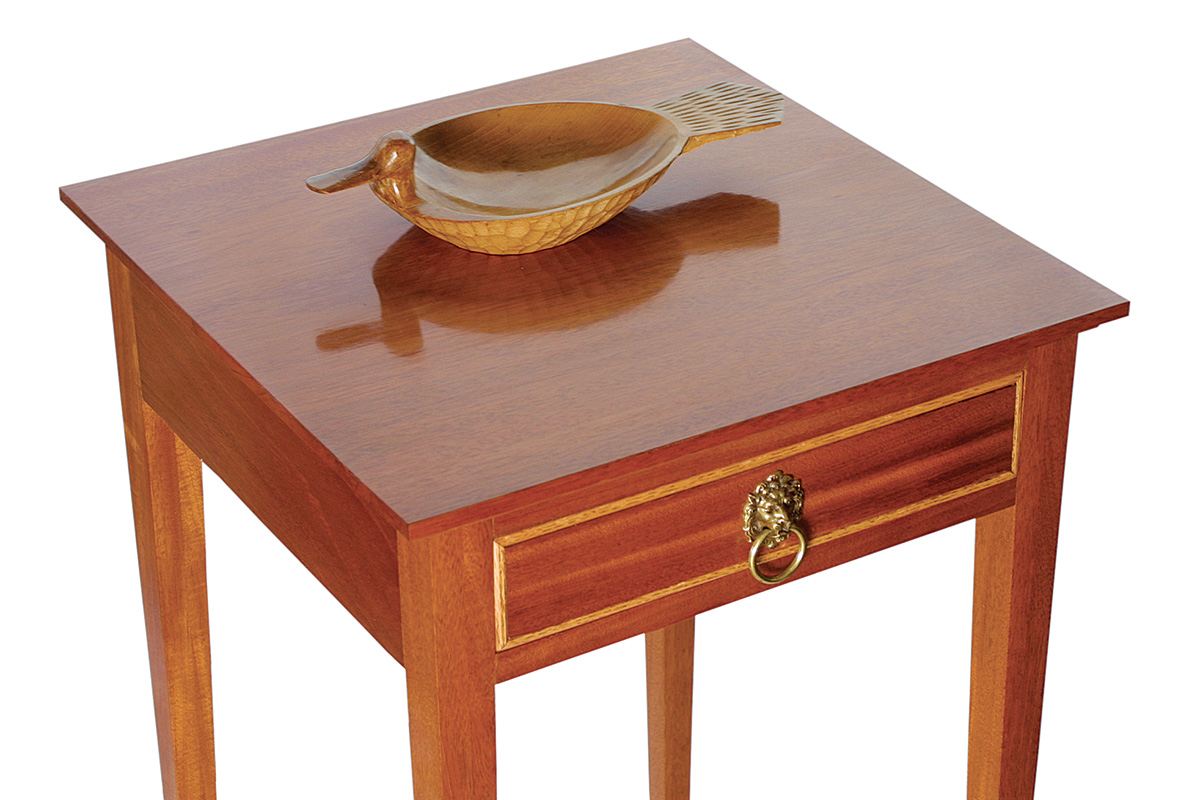
The key to making a wax finish durable and easy to repair is what goes on the surface of the wood before wax is applied. On the mahogany end table shown here, I sealed the surface with Danish oil and then applied several coats of a wiped-on polyurethane. I filled the grain on the tabletop between the sealer coat and the topcoat, but I’ve experimented since and have achieved almost comparable results without using any filler. Many layers of a built-up wax finish have essentially the same effect of leveling out the surface of woods such as mahogany or walnut, but I’m not sure the built-up wax would work as well on oak or ash.
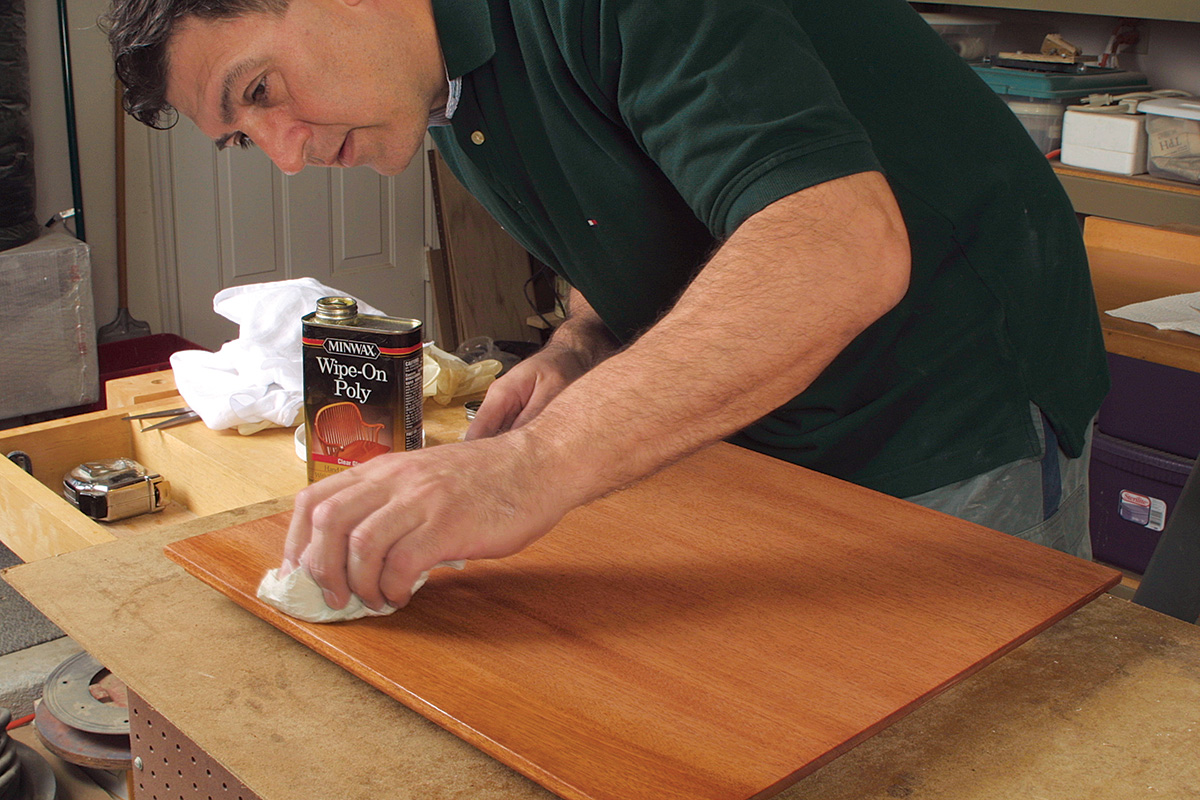
Apply the wax with a little water
The key to a successful wax finish is to apply only a very small amount with each coat and to use a spritz of water. To make the applicator pad, wad up a paper towel into a ball, spray it with a plant mister, and cover it with a clean cotton cloth. Then load up the pad with a slight amount of wax for each application, working it first against the grain and then in small circular patterns. It is essential to keep the pad moist, but not wet, throughout the process.
A shine begins to come up almost immediately. As the pad starts to grab more of the surface, friction causes the small amount of moisture present to evaporate quickly. You can feel the pad’s slight resistance as the shine develops. Lightening the pressure will carry the polish one step further, and you can achieve an almost glasslike surface if you keep at it.
From Fine Woodworking #170
To view the entire article, please click the View PDF button below.
Fine Woodworking Recommended Products
Bumblechutes Bee’Nooba Wax
Osmo Polyx-Oil



Log in or create an account to post a comment.
Sign up Log in