An Easy, Durable Finish
All you need is spar varnish, sandpaper, and lots of clean rags.

I wasn’t asking for much: I wanted a finish with a rich, hand-rubbed luster, neither too glossy nor too dull, that illuminates rather than hides the grain—one that would offer real protection from moisture and sunlight and yet still feel like wood, not plastic. I also wanted a finish I could apply quickly and easily, and something I could use right out of the can. And it would be awfully nice if it smelled good. That isn’t too much to ask of a finish, is it?
The answer turned out to be rather simple: high-gloss spar varnish, turpentine, wet-or-dry sandpaper in various grits, a few rags and a bit of elbow grease. Simply rubbing plain gloss varnish into the raw wood provided the protection, sheen, feel and ease of application I was looking for.
Start with a well-prepared surface
The key is to scrape, plane or sand each of the pieces of your project before you assemble it. Even if you have to touch up the sanding after final assembly, this step will save lots of time.
During the building process I sand by machine (belt sander, 120 grit), then sand by hand with a wood sanding block padded with felt. The sanding sequence will depend, in part, on the type of wood. On hard maple, for example, use 100 grit, then 120, 150 and finally 220 grit. With mahogany and its much more open grain, stop dry-sanding at 150 grit. Be sure to change sandpaper frequently.
Make sure the surface is clean by using a vacuum to pull out the sanding grit from the pores of the wood. Don’t worry if the surface is less smooth than what you normally shoot for. The sanding doesn’t stop when the finishing begins. I wet-sand with finer and finer grits during the application of the finish itself.
Materials are easy to obtain
The heart of my finish is a high-gloss spar varnish, which has several advantages: Unlike plain oils, it hardens overnight; it’s readily available; and it has much greater clarity than semigloss or satin finishes, whose additives not only dull the finish but also cloud the grain. Spar varnish also contains ultraviolet protection that will help keep the wood from fading or yellowing. I’ve used this varnish for years on boats, protecting the wood from salt water and abuse, so I know it provides the tough tabletop film I’m looking for. As an added bonus, this finish is quite easy to renew by scuff-sanding with 220-grit paper and simply wiping on an additional coat of varnish if the surface ever needs it. In addition, this finishing method will also work with other types of varnish, urethanes and even some finishing oils.
Though it’s counterintuitive, gloss varnish does not produce a glossy surface when it’s rubbed on. Because you’re wiping off any excess varnish, not letting it stand on the surface, it doesn’t get a chance to build up to its normal gloss.
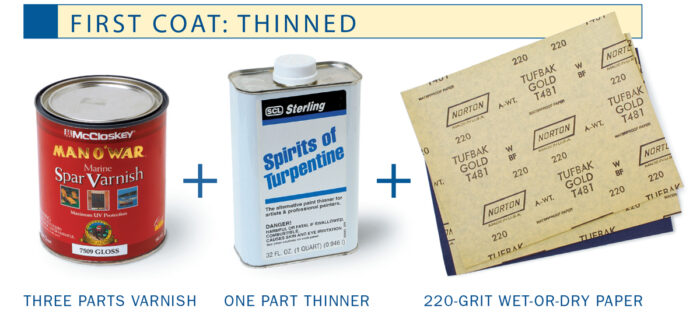
To thin the varnish for the initial coat, I like to use natural turpentine instead of paint thinner, simply because it smells good. As a general rule, thin a finish with whatever the label suggests for cleanup.
You will need a few sheets of 220-, 320-, 400- and 600-grit wet-or-dry sandpaper for sanding in the varnish. For dry-sanding between coats, use open-coat, self-lubricating 320-grit paper. A box of soft cotton rags from the paint store ensures that you won’t run out of clean rags just when you need one. Lastly, disposable gloves are essential. Not only will they protect your skin from solvents, but they also make the job a lot less messy.
Application is straightforward
Before starting, spread out a plastic sheet to contain drips and spills. This is also a good time to change into an old shirt and pants. (I might even follow my own advice about this one of these days.) Pour a small amount of varnish into a container using a piece of nylon panty hose as a strainer. Thin with one part turpentine to about three parts varnish. The first coat saturates the wood more effectively if it is thinned down a bit.
Wearing gloves, quickly flood the entire surface on all sides until it’s completely coated, adding more varnish as needed. It’s important to cover the piece completely, not in sections. Working on a small area at a time may leave a line where different areas of finish overlap.
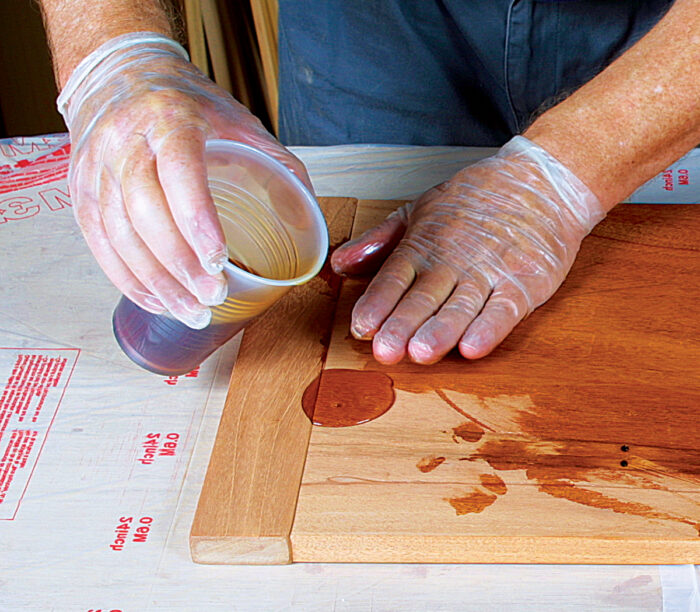
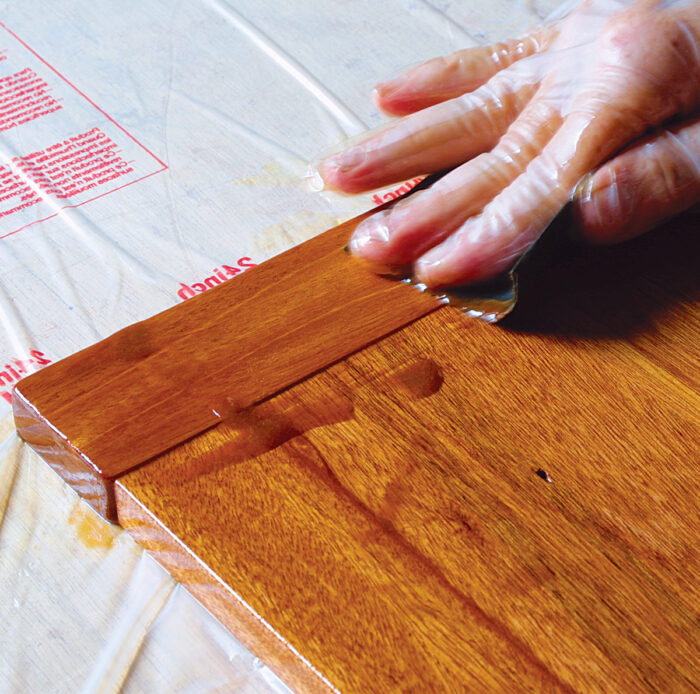
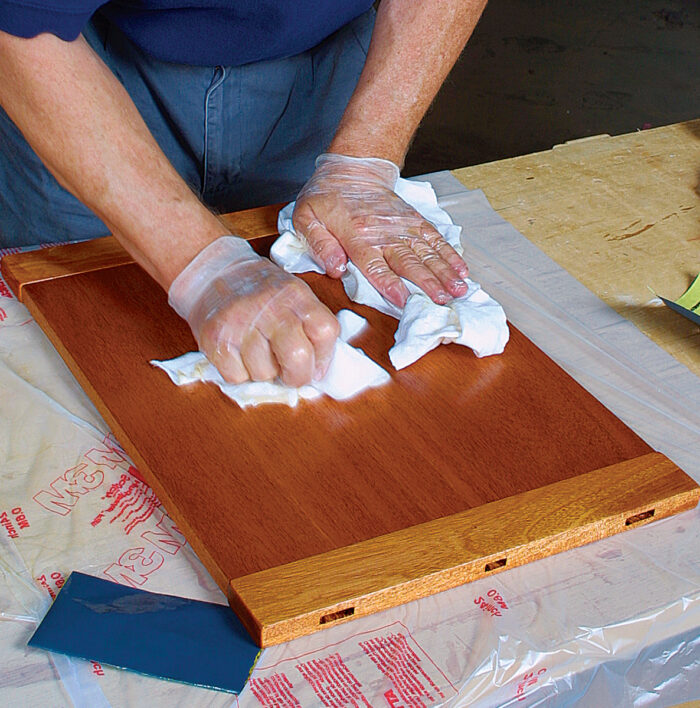
Sand the wet varnish into the wood using 220-grit wet-or-dry paper. Sand with the grain until you produce a slurry. This helps fill the pores of open-grained woods, such as mahogany or oak, and the color match is perfect. While the varnish is still wet, wipe with a soft cotton rag to remove any varnish that has not soaked into the wood. When removing the excess varnish, there’s a point at which the varnish gets quite sticky and difficult to wipe. Working on something like a large tabletop might require a helper. Rub across the grain to avoid pulling the slurry out of the wood pores. Be sure to spread out the oil-soaked rags to dry before disposing of them, to avoid the danger of the rags spontaneously igniting
Buff with a fresh cloth until the surface is slick and smooth. Polish the piece every half hour or so to make sure no wet spots emerge on the surface. Joints, such as on the breadboard ends of a tabletop, will absorb excess varnish, which will gradually seep out after the rest of the surface has dried. To avoid this, I blast the joint with compressed air, forcing the surplus varnish out of the gap.
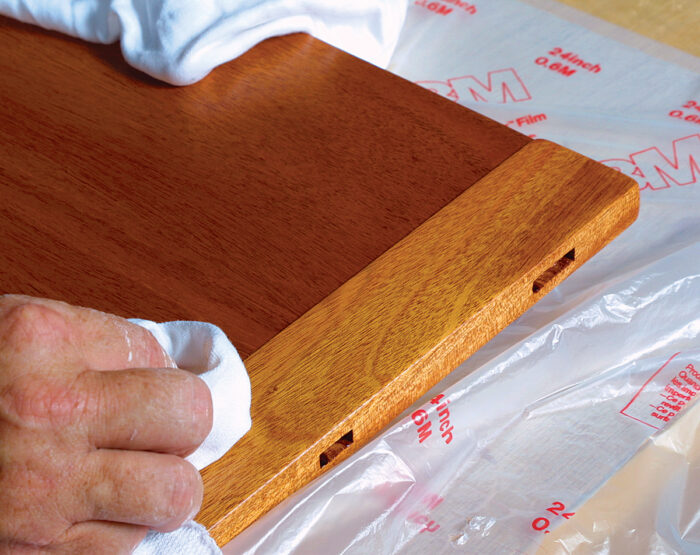
areas.
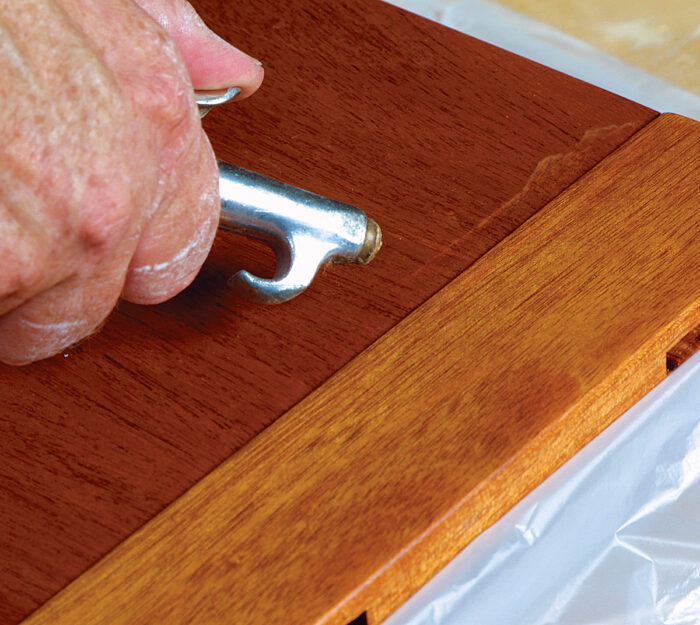
Let the piece sit at room temperature overnight. You can carry on working in the shop because it doesn’t matter if dust lands on the piece, but it is a good idea to ensure adequate ventilation to avoid a concentration of fumes. The next morning the surface should feel smooth and dry. Lightly dry-sand it with 320-grit nonloading, or stearated, paper. Use a felt-padded block, and sand with the grain. Clean the surface with a vacuum or compressed air.
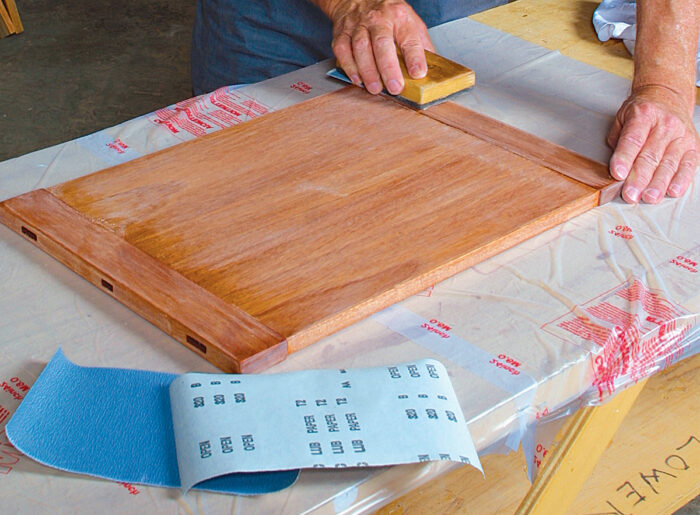
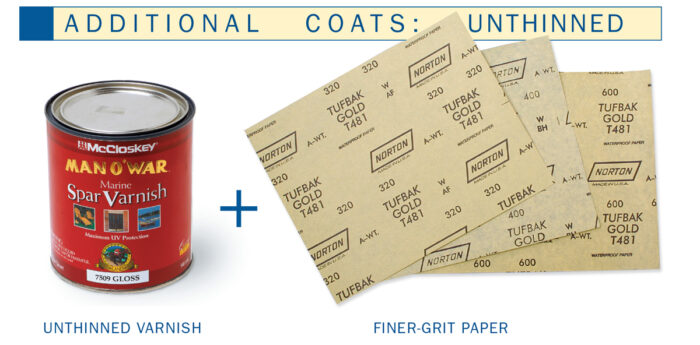
Apply a flood coat of unthinned varnish and use 320-grit wet-or-dry paper to sand the varnish into the surface. Wipe and buff the excess varnish as before.
Repeat this process each day; wet-sanding with finer and finer grits until you have at least three coats. Additional coats will produce slightly more luster. Some folks like to wax the surface when it’s dry, but I prefer to leave it unwaxed, because it’s easier to recoat should the surface become damaged over time.
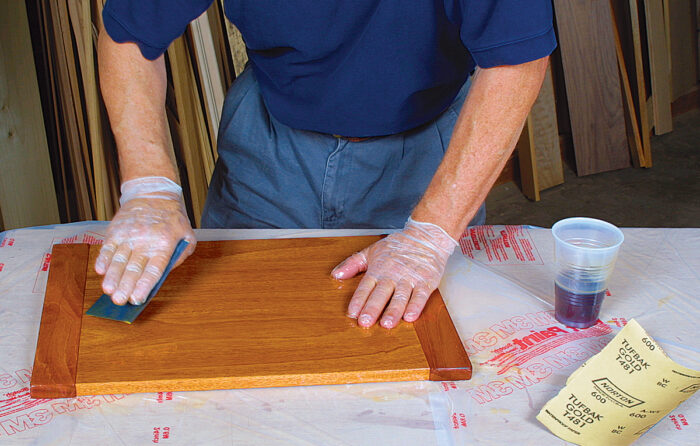
600-grit paper to create a very smooth surface.
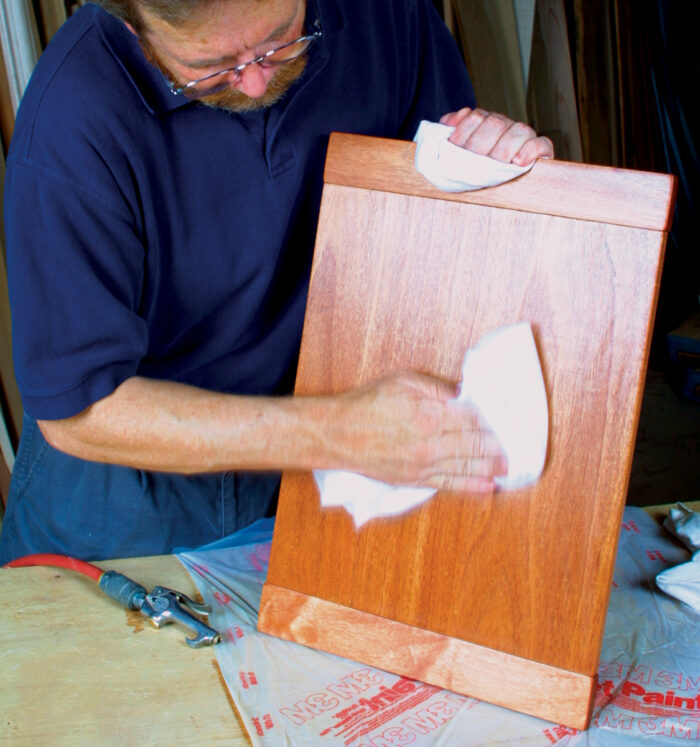
cotton rag.
I haven’t yet been tempted to throw away either my spray guns or my badger-hair brushes, but after using this finishing process on several projects, I can’t remember the last time I used those tools. This simple technique meets all of my criteria for an ideal finish and produces very consistent results, all without a large investment in equipment.
 From Fine Woodworking #154
For the full article, download the PDF below:
Fine Woodworking Recommended Products

Olfa Knife
Double Sided Tape

Dividers


Log in or create an account to post a comment.
Sign up Log in