Antique Finish that Holds Nothing Back
Step-by-step instructions for turning your reproduction into a period masterpiece.
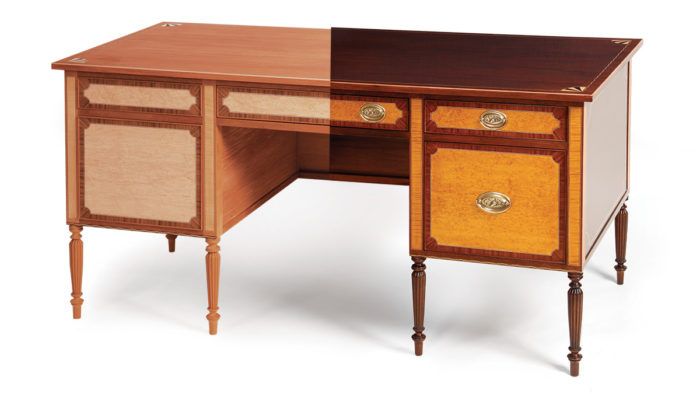
Synopsis: Learn the five classic steps to creating a period patina on your furniture reproduction, as taught by a master: choosing and using dyes, filling open-pored woods, adding depth to the color with a glaze, applying a clear topcoat, and using surface tricks to age a piece. When you are months into a reproduction and want to learn the perfect finish to turn that project into an heirloom, this is the definitive, step-by-step guide.
Building any reproduction involves a great deal of time, effort, and expense, so when the last drawer is fitted you might be tempted to apply the finish as quickly as possible. After all, you’ve put a lot of hours into the piece and you just want it done. You might also be afraid that anything more than the simplest of finishes could ruin all your hard work.
However, just as your cabinetmaking skills have progressed from butt joints and basic boxes to dovetails and desks, so you should expand your finishing horizons beyond wiping on oil. Finishing is no harder than woodworking, just a different skill set.
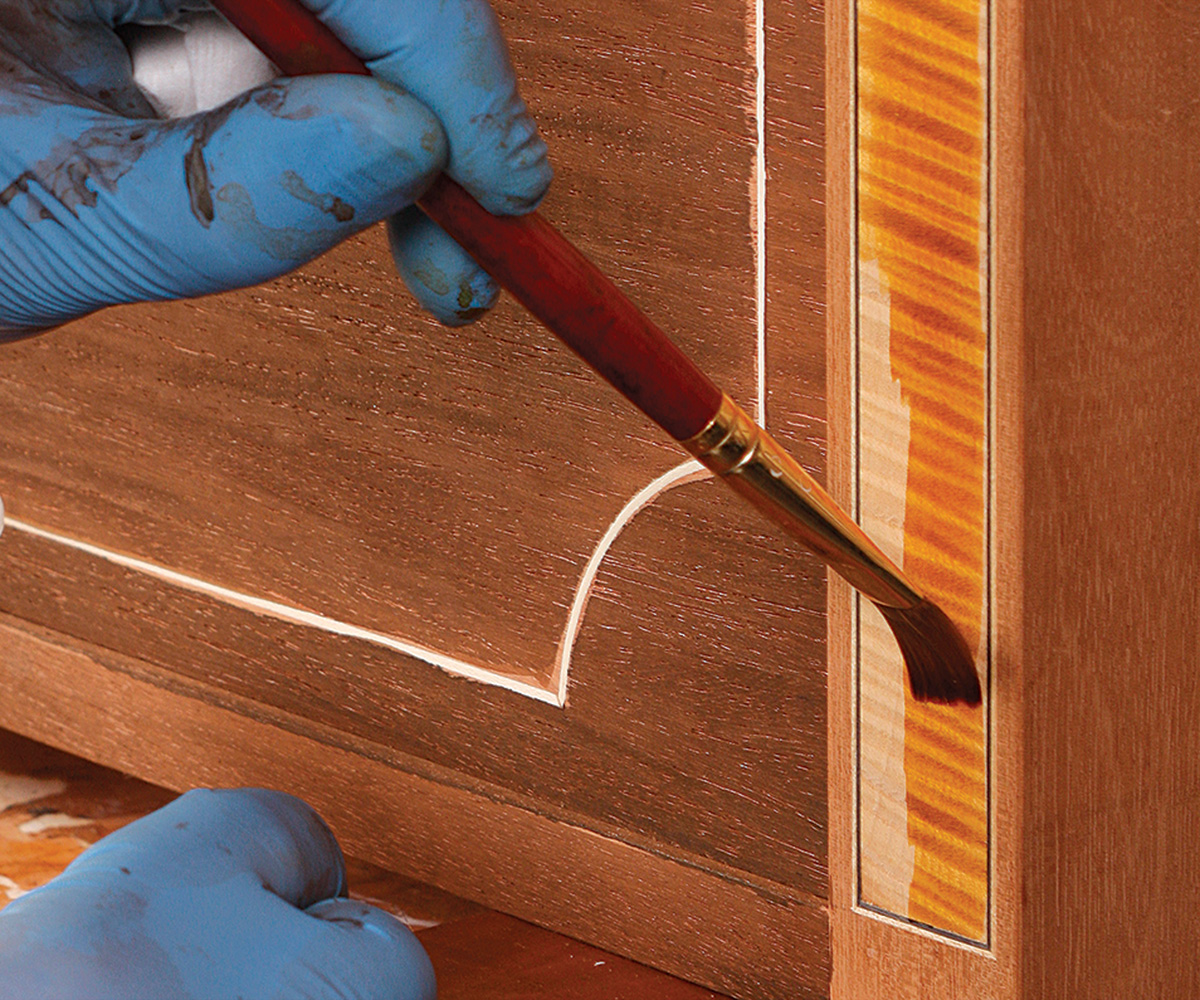
I’ll show you how to imitate a century or three of use and age to form that unique surface known as a patina. It involves choosing and using dyes, filling open-pored woods, adding depth to the color with a glaze, applying a clear topcoat, and using surface tricks to age a piece. Unquestionably, it takes longer than applying a wipe-on varnish, but when you are already months into an heirloom project, what’s a couple of weeks more? Give your reproduction the finish it deserves, one that creates a wow factor each time someone sets eyes on it.
Practice and experiment—but not on the piece
Start by looking at finishes that you’d like to replicate. This is similar to getting ideas when you design a piece. Look at books, magazines, auction catalogs, and websites and see what colors and finishes please you.
Once you’ve settled on the look you want, see where you’re starting from. Take the sample boards from each part of the piece and wet them with a solvent to see the base color of the wood. You can use alcohol for a quick preview or slower-drying mineral spirits for a longer study.
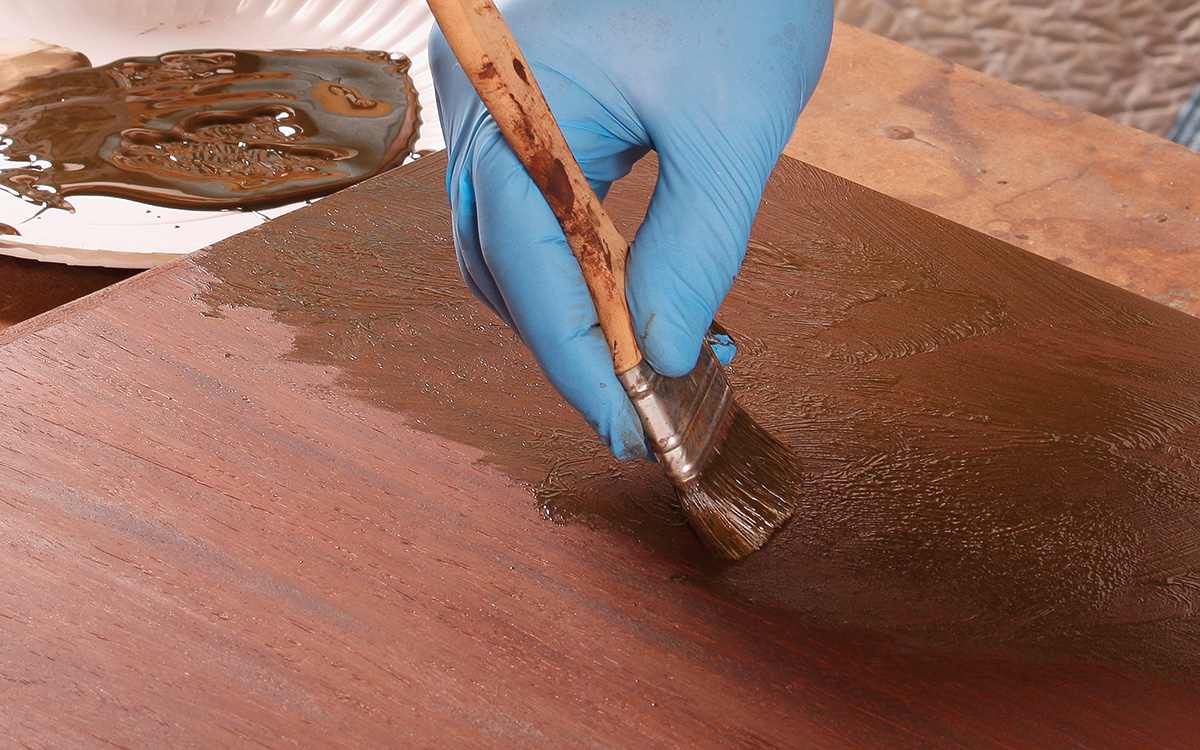
On this Federal desk, built by FWW Managing Editor Mark Schofield, I wanted to darken the main veneer, which had a strong, pinkish-red base to it. On the first sample board, I applied Chippendale Red Brown dye (all the dye powders I used are water-soluble) and when it dried, applied several coats of shellac. This left the wood darker but still with too much red, so then I used Georgian Brown Mahogany instead. This cool, greenish-brown dye neutralized the base red to a more pleasing brown.
I also experimented on samples of the tiger maple on the legs and the bird’s-eye maple drawer fronts before settling on a combination of colors.
Sand the whole piece but seal it selectively
It’s better to spend a little extra time fine-tuning the surface than to discover flaws after you start applying the dyes. After a final hand-sanding with P180-grit paper, I remove the dust and wipe the surface with alcohol. This reveals any areas with glue residue that require a little extra sanding.
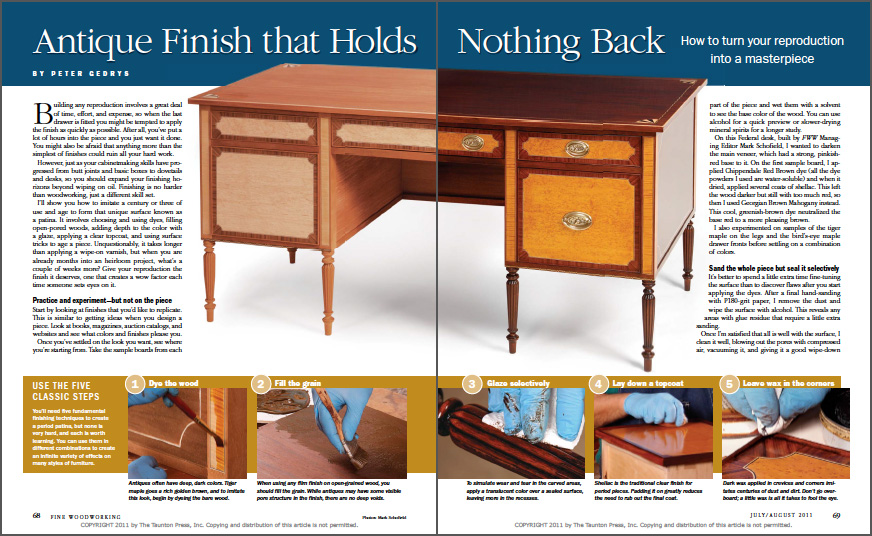
From Fine Woodworking #220
To view the entire article, please click the View PDF button below.
Fine Woodworking Recommended Products
Foam Brushes

Diablo ‘SandNet’ Sanding Discs

Bahco 6-Inch Card Scraper


Log in or create an account to post a comment.
Sign up Log in