Tom McLaughlin’s Arts and Crafts Finish
Thin layers of dye, glazes, and sealers create an aged Arts and Crafts look.
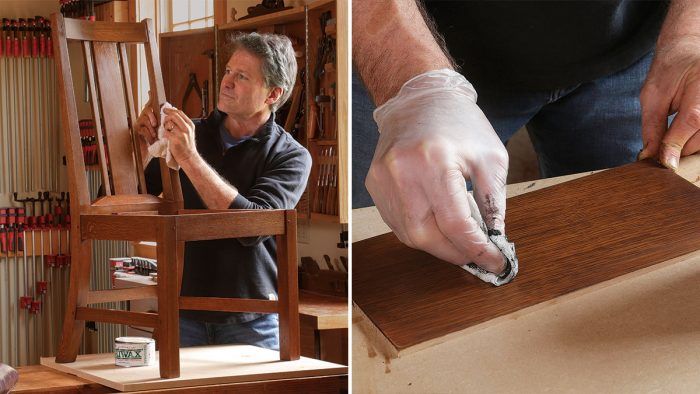
Synopsis: An aged Arts and Crafts finish is a thing of true beauty, but you don’t have to wait for the passage of time to capture this kind of patina. You can come pretty close with thin layers of dye, glazes, and sealers, as Tom McLaughlin demonstrates.
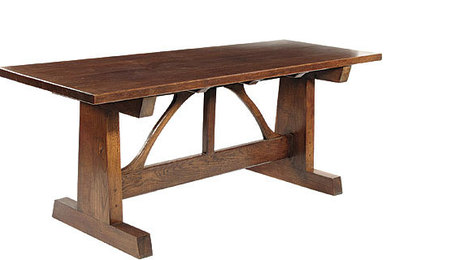
It’s hard to overstate how well an Arts and Crafts finish ages on white oak. With time and use, the rich browns, soft ambers, and dark highlights are all deepened and warmed. But you don’t need the passage of decades to capture this patina. While it’s admittedly nearly impossible to re-create the honest effects of time on a finish, it is possible to come surprisingly close to the same beauty and complexity.
A traditional method is to fume the oak with ammonia, but this can be hazardous to your health and give uneven results. So I take a different route, instead applying thin layers of dye, glazes, and sealers to create the signature depth and character. This article explains what products to use, when to use them, and in what proportions. While it’s a time-tested method, it’s still susceptible to the usual variables of finishing. So I recommend making a sample board to preview your results— another time-tested method. Because you’ll be mixing and applying the finish in stages, checking each step on a sample board before using it on your actual piece of furniture is an easy way to ensure you get the finish you want.

Aniline dye sets the tone
Simulating the natural effects of time and use on white oak means starting from the bottom, beginning with a dye to darken the wood.
To prep the stock, sand to 220 grit. Then, since the dye is water-based, you’ll need to raise the grain. For this, simply dampen the surface with a rag, no need to soak it. When the piece is dry, lightly sand it with fine-grit paper to remove the raised wood fibers.
Watch Tom build a Craftsman
dining chair in an episode of
Classic Wooodworking
Next is a walnut-colored dye, which darkens the wood without leaving muddy pigments on the surface. I prefer a light concentration—1/2 teaspoon of dye powder stirred into 16 oz. of hot water—since it’s easier to control. For a darker Craftsman finish, though, use 1 teaspoon of powder.
From Fine Woodworking #278
To view the entire article, please click the View PDF button below.
 |
|
 |
|
 |
Fine Woodworking Recommended Products
Odie's Oil

Bahco 6-Inch Card Scraper
Waterlox Original


Comments
I tried this finish on some Morris chairs, and the Aniline dye faded within a year, leaving behind a muddy walnut stain. Is there any way to make this finish less light-sensitive?
Is there a dry time after applying the glazes prior to sealing with the blond shellac?
I love your work Tom, and you make this finish work. That's for sure. But this finishing schedule is ridiculous! It's basically Jeff Jewitt's recipe (which is extremely laborious already) but you added an extra glaze coat and 1-2 extra seal coat steps. Finish sanding an entire piece of furniture, then wetting it down just to sand it again... Arghhh! Then you still have to wax it? You're killing me man.
I've switched to a home brew of NGR dye. Basically you mix the dye (Transtint in my case) with a 50/50 mix of denatured alcohol and lacquer thinner. It doesn't raise the grain, so you can skip pre-raising the grain. Or better yet, I just use good 'ol oil based stain.
So to recap, you're killing me man.
Log in or create an account to post a comment.
Sign up Log in