The Best Finish for Mahogany
Choose a recipe and technique that takes advantage of mahogany's unique personality.

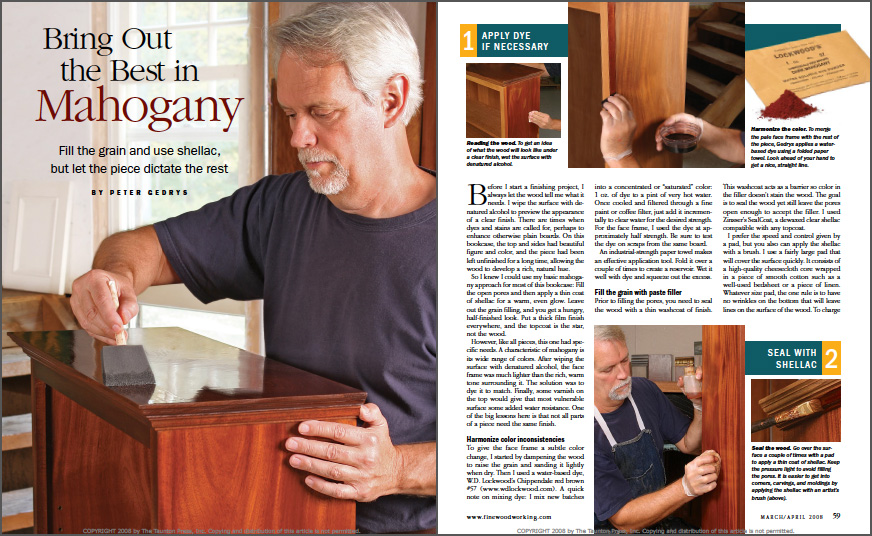
Synopsis: When planning the finish for this mahogany bookcase, Peter Gedrys knew that he had a diamond in the rough. The boards already had beautiful figure and color that had been allowed to age to a rich, natural tone. So his strategy was to keep things simple while enhancing and protecting the wood. These techniques can be adapted to almost any mahogany piece. The first step was to use dye to make sure all the parts had matching color. Next, he sealed the surface with shellac, then applied grain filler to fill the pores and ensure a smooth surface. A clear topcoat of shellac all over the piece was followed by a layer of varnish for extra protection on just the top surface. With wax as the finishing touch, the mahogany was revealed in all its luster.
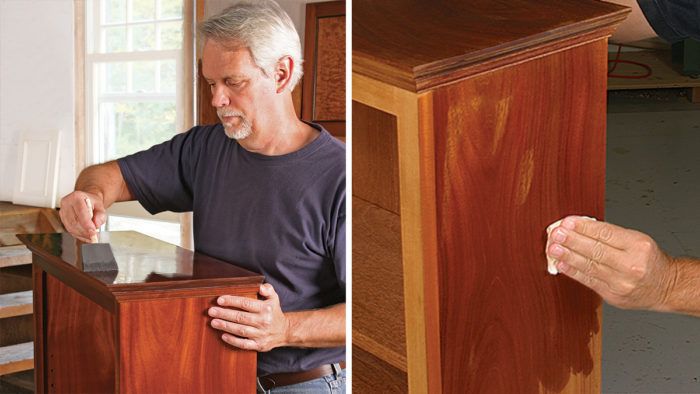
Before I start a finishing project, I always let the wood tell me what it needs. I wipe the surface with denatured alcohol to preview the appearance of a clear finish. There are times when dyes and stains are called for, perhaps to enhance otherwise plain boards. On this bookcase, the top and sides had beautiful figure and color, and the piece had been left unfinished for a long time, allowing the wood to develop a rich, natural hue.

So I knew I could use my basic mahogany approach for most of this bookcase: Fill the open pores and then apply a thin coat of shellac for a warm, even glow. Leave out the grain filling, and you get a hungry, half-finished look. Put a thick film finish everywhere, and the topcoat is the star, not the wood.
However, like all pieces, this one had specific needs. A characteristic of mahogany is its wide range of colors. After wiping the surface with denatured alcohol, the face frame was much lighter than the rich, warm tone surrounding it. The solution was to dye it to match. Finally, some varnish on the top would give that most vulnerable surface some added water resistance. One of the big lessons here is that not all parts of a piece need the same finish.
Harmonize color inconsistencies
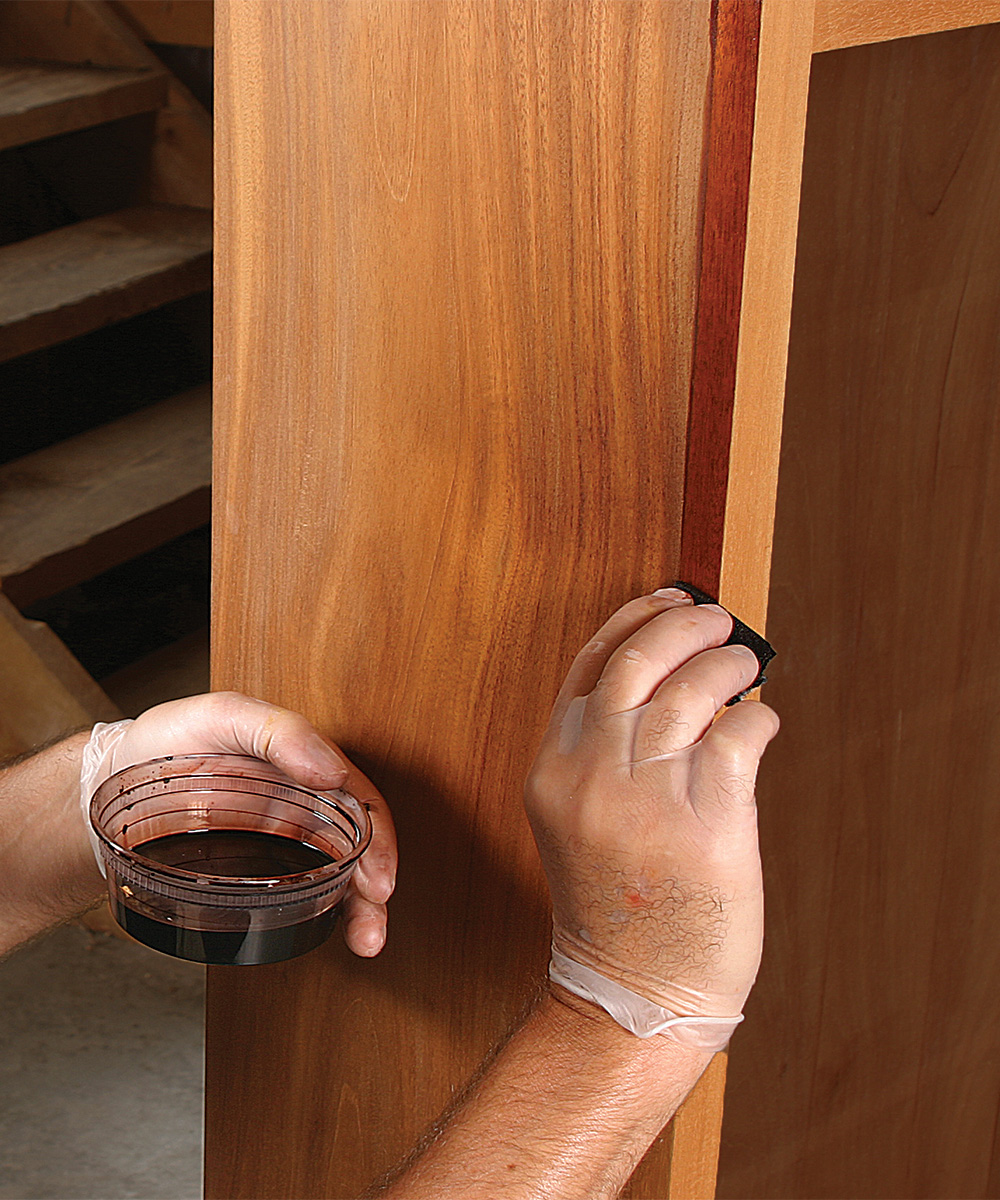
To give the face frame a subtle color change, I started by dampening the wood to raise the grain and sanding it lightly when dry. Then I used a water-based dye, W.D. Lockwood’s Chippendale red brown #57. A quick note on mixing dye: I mix new batches into a concentrated or “saturated” color: 1 oz. of dye to a pint of very hot water. Once cooled and filtered through a fine paint or coffee filter, just add it incrementally to clear water for the desired strength. For the face frame, I used the dye at approximately half strength. Be sure to test the dye on scraps from the same board.
An industrial-strength paper towel makes an effective application tool. Fold it over a couple of times to create a reservoir. Wet it well with dye and squeeze out the excess.

From Fine Woodworking #197
To view the entire article, please click the View PDF button below.
Fine Woodworking Recommended Products

Bahco 6-Inch Card Scraper

DeWalt 735X Planer

Bumblechutes Bee’Nooba Wax


Log in or create an account to post a comment.
Sign up Log in