Brushing Basics
Condition the bristles of the brush and then follow these foolproof tips to flow on a perfect finish.
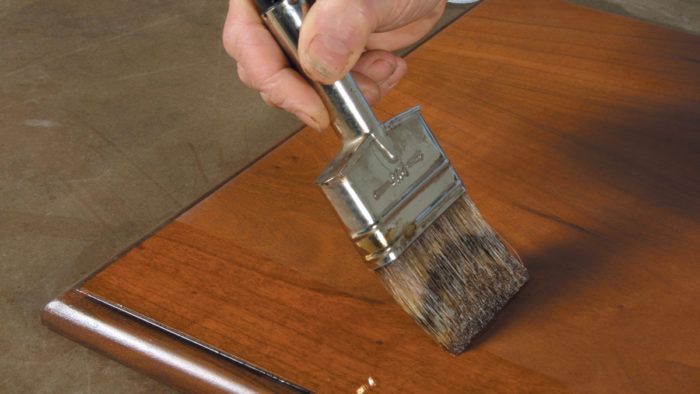
Preparing the Brush
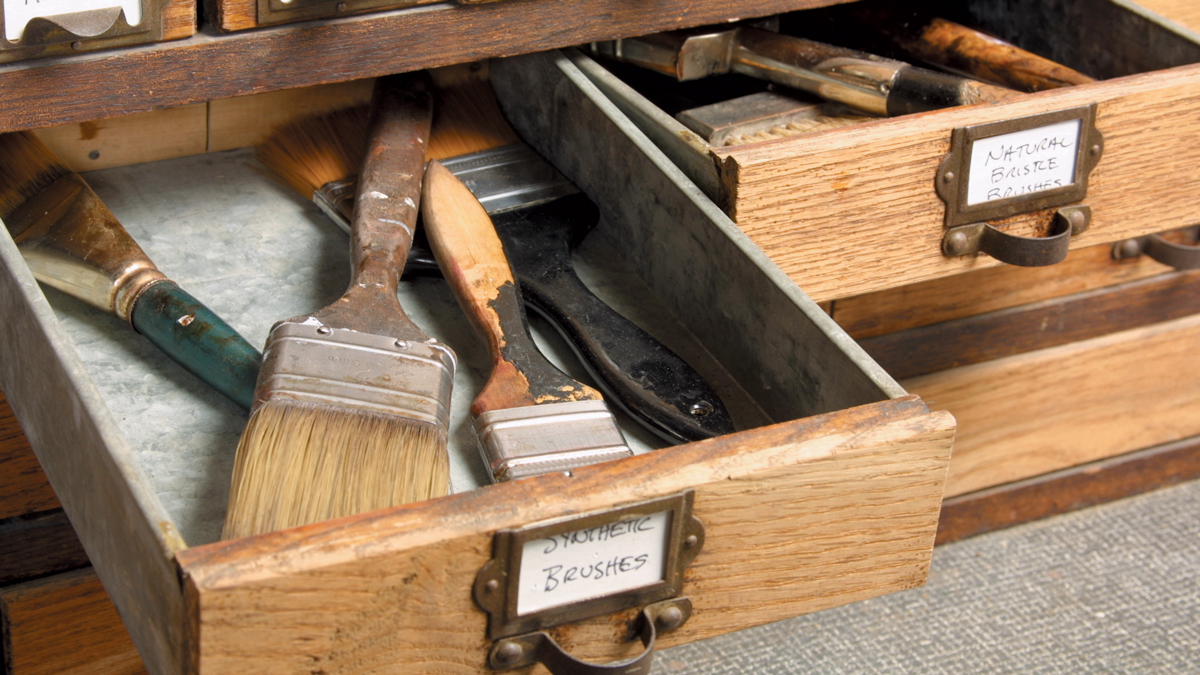
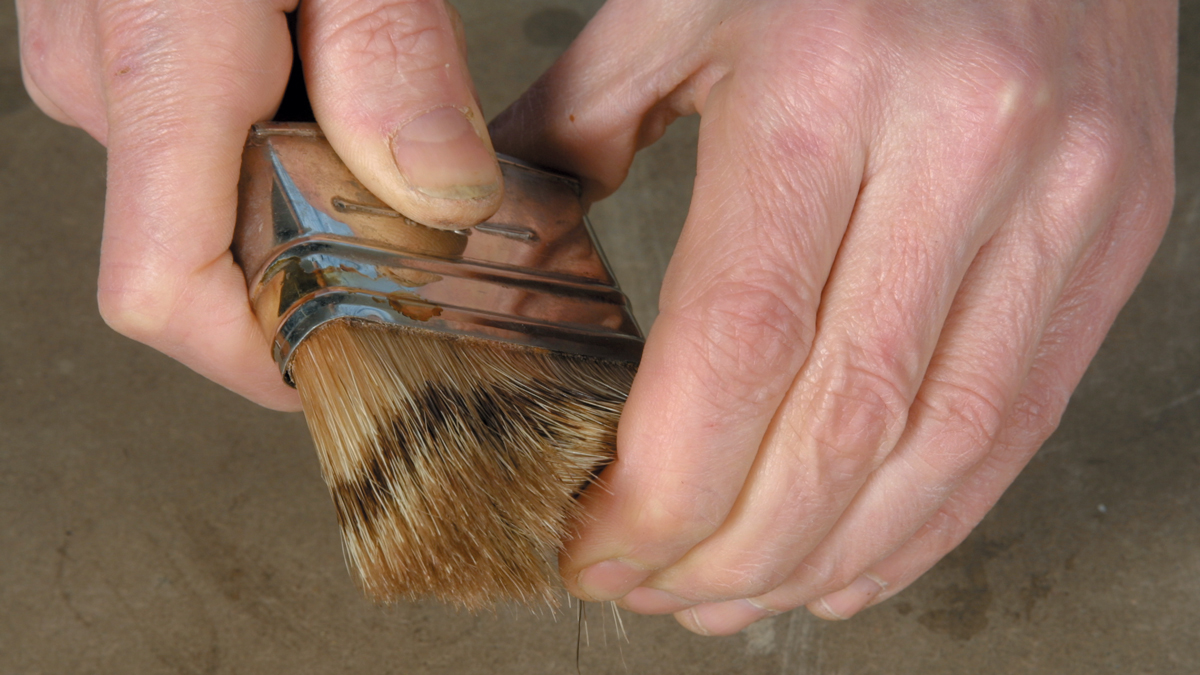
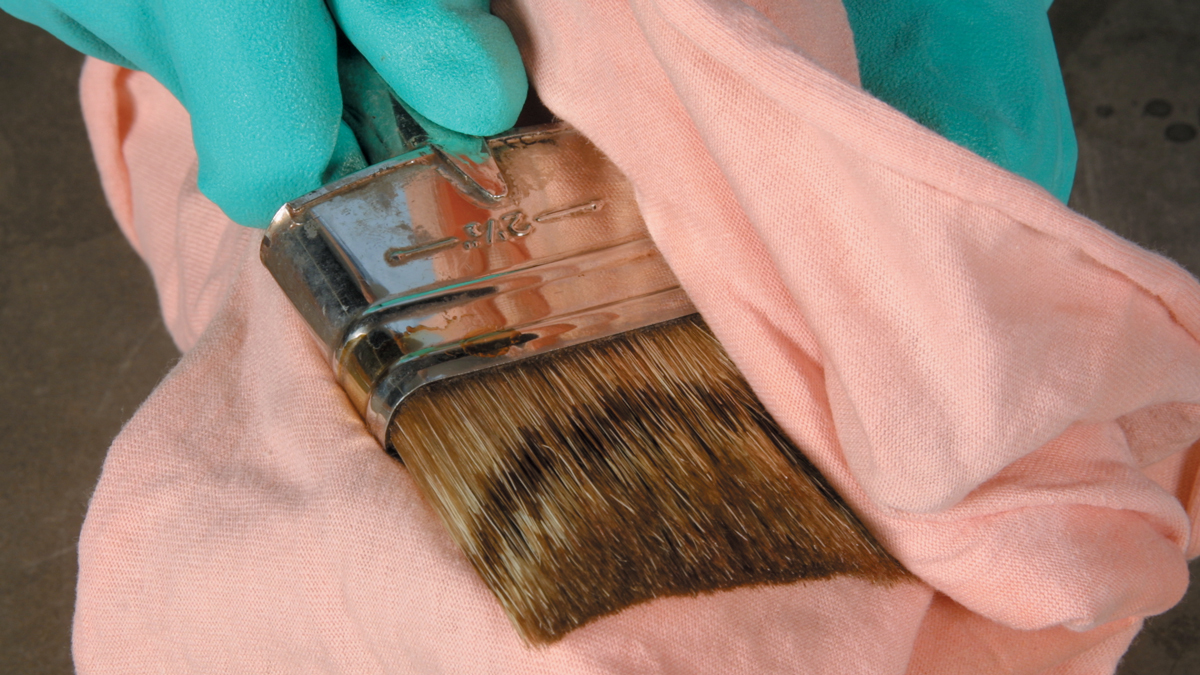
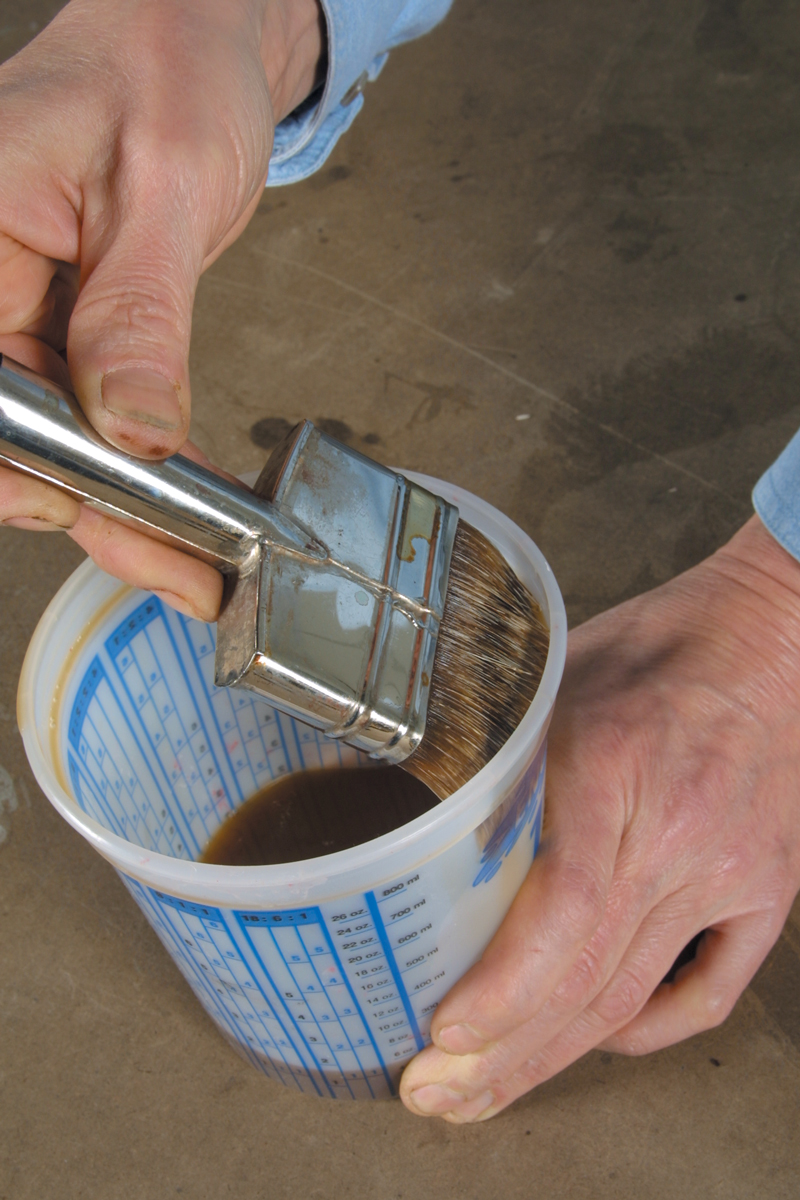
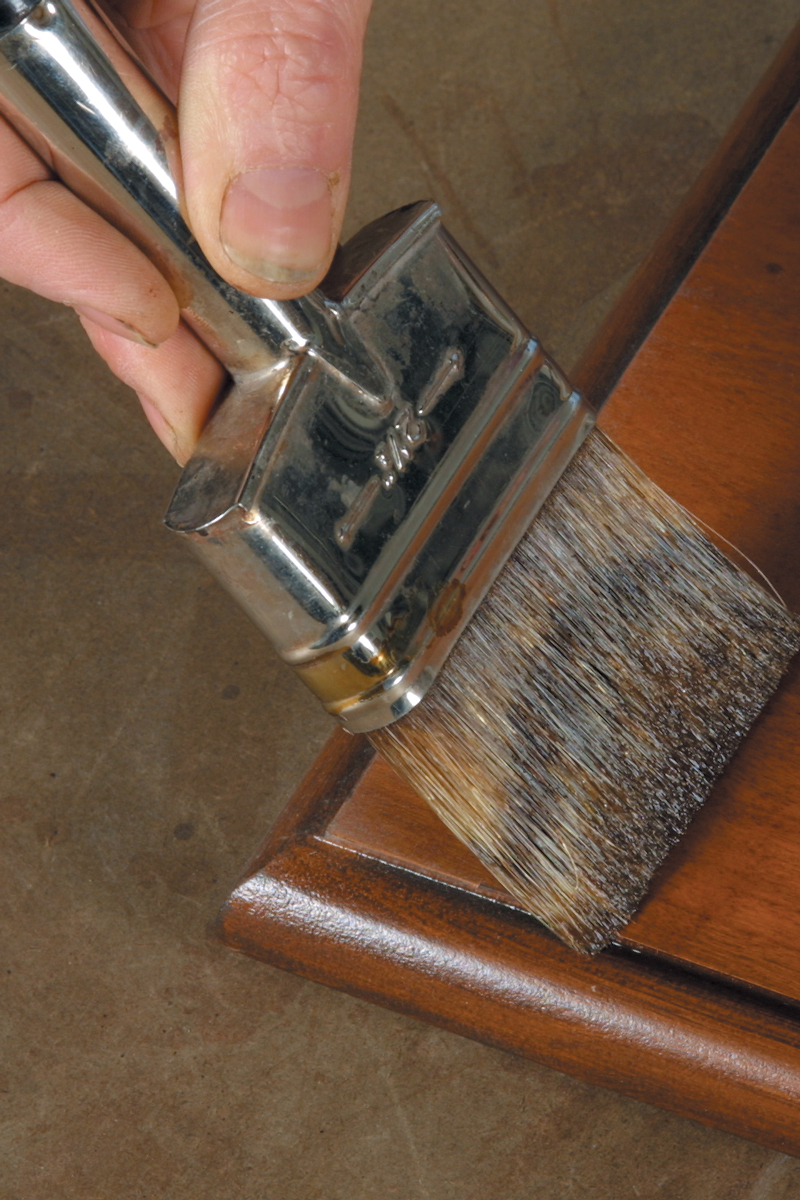
Brushing problems, such as debris in the finish and loose hairs, can be avoided by preparing the brush before you use it. The best preventive maintenance starts with storing brushes in drawers to protect them from sawdust and other airborne particles (A). Before you use a brush, flick the bristle ends back and forth to displace dust (B). Remove any loose hairs if they’re visible. Dunk the brush all the way up to the metal ferrule in the solvent used for thinning and cleaning the finish. Scrape the excess solvent off the brush by dragging it across the lip of the container, and then blot up the excess with a clean, dry cotton rag (C). This solvent dip conditions the bristles, makes the initial coats go on more smoothly, and makes the brush easier to clean later.
The Basic Brushstroke
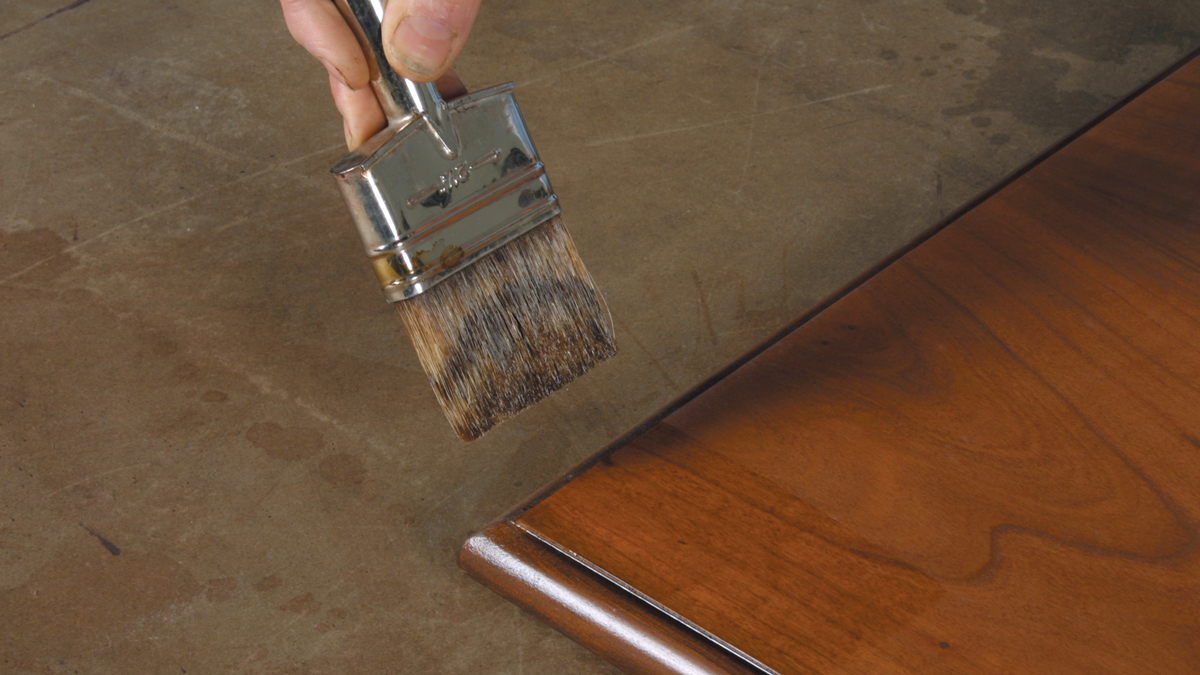
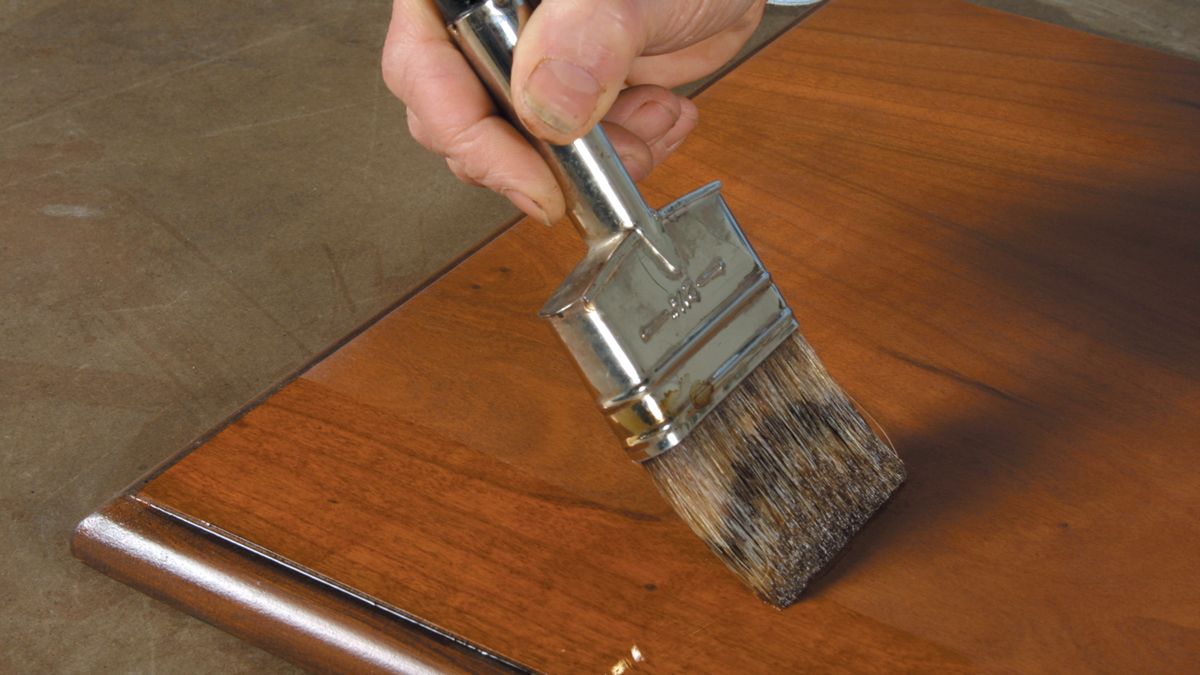
The basic brushstroke for tops or other flat, horizontal surfaces allows you to flow on a finish. Condition the bristles of the brush as described in the preceding essay, then dip the bristles to about half of their total length into a container filled with the finish. Gently squeeze off the excess against the sides of the container (A). Starting about 3 in. in from the edge (B), pull the brush lightly toward the edge and lift up at the end (C).
Come back to where you started, and brush to the opposite end to complete the pass (D). Duplicate the procedure, overlapping your strokes from 1⁄4 in. to 1⁄2 in. to complete (E). Try to work quickly to allow yourself enough time to “tip off” the finish afterward. This is done by holding the brush perpendicular to the board and lightly dragging it across the surface. Varnishes allow you a good deal of open time to come back and tip off, while fast-drying lacquers and shellac make it more difficult.
 |
 |
Brushing Shellac and Lacquer
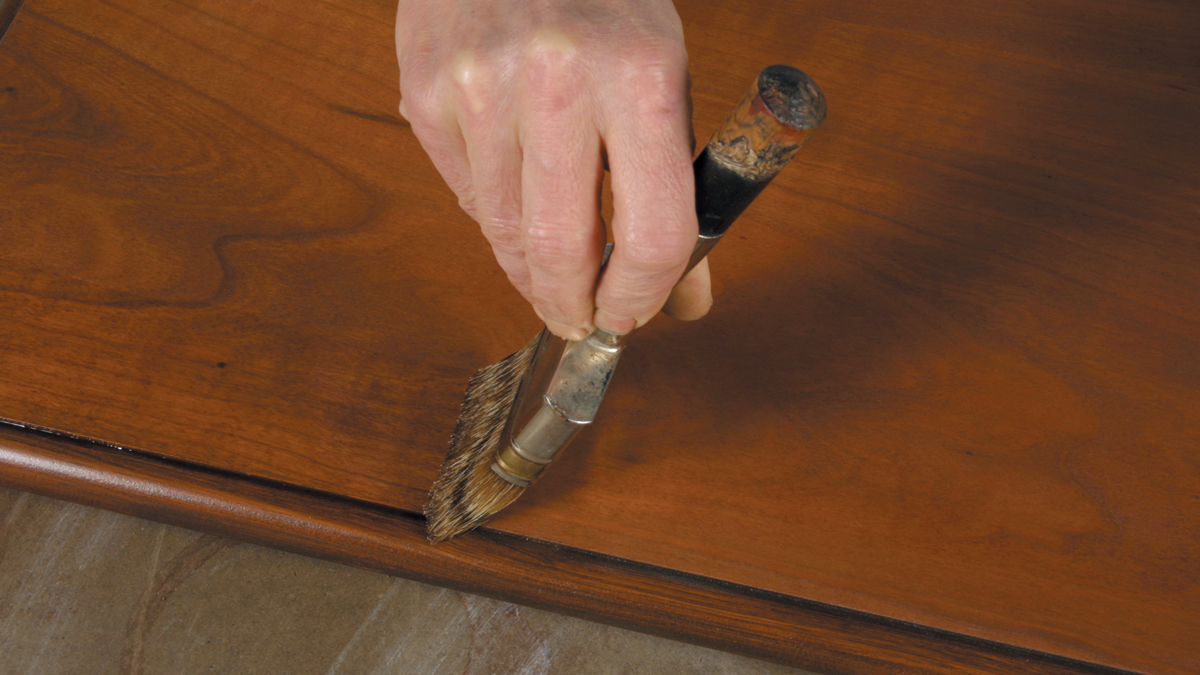
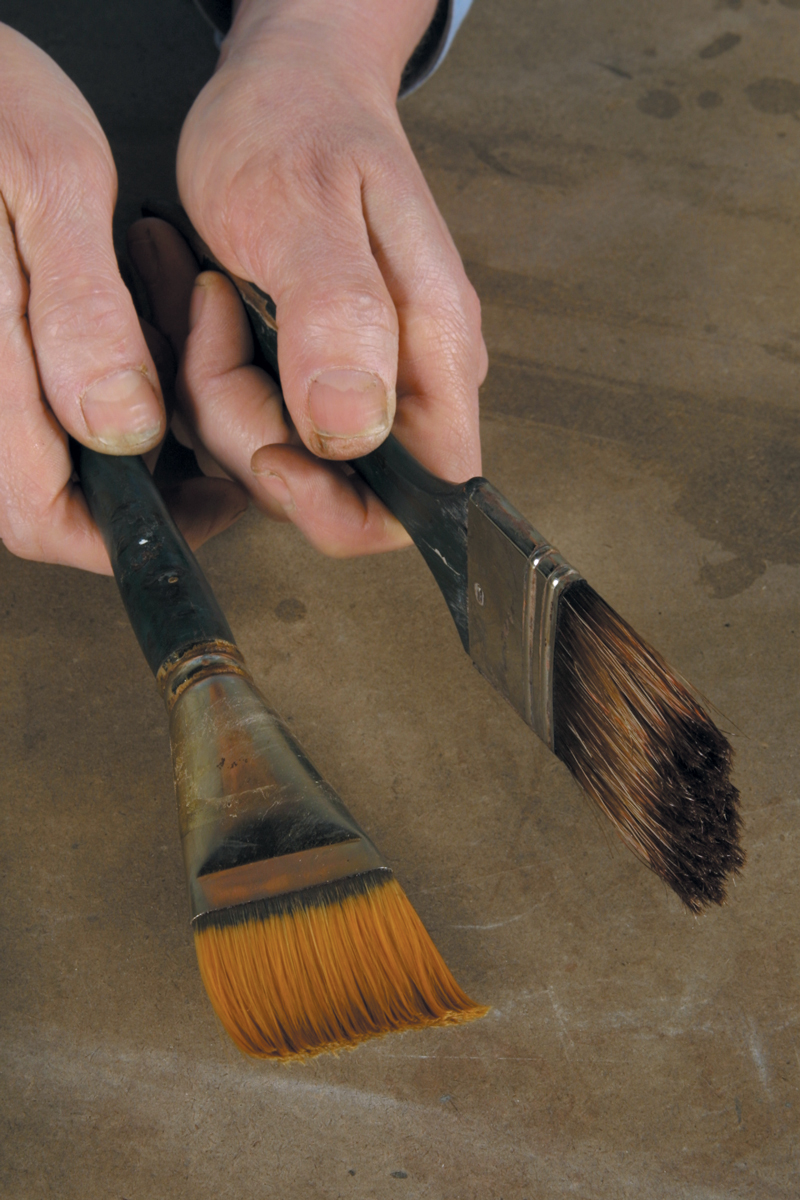
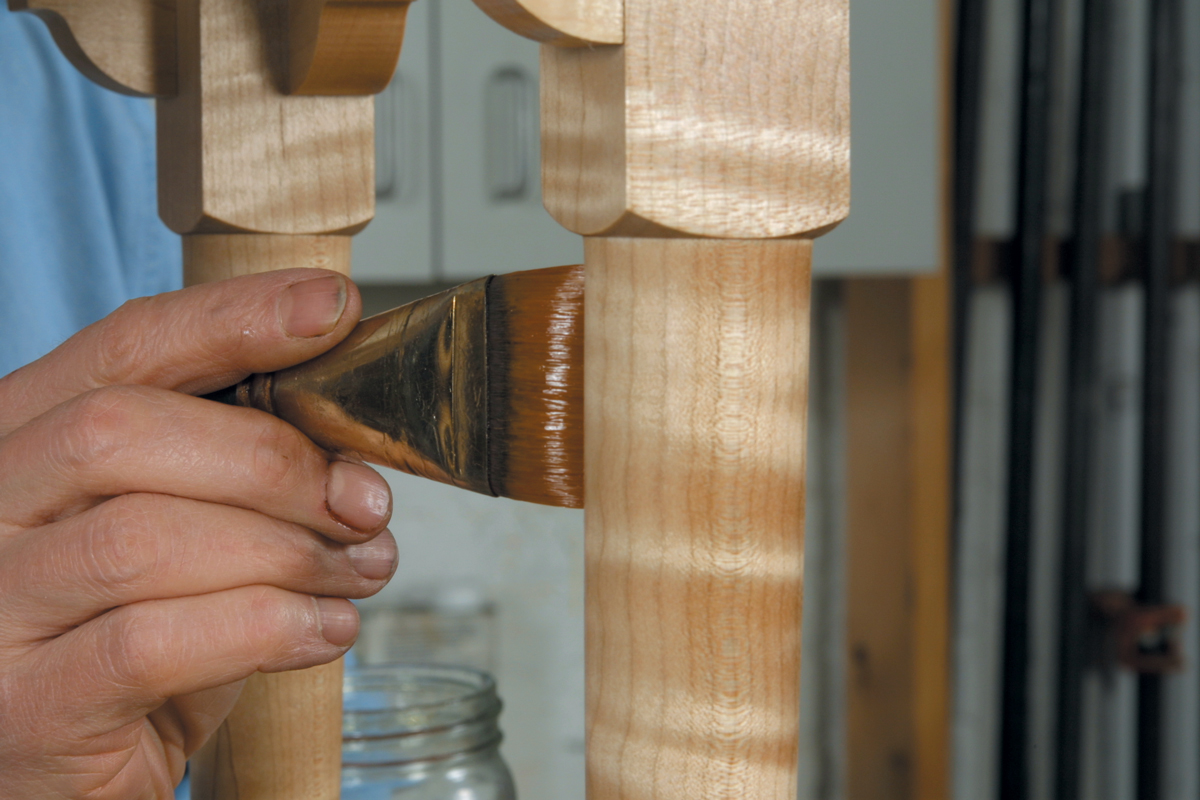
To lay down fast-drying finishes like lacquer and shellac, I like to use a technique that deposits a thinner, more quickly drying coat. When applying shellac, I use a 1-lb.-cut mixture. For lacquer, I use brushing lacquer thinned one-to-one with lacquer thinner. The best brushes for this technique are artist’s brushes that don’t have much bristle content, so they hold less finish (A). This means a smaller chance of depositing thicker amounts of finish when you start your brushstroke. Rather than flowing on a coat the width of the brush, you can work sections at a time.
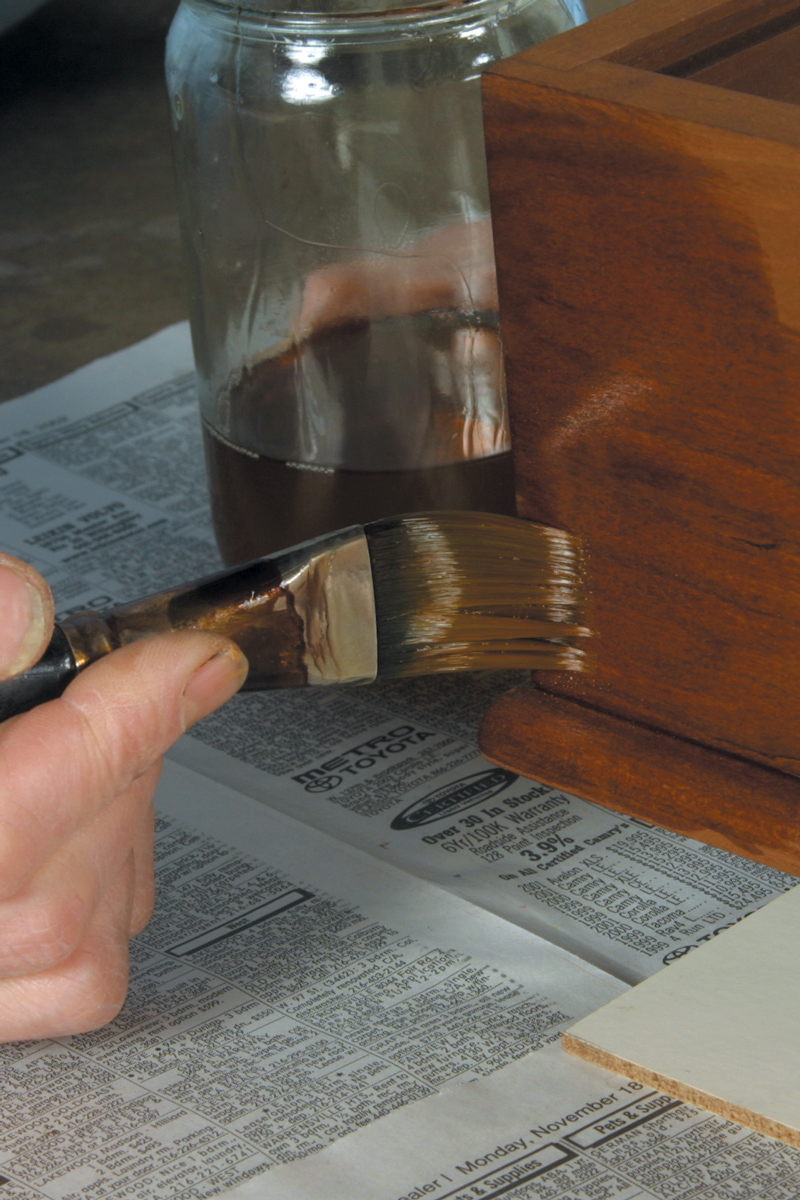
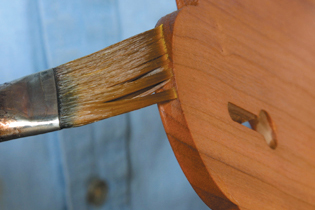
Working a 4-in-by-4-in. section, begin near an edge and drag the brush off the edge of the workpiece (B). Reload the brush, and work another section and then whisk back and forth quickly between the two sections to blend them together. These brushes are well suited to complicated or small areas, as you can flick whisper-thin layers of shellac or lacquer onto edges (C). When brushing round or turned items, you can use a light “flicking” stroke in a round-and-round fashion to prevent drips (D).
 |
 |
 |
 |


Log in or create an account to post a comment.
Sign up Log in