Guide To French Polishing
A step-by-step guide to an unmatched, traditional finish.
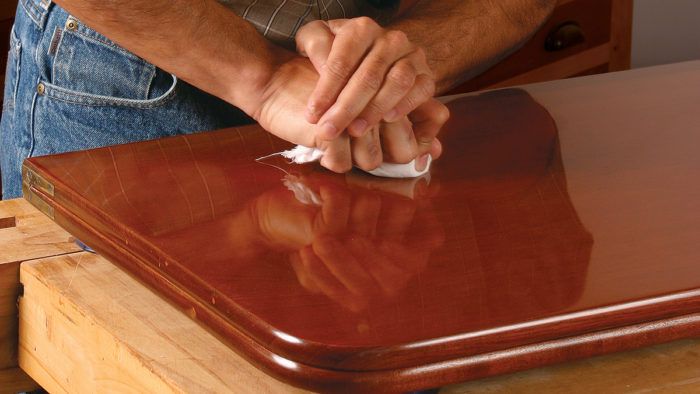
Synopsis: Learn the art of French polishing from someone who has spent years perfecting the process. Follow along as Vijay Velji preps the surface, fills the grain, pads on very thin coats of shellac, and burnishes the surface to the final mirror shine that typifies this classic finish.
When I was growing up in Calcutta, India, my family’s apartment had a clear view of a workshop that made high-end cabinets for radios. Standing there, I could watch the master craftsman make a carcase, veneer it, and finally finish it. For the latter, he used a curious circular motion with his hand that produced a most gleaming finish. Over time I talked to him about his technique, called French polishing, and after I had made a few pieces of furniture, I decided to try it myself.
In the years since, I’ve spent many hours reading articles about this mysterious finish, but practice was the key to getting the method correct. I will guide you through the process, from prepping the surface to filling the grain, from applying the shellac in very thin coats to giving the surface that final mirror shine. No other finish can match the clarity and depth of French polishing or the way it reveals a wood’s beauty. There are no deep secrets to this finish, but there are some tips you need to know.
Careful sanding lays the foundation
Whether you are refinishing a piece, as with this card table, or finishing a new piece, the steps are the same. To start, the surface has to be dead flat with a uniform scratch pattern, because any irregularities will be magnified after the shellac is applied. Start sanding with P100-grit paper and work your way up to P320-grit. You can use a random-orbit sander until the last grit, which must be done by hand using a cork-faced block, sanding with the grain. There are no short cuts, so take your time.
You can French polish both flat and curved surfaces, but you can’t get a polishing pad into inside corners. Because this piece is already assembled, I’ll be brushing shellac on the inside corners of the base. However, it is perfectly possible on a new piece to polish the components first, and then carefully assemble them. The only exceptions are small areas such as molding or trim.
Use fresh flakes
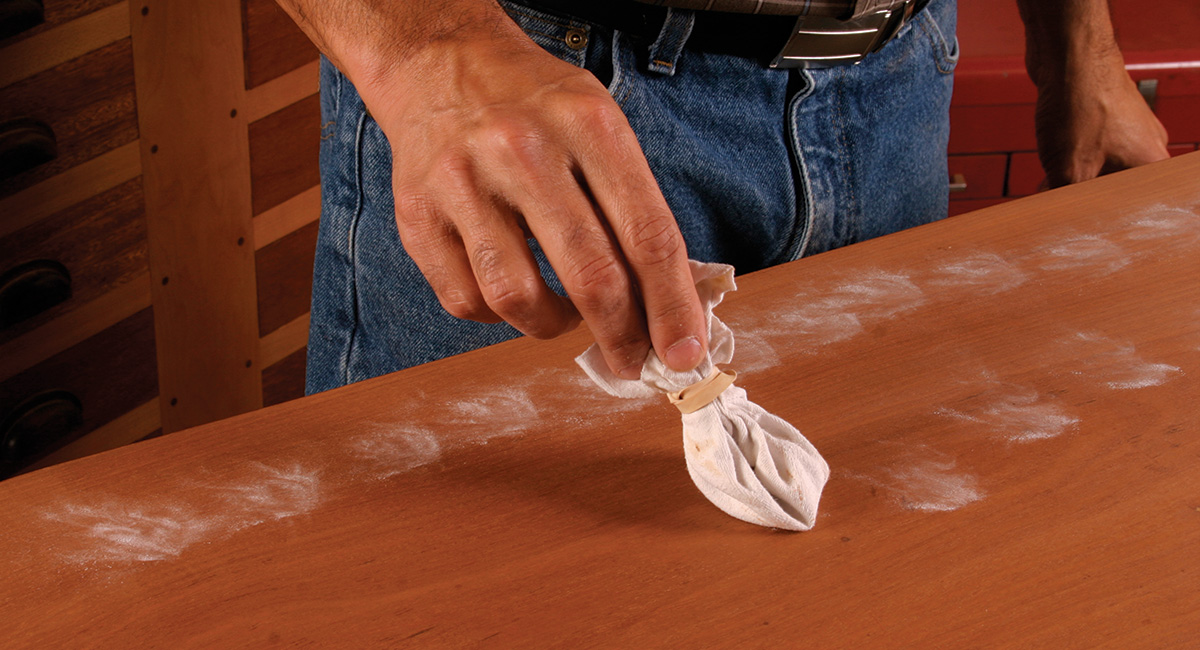
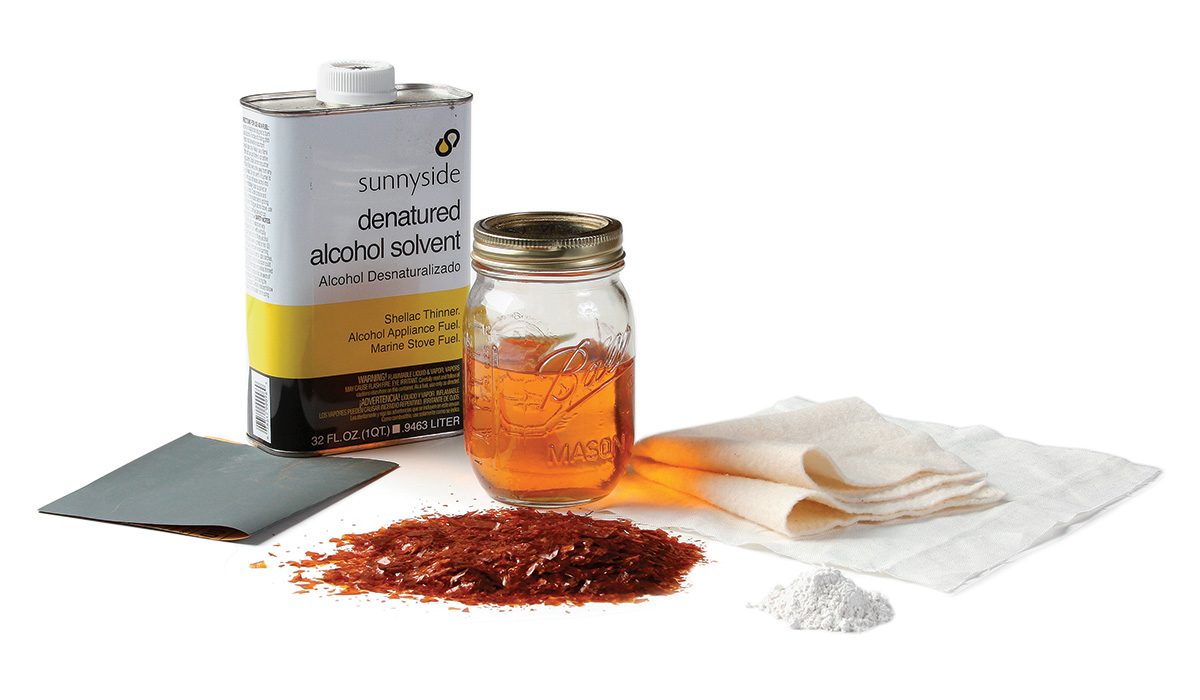
The best shellac for French polishing is dewaxed orange, garnet, beige, super blond, or platina flakes. Always use dewaxed shellac when finishing new or restoring old furniture. It is the wax in the shellac that gives rise to poor water resistance. Decanting seedlac or machine-made shellac can never get rid of enough wax, so use dewaxed varieties that have a wax content of 0.2% to 0.5%. Even in flake form, shellac has a shelf life of only two to three years, so don’t use flakes you picked up at a tag sale.
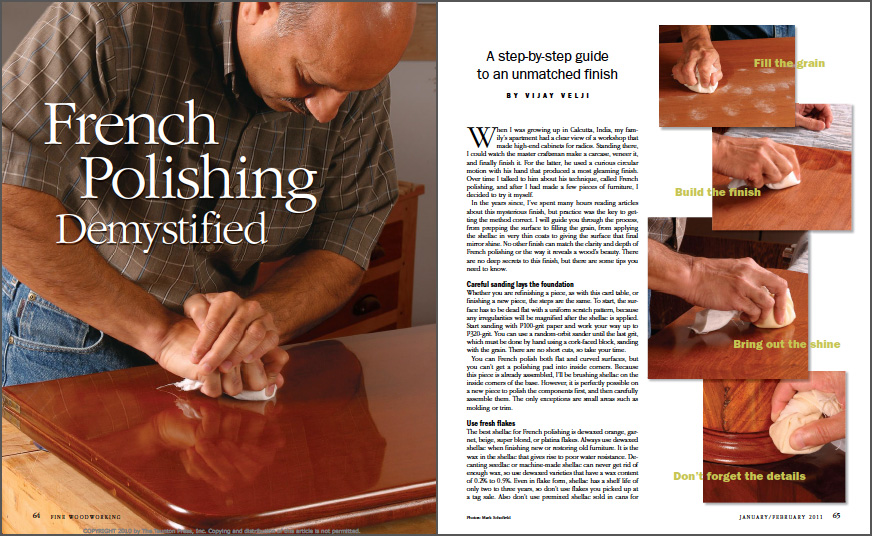
From Fine Woodworking #217
To view the entire article, please click the View PDF button below.
Fine Woodworking Recommended Products
Waterlox Original
Osmo Polyx-Oil




Log in or create an account to post a comment.
Sign up Log in