Make Shellac Your Go-To Finish
A simple brushed finish produces a stunning satin sheen.
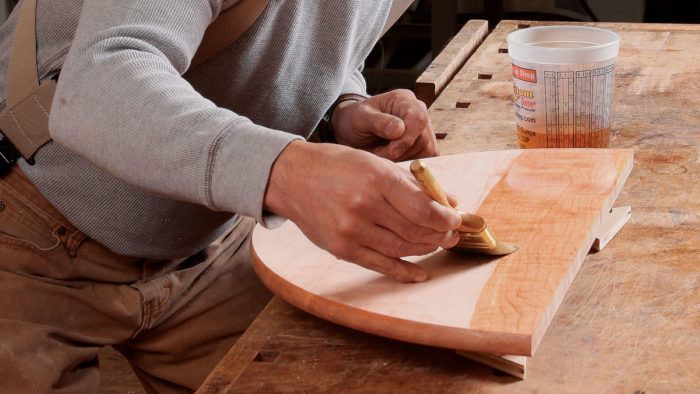
Synopsis: It’s easy to apply, whether by brush, rag, or spray. It’s compatible with almost every other finish. It dries quickly, is easy to repair, and it gives you a beautiful, satiny luster. What is this incredible product? Simple, classic, shellac. Choose the right type, prep the surface carefully, apply it correctly, and you’ll have a finish that resists heat and moisture and looks every bit as good as more complicated formulas.
My first experience with shellac, at age 14, was a disaster. I almost ruined a bookcase I’d built, and I swore off shellac altogether. But in time I learned how to use it correctly, and today shellac is one of my favorite finishes.
It’s a cinch to apply, and because it dries so fast, you can apply multiple coats in a day and repair mistakes with ease.
It doesn’t take an expert to get great results with shellac. Follow a few simple steps, and you can create a lustrous, satiny finish that makes grain and figure pop, no matter the species.
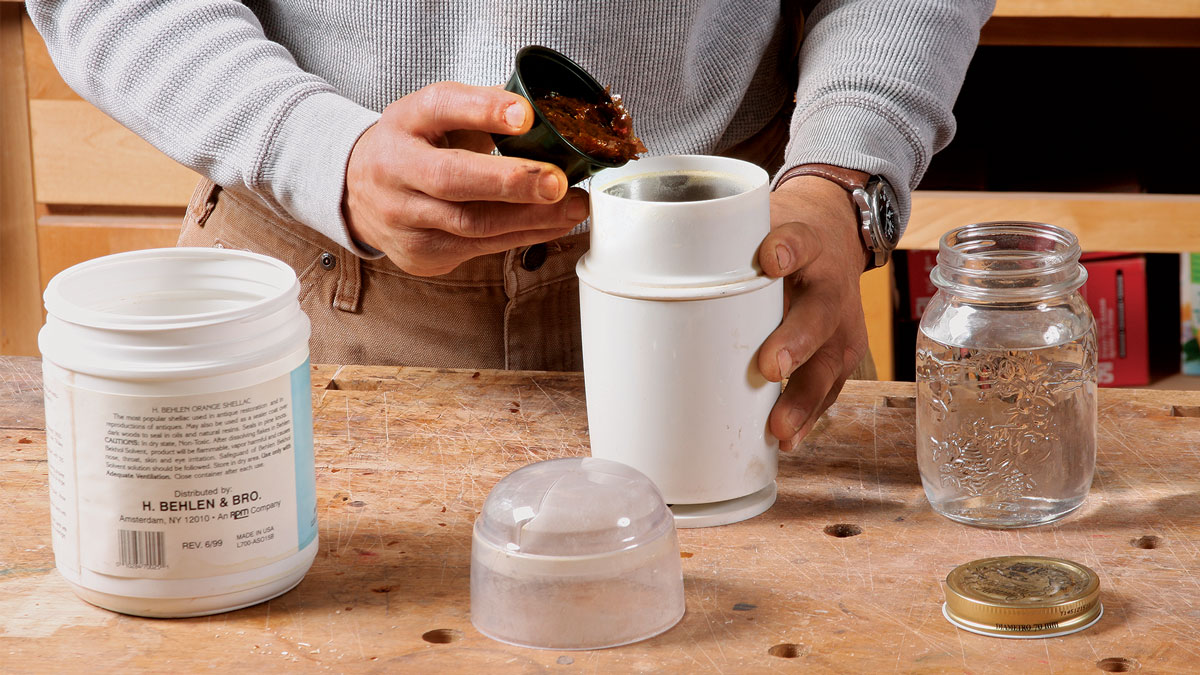
Fresh, dewaxed shellac is plenty durable
Shellac gets a bad rap for durability, in part because of confusion between waxy and dewaxed versions. Stick with dewaxed shellac; it dries to a hard, impermeable film that protects against heat and moisture and is compatible with all finishes. True, shellac won’t hold up against spilled alcohol. But since dewaxed shellac bonds beautifully with every other finish, you can always follow it up with a wipe-on varnish to protect vulnerable surfaces.
Shellac’s freshness affects its performance and durability. That’s where I went wrong with my bookshelf: I used old shellac and it never fully dried. To be sure it’s fresh, buy and mix shellac only as needed. Store it in a cool, dry place, like a basement or refrigerator. If its freshness is in doubt, brush some onto a scrap. If it’s still tacky in two hours, it’s not fresh.
Thin shellac to suit the project
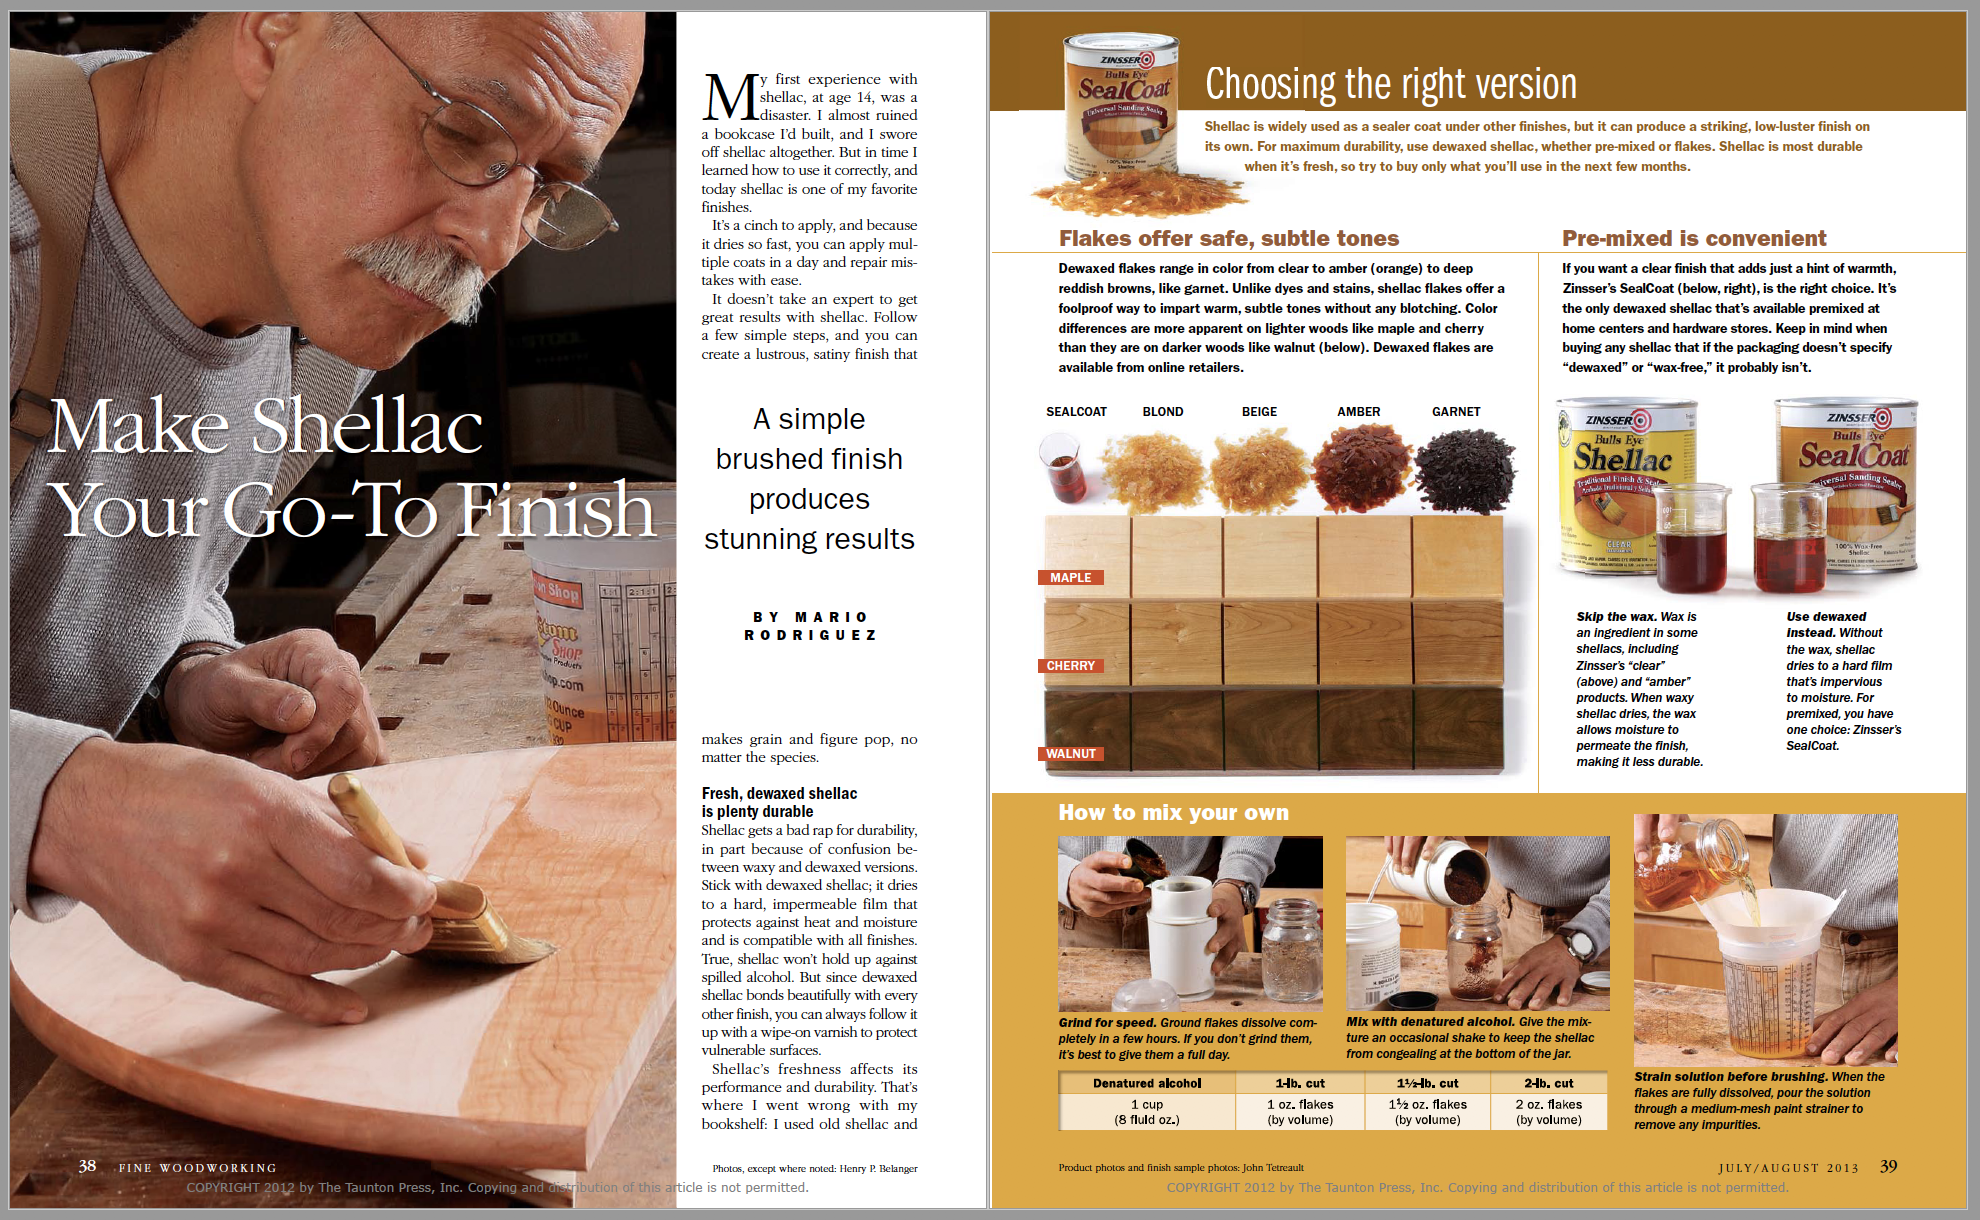
Whether you’re using flakes or premixed shellac, adjust the thickness to suit the job. The “cut” refers to the ratio of flakes to alcohol: Add 1 oz. of flakes to a cup (8 oz.) of alcohol to make a 1-lb. cut, 2 oz. of flakes to a cup for a 2-lb. cut, and so on. If you don’t have a scale, you can measure flakes by volume with standard kitchen measuring cups. One oz. by weight is roughly equal to 1 oz. by volume, or 1 ⁄8 cup.
For a small project like this end table, mix about a pint of shellac, half at a 1-lb. cut and half at a 11 ⁄2-lb. cut. Start with a 1-lb. cut as a sealer, to raise the grain and ensure that successive coats build uniformly. Follow with two coats at a 11 ⁄2-lb. cut to build the finish.
 From Fine Woodworking #234
For the full article, download the PDF below:
Fine Woodworking Recommended Products
Diablo ‘SandNet’ Sanding Discs
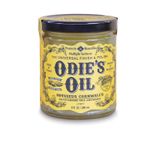
Odie's Oil

Bahco 6-Inch Card Scraper


Log in or create an account to post a comment.
Sign up Log in