Power-Tool Flattening
Use your shop sanders to help take the tedium out of the process of sanding.
Power Sanding
Fortunately, there are a lot of power tools to help you with your sanding chores. Many portable power widely tools, such as belt sanders, vibrator sanders, and random orbit sanders are relatively inexpensive and available.
Portable Belt Sanders
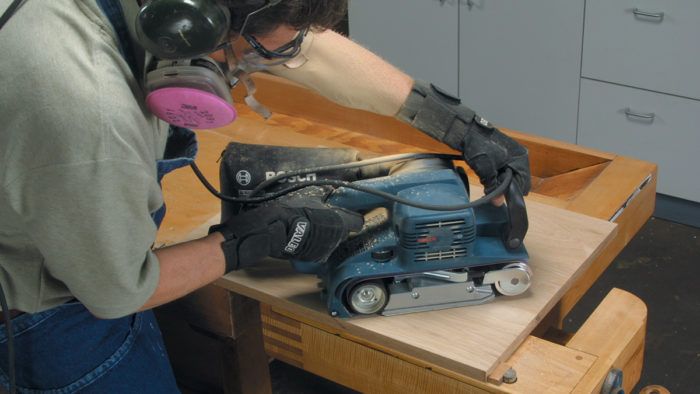
I’ve used a belt sander extensively for most of my woodworking, finishing, and refinishing career. I suppose that wearing out eight machines over the years makes me somewhat of a “black belt” at belt sanders. It’s hard to beat these machines when it comes to surfacing tabletops and other panels for a minimal investment of money. For flattening panels, get the heaviest, largest beast you can afford. A 4-in.-by-24-in. model is my favorite for this because the machine’s weight and large platen make quick work of flattening large panels. For best performance, replace the stock metal platen with a graphite version. These are often listed as accessories in the tool’s manual. For belt sanders (as well as drum sanders), I prefer the durability of ceramic aluminum grits. My hands-down favorites are Purple Regalite belts made by 3M.
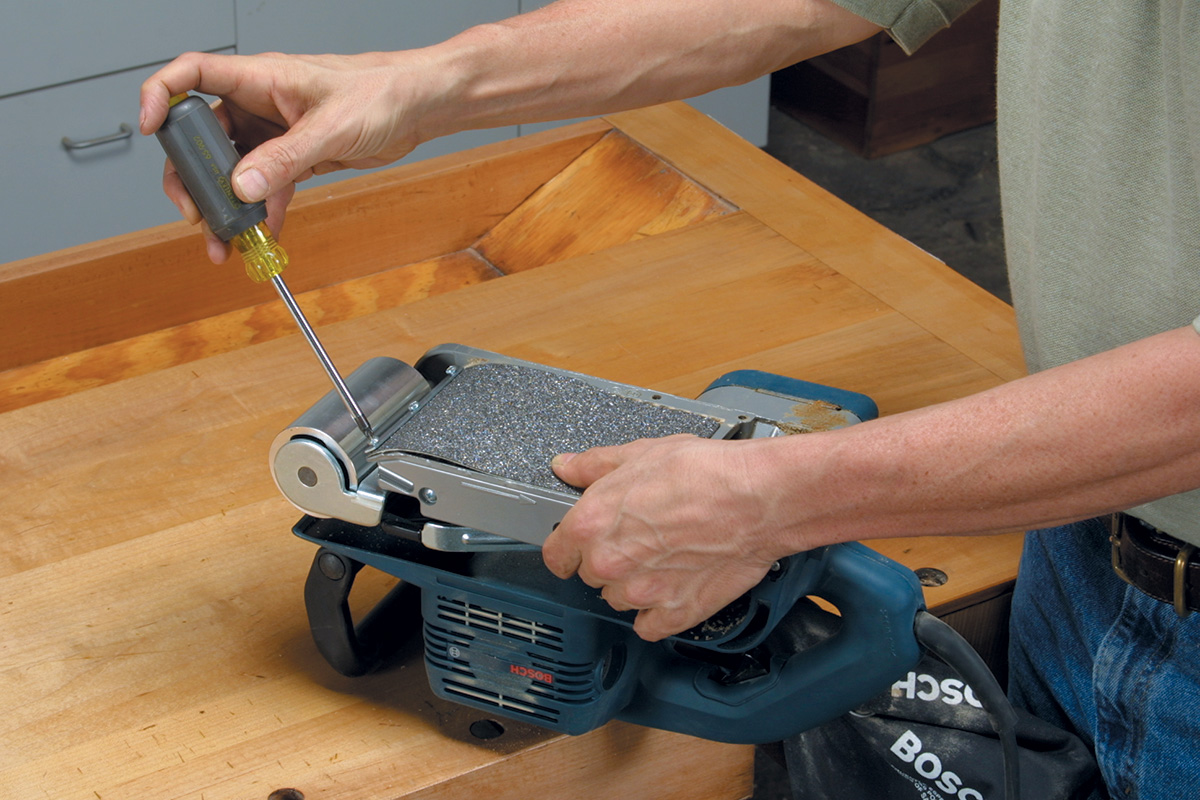
Tip: Don’t forget to protect yourself from wood dust even when running a machine with dust extraction.
Vibrator and Random Orbit Sanders
After belt sanding, I usually reach for a random orbit sander or vibrator sander to further smooth surfaces. They’re often the first tools I’ll use when sanding veneers. Called “finish sanders,” they typically do their work with 150-grit through 220-grit sandpaper. I’ve found stearated aluminum oxide the all-around best paper for these machines.
Stationary Sanders
If you work with a lot of flat panels, consider getting a drum or wide-belt sander. Both of these stationary machines can produce a consistently sanded surface that’s hard to match with hand tools. A number of reasonably priced drum sanders are available for the small shop. Large or custom shops should take a serious look at wide-belt sanders, as they are typically more aggressive than drum sanders.
Flattening and Smoothing with a Portable Belt Sander
In my opinion, a portable belt sander is the best tool for the money for flattening a panel glued up from several boards. Using the cross-hatching technique described here will help ensure that the surface will end up flat and even.
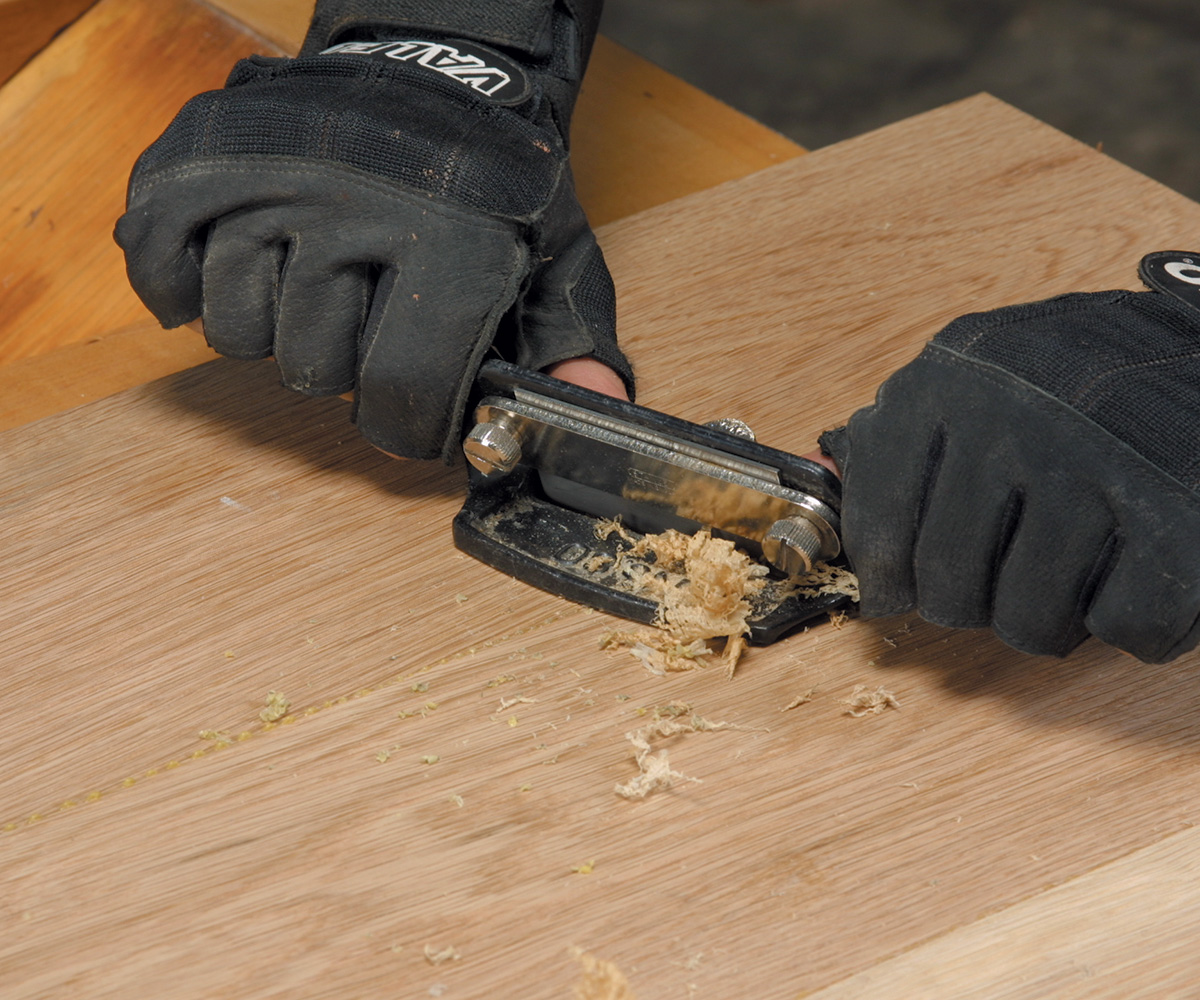
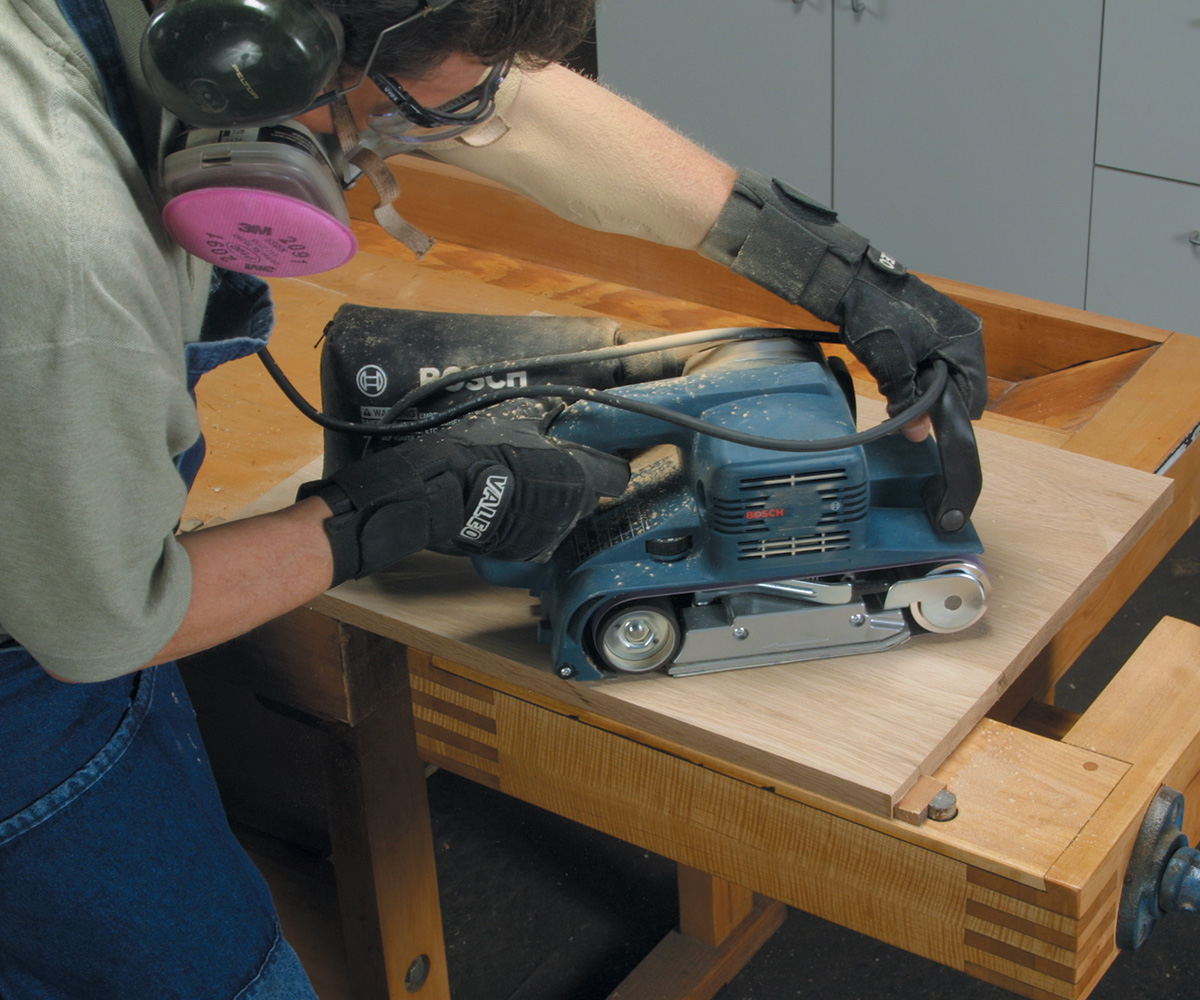
Before beginning, remove as much glue residue as possible from the panel using a cabinet scraper, which levels any edge-joint misalignments at the same time (A). Make sure the sander is tuned up, and that its platen is clean and flat. Then mount a 100-grit belt on the sander.
Tip: Anti-vibration gloves like the ones shown here minimize hand fatigue.
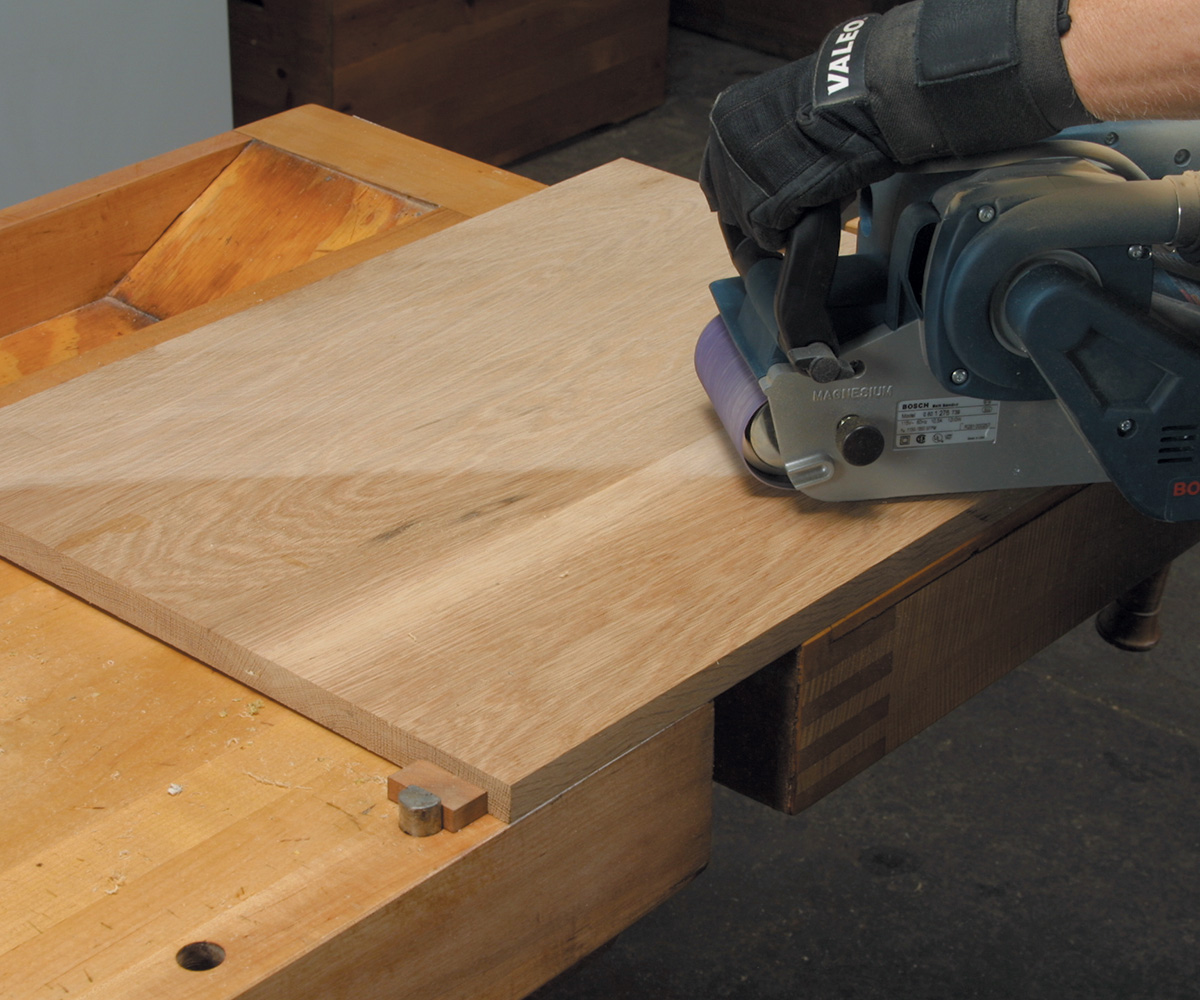
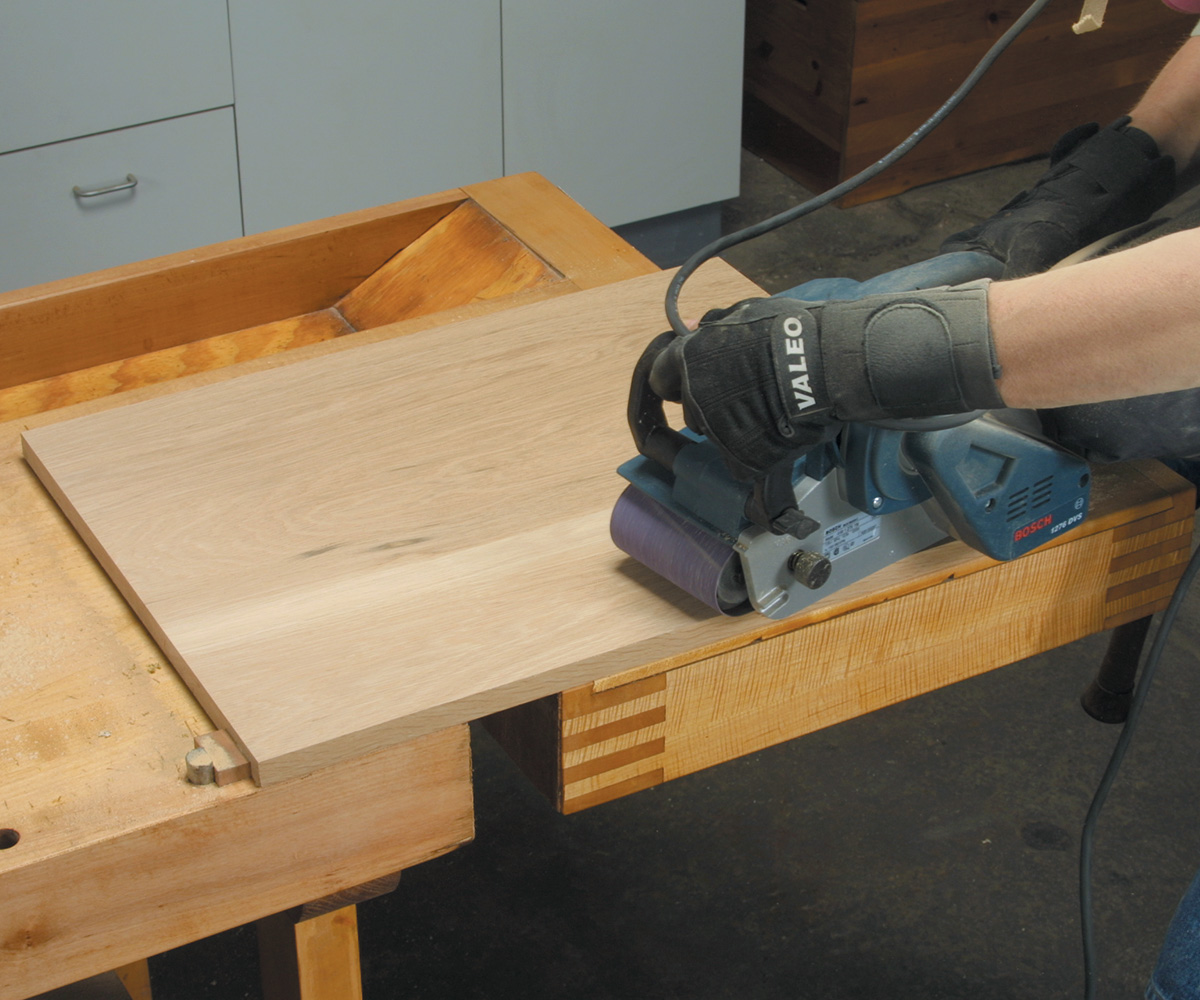
After securing the panel to your bench, begin by running the sander four or five times fully across the panel diagonal to the grain (B). Next, work diagonally in the opposite direction until you see a consistent pattern of scratches appear across the whole board (C). At this point, any shiny areas will indicate low spots, in which case you’ll have to repeat both directions. When the board shows a uniform scratch pattern, sand parallel to the grain to remove the cross-grain scratches (D). (Wiping the board with solvent will help highlight subtle scratches.) When all the cross-grain scratches are gone, switch to a 120-grit belt and sand parallel to the grain. Follow up by sanding with a 150-grit belt, again sanding parallel to the grain.
At this point, the panel should be flat and need only smoothing. Start with 150-grit paper and move up through successive grits, stopping at 220 grit.
 |
 |
 |
 |
Flattening and Smoothing with a Random Orbit Sander
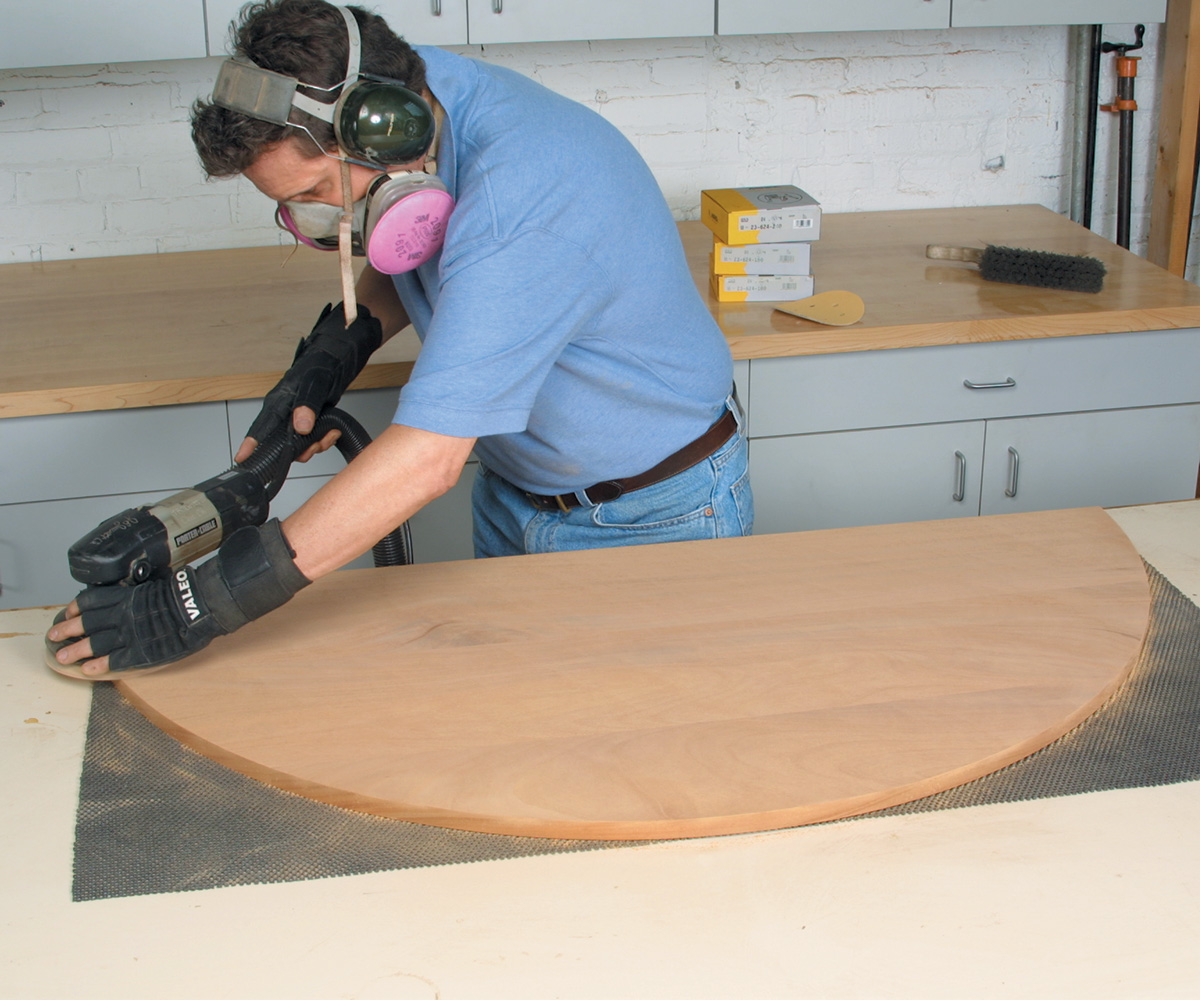
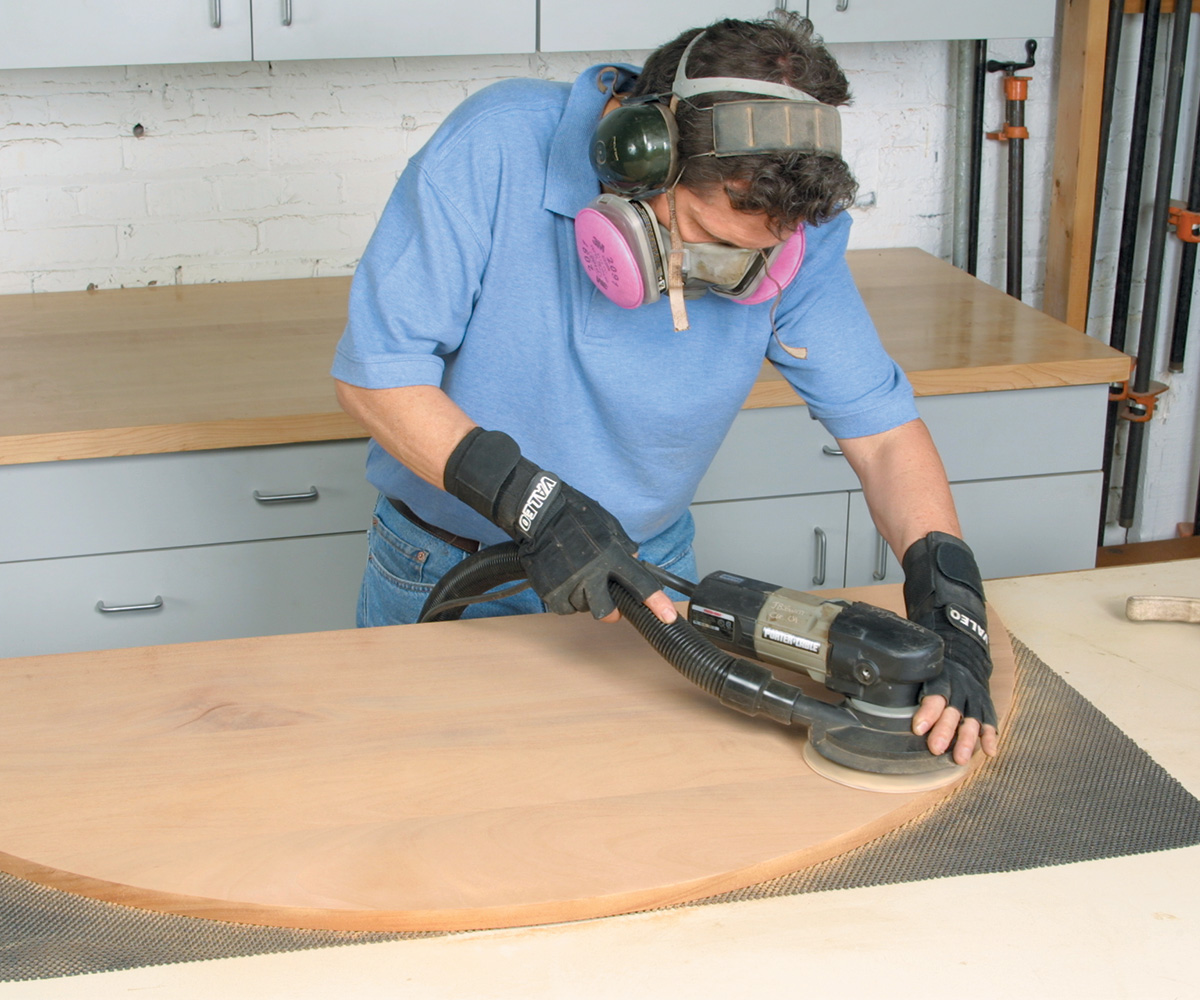
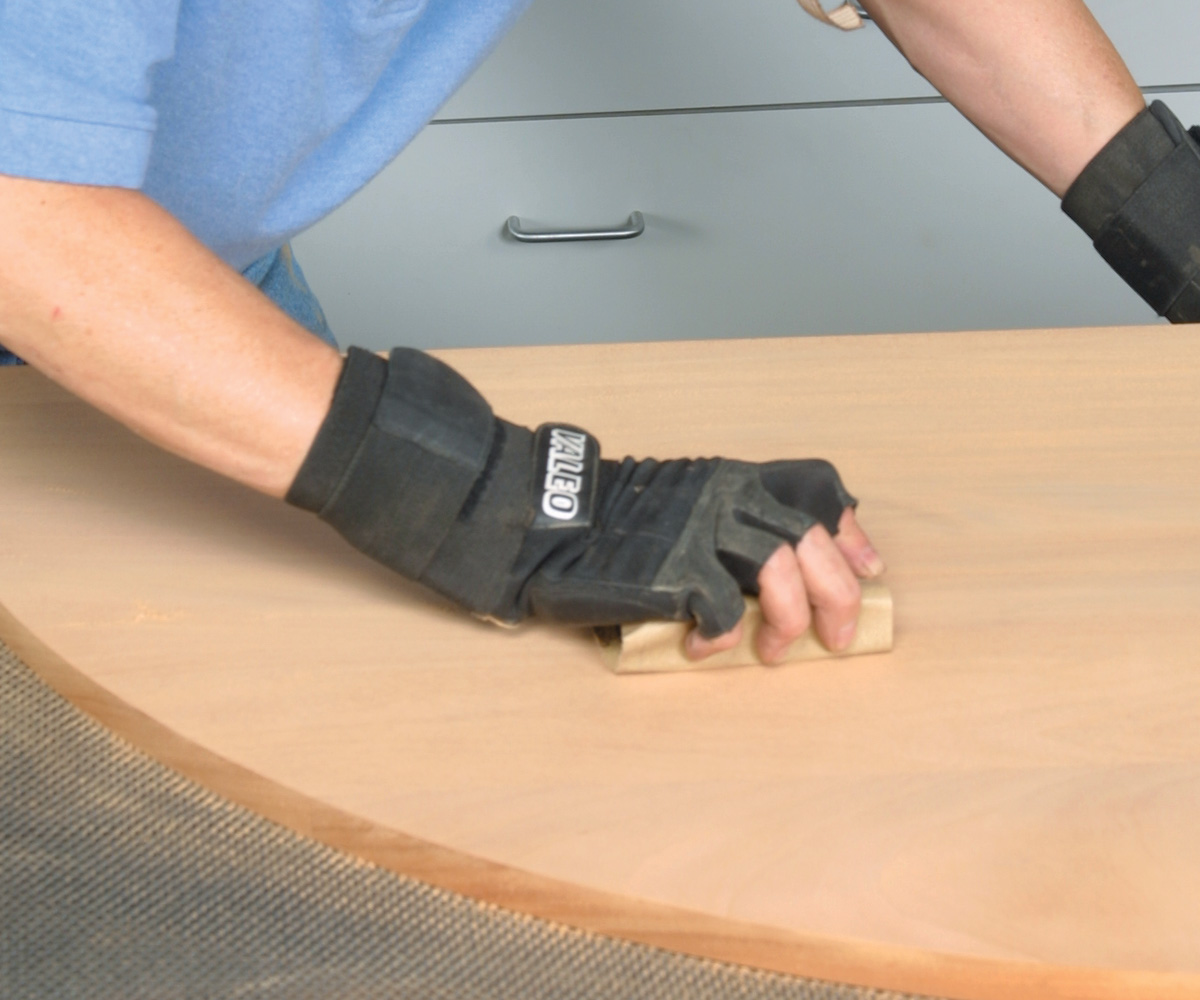
Although not as effective as a belt sander, a random orbit sander can be used to flatten a panel. Theoretically it doesn’t matter which direction you move the tool because the large circular scratches from the spinning pad are cancelled out by the shorter “looping” scratches produced by the eccentric orbit (A). However, using the same cross-hatching technique described for belt sanding helps ensure a more consistent surface. Most random orbit sanders have either a 5-in.-dia. pad or a 6-in.-dia. pad. I prefer a 6-in.-dia. pad because of its larger surface area.
After scraping any glue residue from the panel, outfit the sander with 100-grit paper or finer. Start by moving the sander at one angle (B), then switch to the opposite (C). After you reach your final grit, sand with that same grit by hand (D) to remove the cross-grain scratches.
One drawback to a random orbit sander is that its round pad won’t reach well into corners and intersections. (For those purposes, try a vibrator sander, as described next.)
 |
 |
 |
 |
Smoothing with a Vibrator Sander
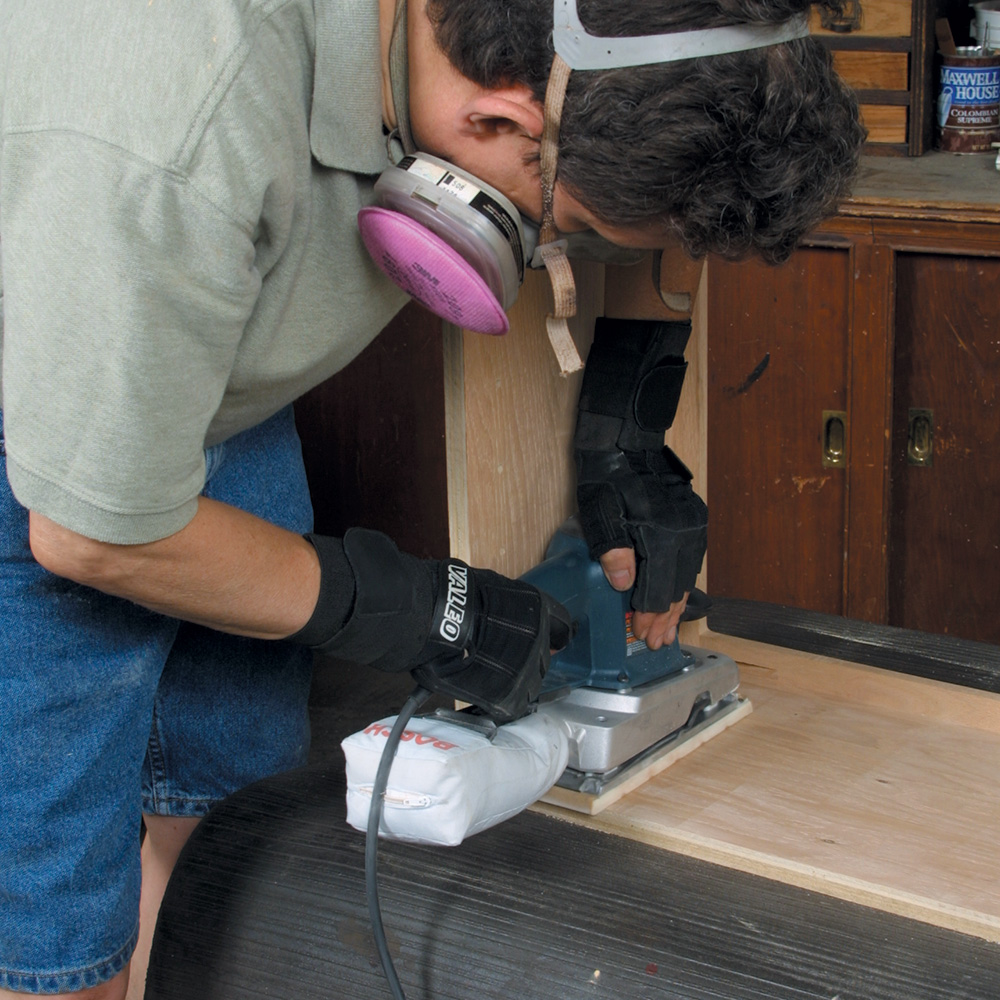
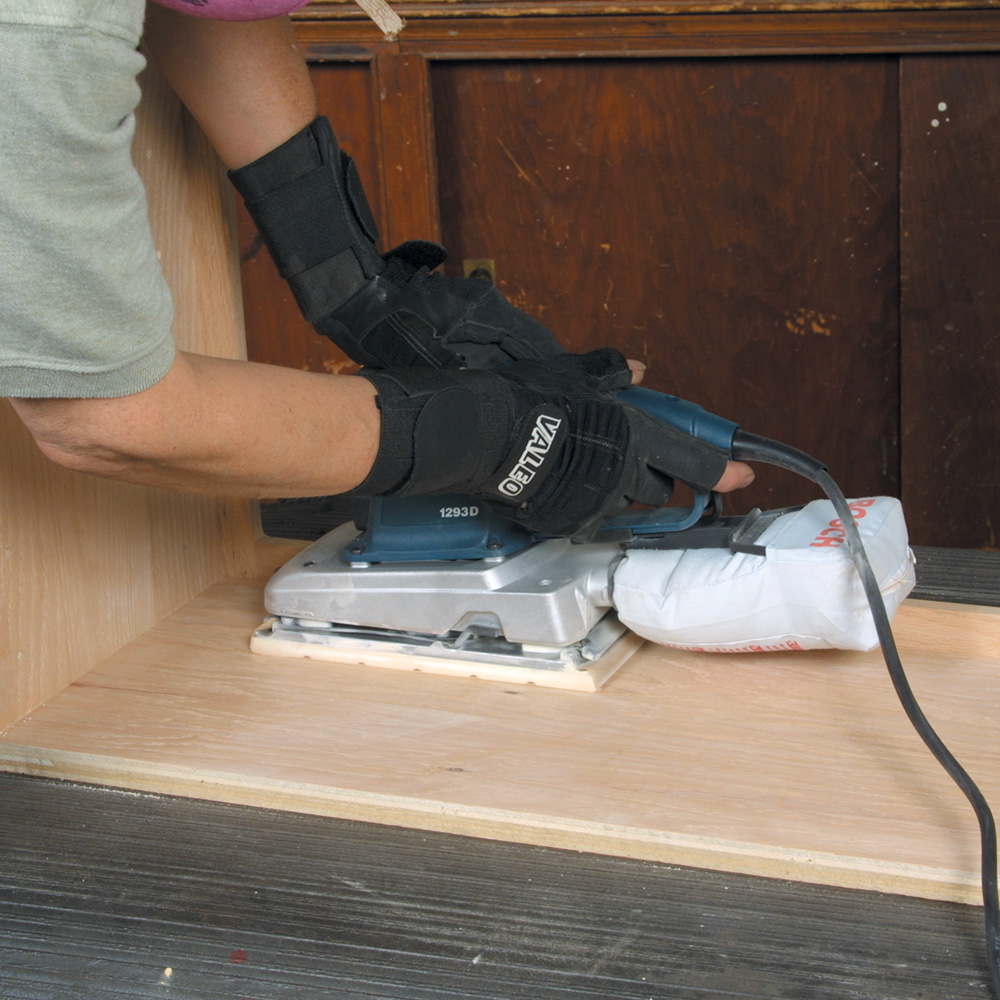
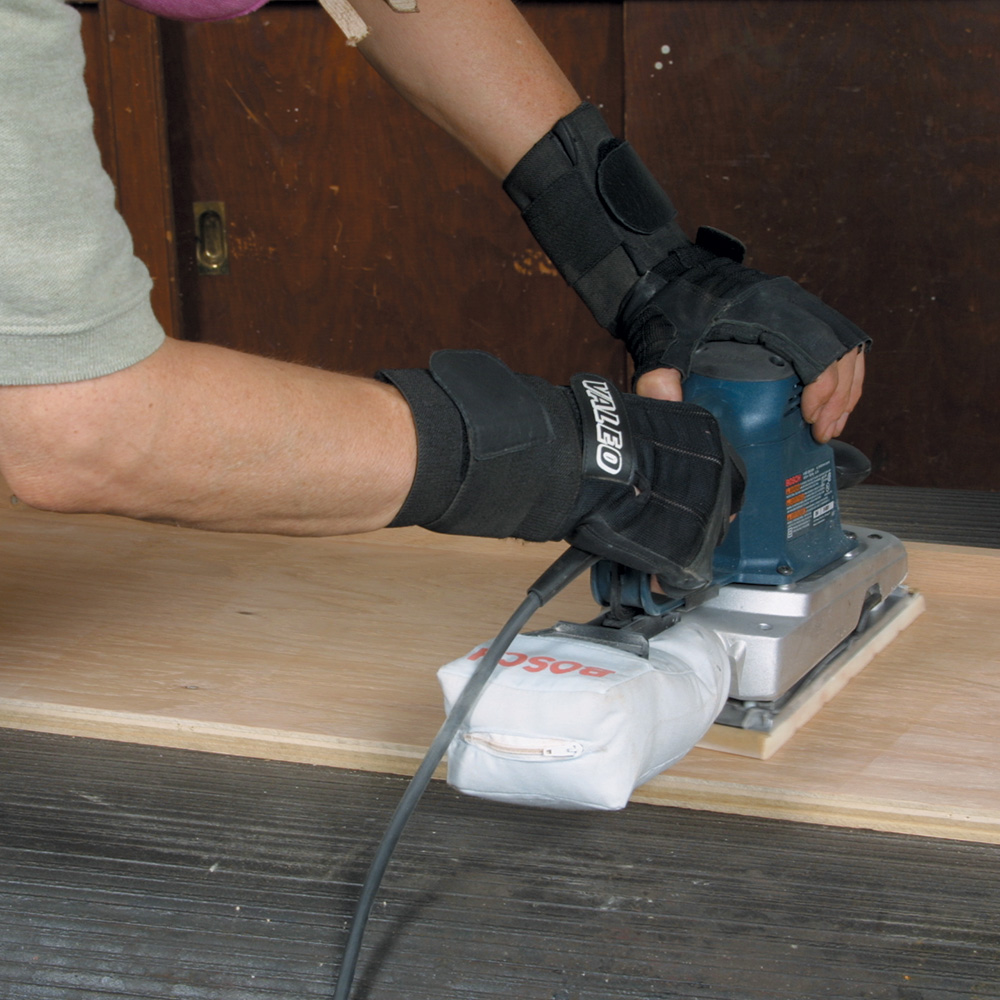
A vibrator sander doesn’t do as fast a job at flattening a panel as a belt sander or random orbit sander. However, it excels at sanding into corners and against intersecting panels because the sides of the pad will ride up against a case divider or face frame. When sanding a bookcase with a face frame, for example, start where the case side meets the top and bottom (A). Then rotate the sander 90 degrees and use its long edge to sand right up to the inside of the face frame (B). Afterward, blend all the sanding strokes together, keeping the front edge of the pad away from the face frame to keep it from banging (C). Finish up by hand-sanding to remove any swirl marks.
 |
 |
 |
Flattening with a Drum Sander
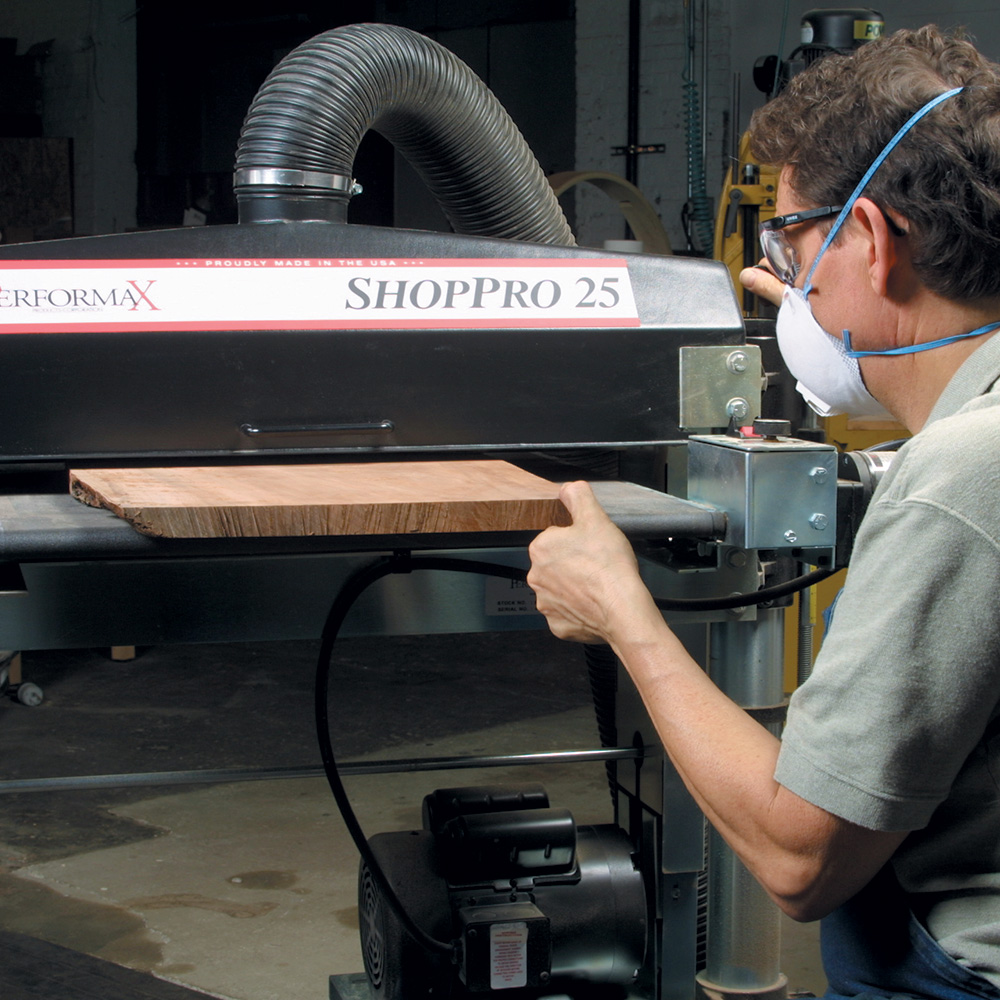
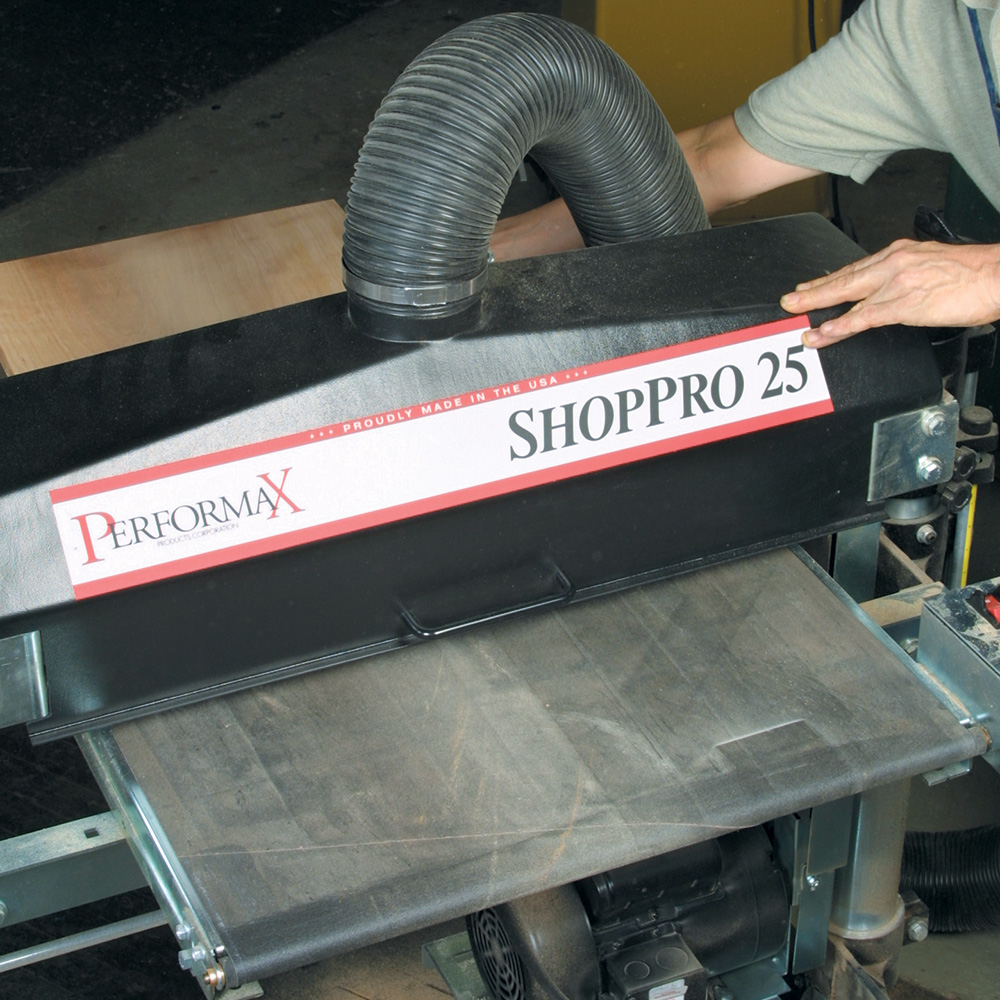
To use a drum sander for flattening a board, use 80-grit paper and drop the conveyor table down 1/4 in. more than the thickness of the board. With the machine off, insert the board under the sanding drum (A). Power up the drum but not the conveyor. Then raise the conveyor table until the spinning drum contacts the wood. Next switch on the conveyor and run the stock through the machine, grabbing it as it exits (B).
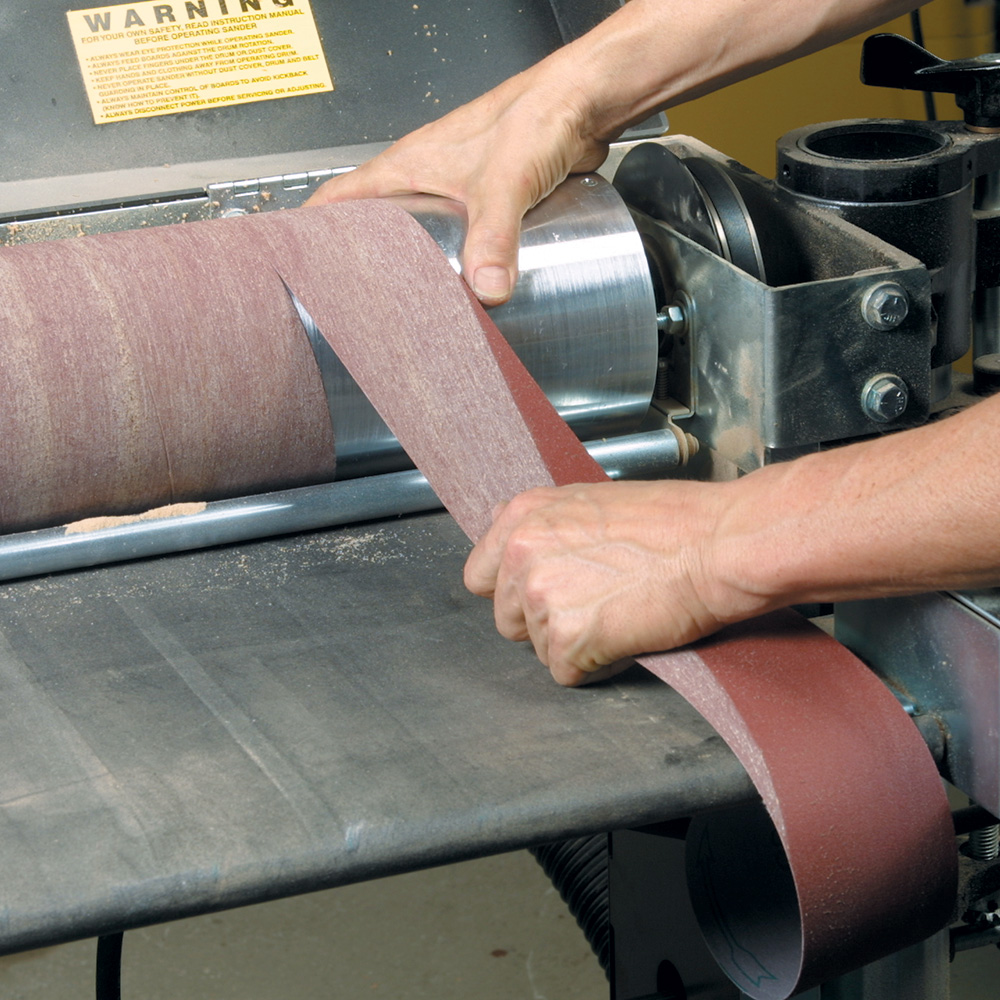
Continue to make repeated passes in this fashion, raising the table in small increments for each subsequent pass. After you’ve sanded the entire surface to 80 grit, you can switch to 120- or 150-grit paper for your final passes (C). Because a drum sander won’t produce a finish-quality surface, follow up by finish-sanding with a random orbit sander, beginning with paper that’s one grit coarser than the final drum grit you used.
 |
 |
 |
Fine Woodworking Recommended Products

Festool DF 500 Q-Set Domino Joiner
Festool Rotex FEQ-Plus Random Orbital Sander




Log in or create an account to post a comment.
Sign up Log in