Synopsis: One of the secrets to finishing is advance planning, and sample boards are a great way to do this. When you test a finishing sequence on a sample board rather than on the project, you can avoid costly mistakes on the workpiece itself. Finishing expert Teri Masaschi explains how to make sample boards to test finishing sequences whether they involve one clear finish or multiple layers of stain and varnish. She’ll demonstrate how to use test samples to achieve two key goals of finishing: predictability and repeatability. The sample predicts the wisdom (or folly) of the finishing plan, and it allows you to repeat or duplicate the chosen plan in the future.
Spend weeks making a beautiful piece of furniture, and the last thing you want is the finish to be a nasty surprise: a look that magnifies your poor sanding; one that display’s the wood’s blotchiness; or a stain that’s simply the wrong color. That’s why you should always test the finish on a sample board rather than on the project. By making all of the potential mistakes on the scrap instead of the project, life can still go on without the huge task of reworking a finishing nightmare. The only disaster is the test piece!
How to make a sample board
For the best results, use a cutoff from each of the woods used to make the project. This includes plywood, veneered panels, and solid lumber. use a piece that’s big enough to give you a good read: at least 7 in. square for each step of the finishing process.
 It’s important to prepare the sample board’s surface exactly as you will the actual workpiece. Sand or scrape it too much or not enough, and you’ll get a misread on the stain and the sheen. There’s a light-year’s difference between a stained finish on pine at P150-grit and at P400-grit.
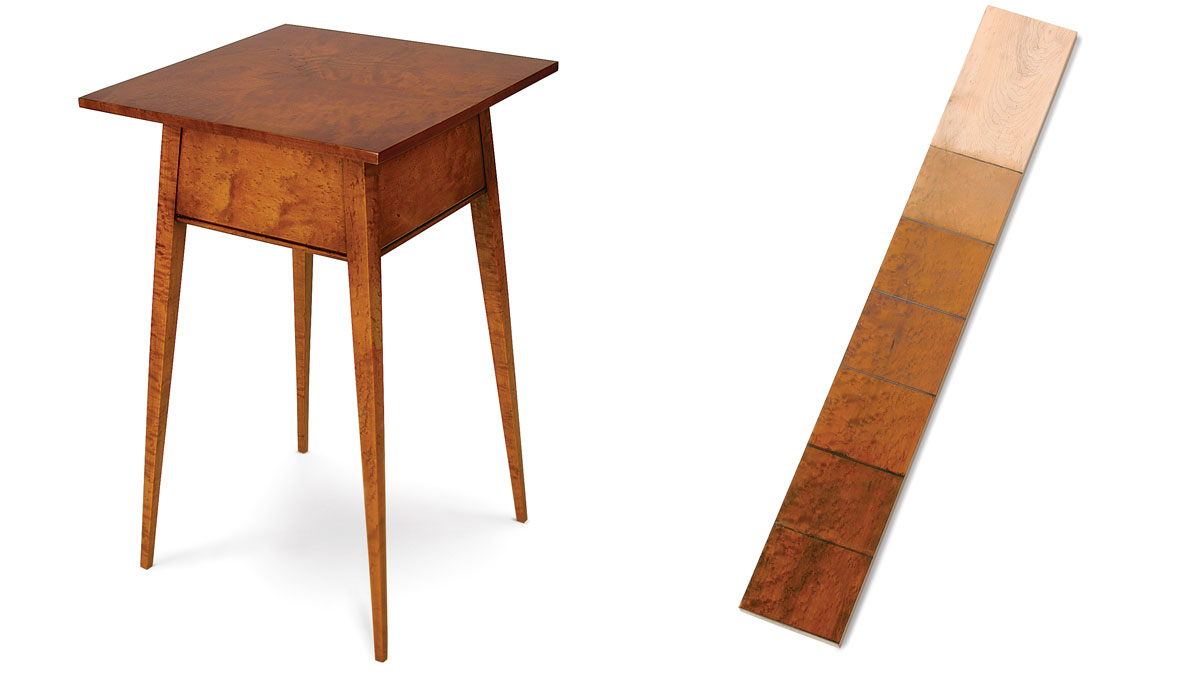
Testing just a clear coat—The basic sample board (below left) shows what the wood will look like with just a clear finish. apply one coat to the whole board. Let it dry, mark off one-fifth of the board at one end, and apply a second coat to the rest of the board. repeat the process until the last section receives a fifth coat.
This “step sample” is a graphic way to show how many coats must be applied. On certain woods, even a clear coat can blotch, especially if it is oil-based. The sample alerts the finisher to change course by pre-conditioning, sanding to a higher grit, or changing the coating material altogether.
Adding a stain—One up from the basic sample board is one showing a stain first and then a clear coat. But continue with the clear coats up to the desired sheen, as this will give a complete indication of what the stain will be like with the finished or “wet” look.
A slightly more sophisticated sample
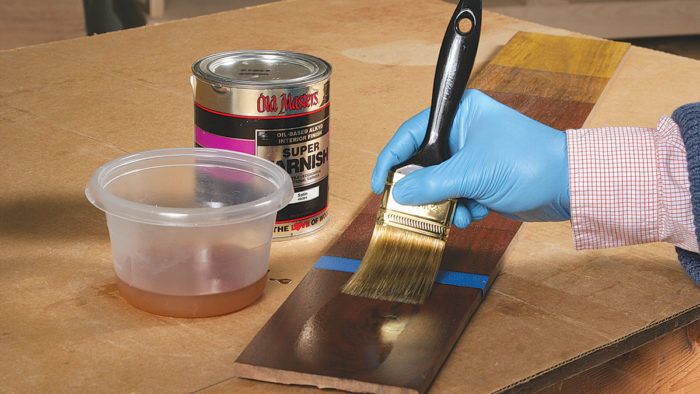
When the finishing plan calls for multicolor layering, it becomes imperative to use a step sample.
Like the example showing five coats of shellac on p. 106, each step is isolated on the board. On the walnut sample below, lemon-yellow dye is applied to the whole board but left uncoated in the first section. A seal coat of shellac is applied as the second step.
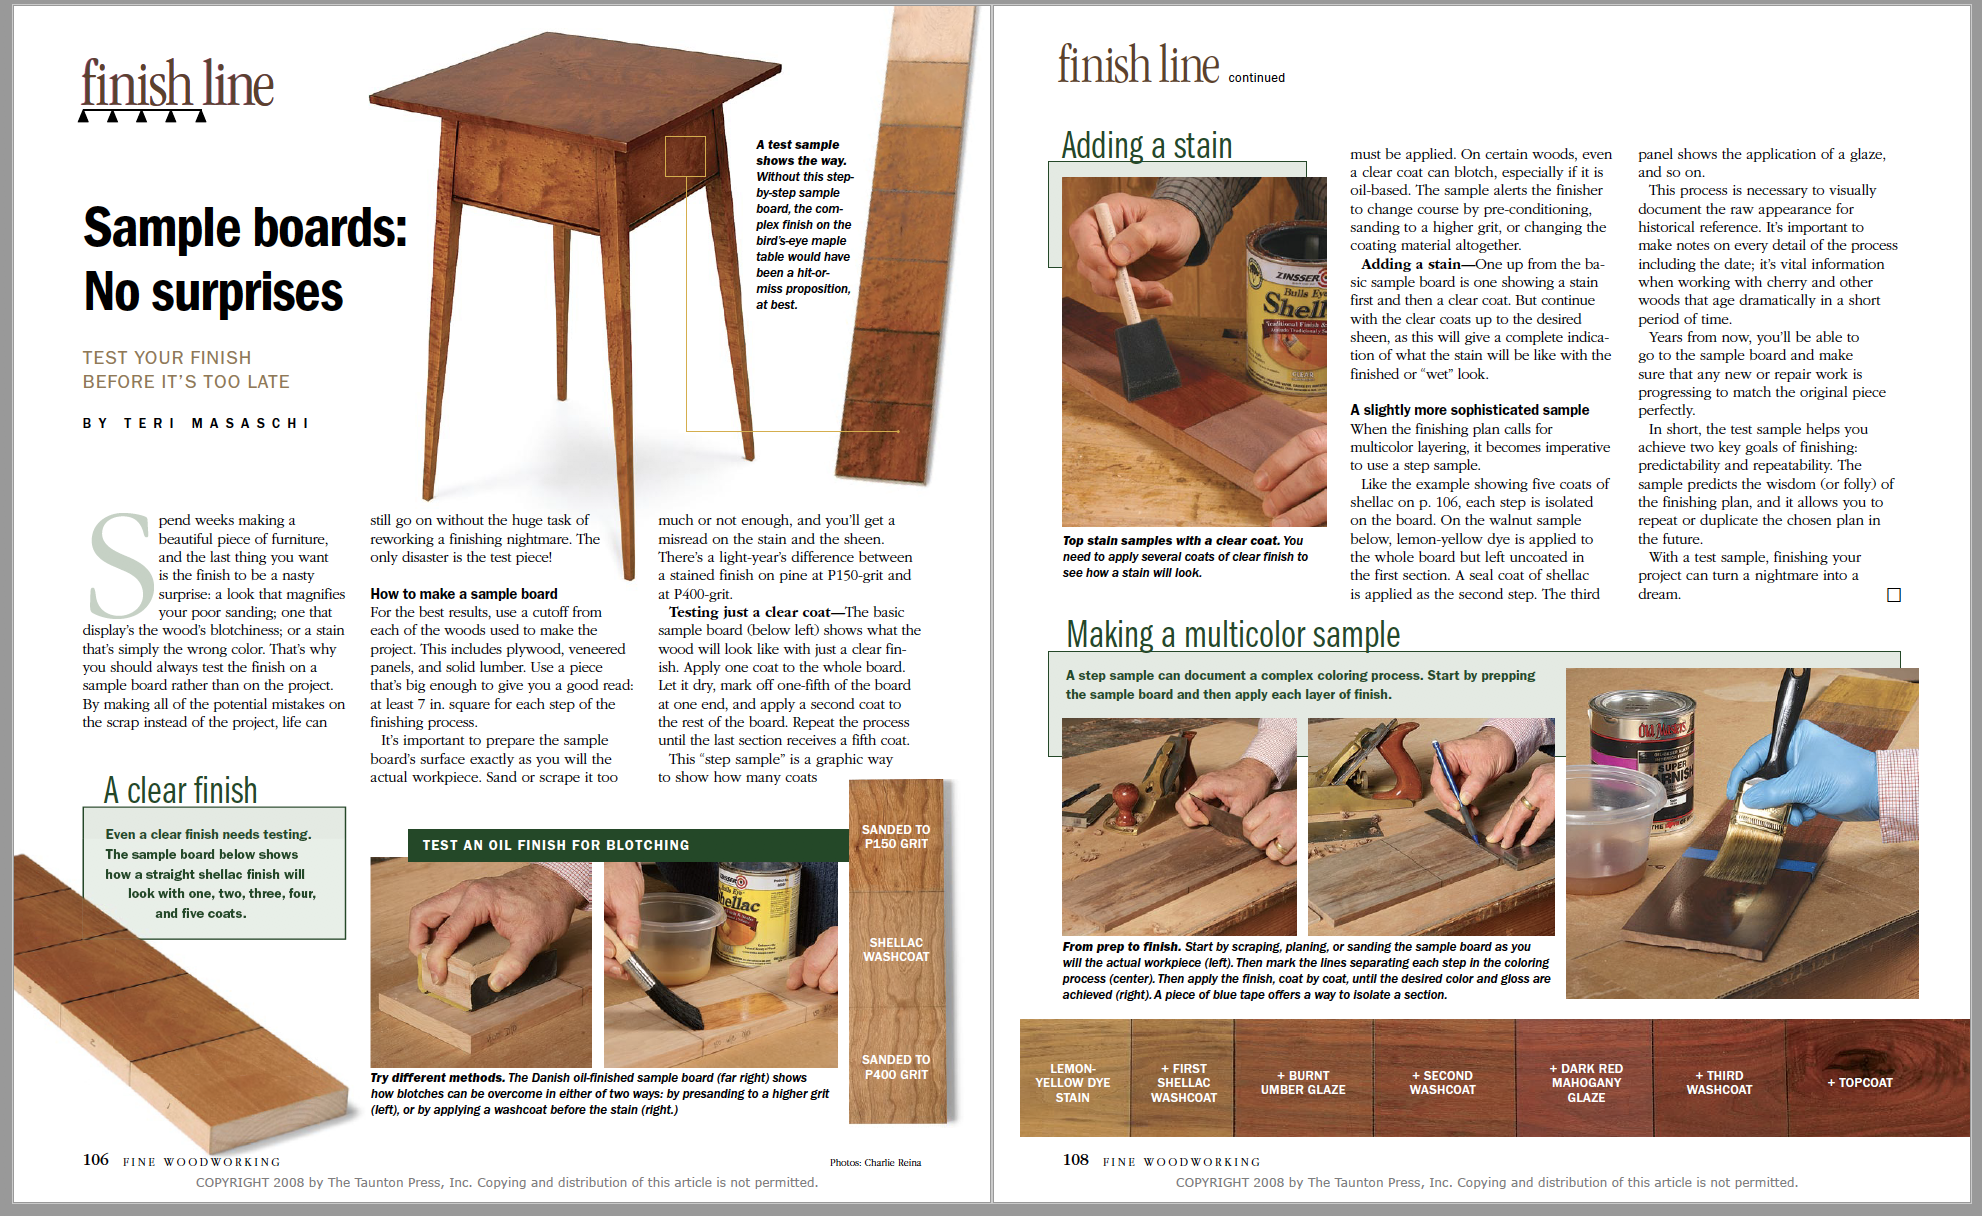 From Fine Woodworking #198
For the full article, download the PDF below:
Fine Woodworking Recommended Products
Waterlox Original
Osmo Polyx-Oil
Foam Brushes


Log in or create an account to post a comment.
Sign up Log in